Sip Into Summer: A Guide to a Large Pitcher of Melon & Cucumber Sangria
/Summertime is synonymous with refreshing beverages, and what could be more quintessential than a large pitcher of sangria? This blog post foreshadows the recipe for a large pitcher of melon & cucumber sangria, a thirst-quenching concoction that will undoubtedly become a seasonal favorite.
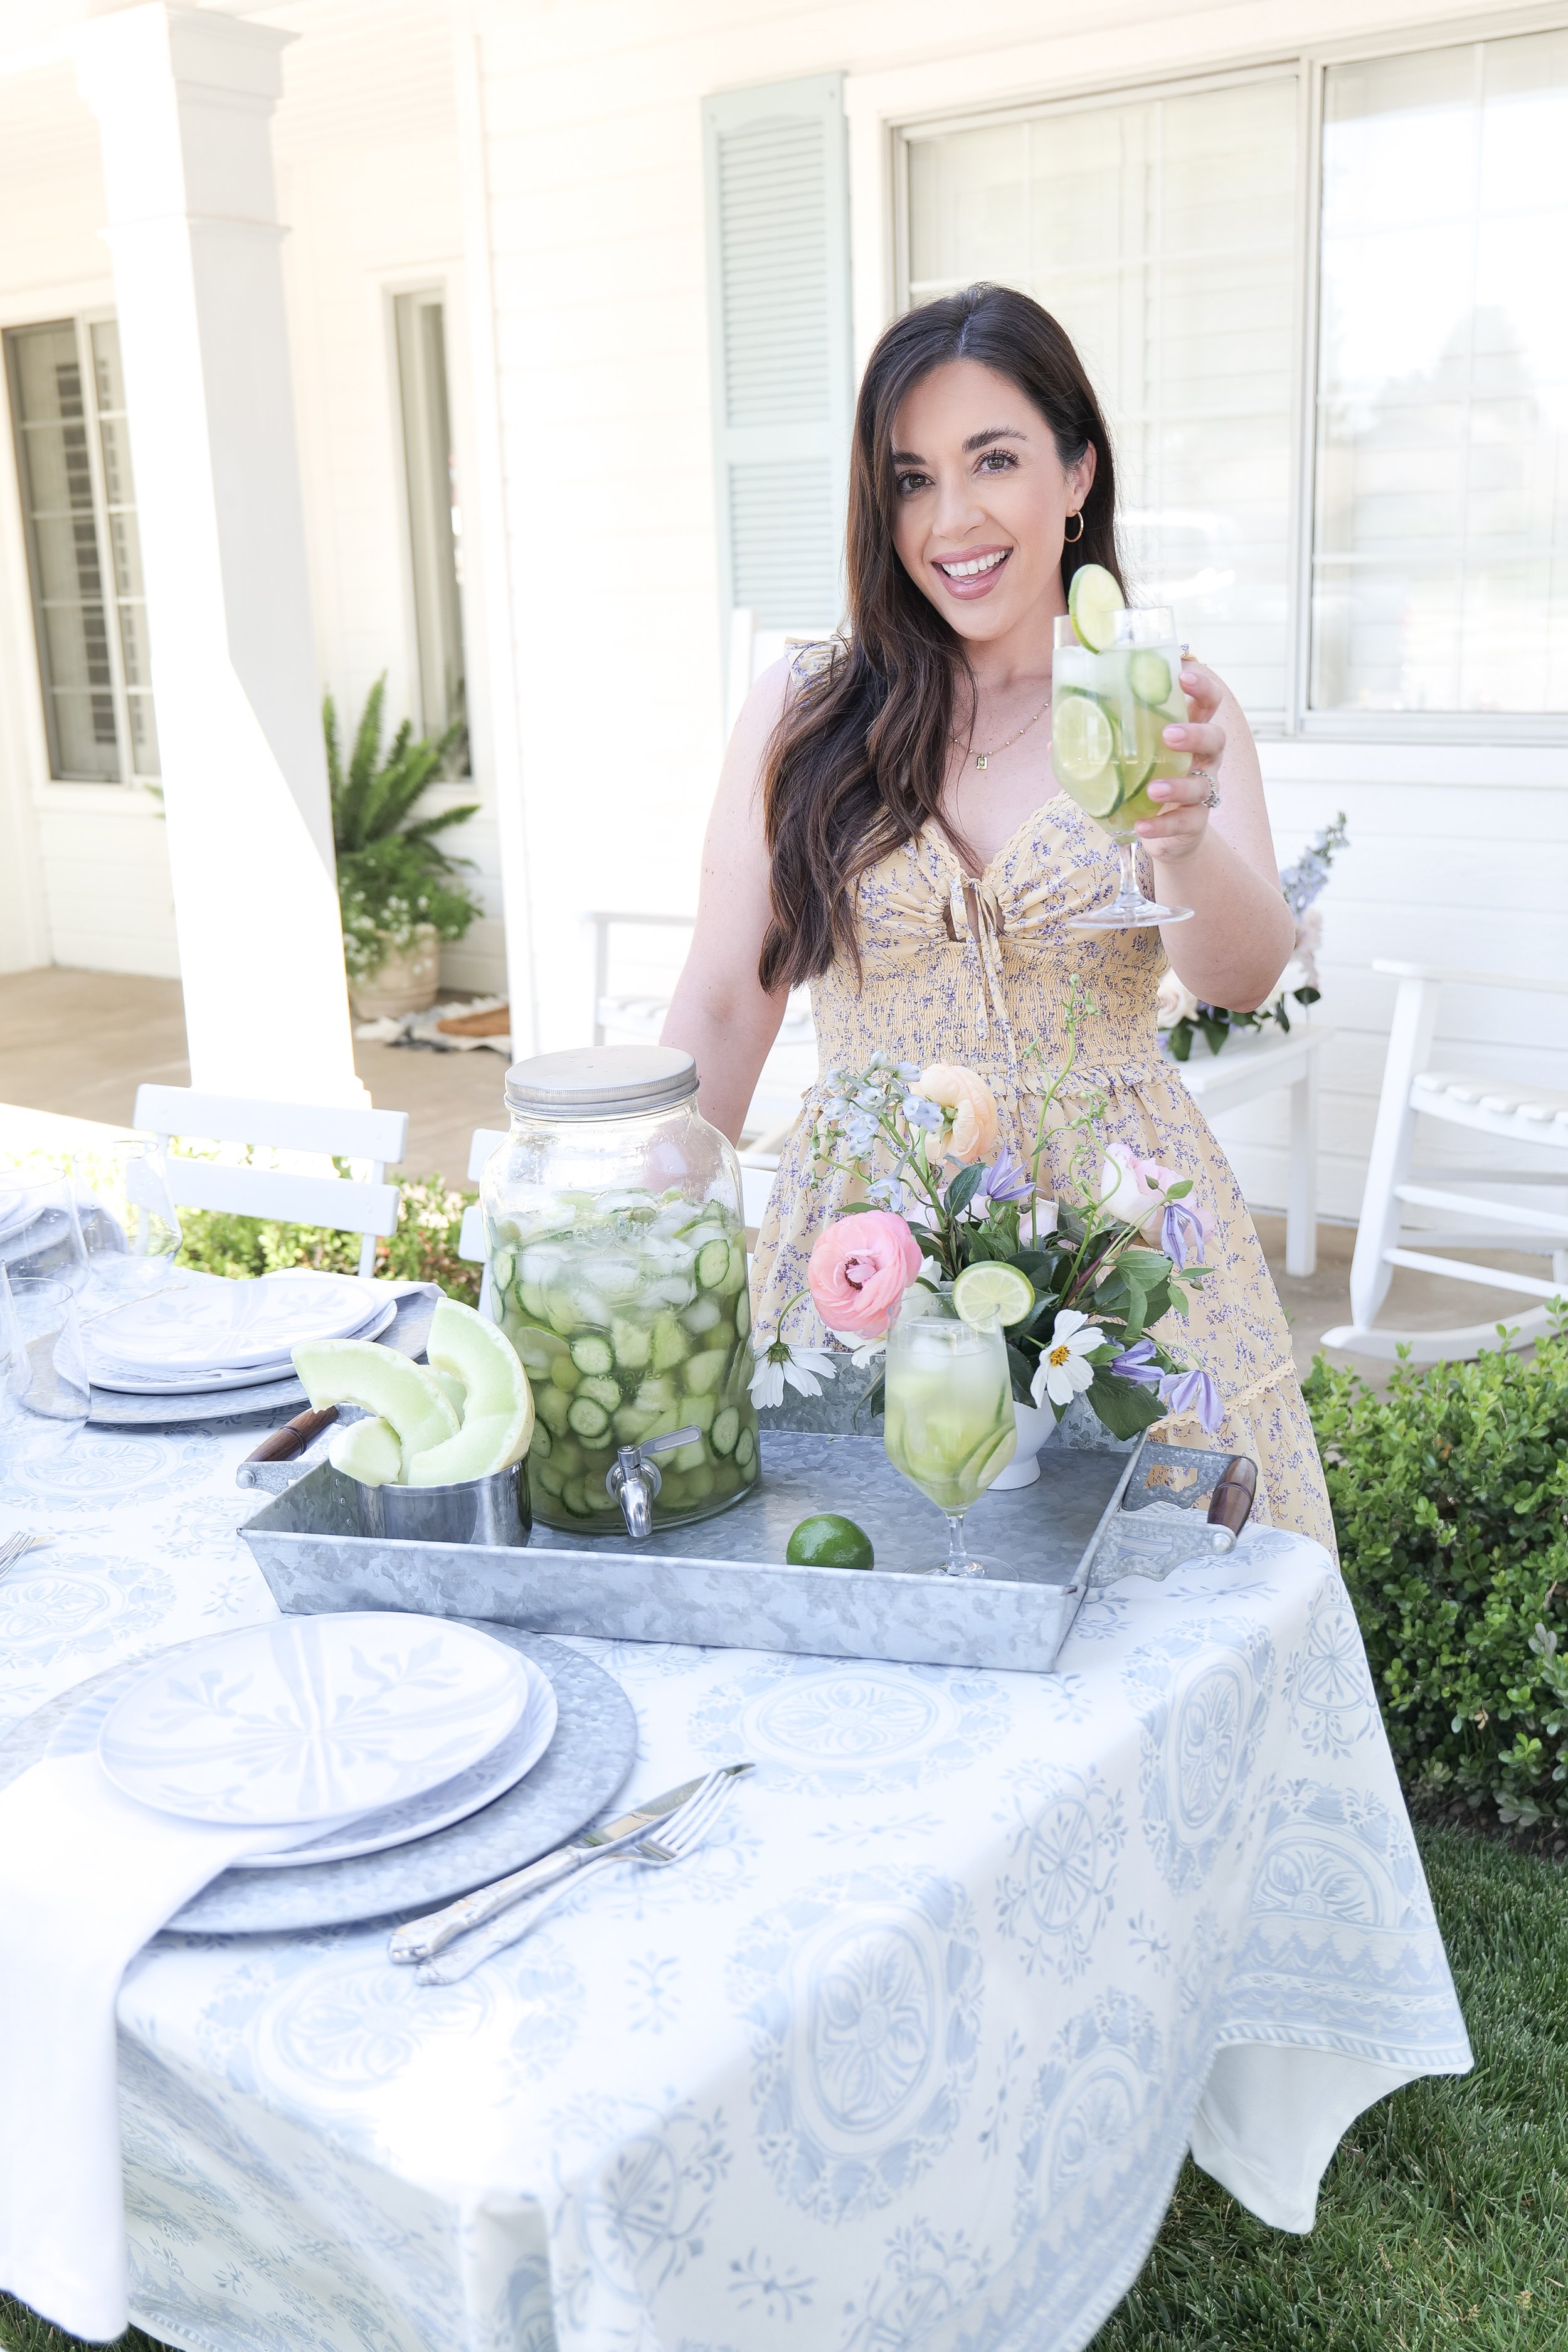


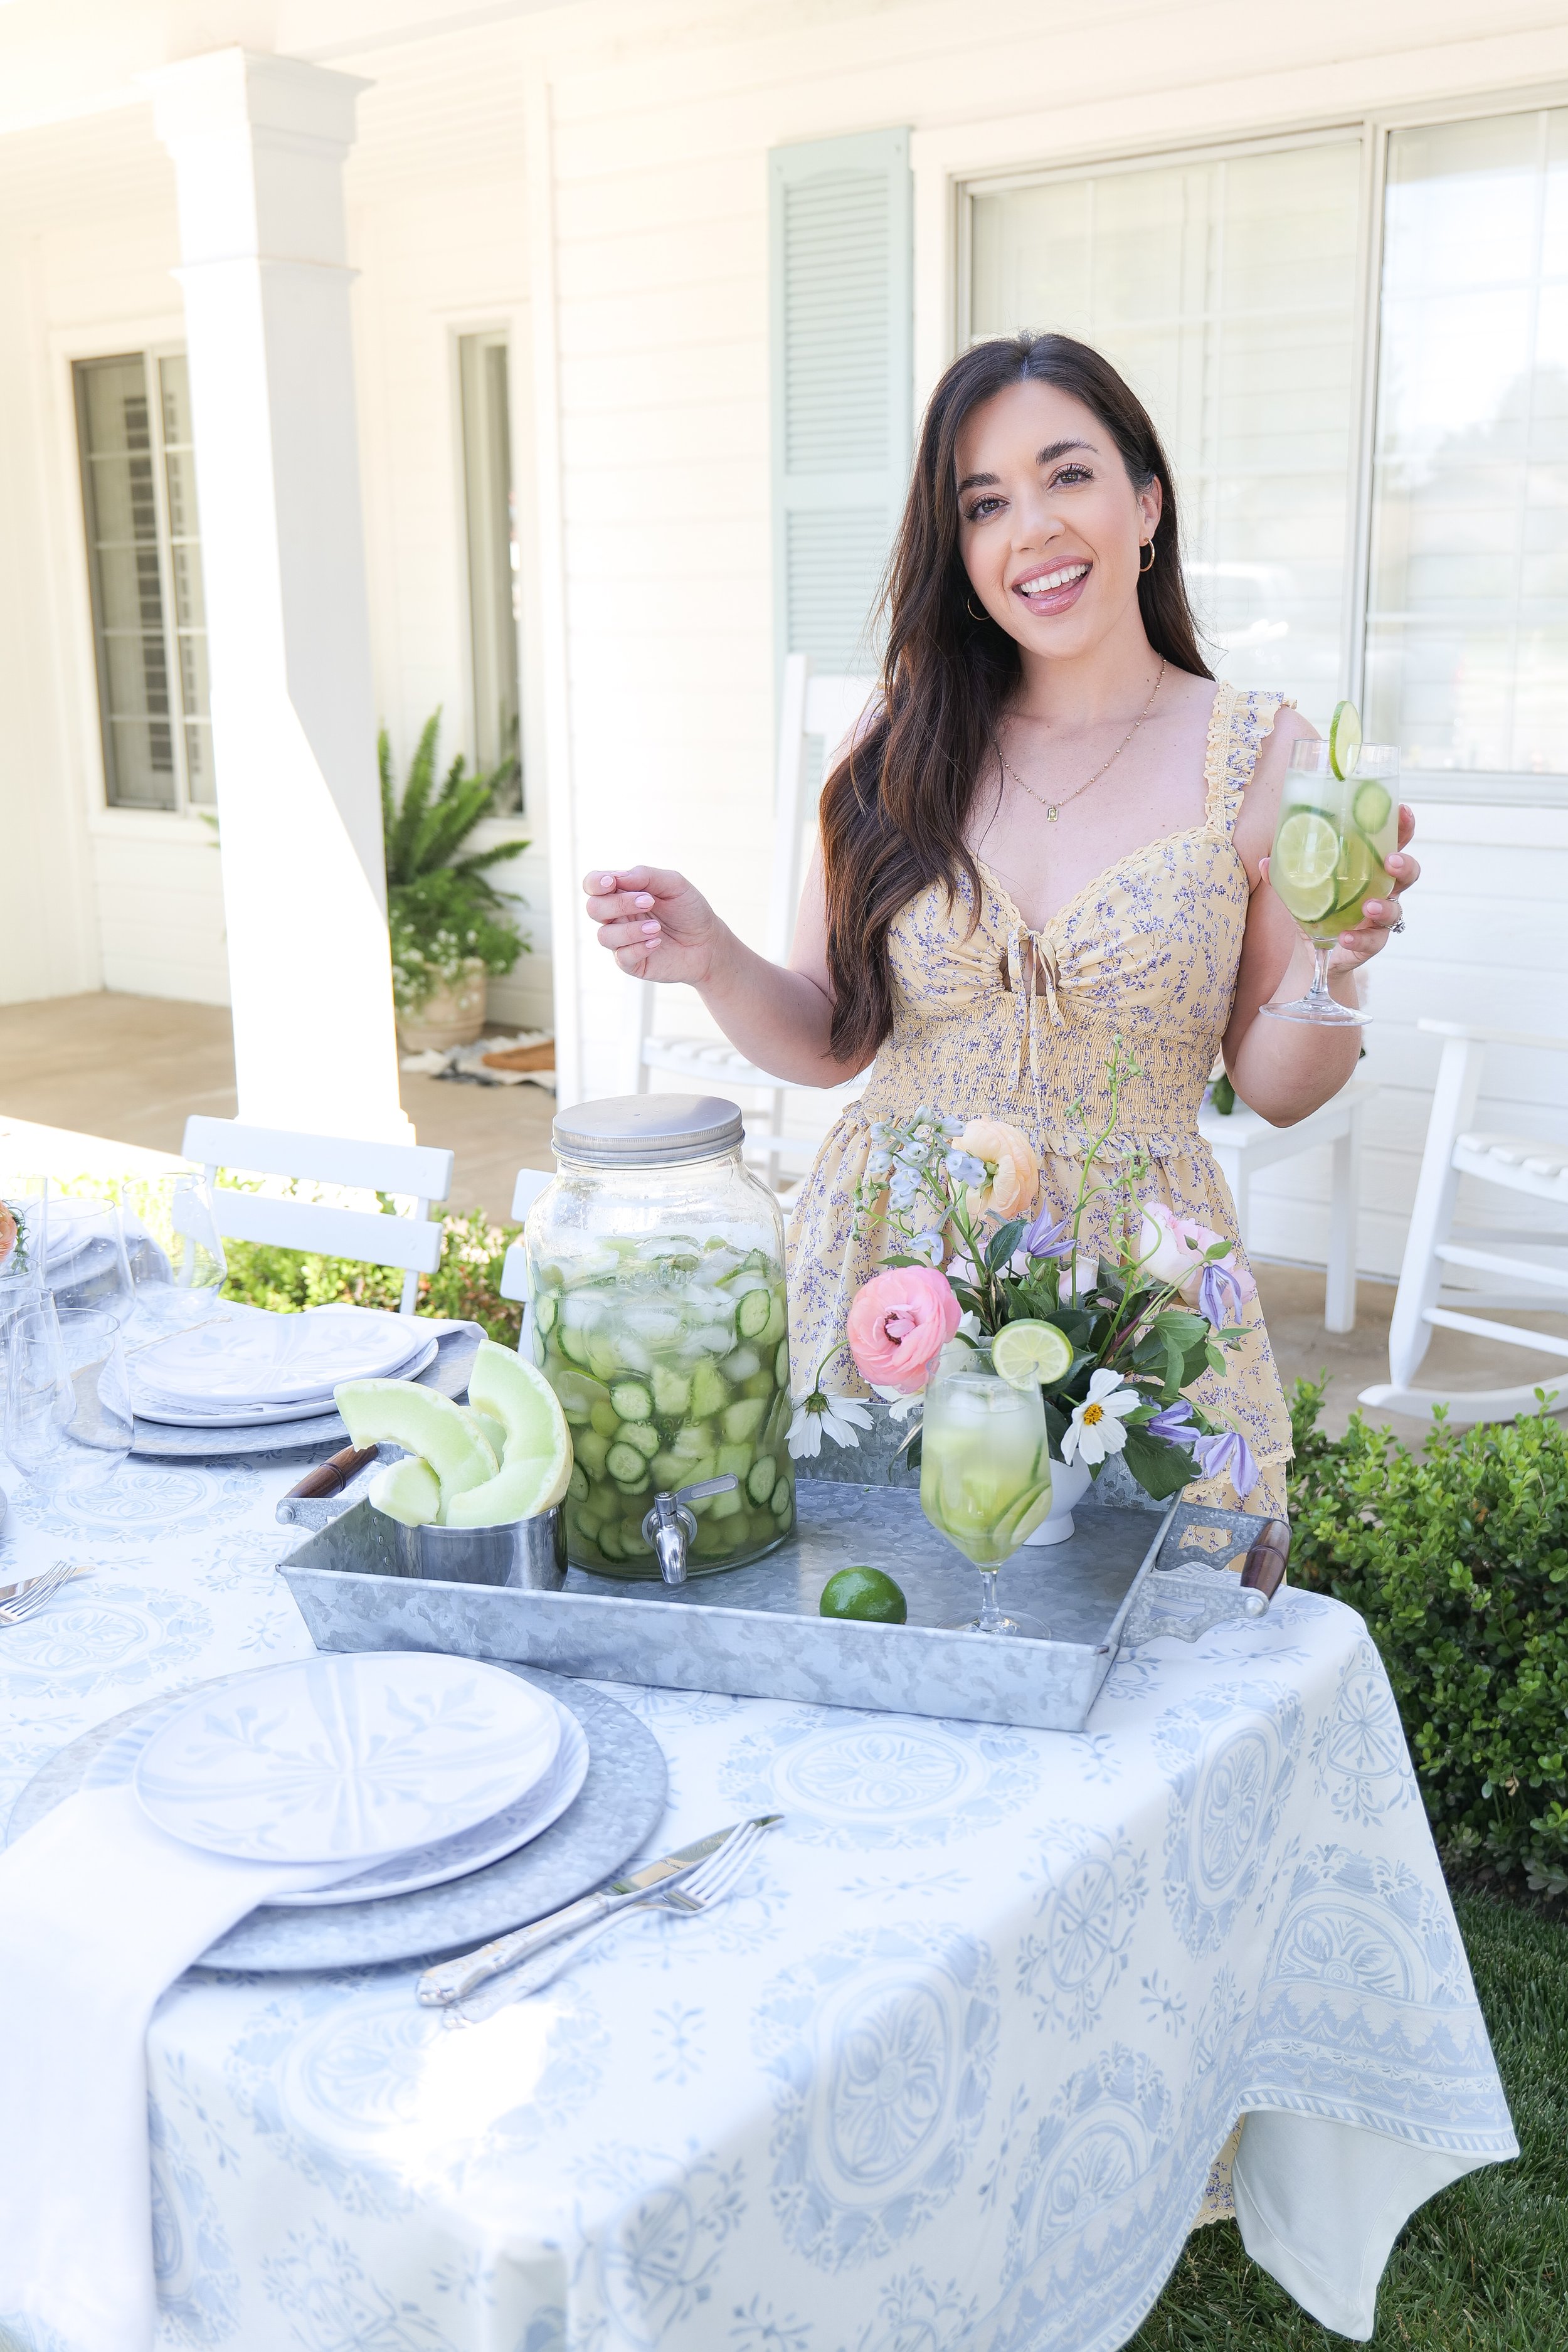
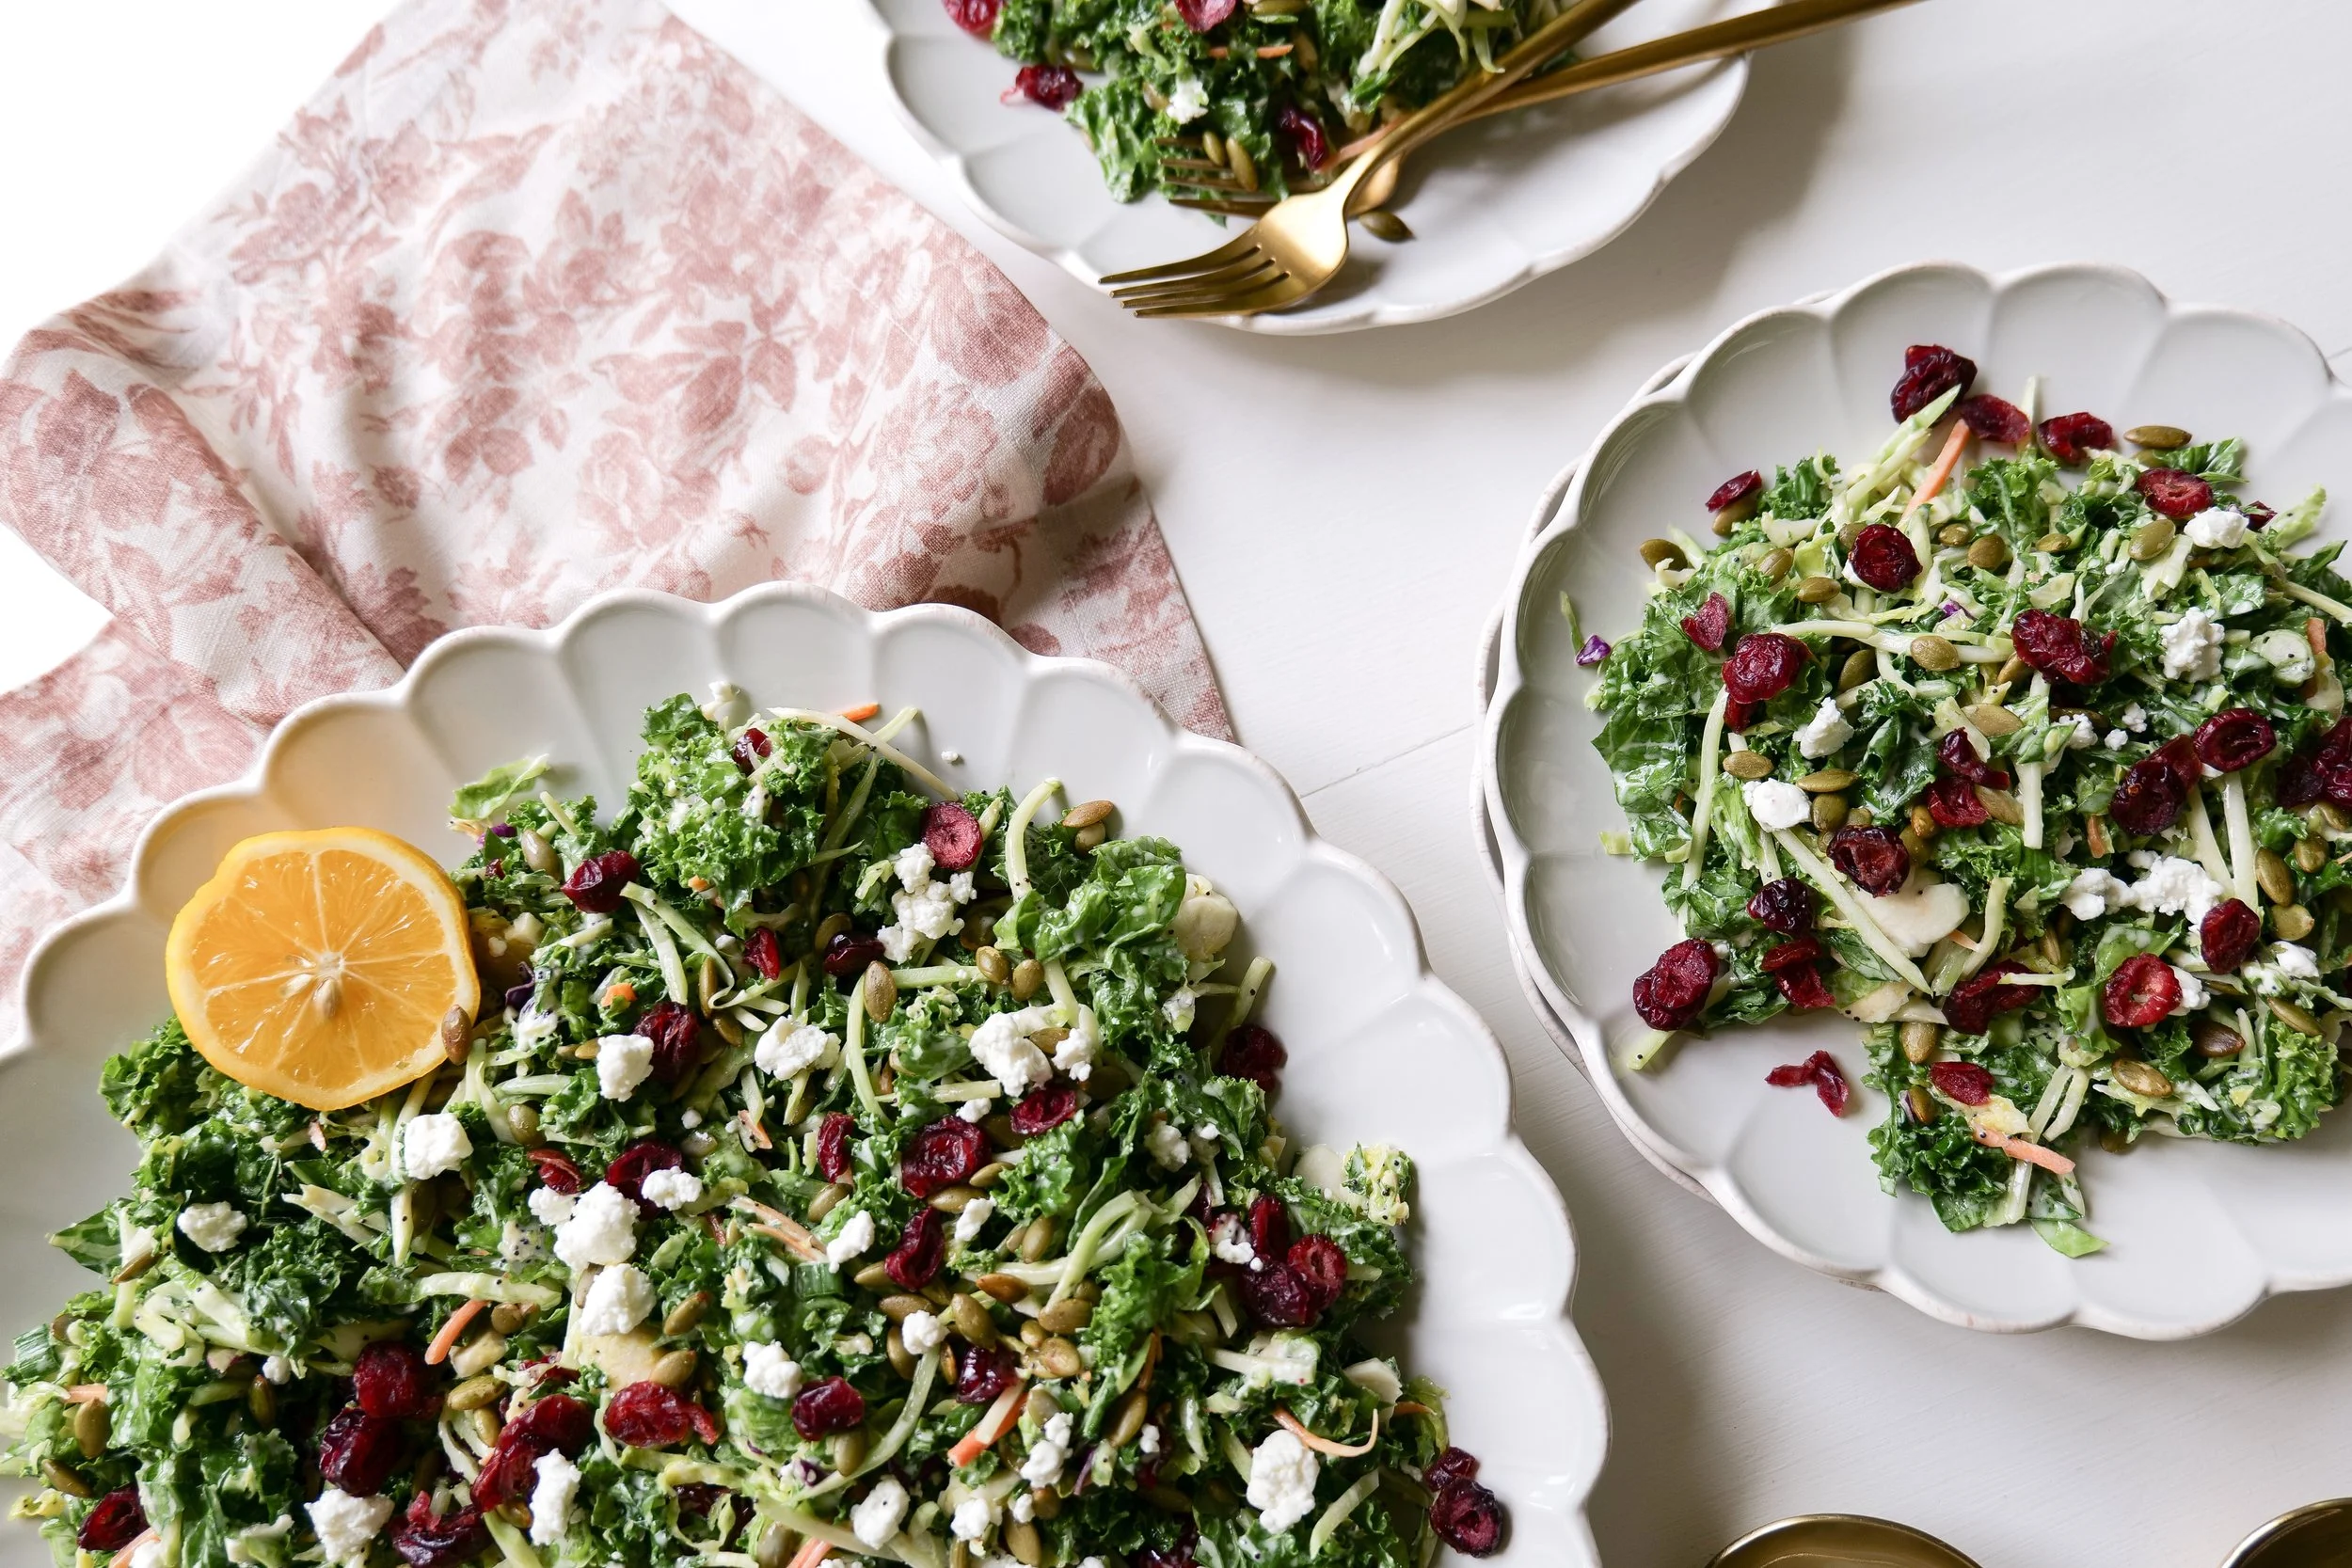
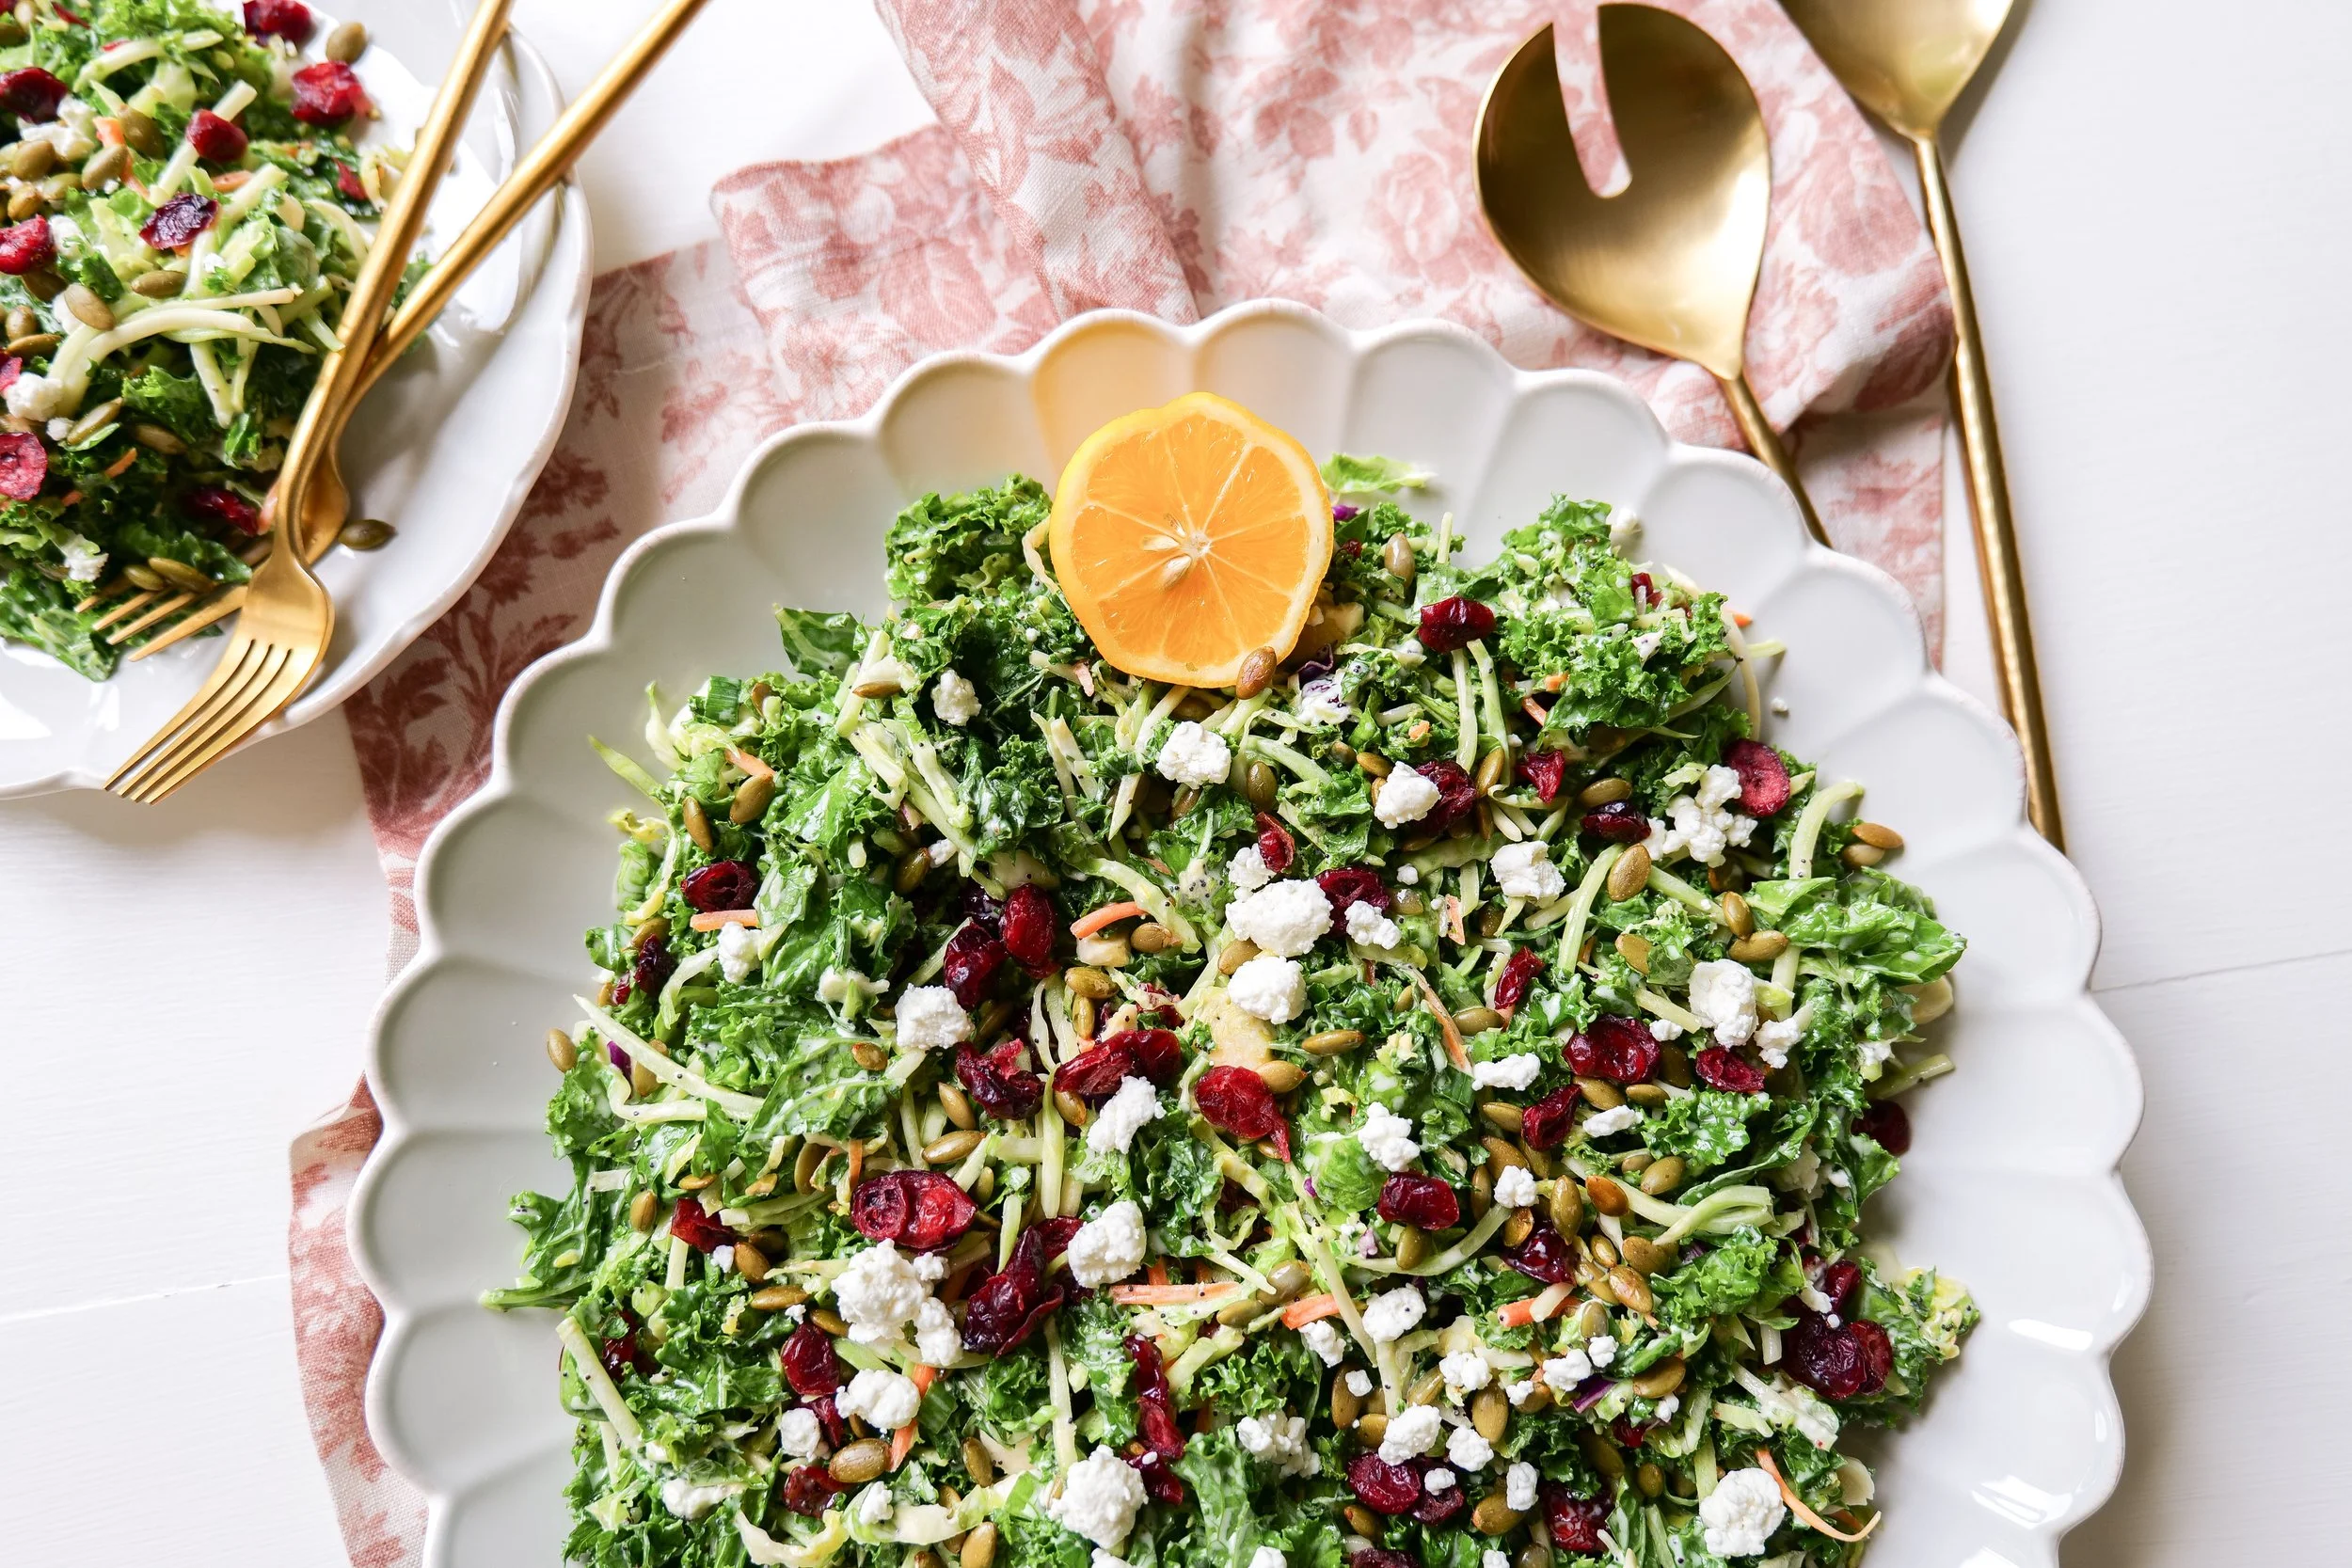
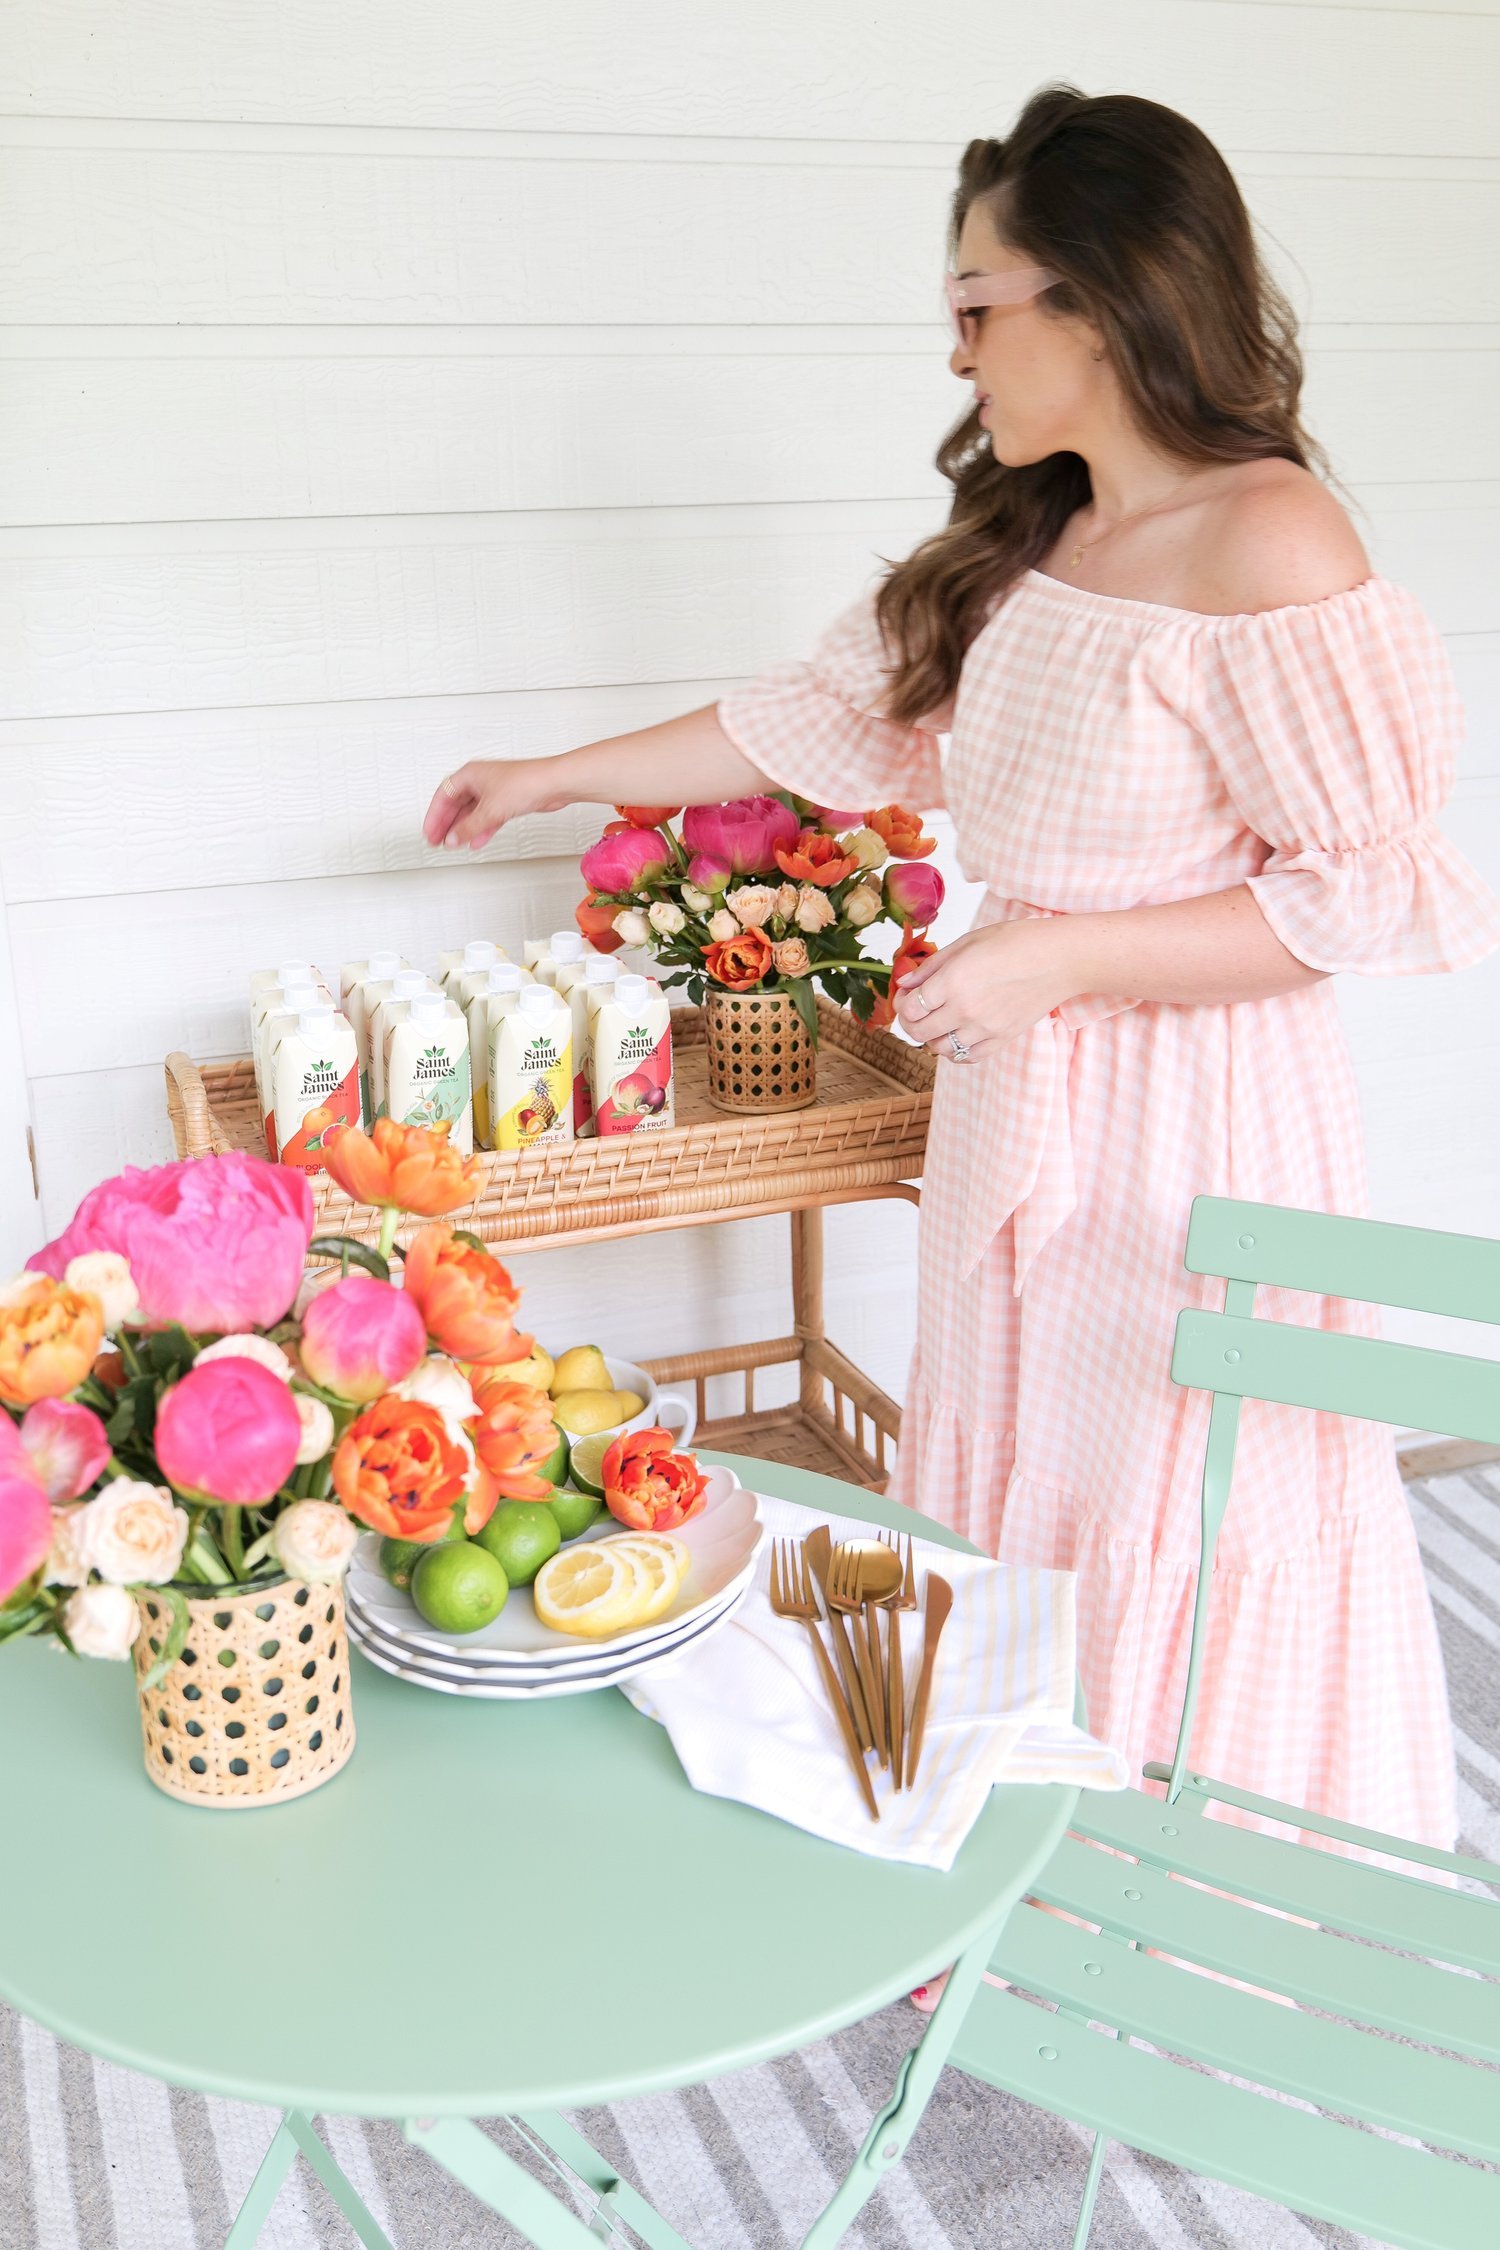
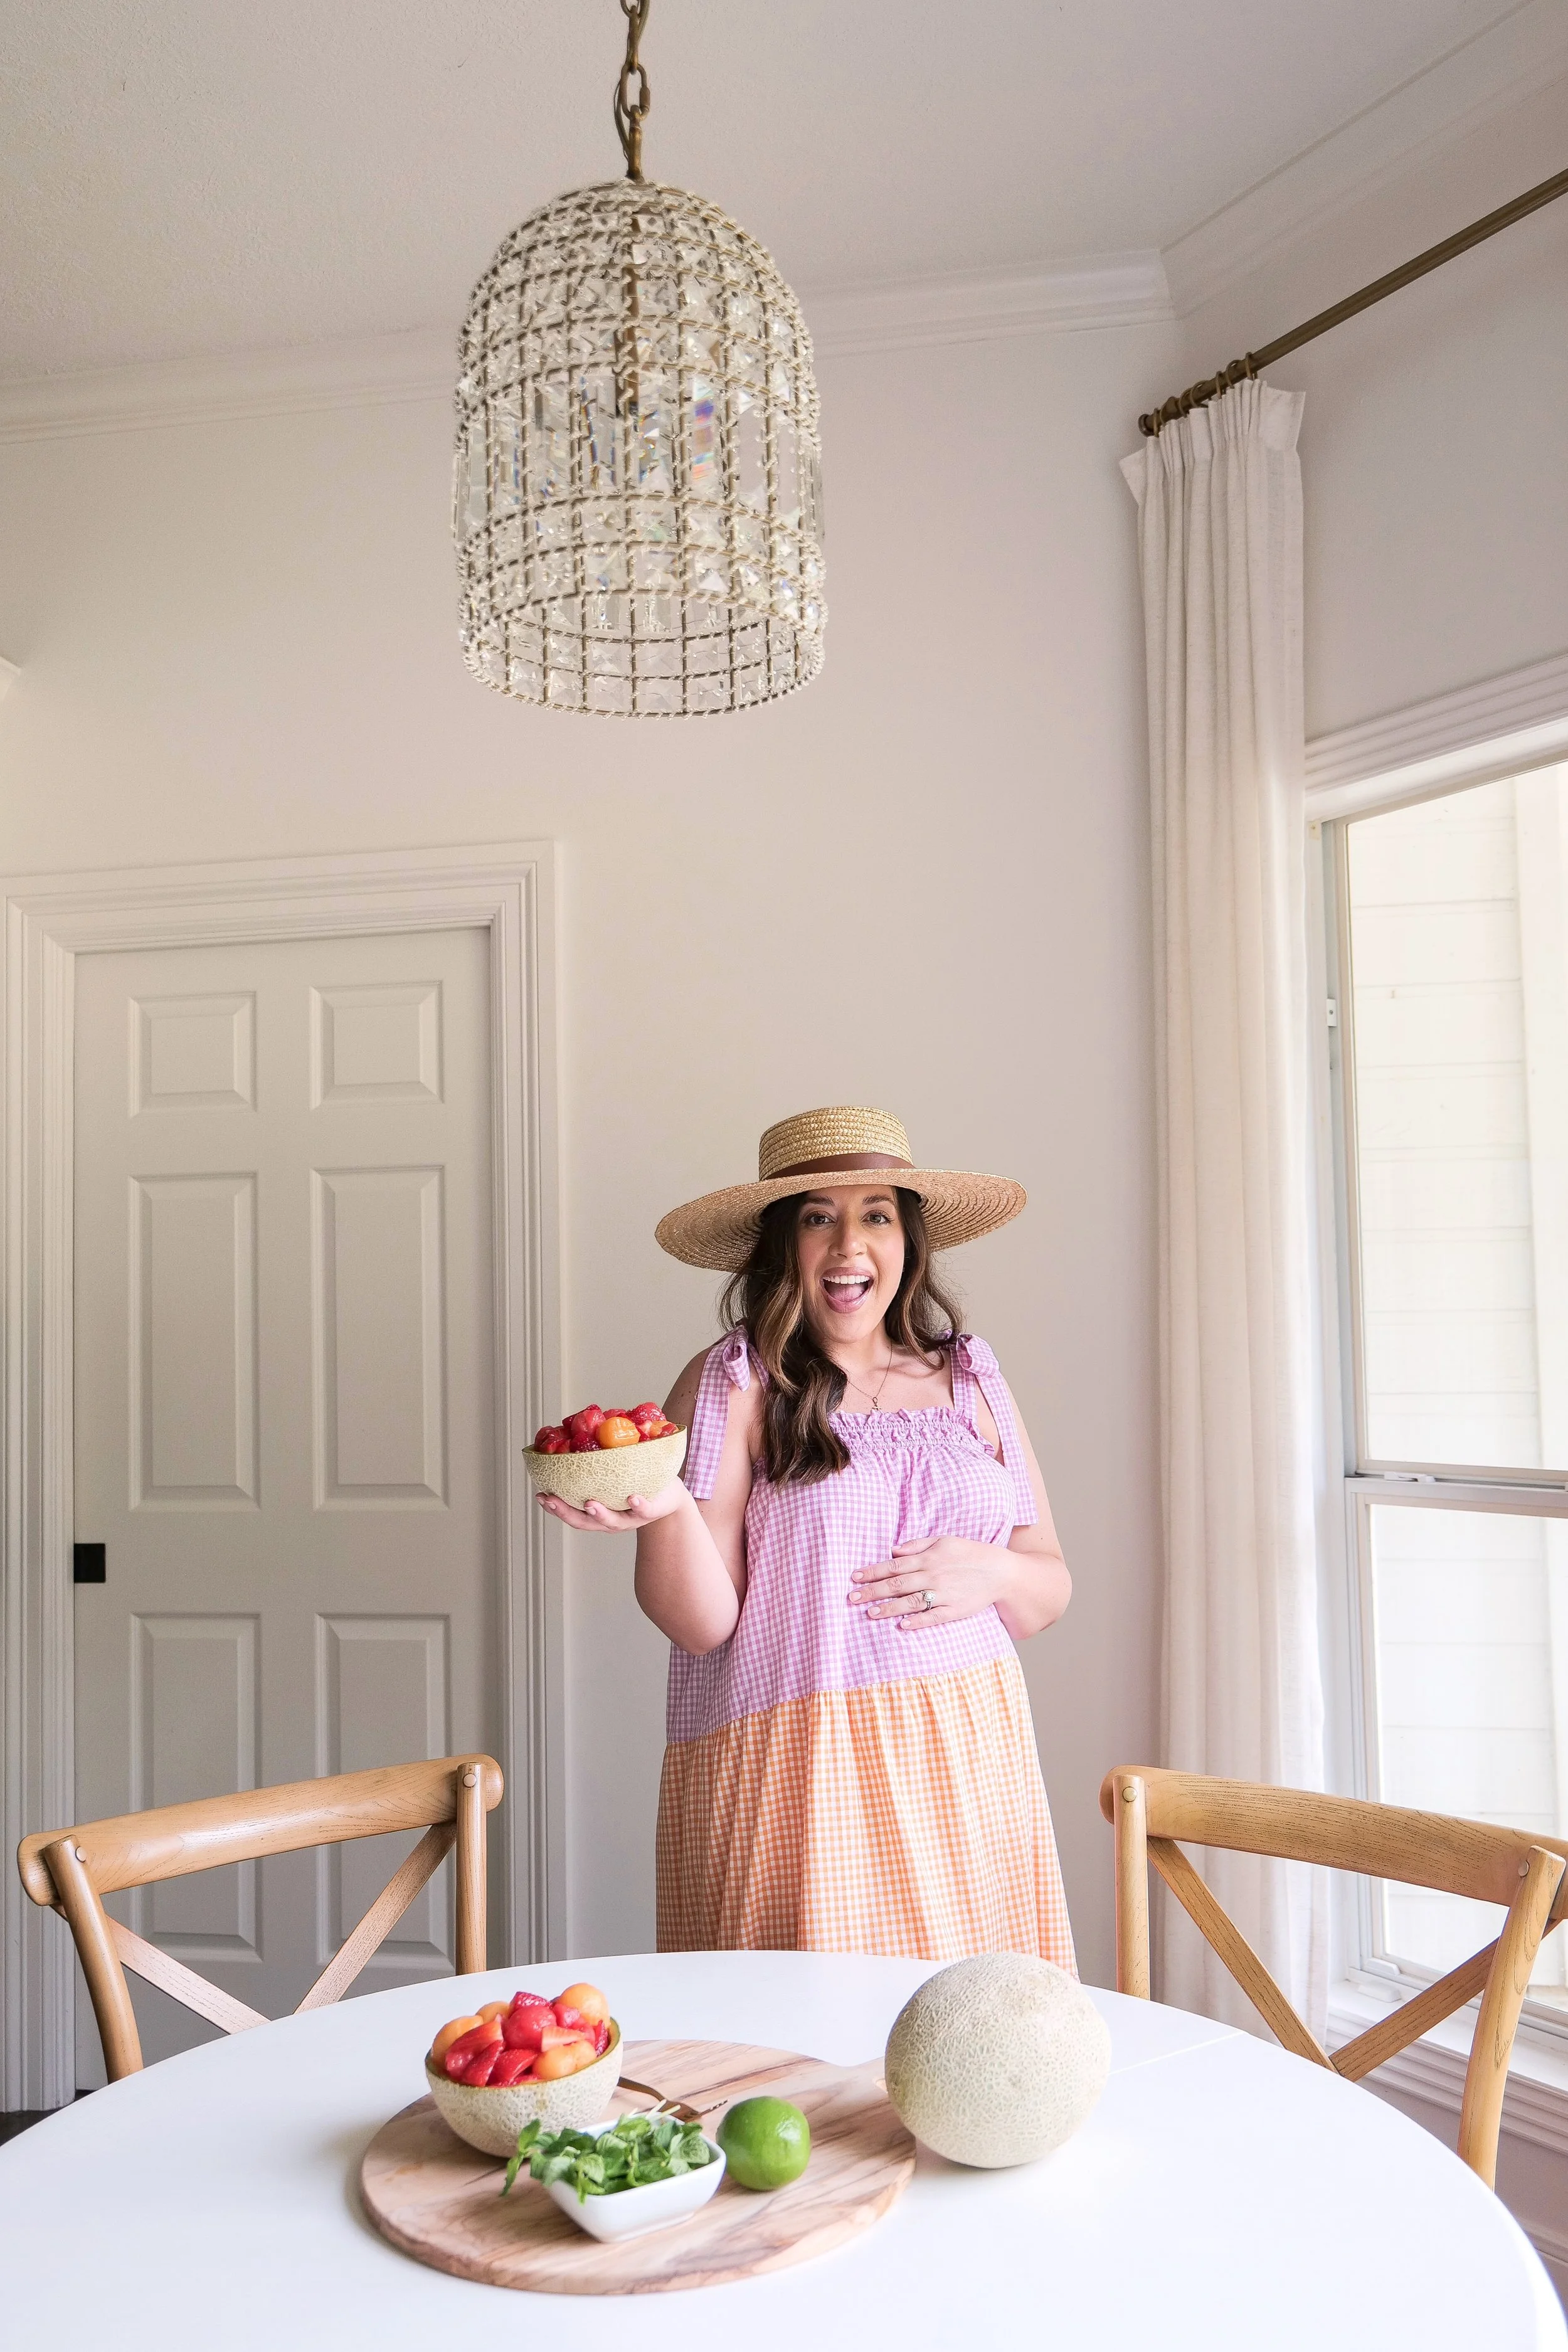
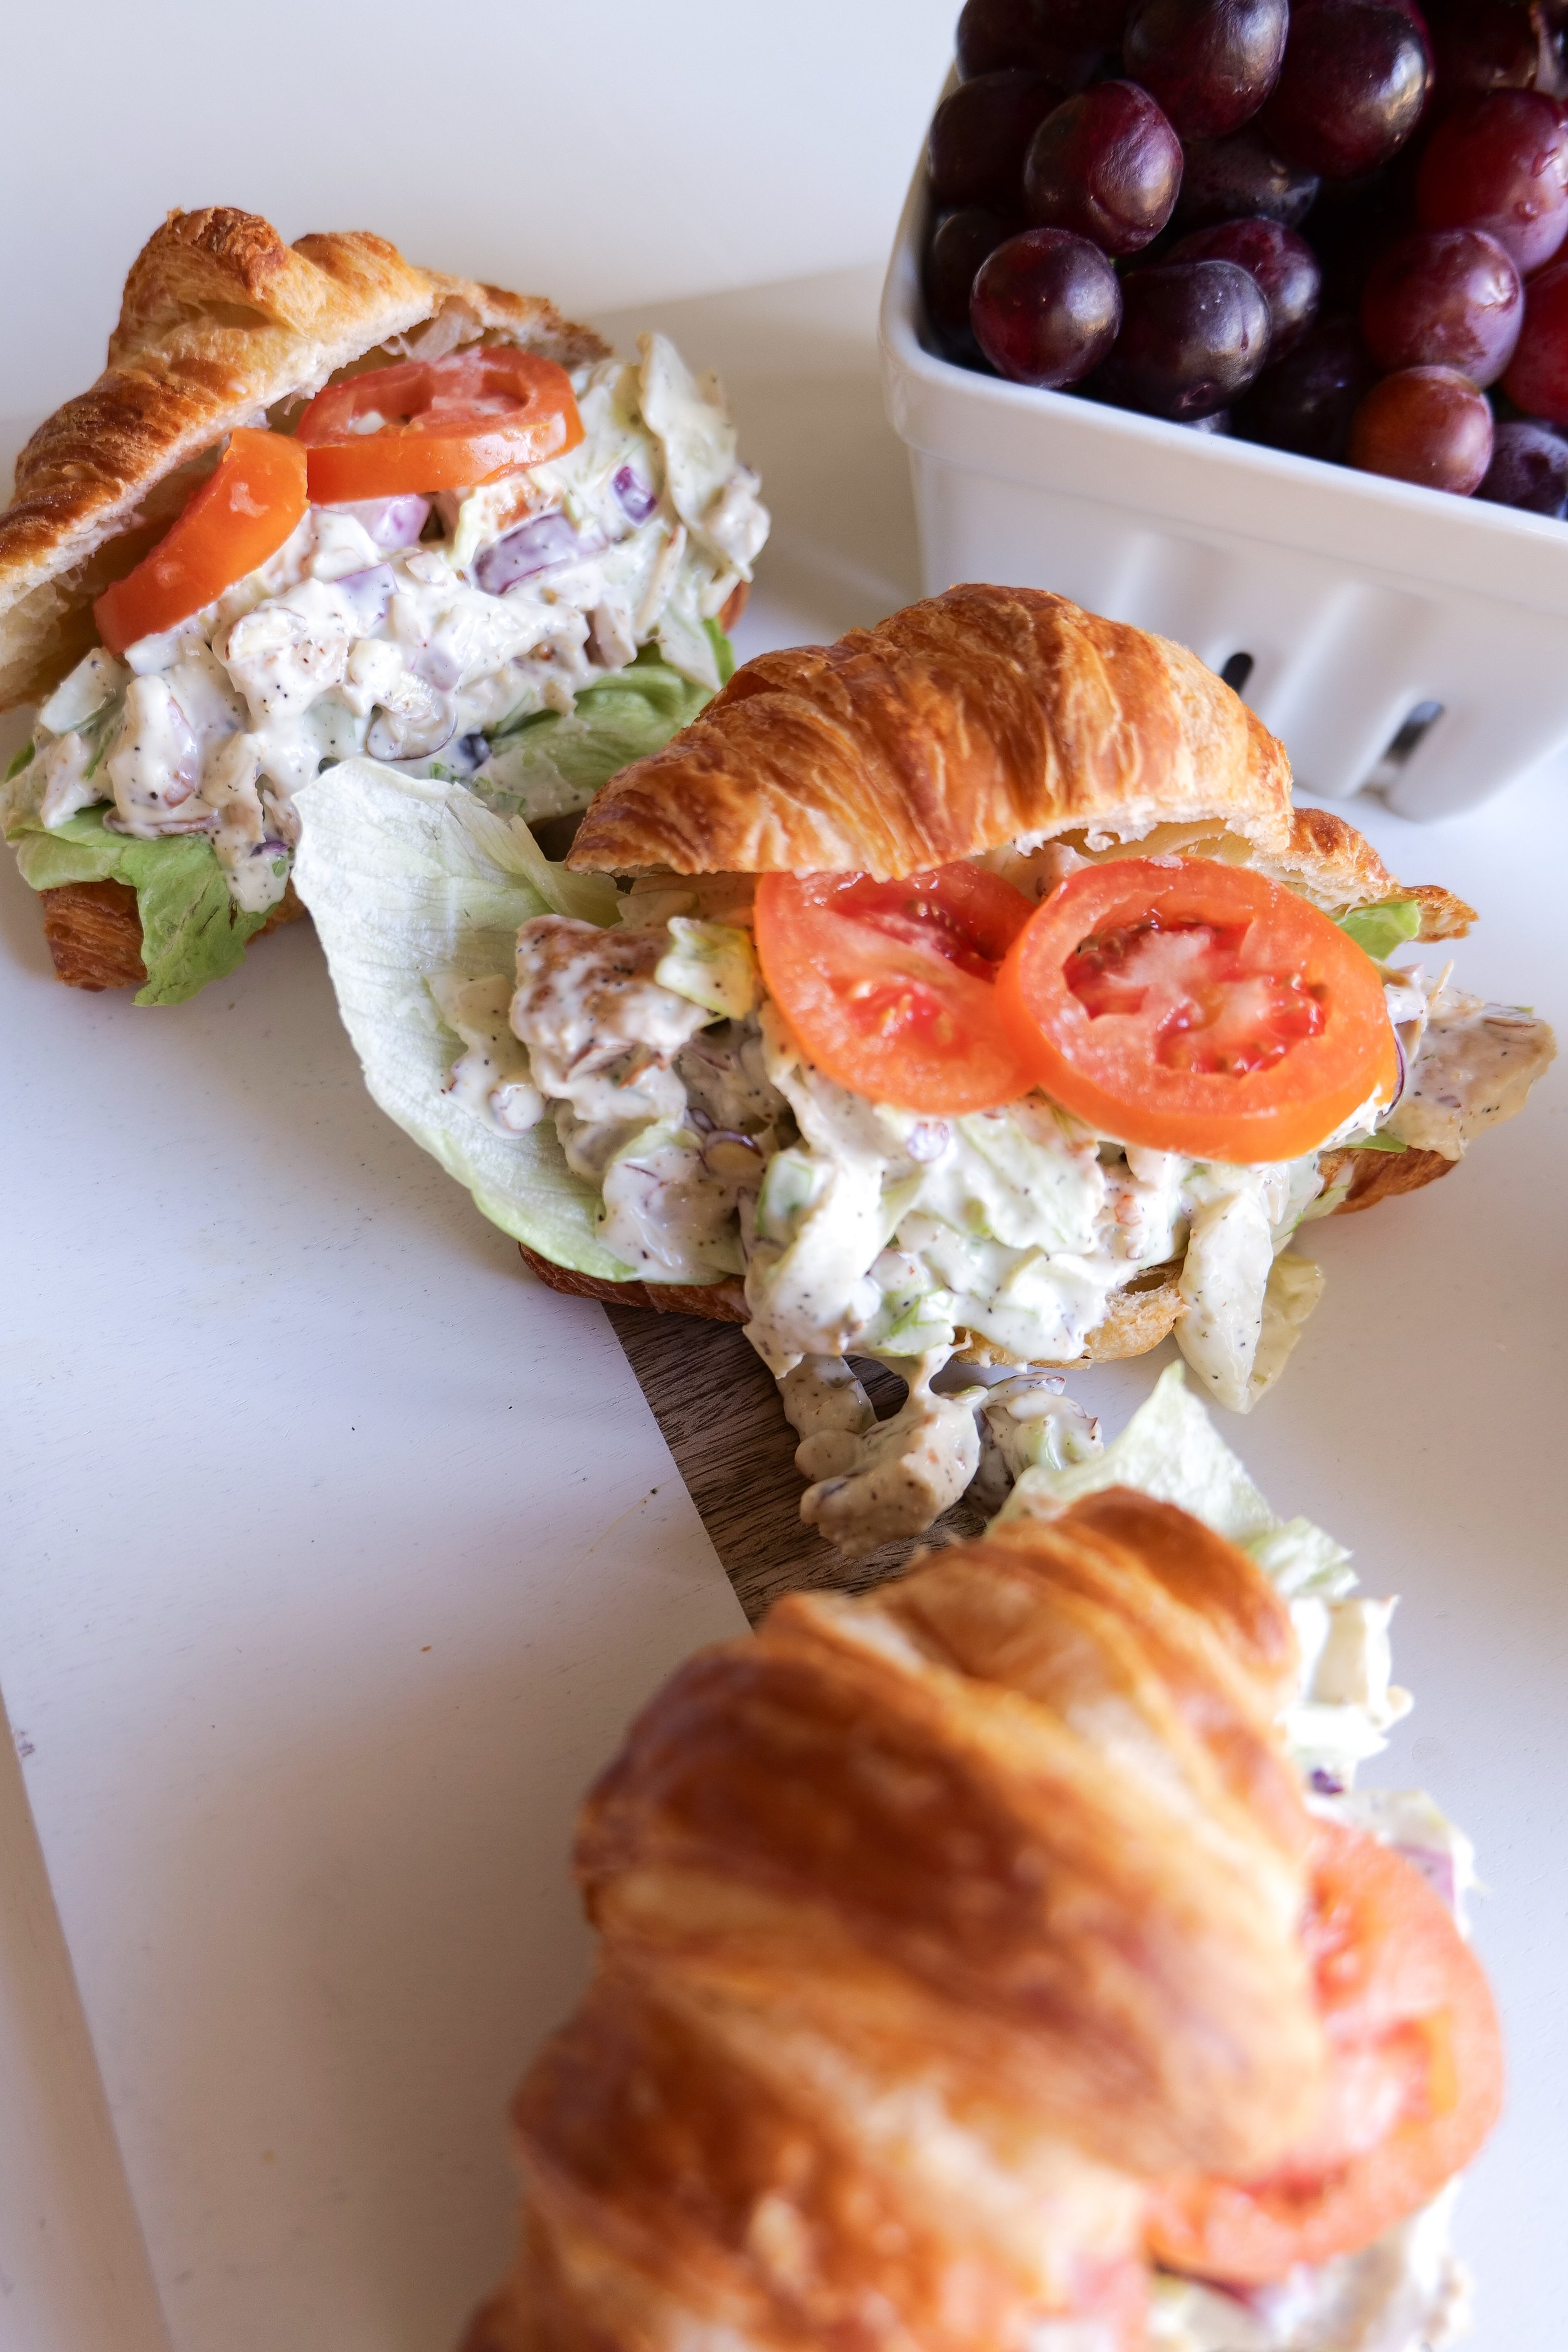
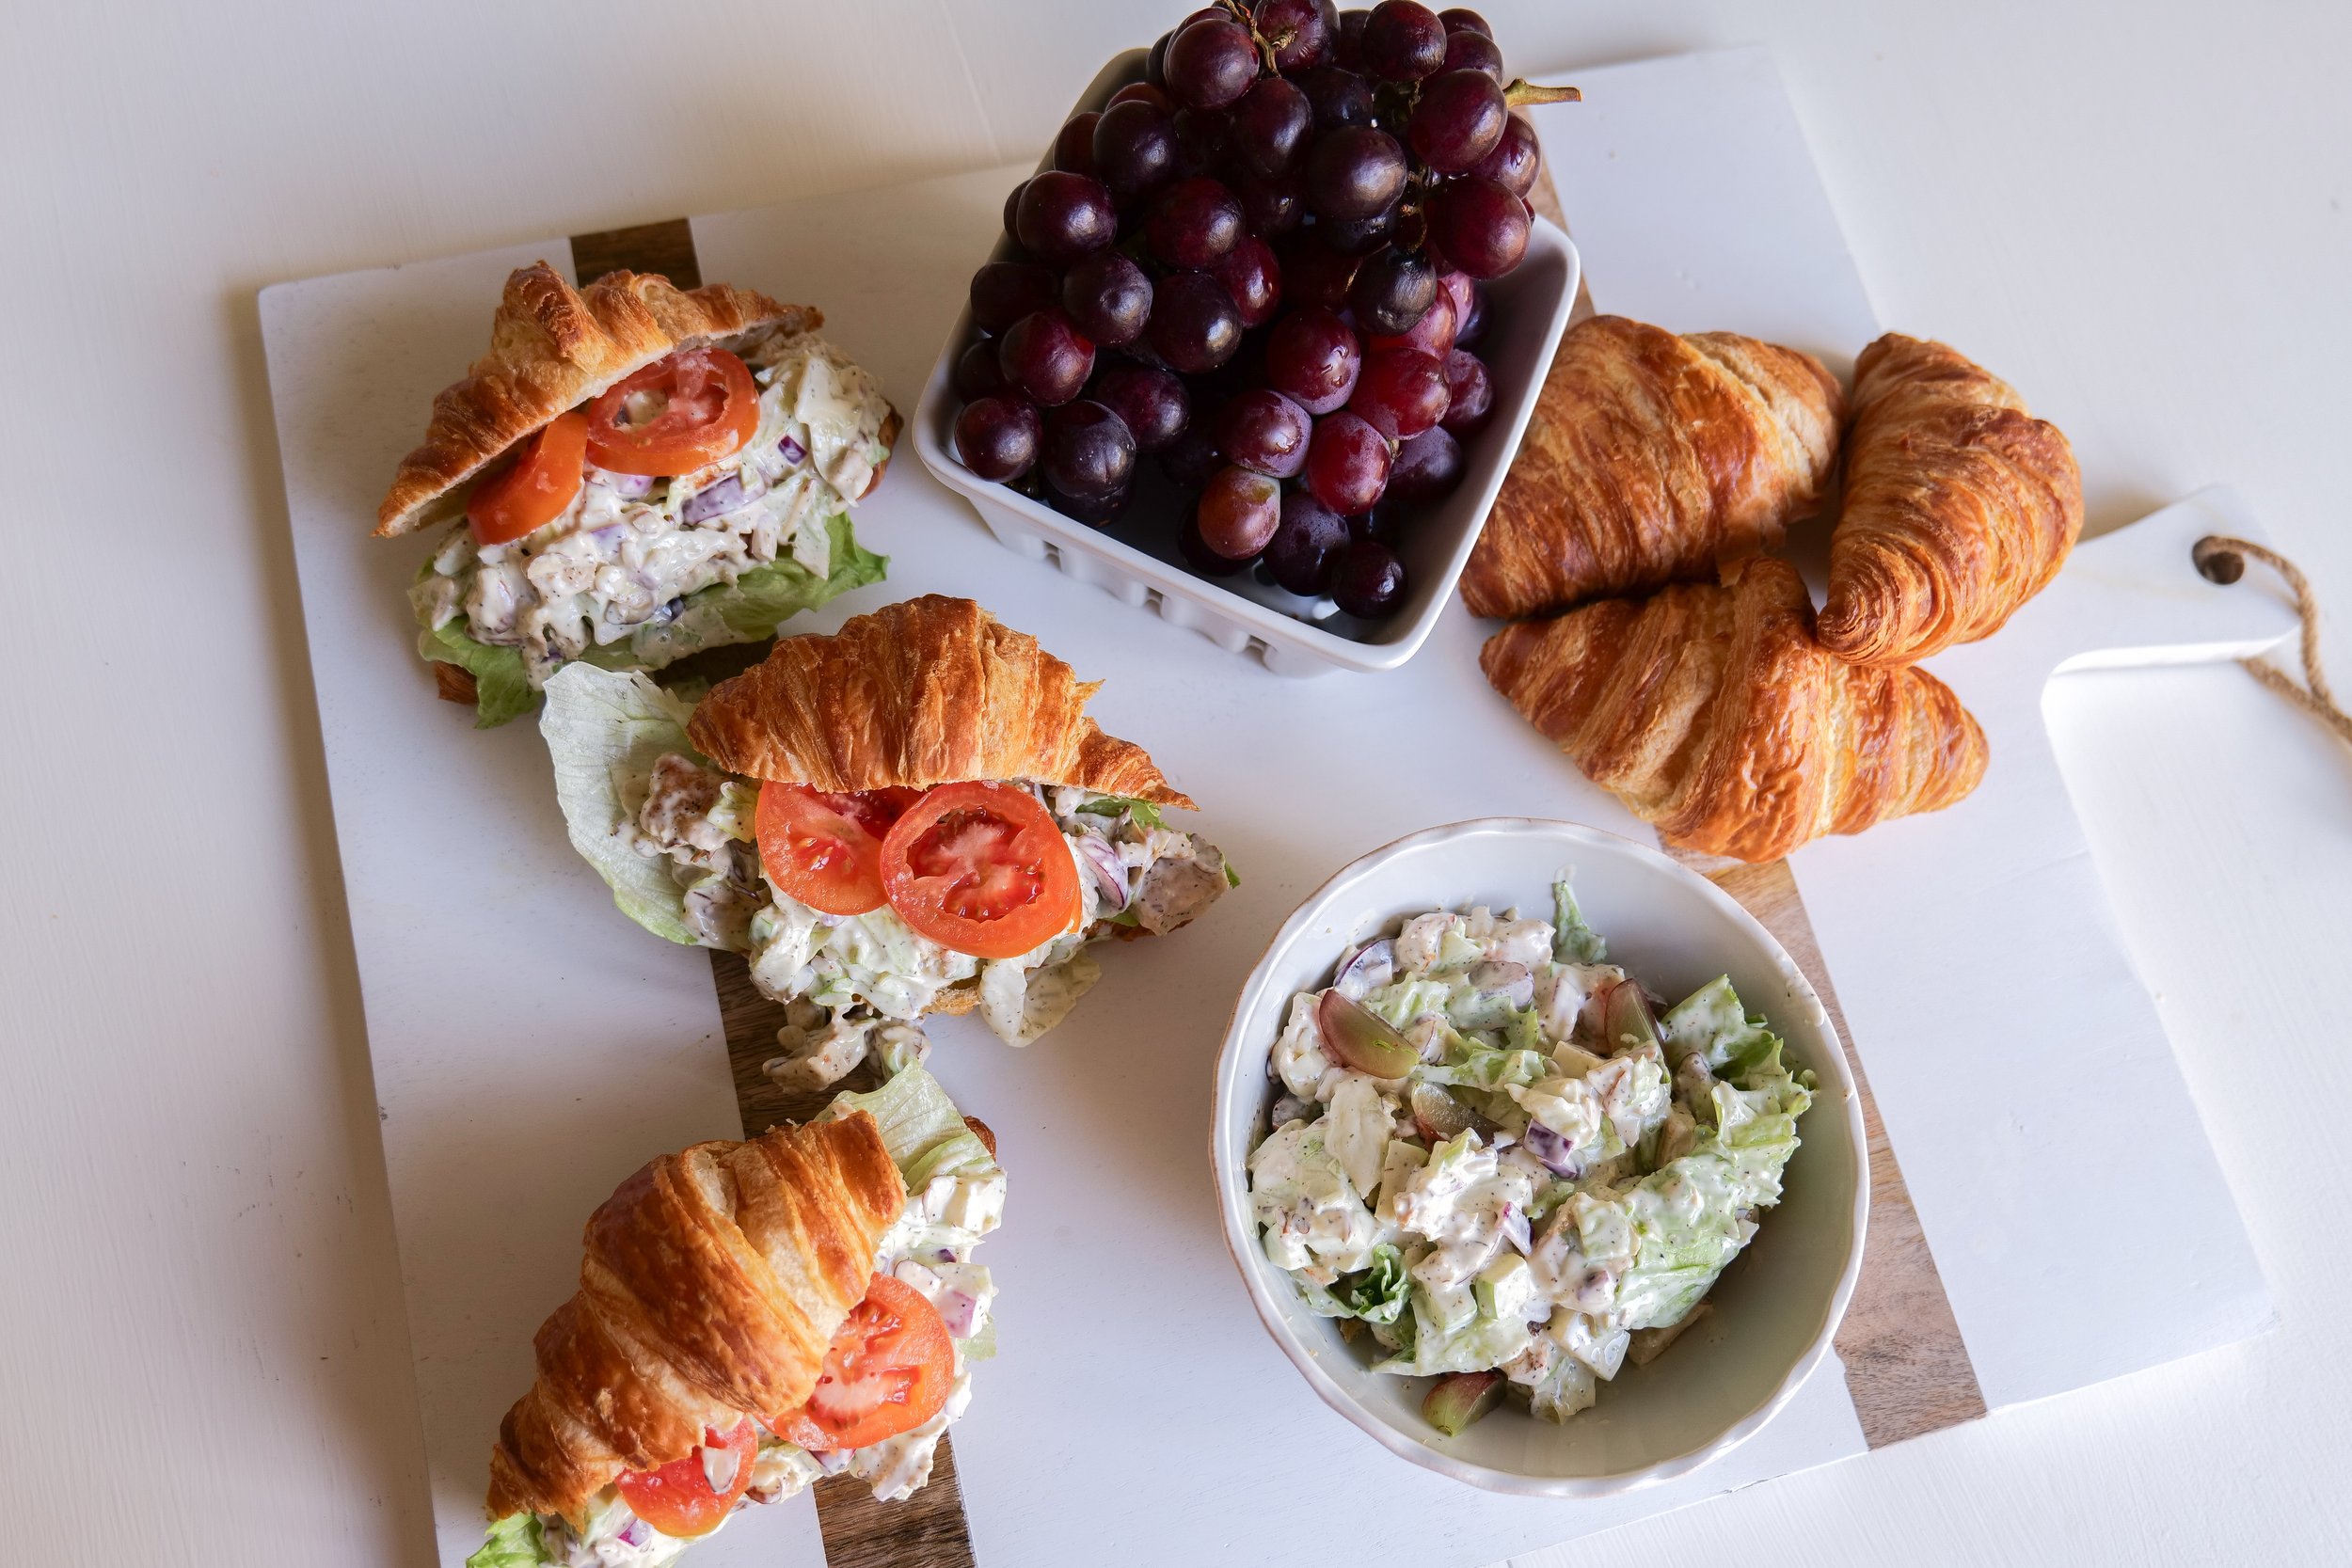
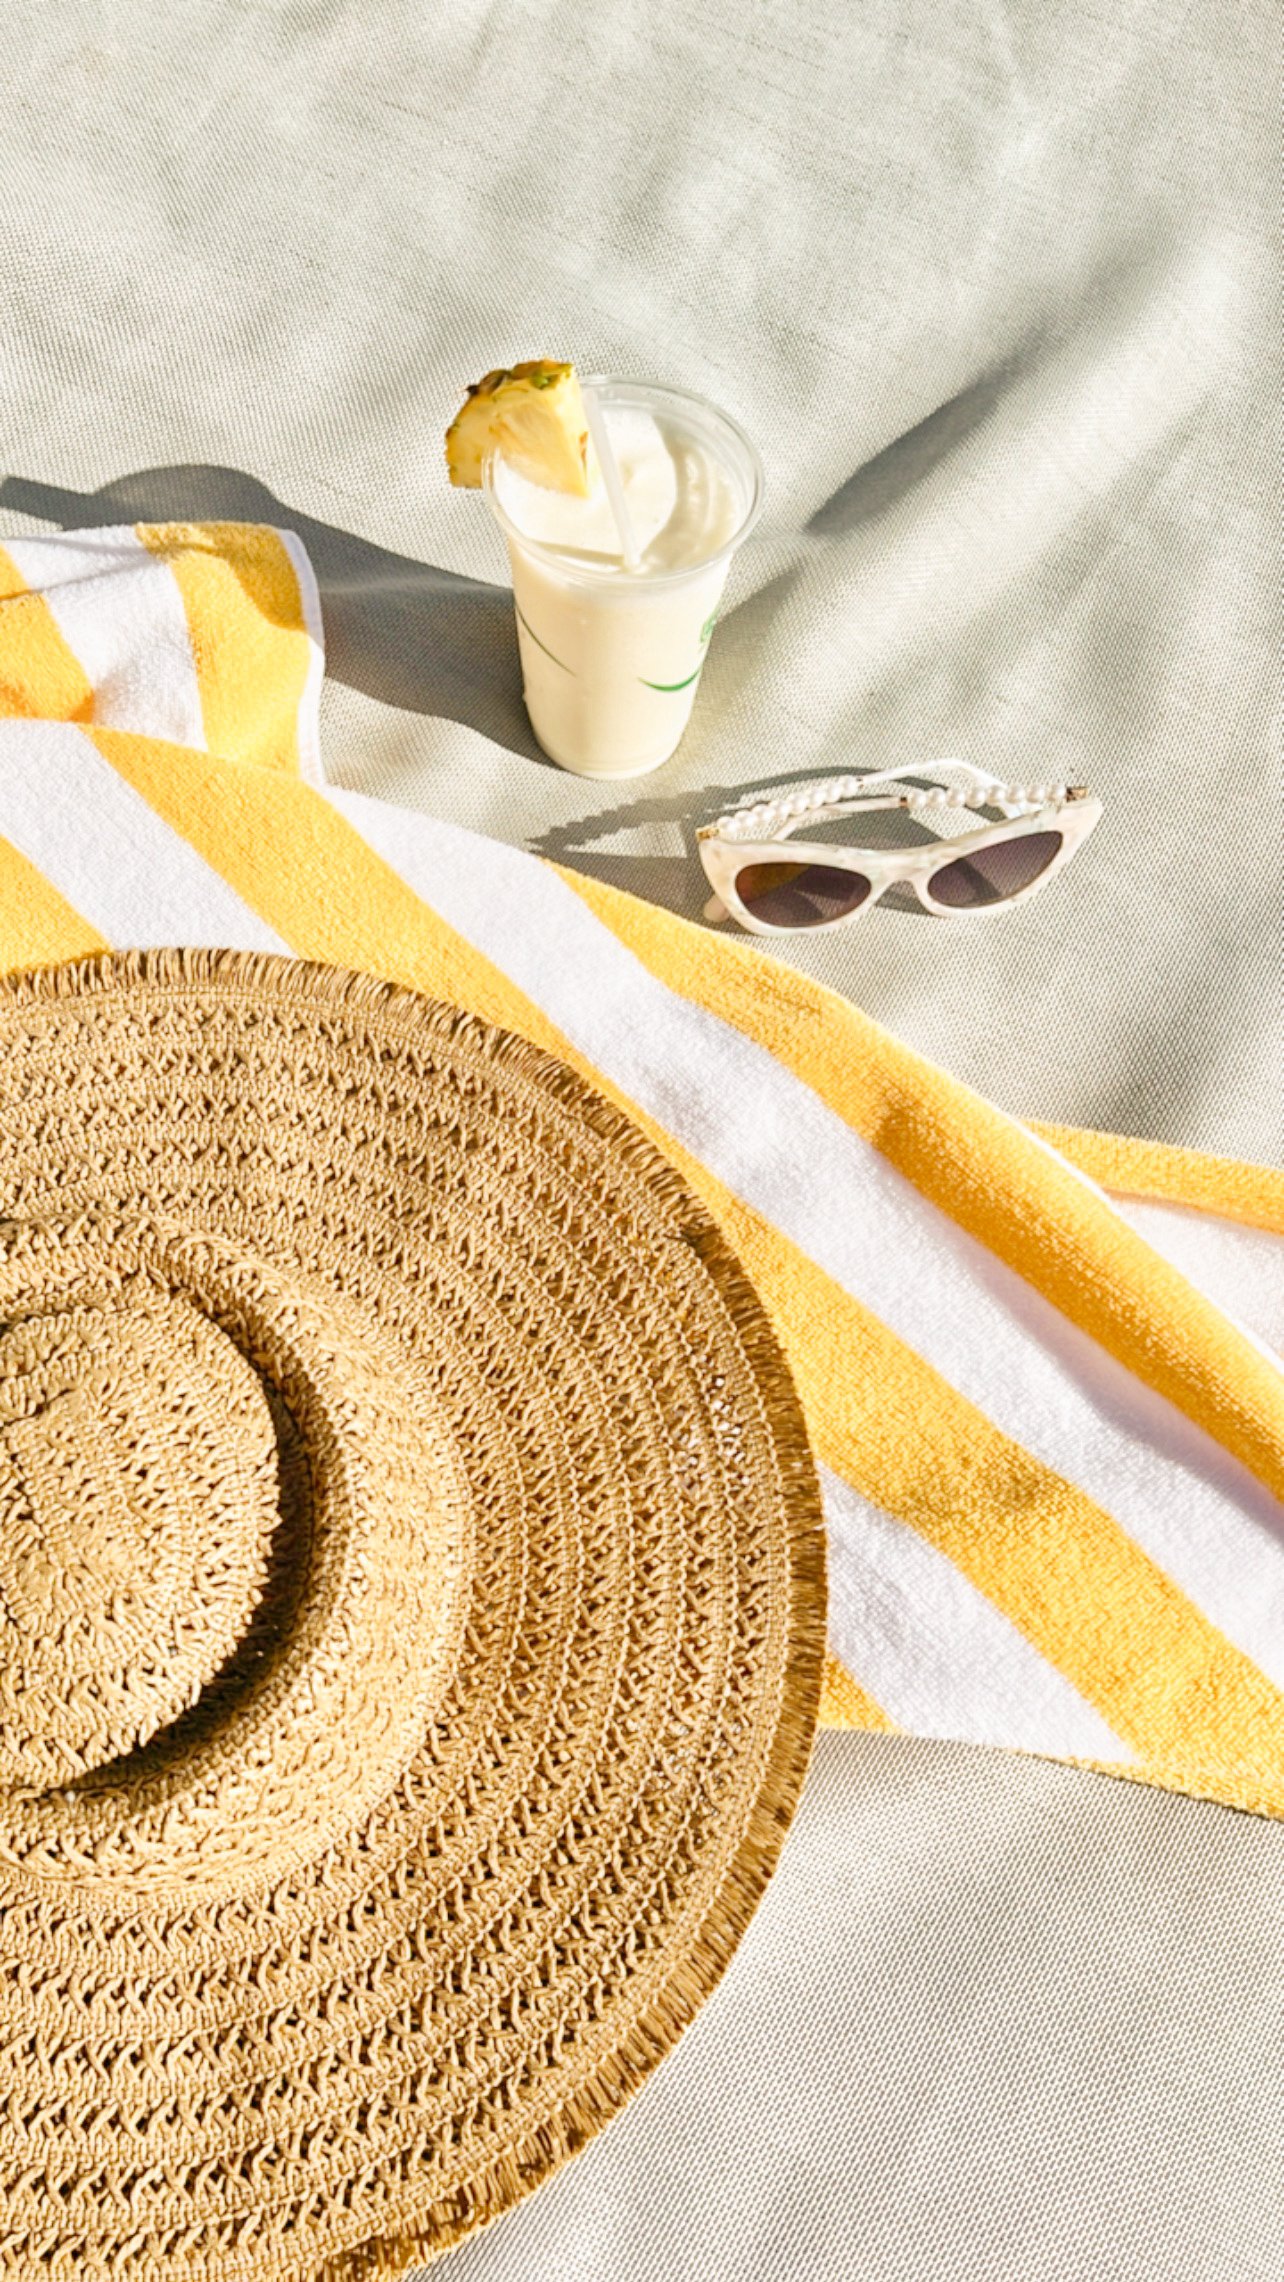
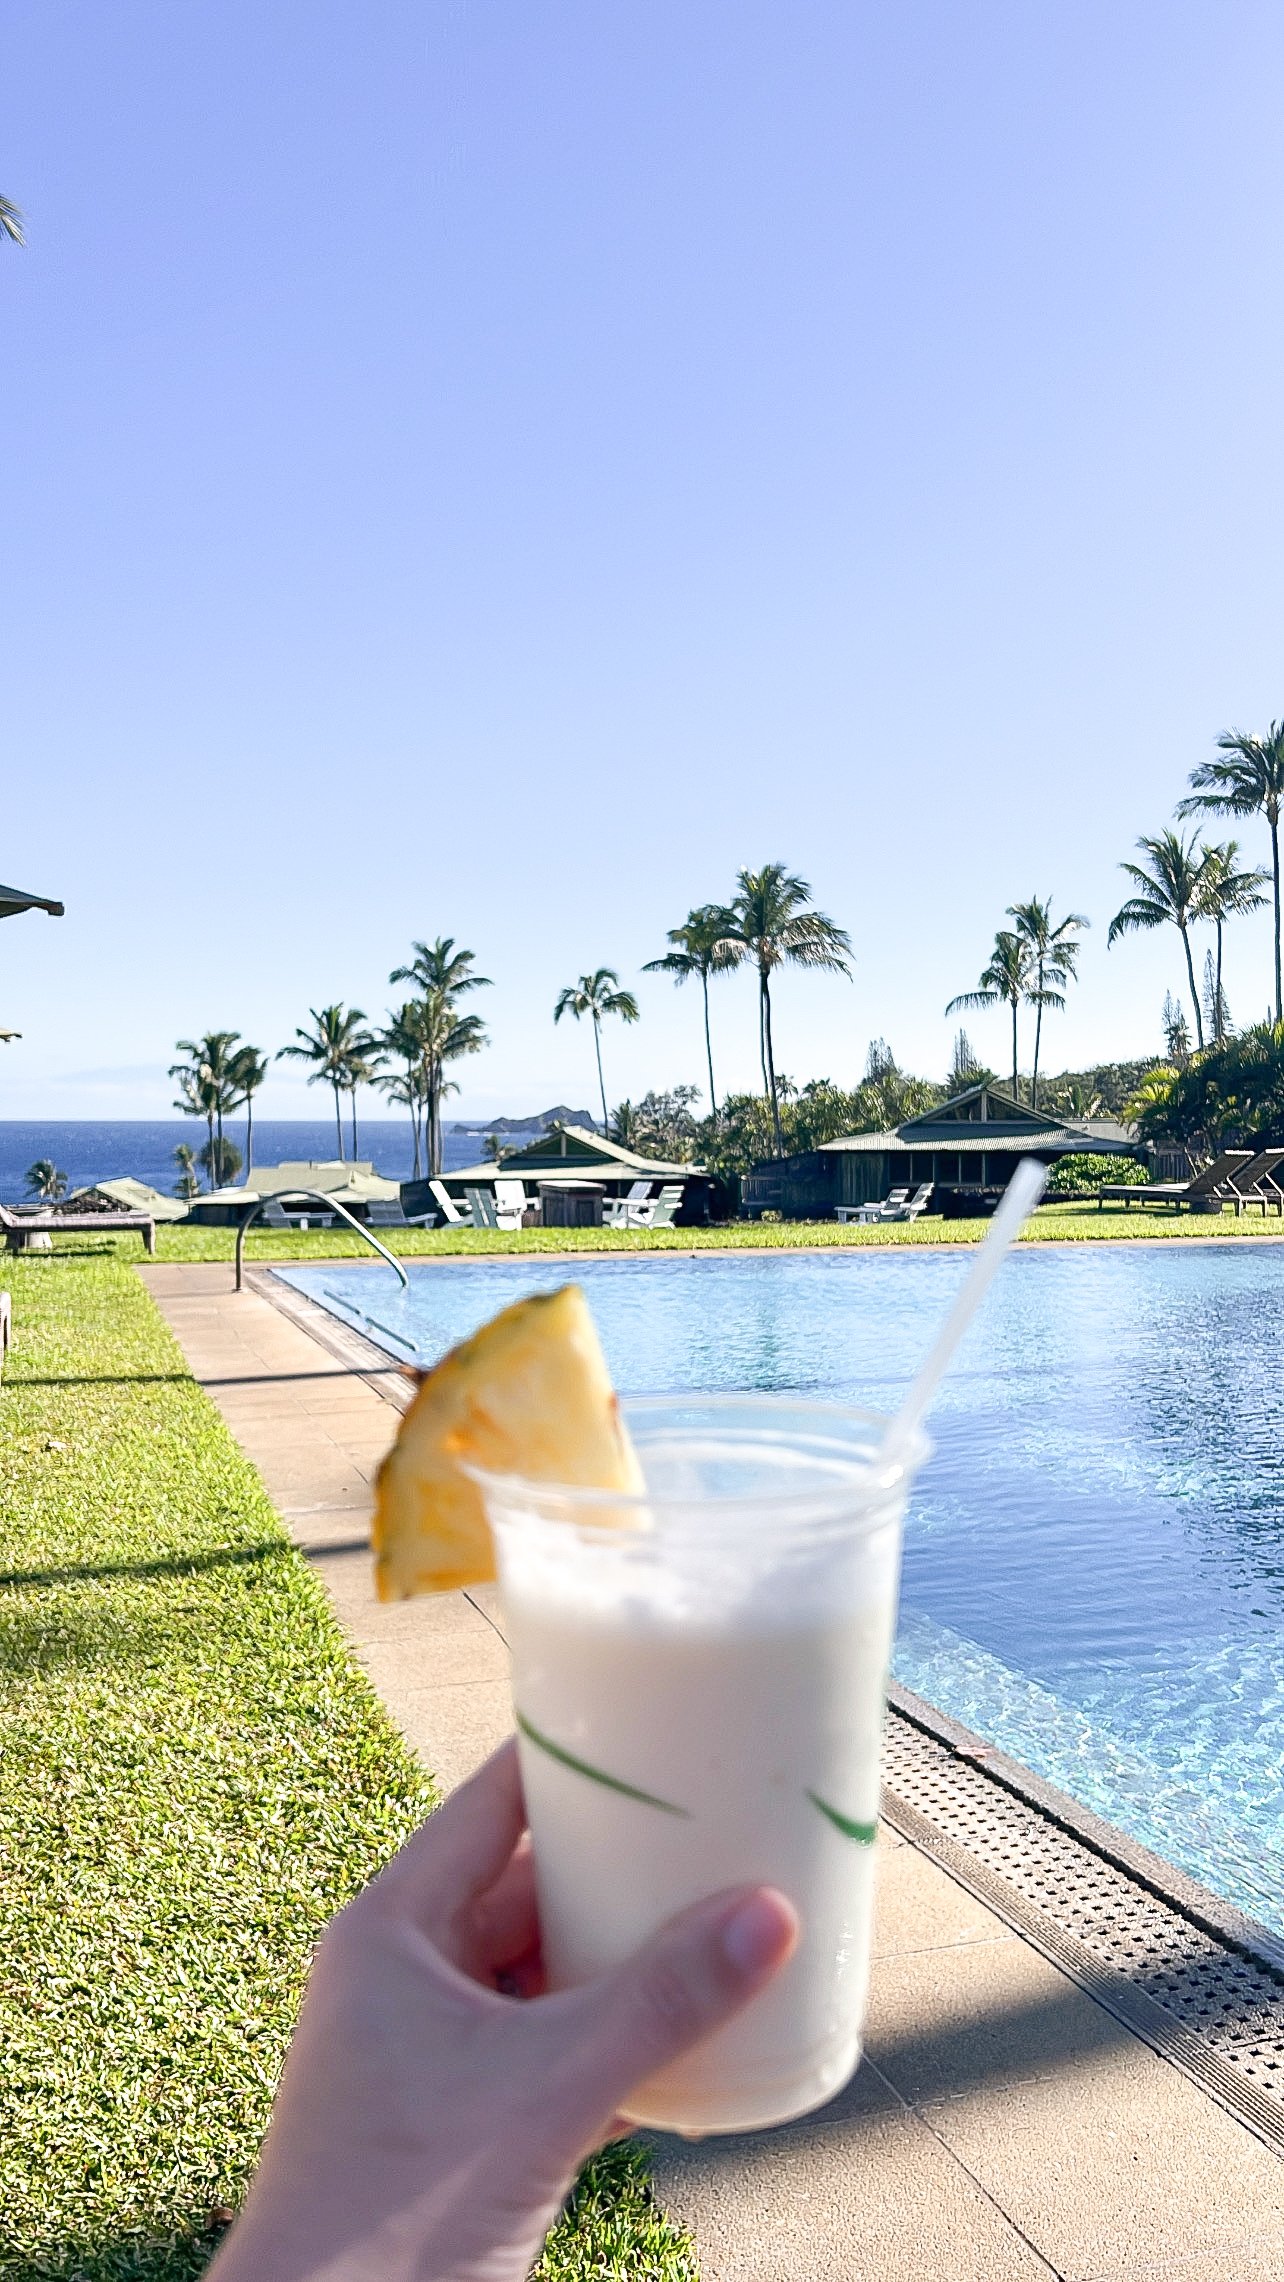
Kickstarting a sunlit gathering or cooling down beside the pool becomes a palatable pleasure with the large pitcher melon & cucumber sangria. This sangria is a refreshing fusion of ripe melon and crisp cucumber, conjuring a flavor that embodies the essence of summer. It's a breeze to whip up in a large pitcher, and this sangria can be your go-to for hosting a gathering or leisurely nursing the afternoon away. It strikes a delicate balance between sweet and tangy, with mint providing a zesty backdrop to the fruit medley.
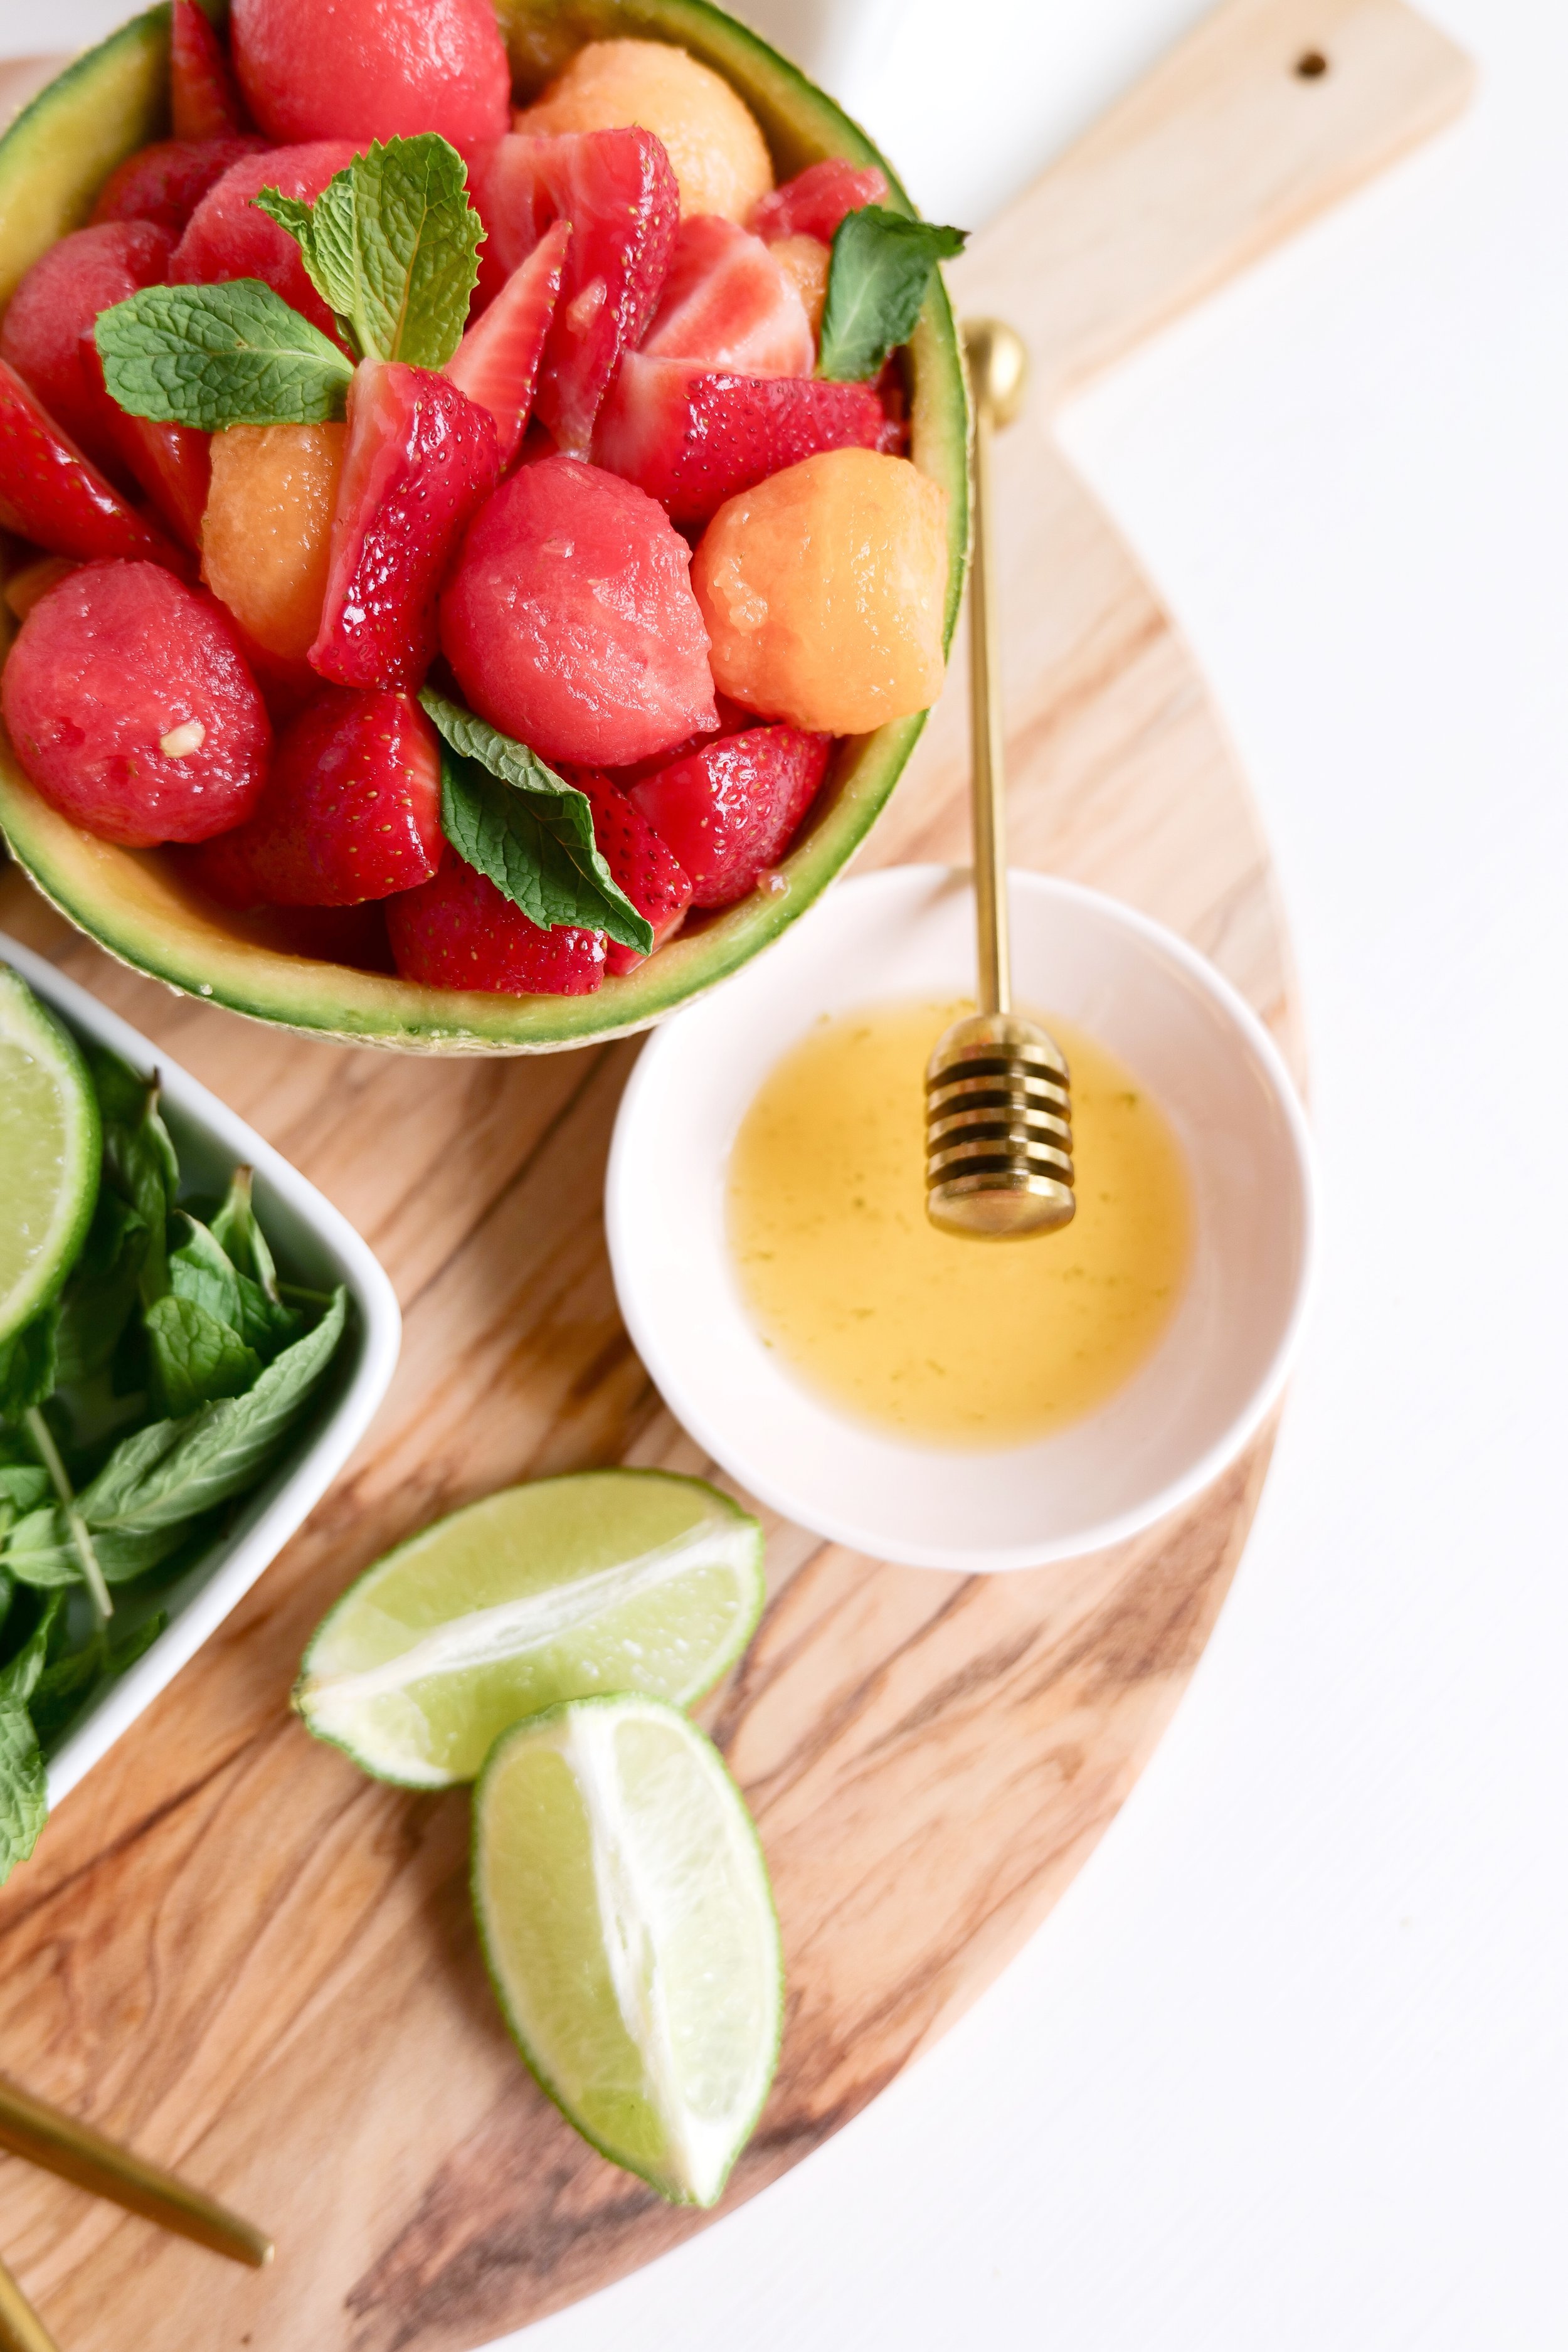
A pitcher of this sangria not only satisfies your taste buds but it's also a visual treat. Creative customization is at your fingertips, with an option to incorporate white wine or swap in sparkling water for a non-alcoholic variant. Even sparkling wine or champagne to increase the celebration with bubbles can be fun! This colorful drink promises social media appeal, thanks to its picturesque ensemble that teases both the palate and the eyes. Feel free to change out the fruits to what is in season and on hand. Watermelon can be a fun addition to add in pink to your sangria pitcher or sliced peaches for a delicious taste and orange color. It's the perfect summertime social sharer.

To elevate your sangria from good to grandiose, adhere to a few tips. Commence with quality dry white wine or rosé to complement, not compete with, the melon and cucumber. Opt for fresh, ripe melons and crisp cucumbers, meticulously chopped for a full infusion. The depth of your sangria's flavor profile can be remarkably enhanced by these small yet impactful practices. Incorporate a splash of a clear spirit to enrich the flavor. Switch out your ice for frozen melon balls to maintain chillness without dilution. Give your sangria a few hours of refrigeration to harmonize the flavors. Simple ways to enhancing your sangria you can add a shot of vodka or gin for complexity. Allow it to meld in the fridge, enhancing the drinking experience. Sweeten with simple syrup or honey, striking the right taste balance. Unique blend of garden-fresh flavors combines for a refreshing seasonal tipple. Prepare with love and chill to perfection for a pitcher that's inevitably a crowd pleasing cucumber melon.
The large pitcher melon & cucumber sangria is not just a drink; it's a celebration of seasonal splendor. Its refreshing crispness, the lushness of ripe melon, and the invigorating touch of mint culminates in a drink that sings of summer's joys. Whether enjoyed amidst laughter with friends or savored alone, this sangria is a testament to the simple pleasures that the warmest season bestows. So raise your glass to the simple, the sublime, and the joy of a perfectly poured pitcher of summertime bliss.

Ingredients
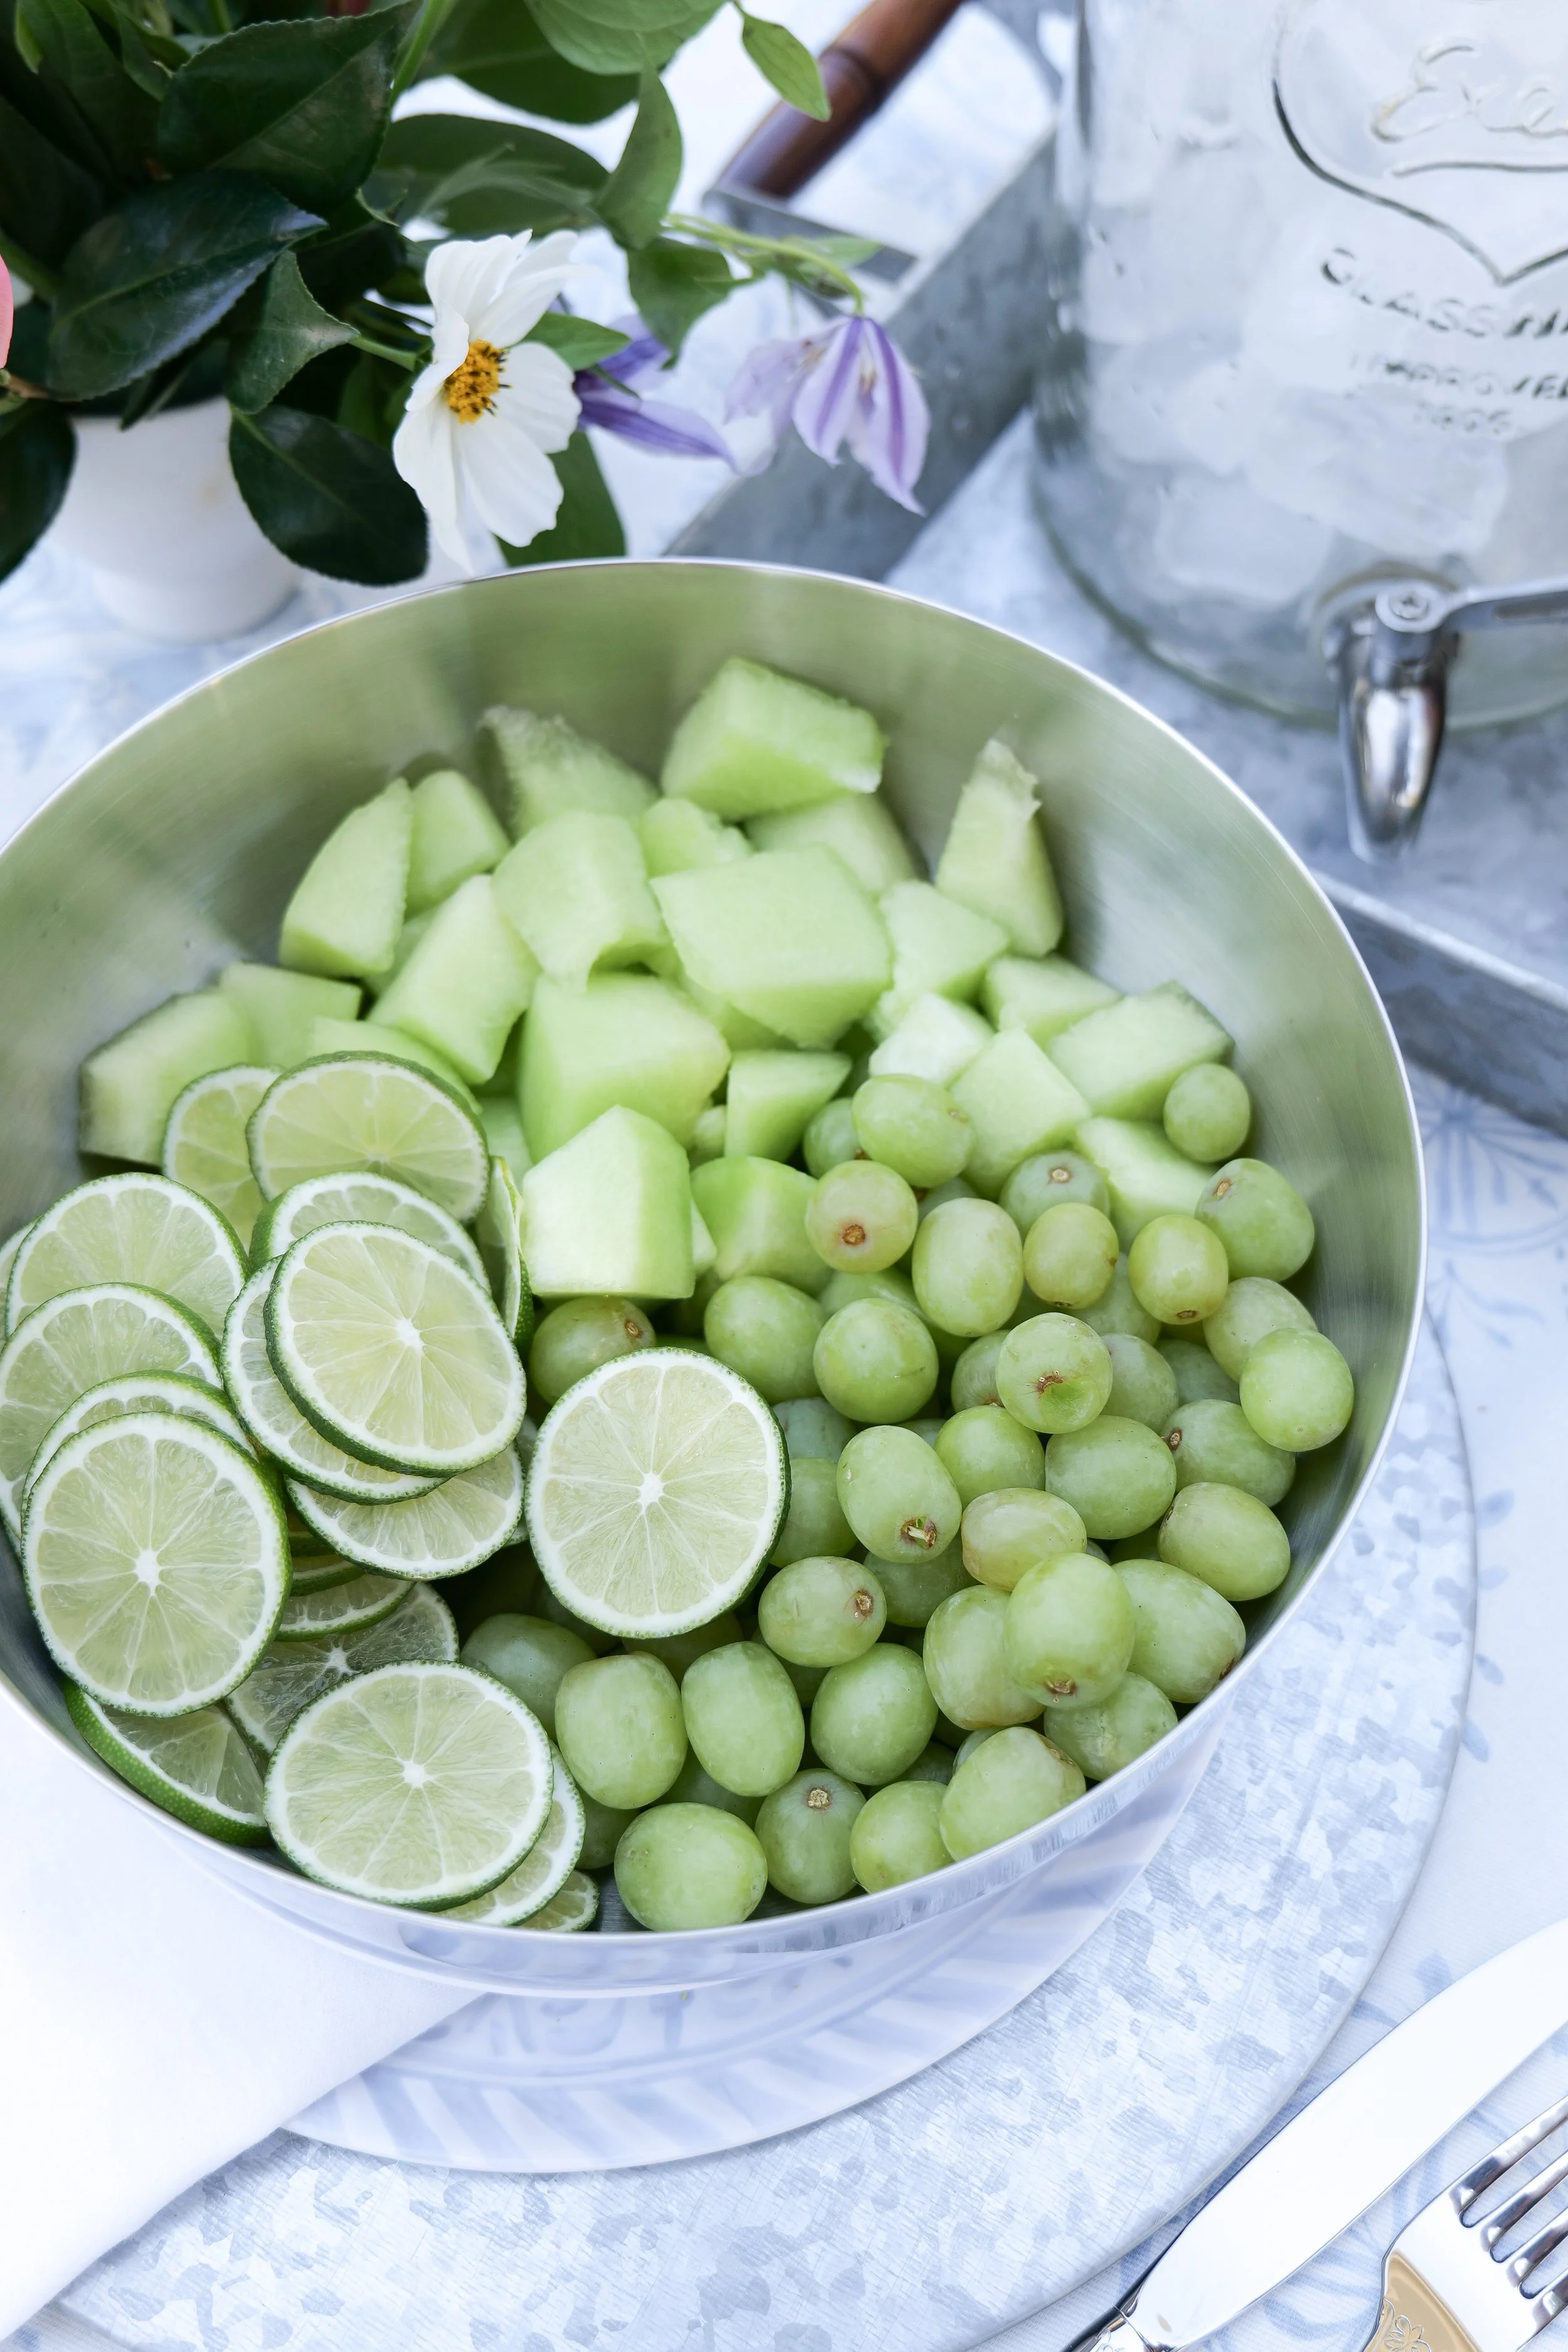
2 Cups cubed Melon
2 cups sliced cucumbers
2 cups green grapes
1/4 cup honey
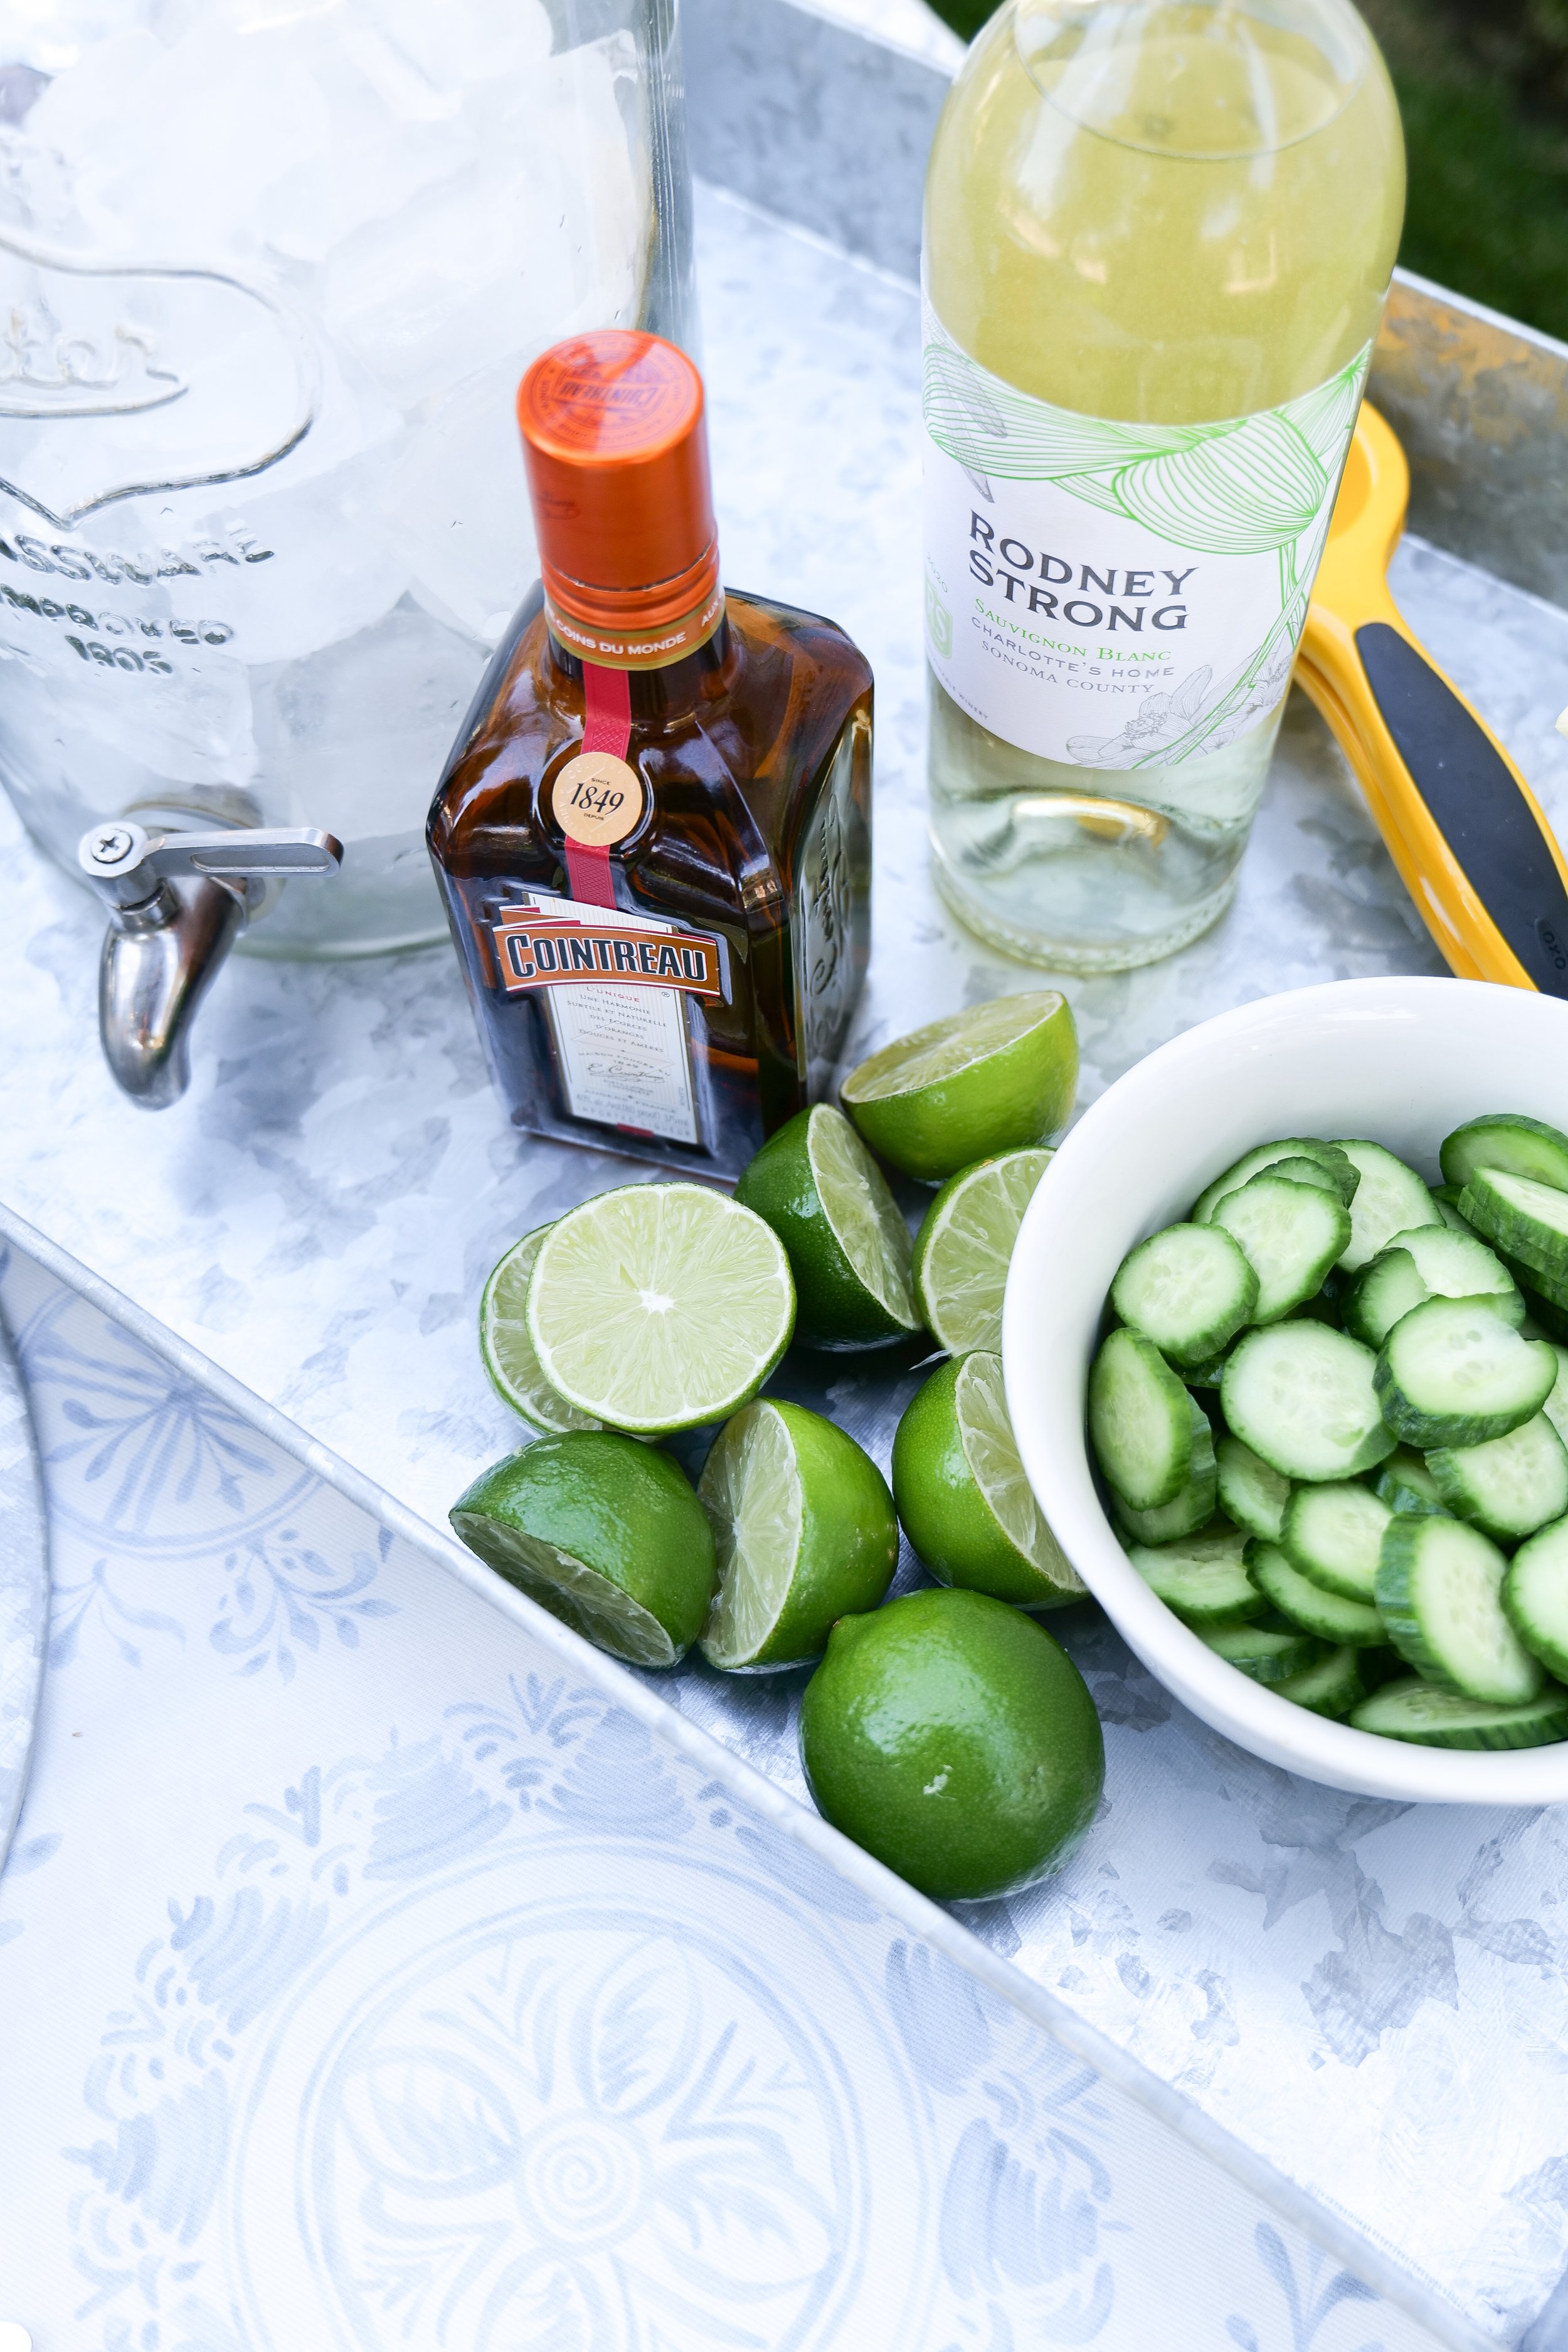
1/2 Cointreau or orange liqueur of choice
1 bottle of your favorite sauvignon blanc or pinot grigio
2 cans sparkling mint cucumber water (club soda or favorite kind can substitute)
Instructions
1. Cut and cube all fruits and add to a very large pitcher. Pour in honey, liqueur of choice, and bottle of wine. Stir to combine.
2. Place pitcher in fridge until ready to serve. Before serving add in ice and your sparkling drink of choice. Serve & Enjoy!