How to Make Delicious Nutter Butter Cookies At Home
/Have you ever wanted to make your own version of this classic childhood favorite cookie? Well, now you can with this recipe for homemade Nutter Butter cookies! This easy-to-follow recipe will have you enjoying these delicious, soft, and creamy peanut butter cookies in no time. These homemade Nutter Butter cookies are the perfect way to get your peanut butter fix and homemaking them for a twist on the classic store-bought version. With just a few simple ingredients and a few minutes, you can bake your own batch of delicious homemade Nutter Butter cookies. So grab your ingredients and let’s get to baking!
Who doesn't love the classic Nutter Butter cookie? This delicious treat is full of nutty flavor, and now you can make it right at home! With just a few simple ingredients and a few minutes of your time, you can have homemade Nutter Butter cookies that are just as delicious as the store-bought kind. To make your own Nutter Butter cookies, you'll simply need flour, butter, peanut butter, sugar, baking powder and vanilla extract. Mix the ingredients all together and roll the dough into small balls. For an extra crunch, roll the dough balls in crushed peanuts before baking. Once the cookies are done baking, let them cool and enjoy! These homemade Nutter Butter cookies make a great after-school snack or are perfect for a mid-morning pick-me-up. Enjoy them with a cold glass of milk or your favorite cup of coffee. No matter how you choose to enjoy them, you'll love the homemade nutty flavor of these classic cookies.

Why Make Nutter Butters at Home?
If you’re looking for a fun and rewarding activity that the whole family can enjoy, homemade Nutter Butter cookies are the perfect choice! From start to finish, the process of making them is incredibly simple and you can customize the recipe with whatever ingredients you have on hand. Unlike store-bought versions, homemade Nutter Butter cookies can be much healthier because of the natural sweeteners you can substitute such as honey and agave nectar instead of sugar or corn syrup. Not only does this give you complete control over the ingredients you use, but it also allows you to avoid any allergens or other ingredients that may not be suitable for your family.
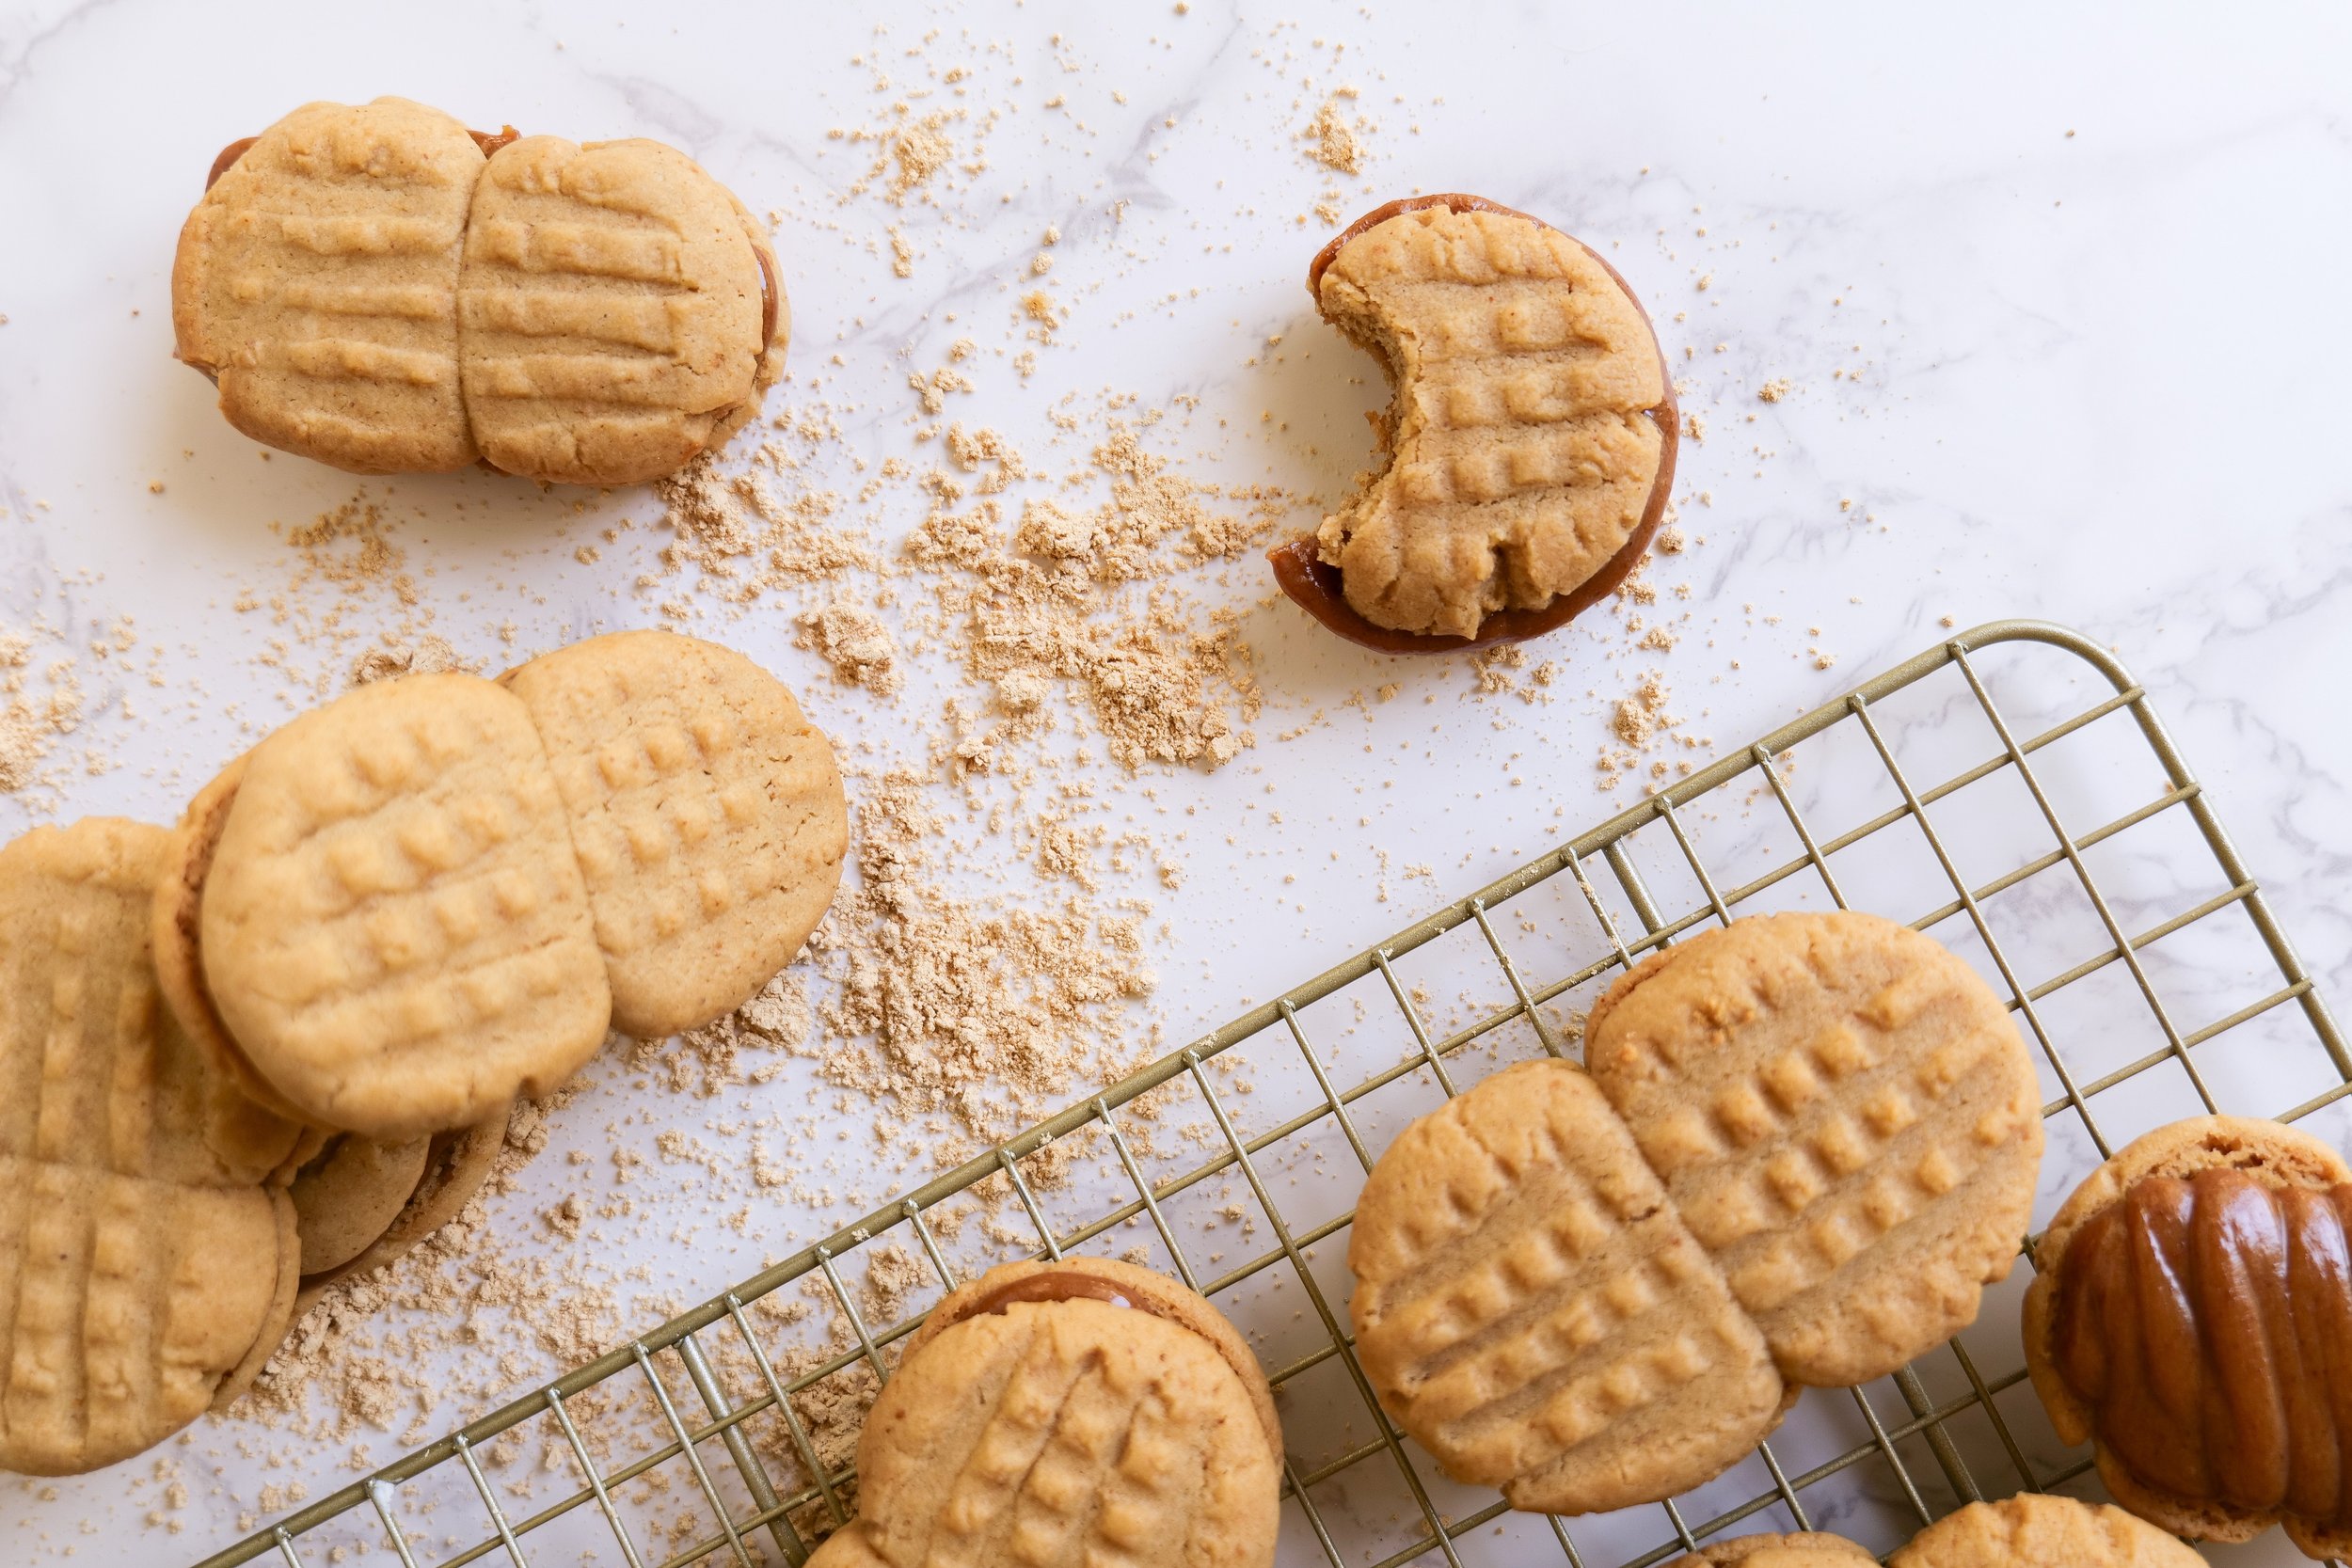
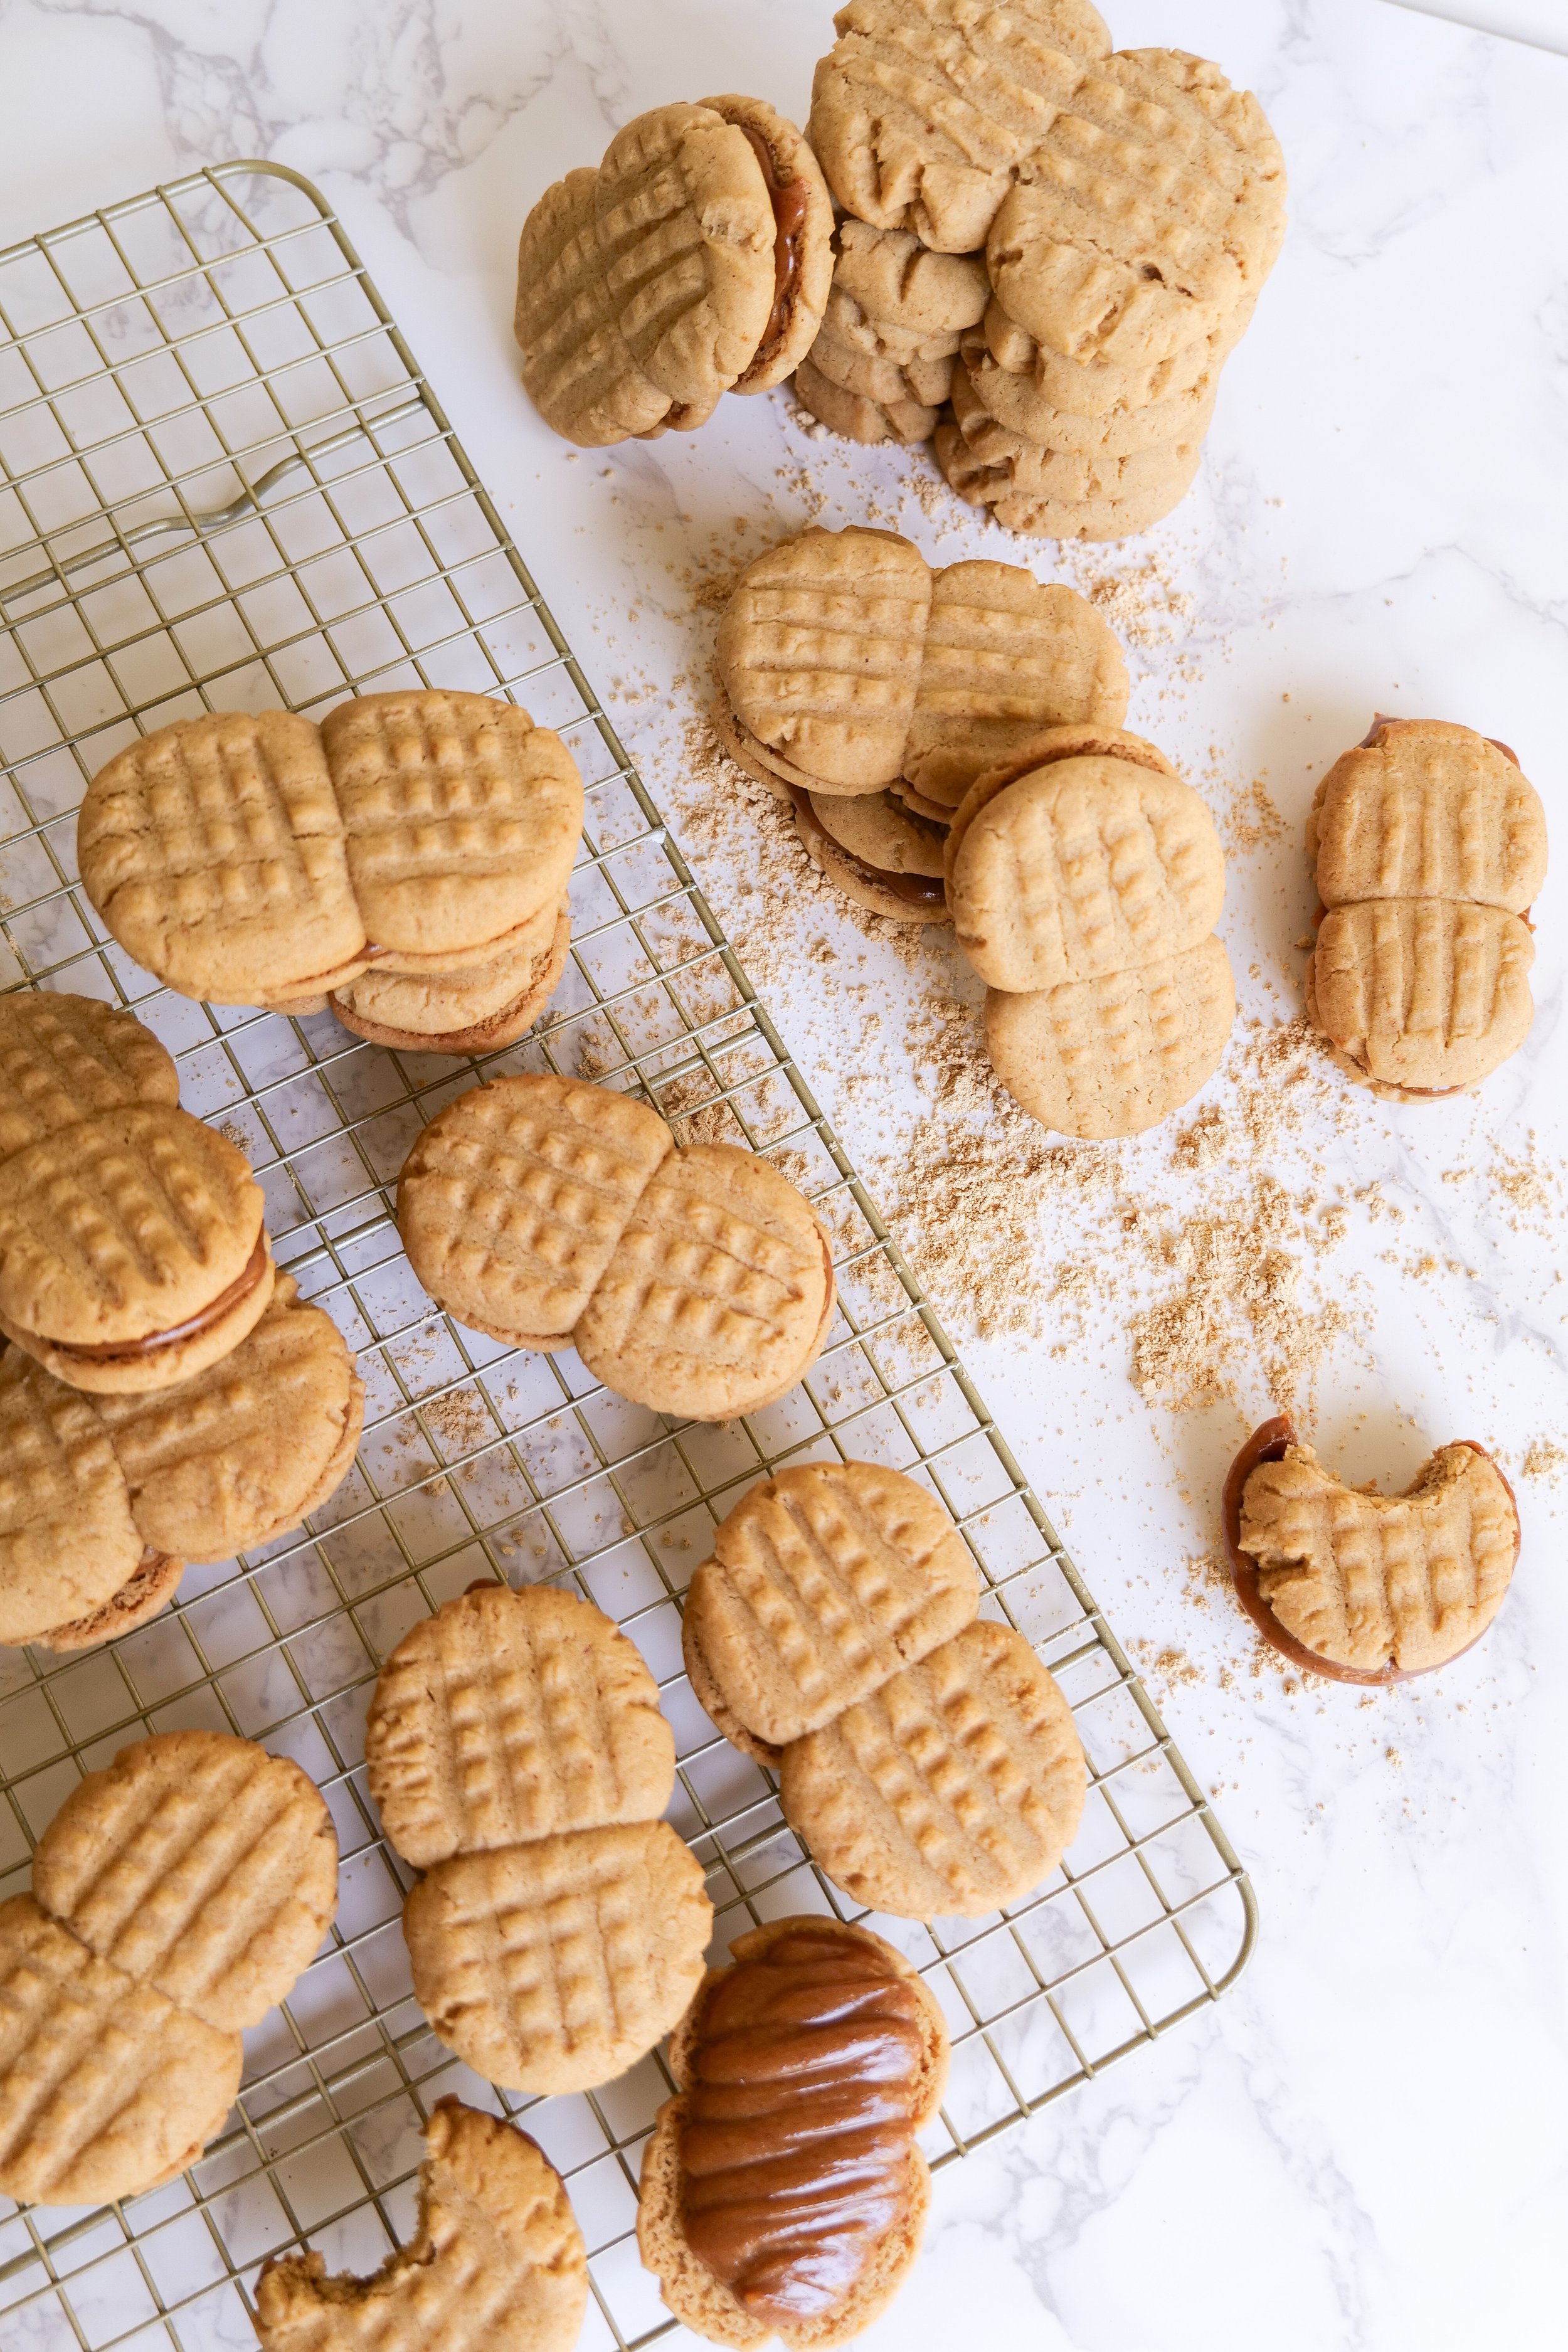
When it comes to the size and shape of your Nutter Butter cookies, the possibilities are endless! You can make them as big or small as you like and even customize the shape and size to fit your tastes. You can even make them into smaller Nutter Butter bites for a fun take on peanut butter cookies. Not to mention, a homemade version of a Nutter Butter dessert is a great way to show your family and friends that you care about their health and well-being by providing them with a healthier alternative to store-bought.


Ingredients
1 cup unbleached all-purpose flour
1/2 tsp baking soda
1/4 tsp sea salt
1/2 cup melted butter
1/2 cup PBfit Powder
2/3 cup granulated sugar
1 egg
1/2 tsp vanilla extract
Filling
1-1/2 cups PBfit powder
1 cup powdered sugar
2/3 cup water
Instructions
1. In a large bowl blend melted butter, sugar, and PBfit then blend with an electric hand mixer or standing mixer until combined. Add in egg and vanilla extract. Mix with blender again on medium speed.
2. Add in dry ingredients; flour, baking soda & sea salt and mix again.
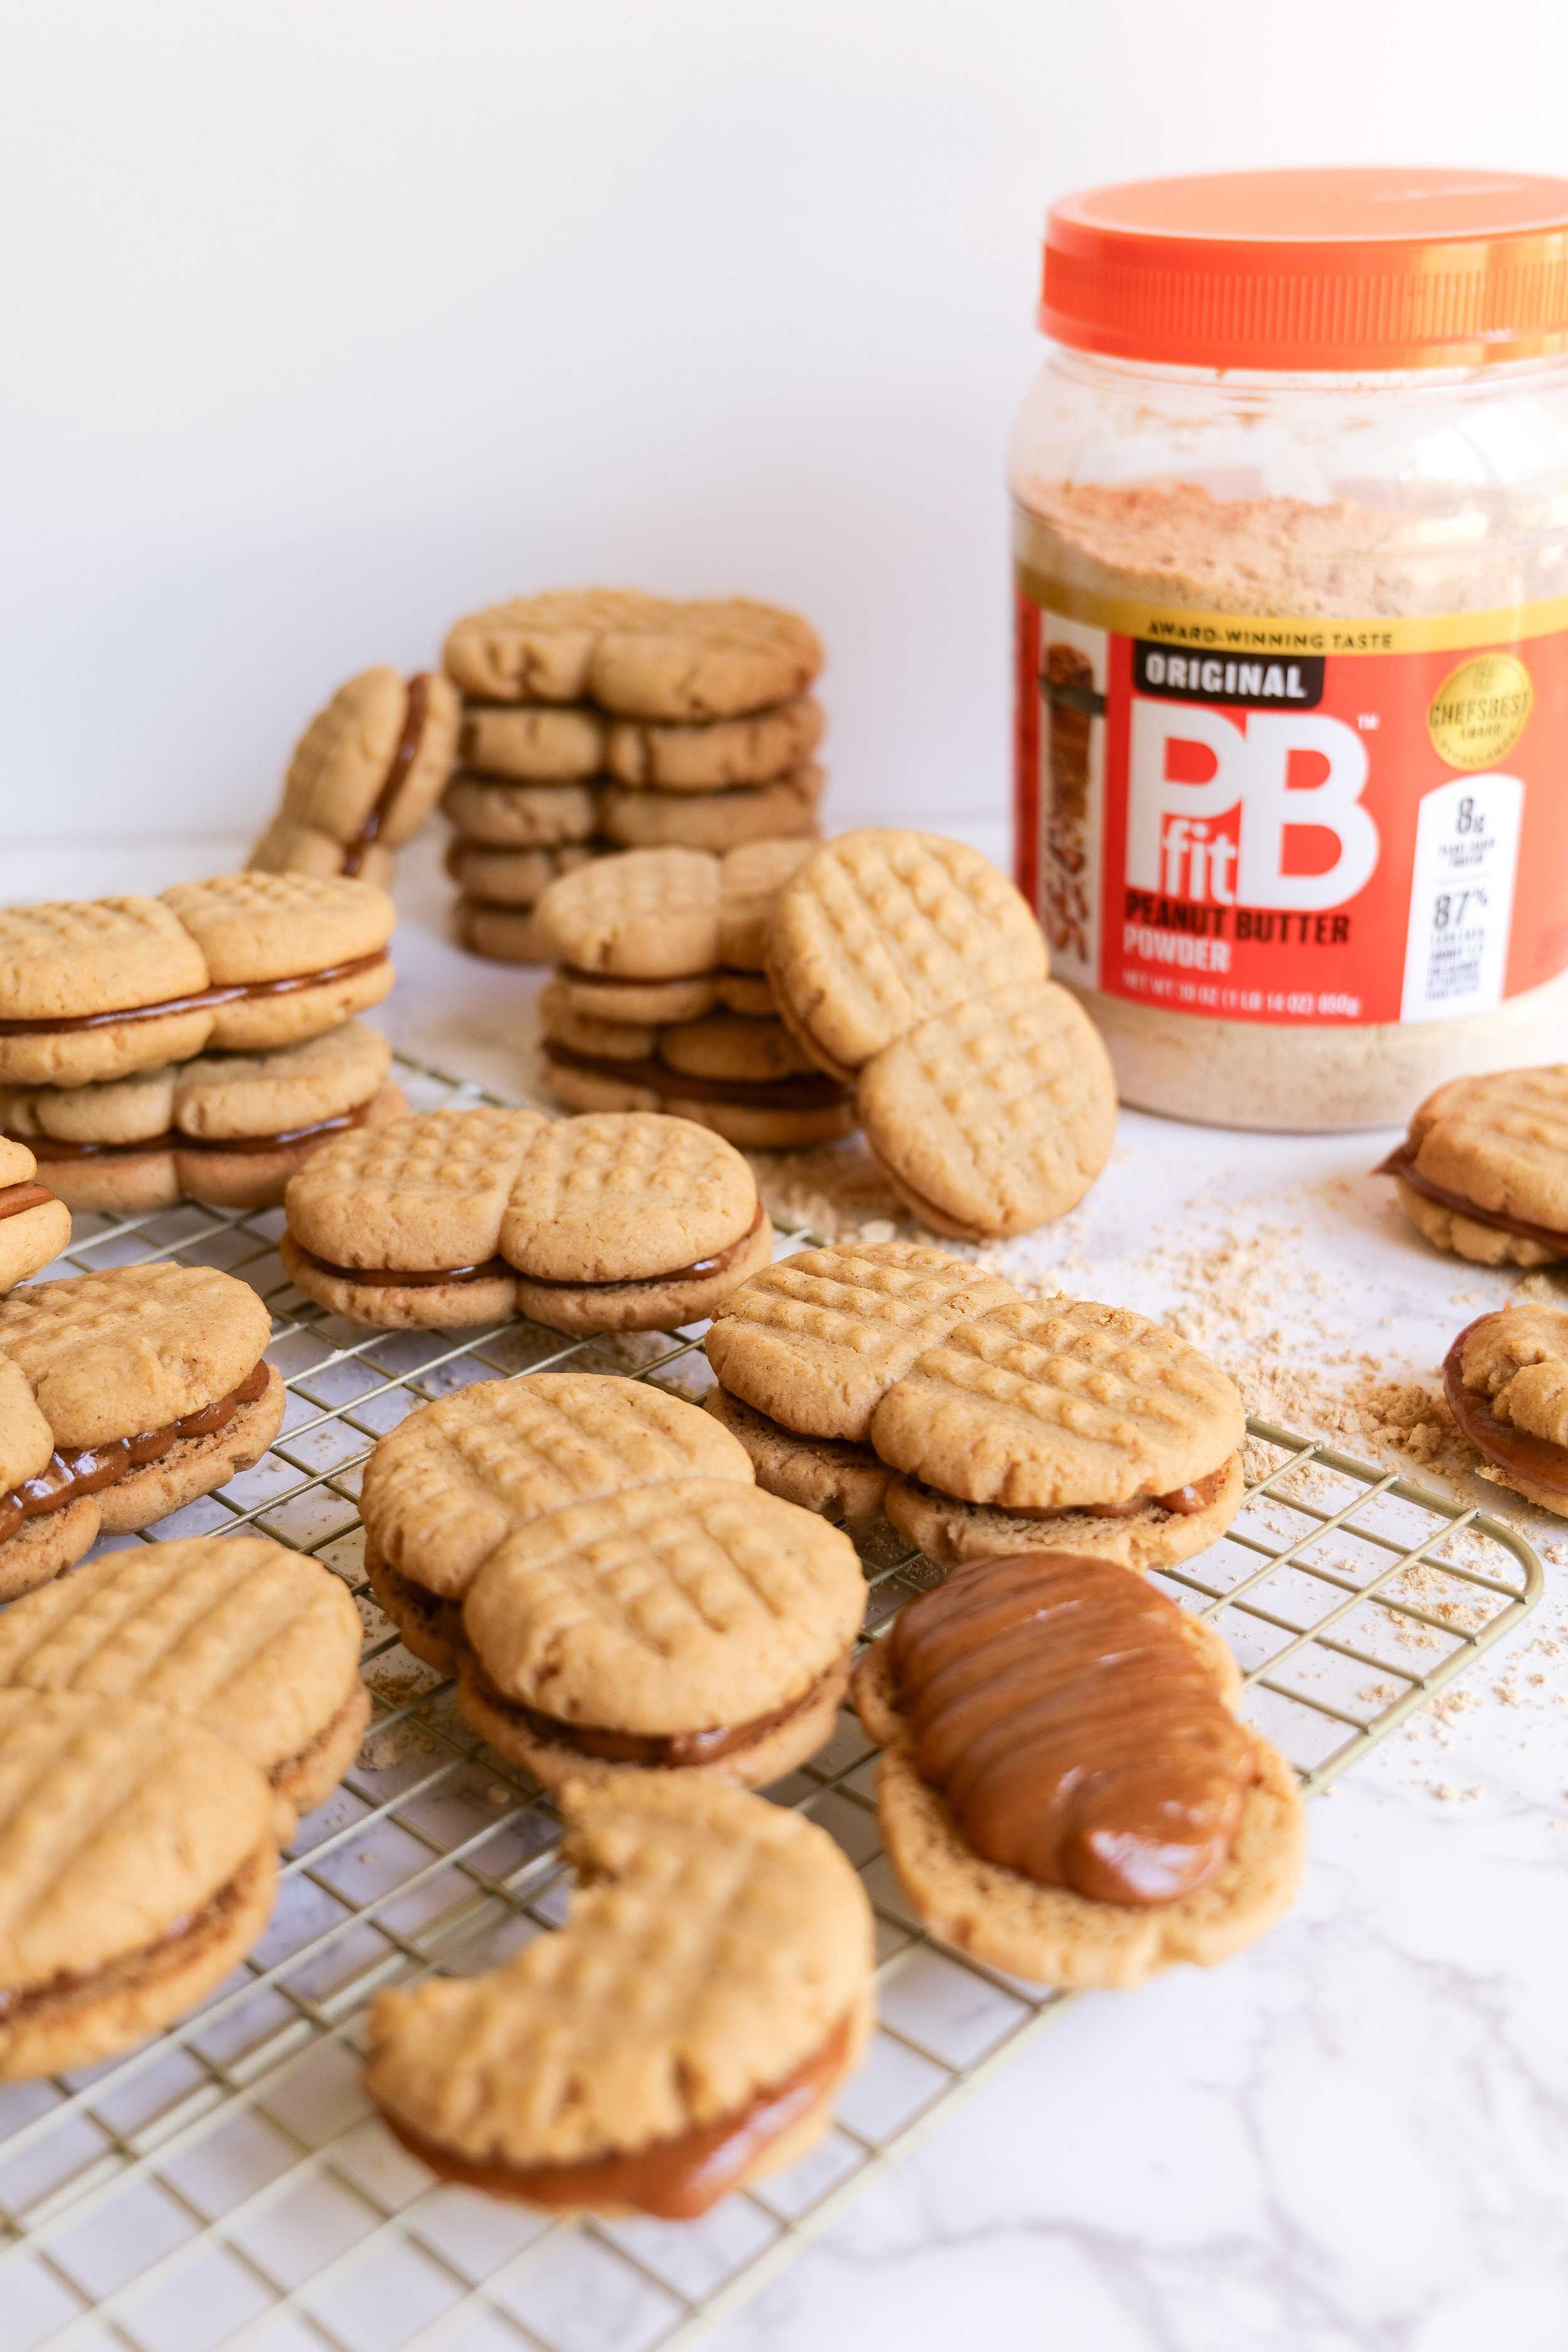
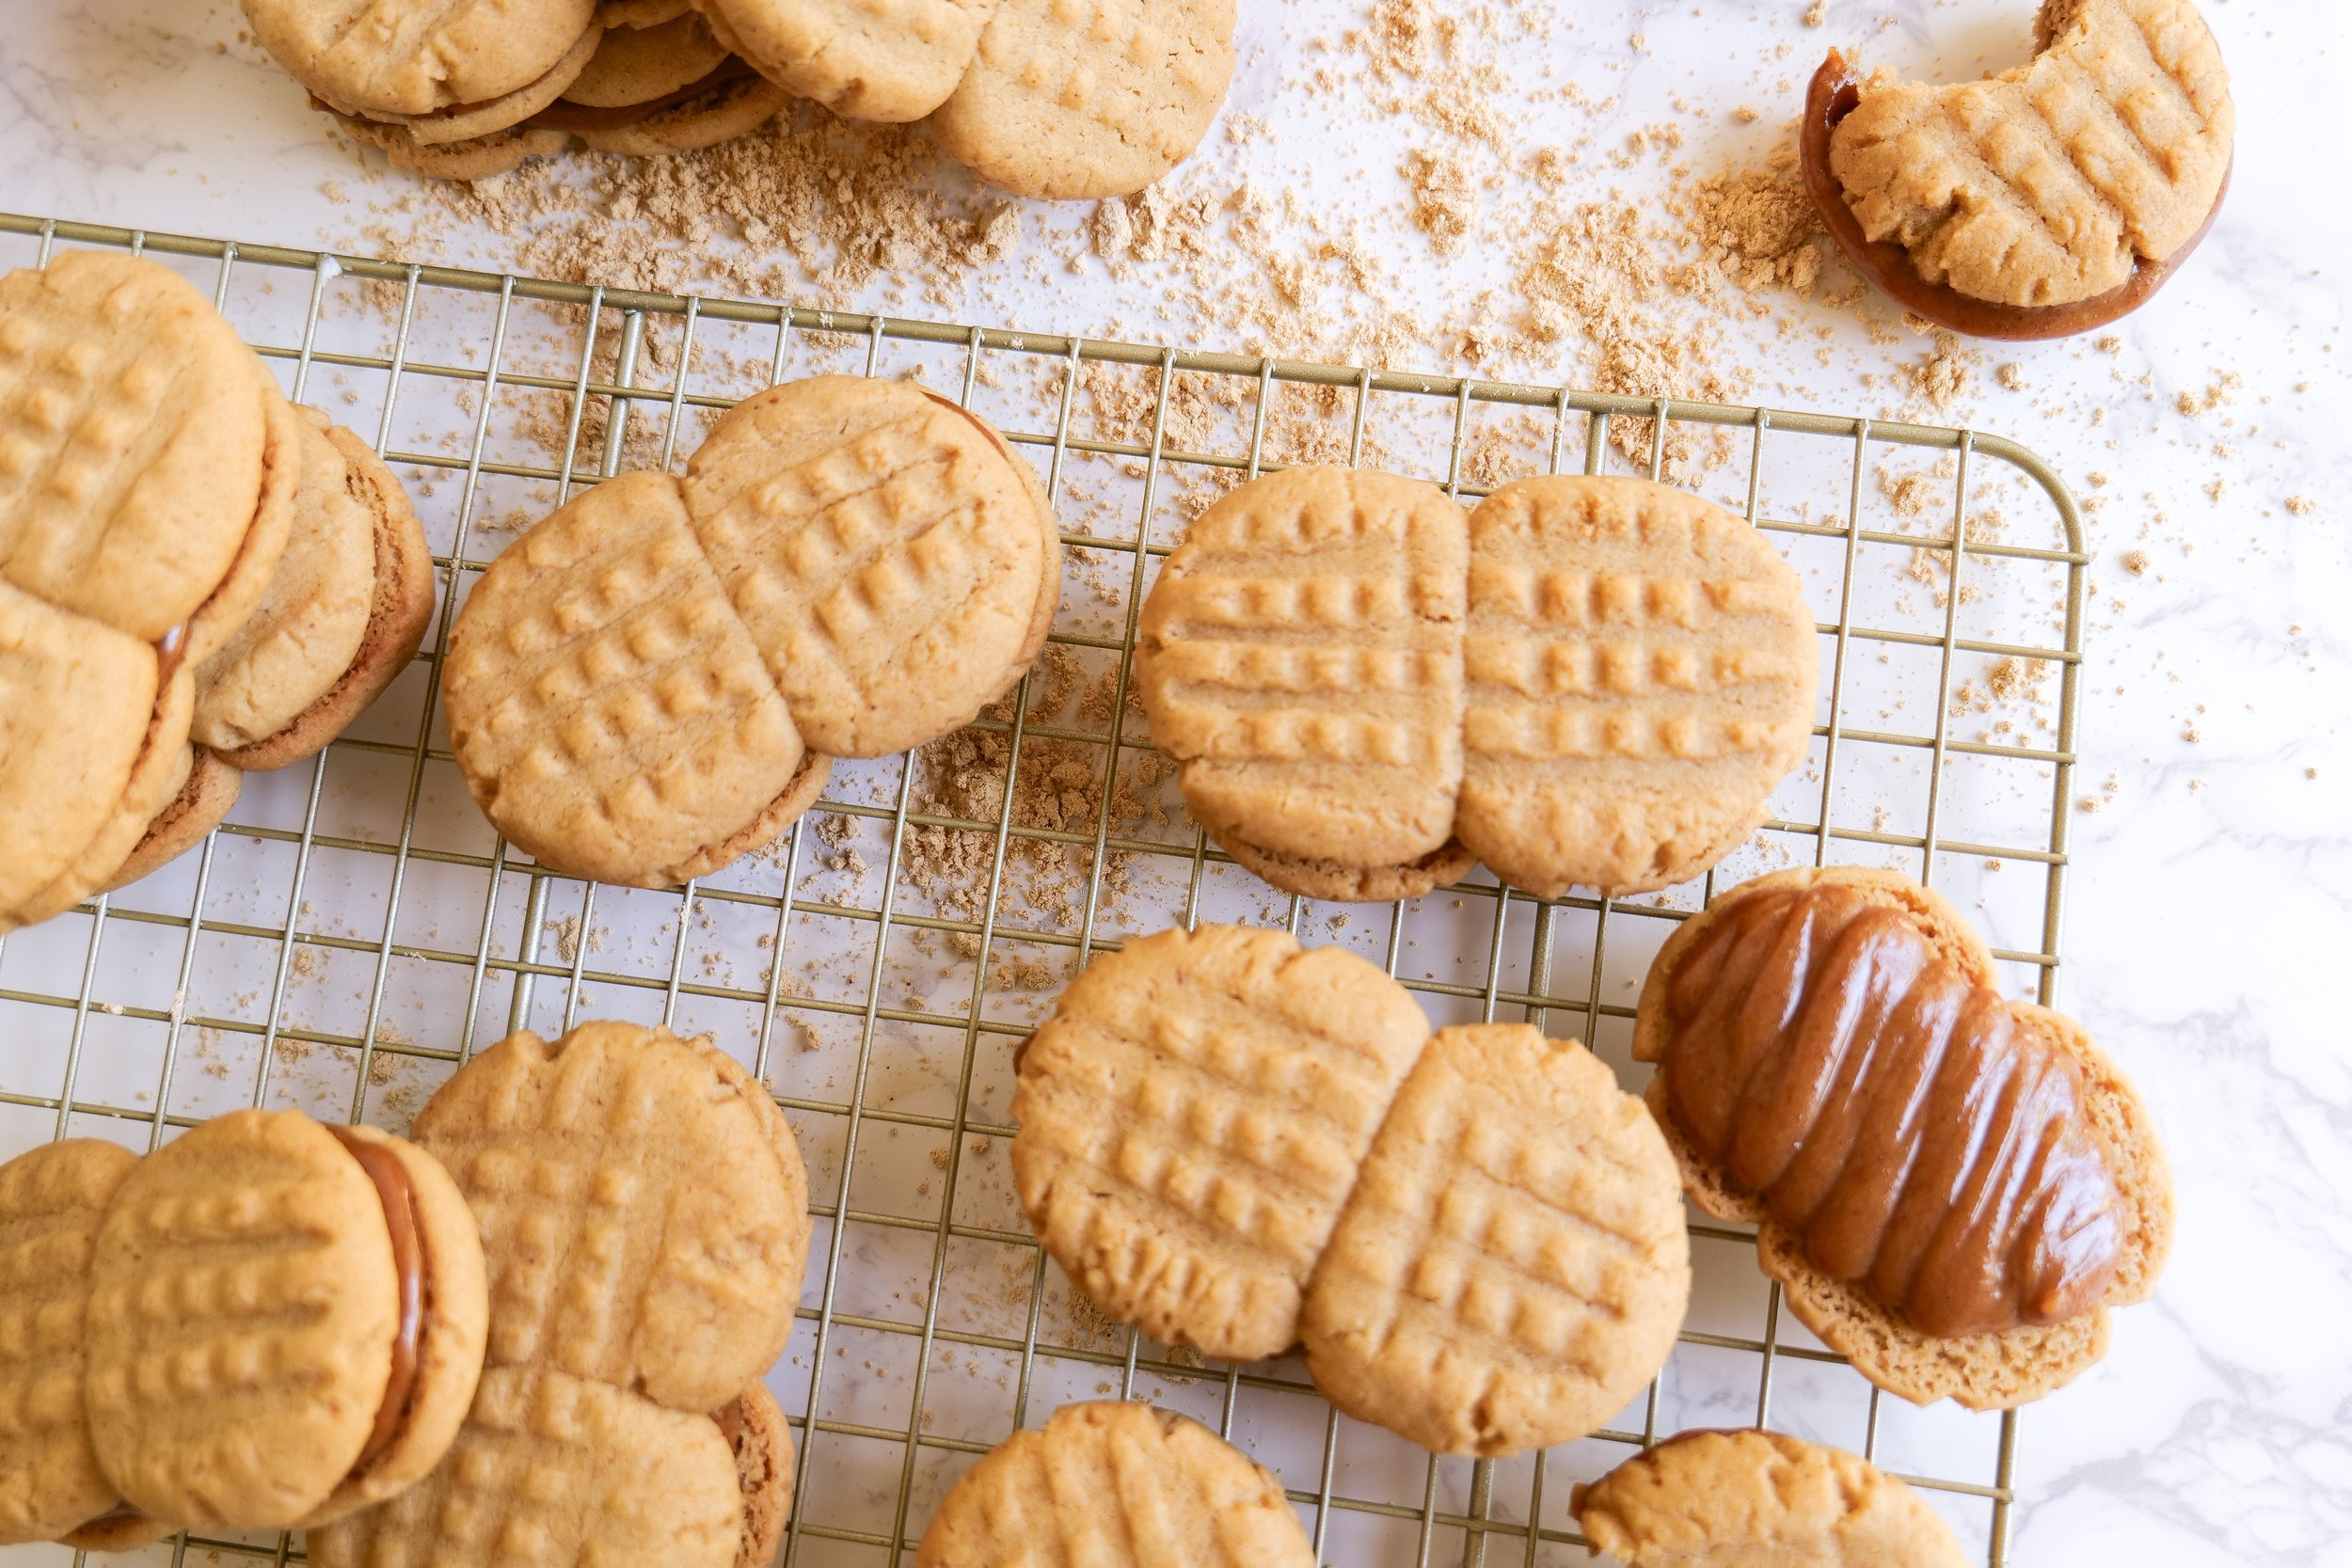
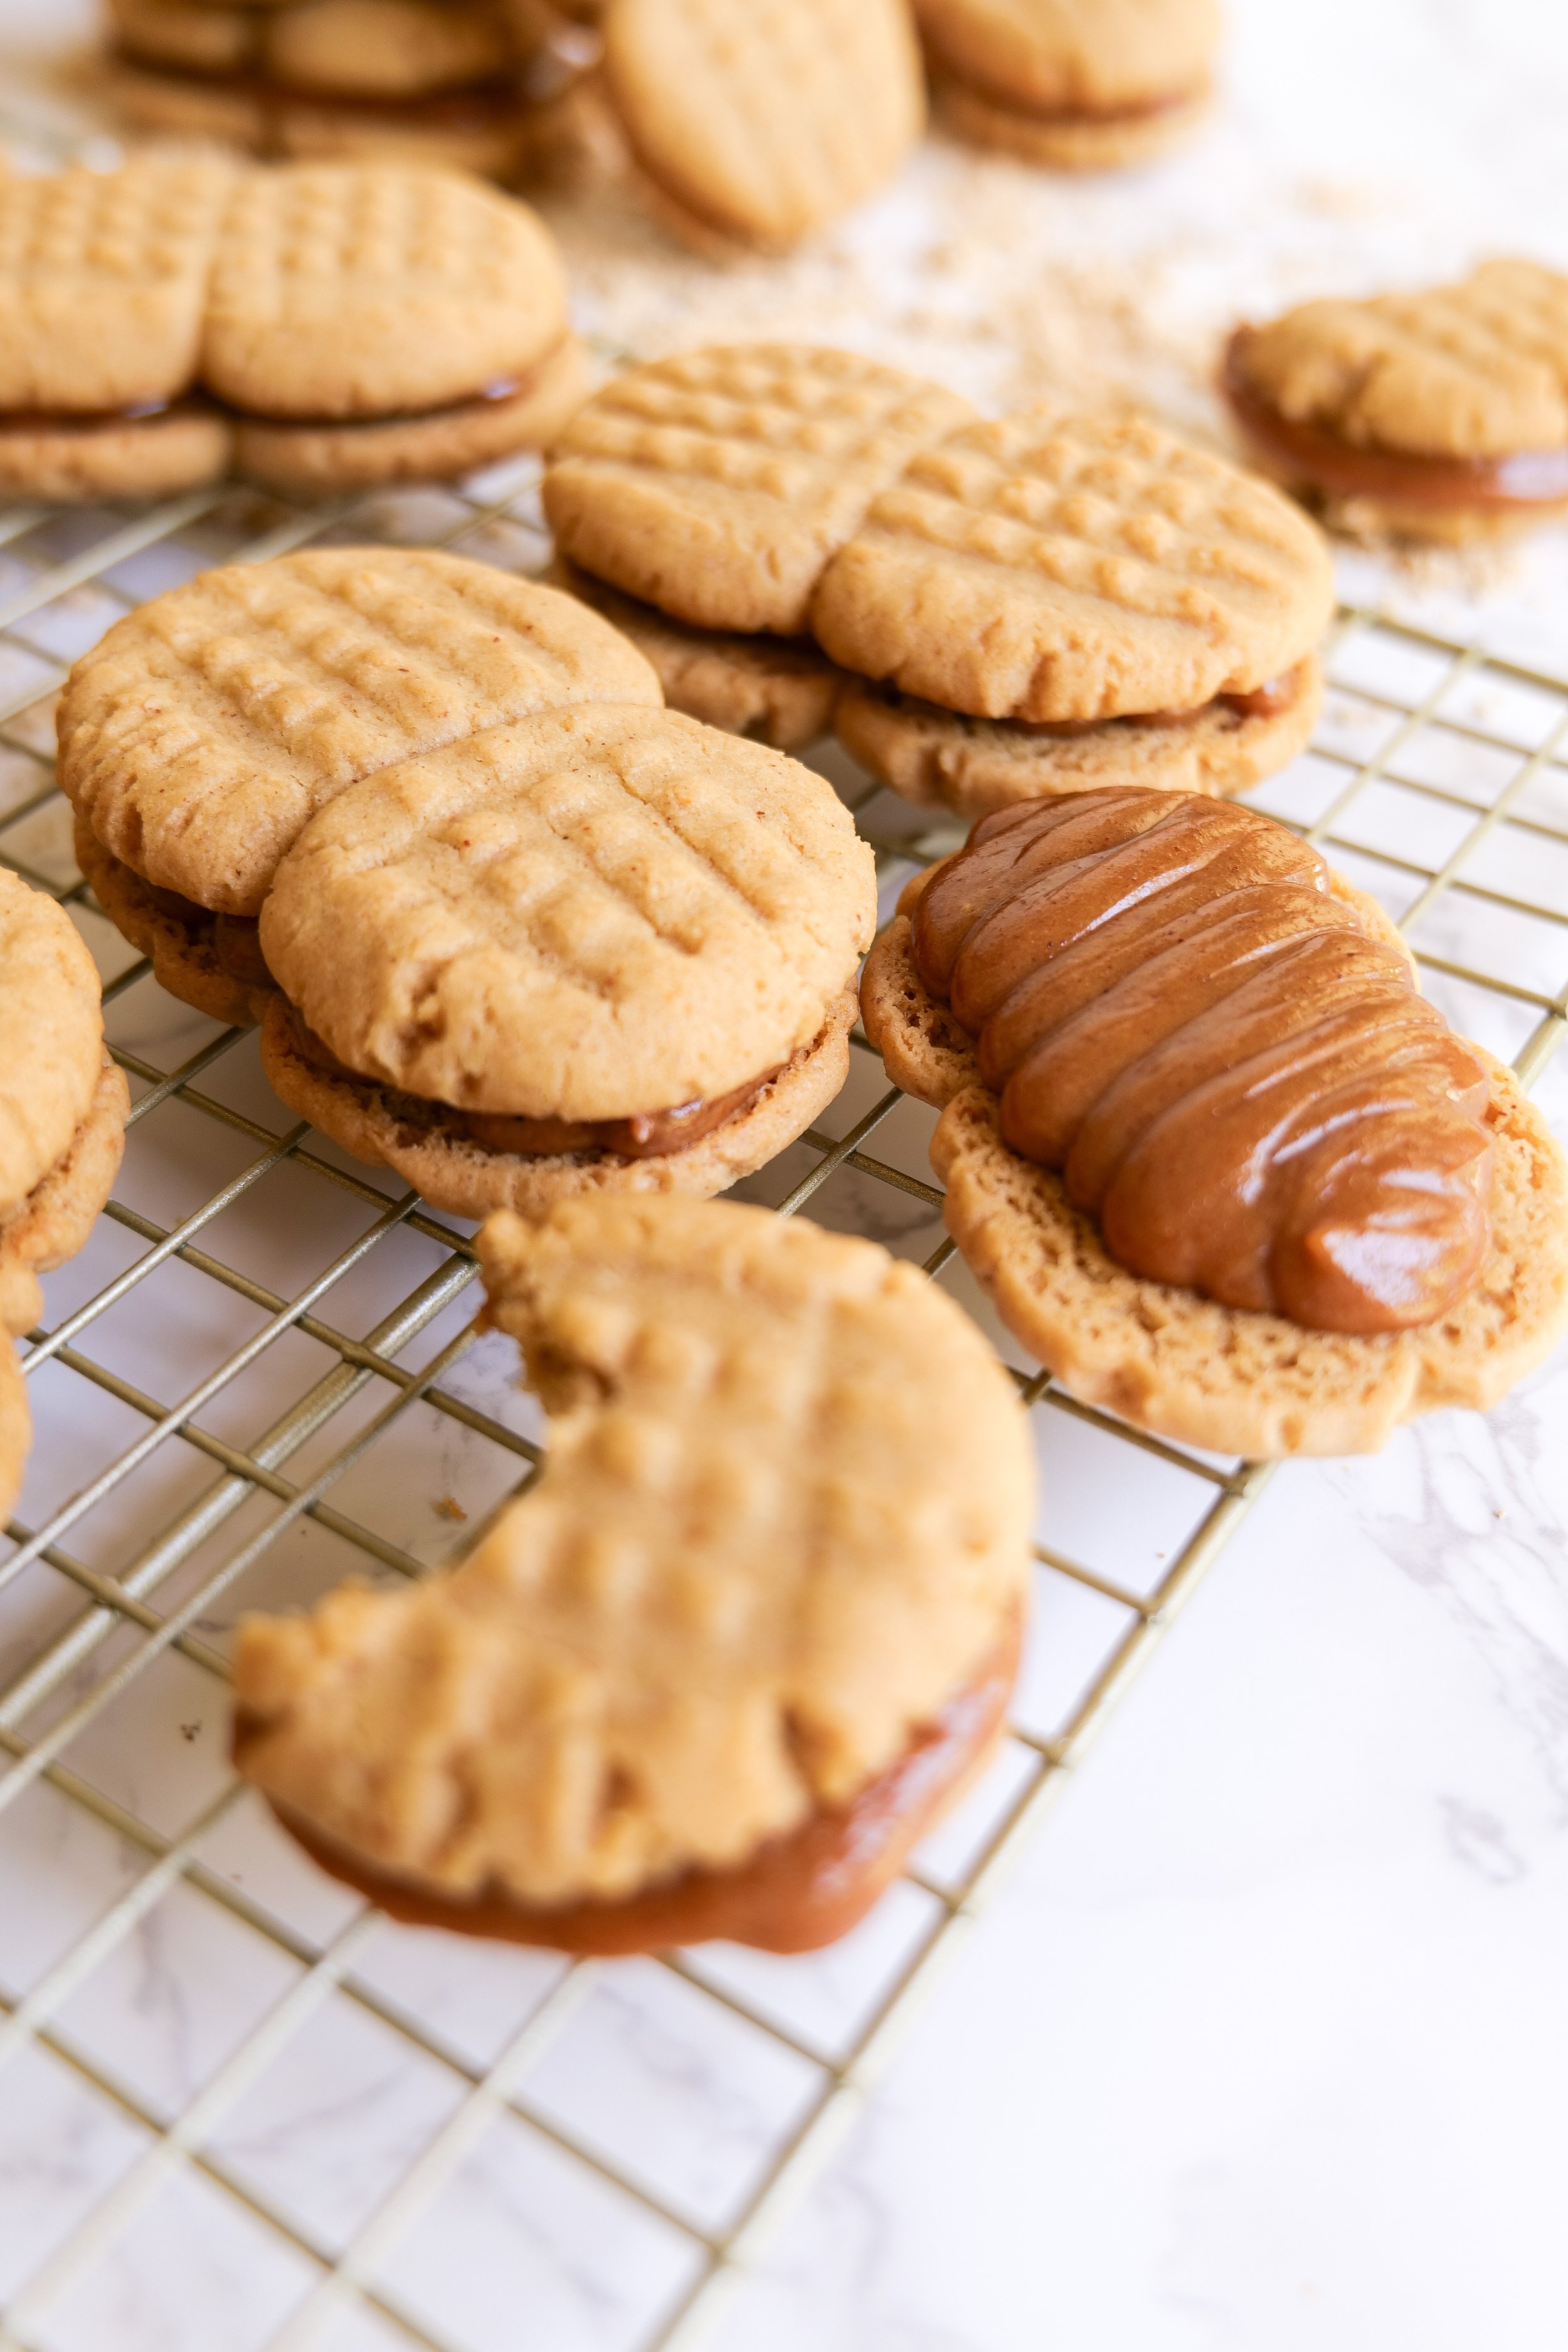
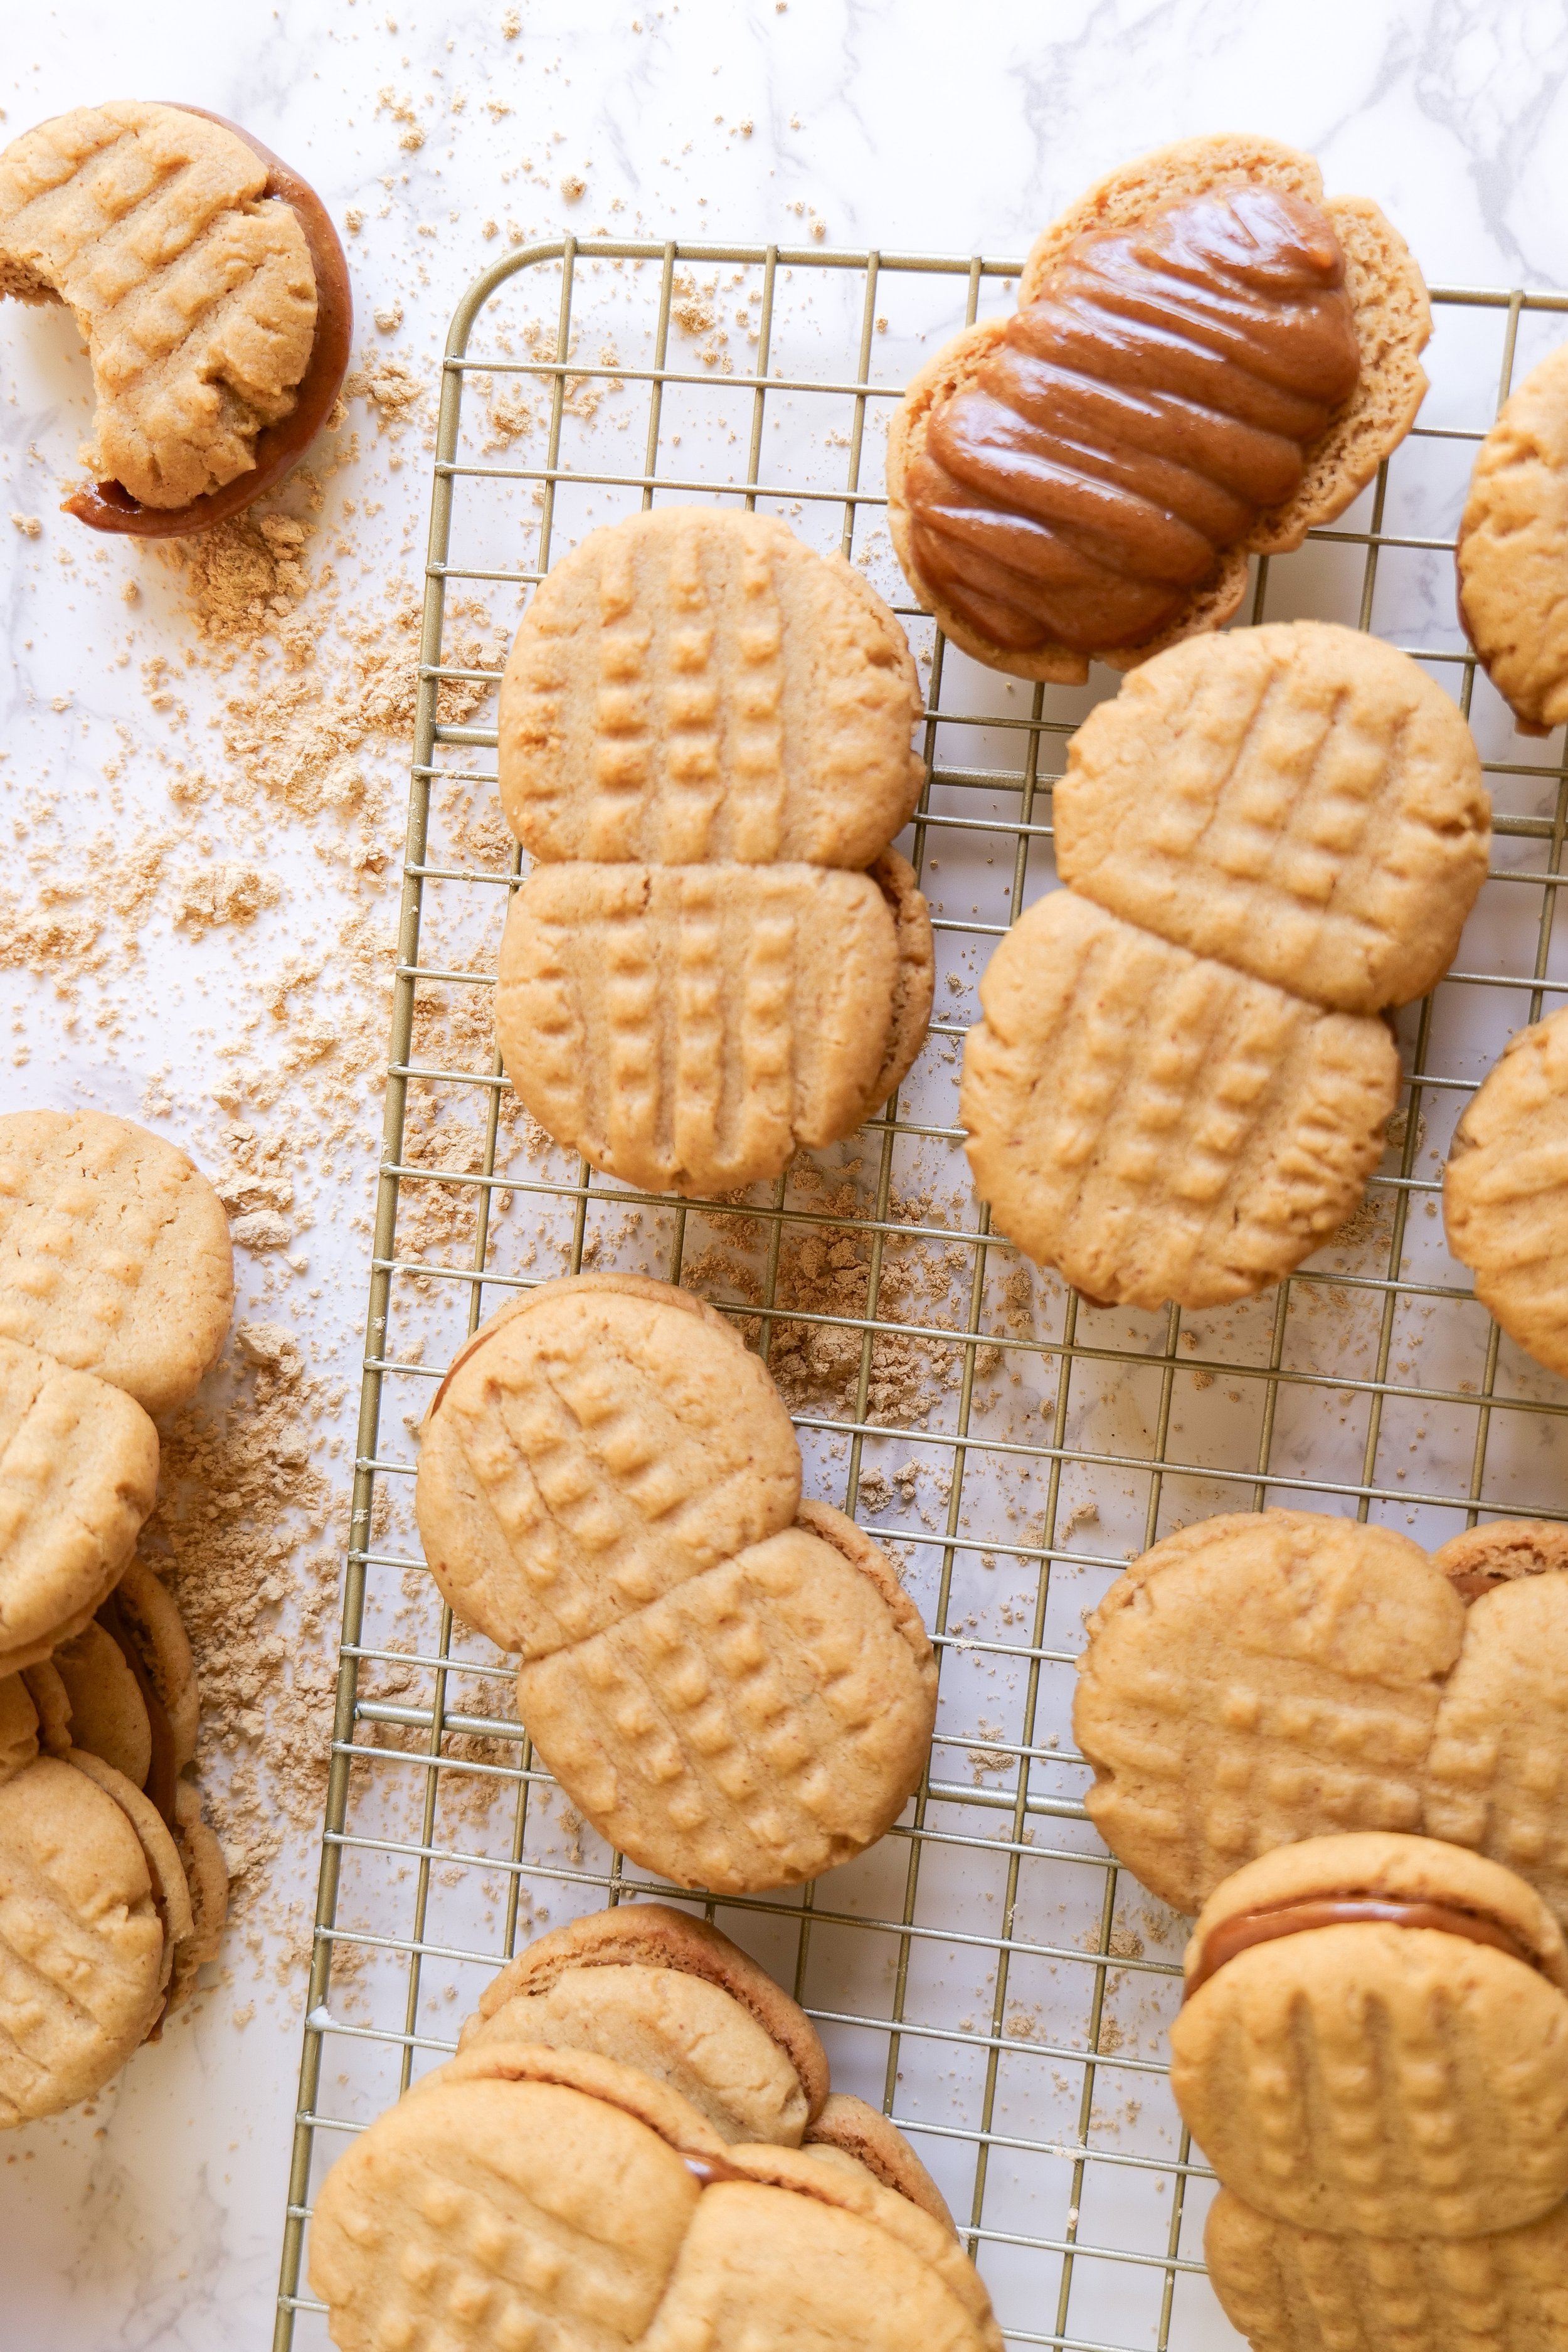
3. Take a parchment paper lined baking sheet and form Nutter Butters. For a medium size Nutter Butter you will take one cookie scoop and break it in half. Form both halves into balls and place them together on parchment paper. Using a fork make a criss-cross pattern. Make sure before removing the fork you press the 2 cookie balls together. Continue until the pan is full making sure cookies are 2 or more inches apart.
4. Bake at 350 degrees for 10-12 minutes or until the cookie is lightly browned.
5. While the cookies are baking make filling by mixing with whisk PBfit powder, powdered sugar, and water in a bowl. Fill a piping bag and set aside.
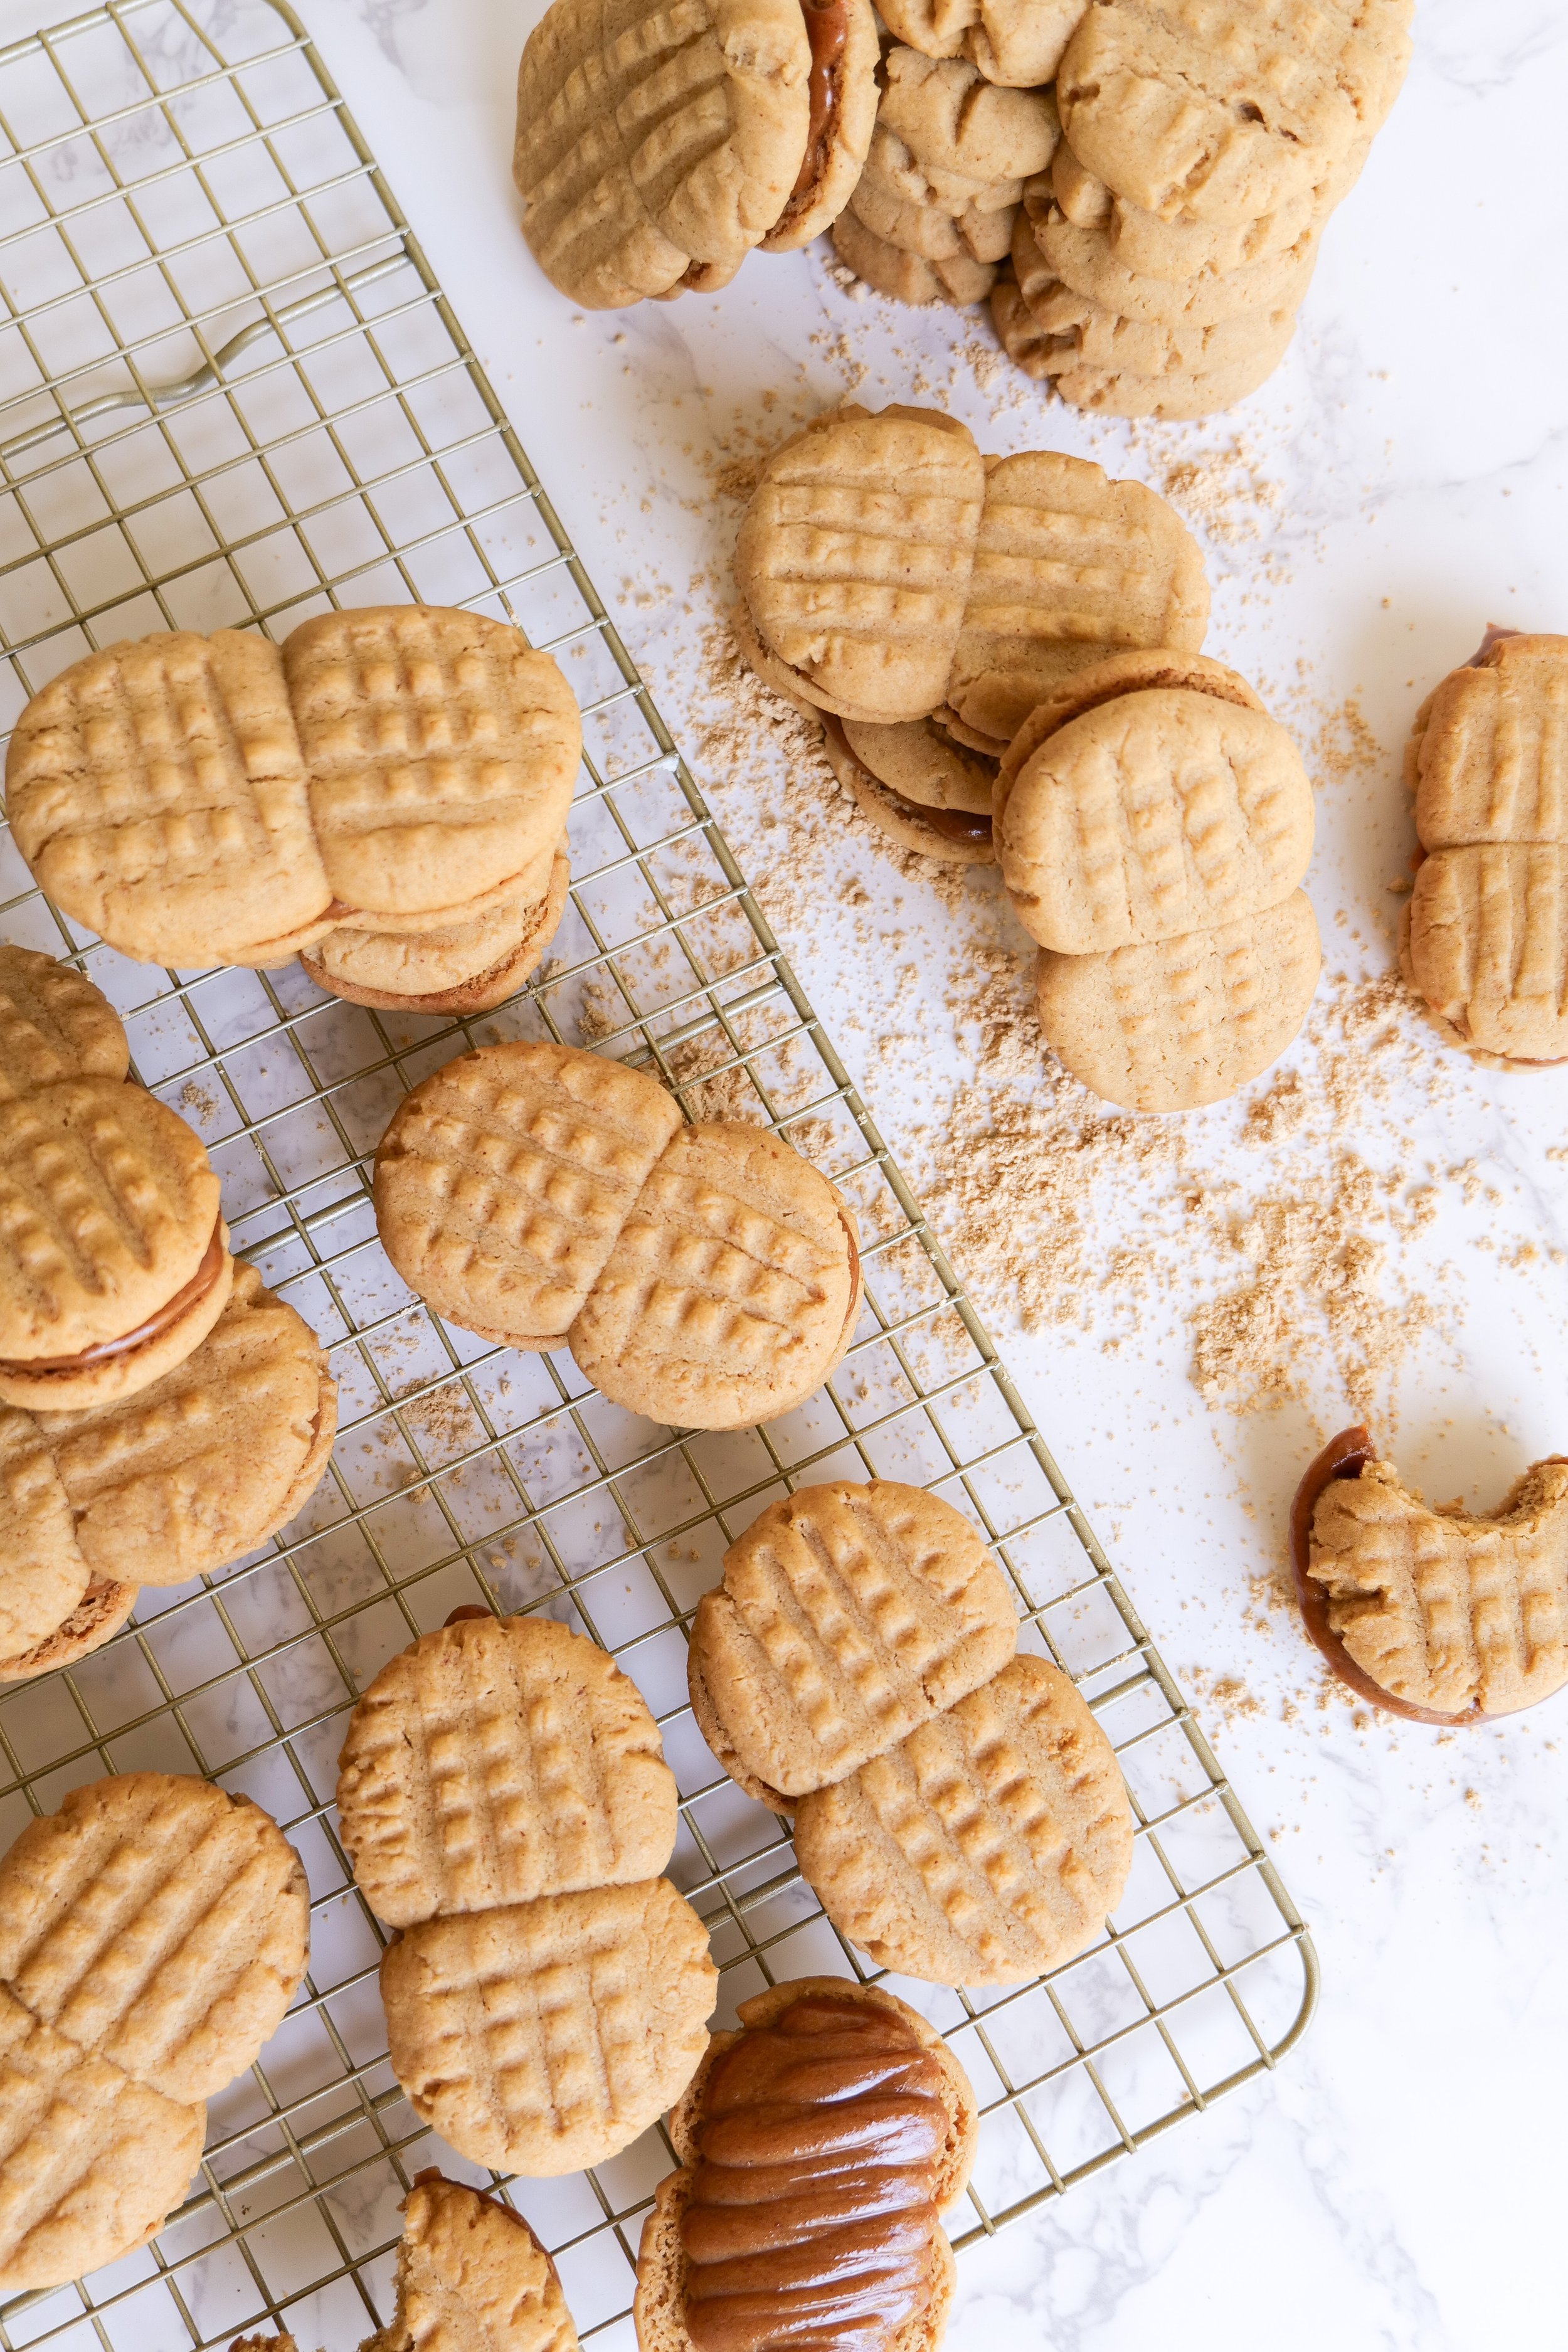
6. Once cookies are done baking remove them from the oven and place them on a cooling rack. Once cooled you will fill with the filling mixture and enjoy! You can dip in chocolate for an added layer of goodness or make the adorable referee cookies I did for a sports theme party -here-.
How Long Will My Homemade Nutter Butter Last?
When it comes to storing your homemade Nutter Butter, you’ll want to make sure it is kept in a cool, dark place. It can last up to two weeks stored in an airtight container in the refrigerator. If stored properly, homemade Nutter Butter can even last up to a month in the freezer. However, for best results, it is recommended to consume the Nutter Butter within four days of its preparation, and honestly, who can even wait once that delicious smell fills your ktichen. If you do plan on storing the Nutter Butter for longer than a week, be sure to wrap it tightly in plastic wrap to maintain its freshness.

How Can I Store My Homemade Nutter Butter?
Homemade Nutter Butter is a delicious treat that is easy to make. However, it is important to store it properly to maintain its freshness. The best way to store Homemade Nutter Butter is at room temperature in an airtight container. To keep them from sticking to each other, place a piece of wax paper between each layer of the Nutter Butter. Make sure the container is placed in a cool, dry place away from direct sunlight. If you don’t plan to eat the Nutter Butter within 1-2 weeks, it is best to freeze it. To thaw the Nutter Butter, place the container in the refrigerator overnight before eating. By following these simple steps, you can enjoy your Homemade Nutter Butter for weeks to come.