Perfect Pairings: Savor the Flavor with Our Ultimate Steak and Feta Crostini Recipe!

Welcome to this culinary delight where the rich, savory flavors of a perfectly grilled juicy steak meet the tangy punch of feta cheese, all piled atop a crisp, golden crostini. In this blog post, we'll take your taste buds on an adventure by marrying the hearty comfort of steak with the sharp, creamy essence of one of Greece's most famous cheeses. Whether you're planning an upscale appetizer for your next dinner party or simply seeking to jazz up your at-home snack game, these steak and feta crostinis promise to be a crowd-pleaser. Join us as we explore the simple yet sophisticated world of creating this mouth-watering combination, where each bite is a symphony of textures and flavors that are sure to leave you craving more.

Bread Alternatives

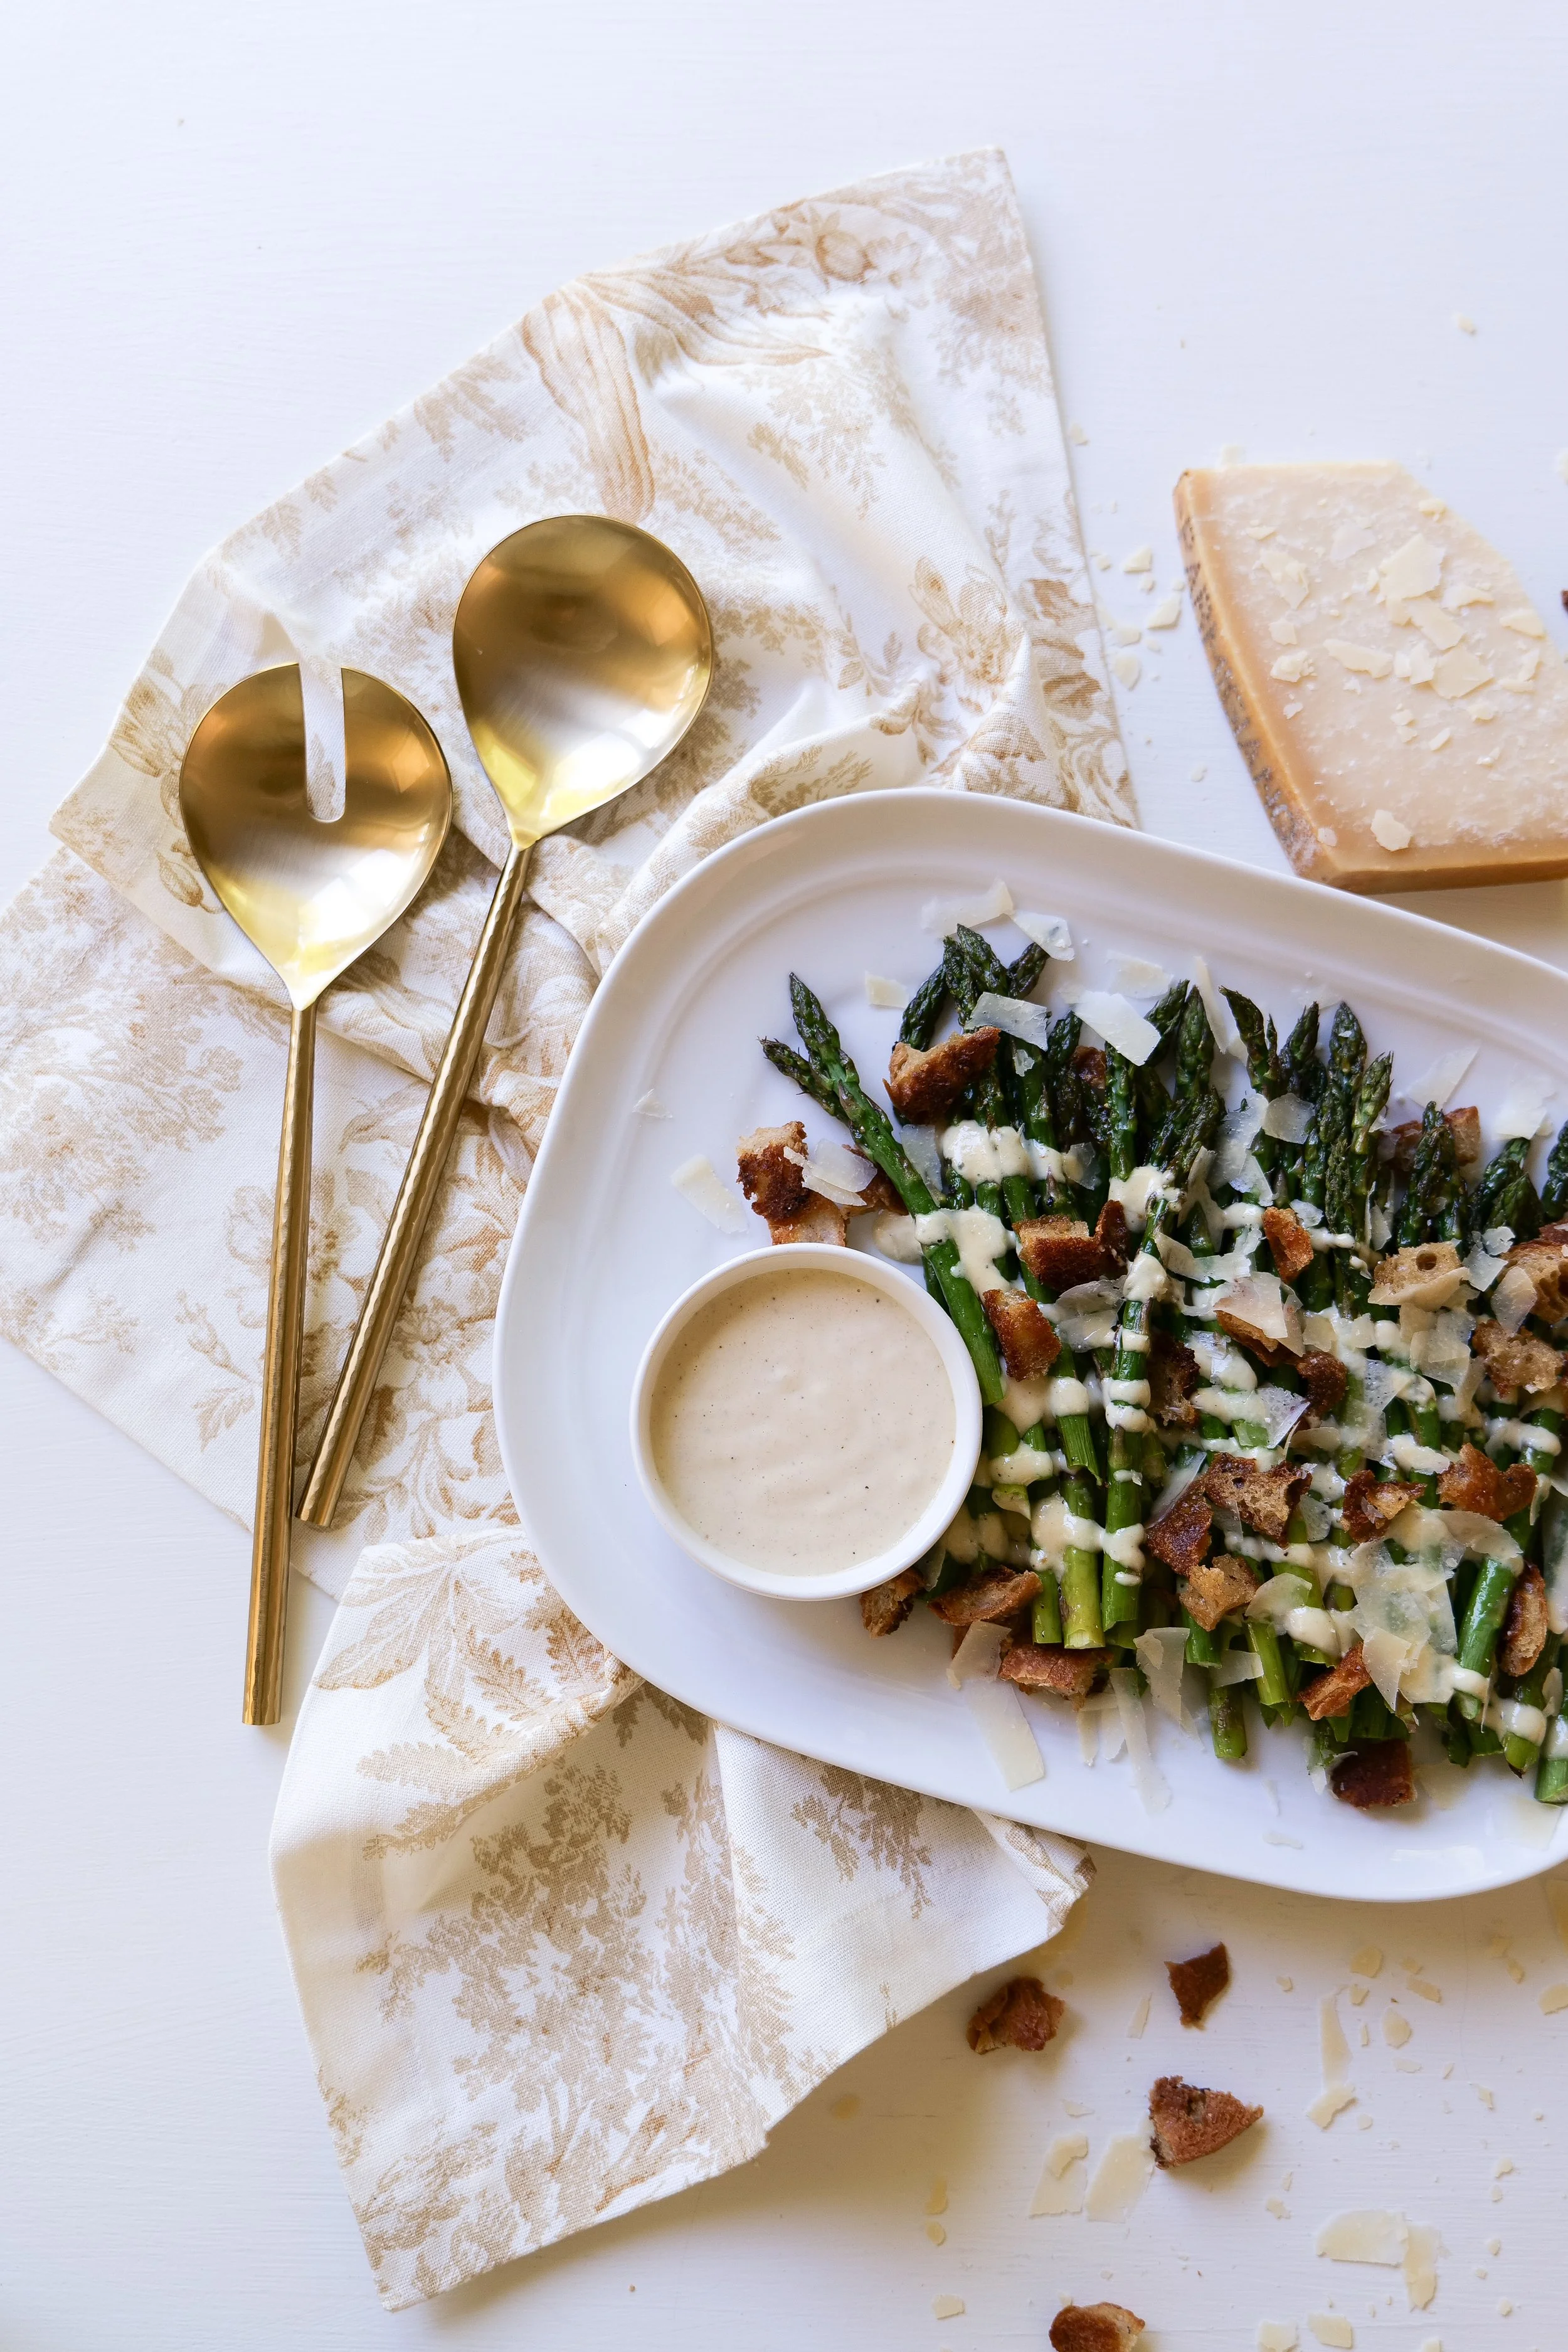
When making steak and feta crostini, the type of bread used is an important factor to consider. Ciabatta bread is a great option, as it has a slightly chewy texture that helps hold the toppings well. French baguettes are also an excellent choice, as their crisp crust and fluffy interior make them well-suited for crostini. Sourdough bread is a good choice as well, as its slightly tangy flavor helps balance out the savory flavors of the steak and feta. For those looking to add a bit of nutrition to their crostini, whole wheat bread is a great option. Rye bread can be a nice option if you prefer its flavor to the crostini, for those looking to experiment with different flavors. It is important to choose a bread that you like, and one that will complement the flavors of the steak and feta. These are all great options.

Steak Preparation

To make the perfect steak for topping crostini, heat a skillet over medium-high heat and season the steak with salt and pepper. Sear the steak on both sides for 2-4 minutes, or until it’s cooked to your desired doneness. Once the steak is cooked, remove it from the skillet and let it rest for 3-5 minutes. Slice the steak against the grain into thin strips. Serve the steak on crostini, along with feta cheese, fresh herbs and other desired toppings. The combination of steak and feta on a crispy crostini is a powerful flavor combination that will tantalize your taste buds.

Cheese Alternatives

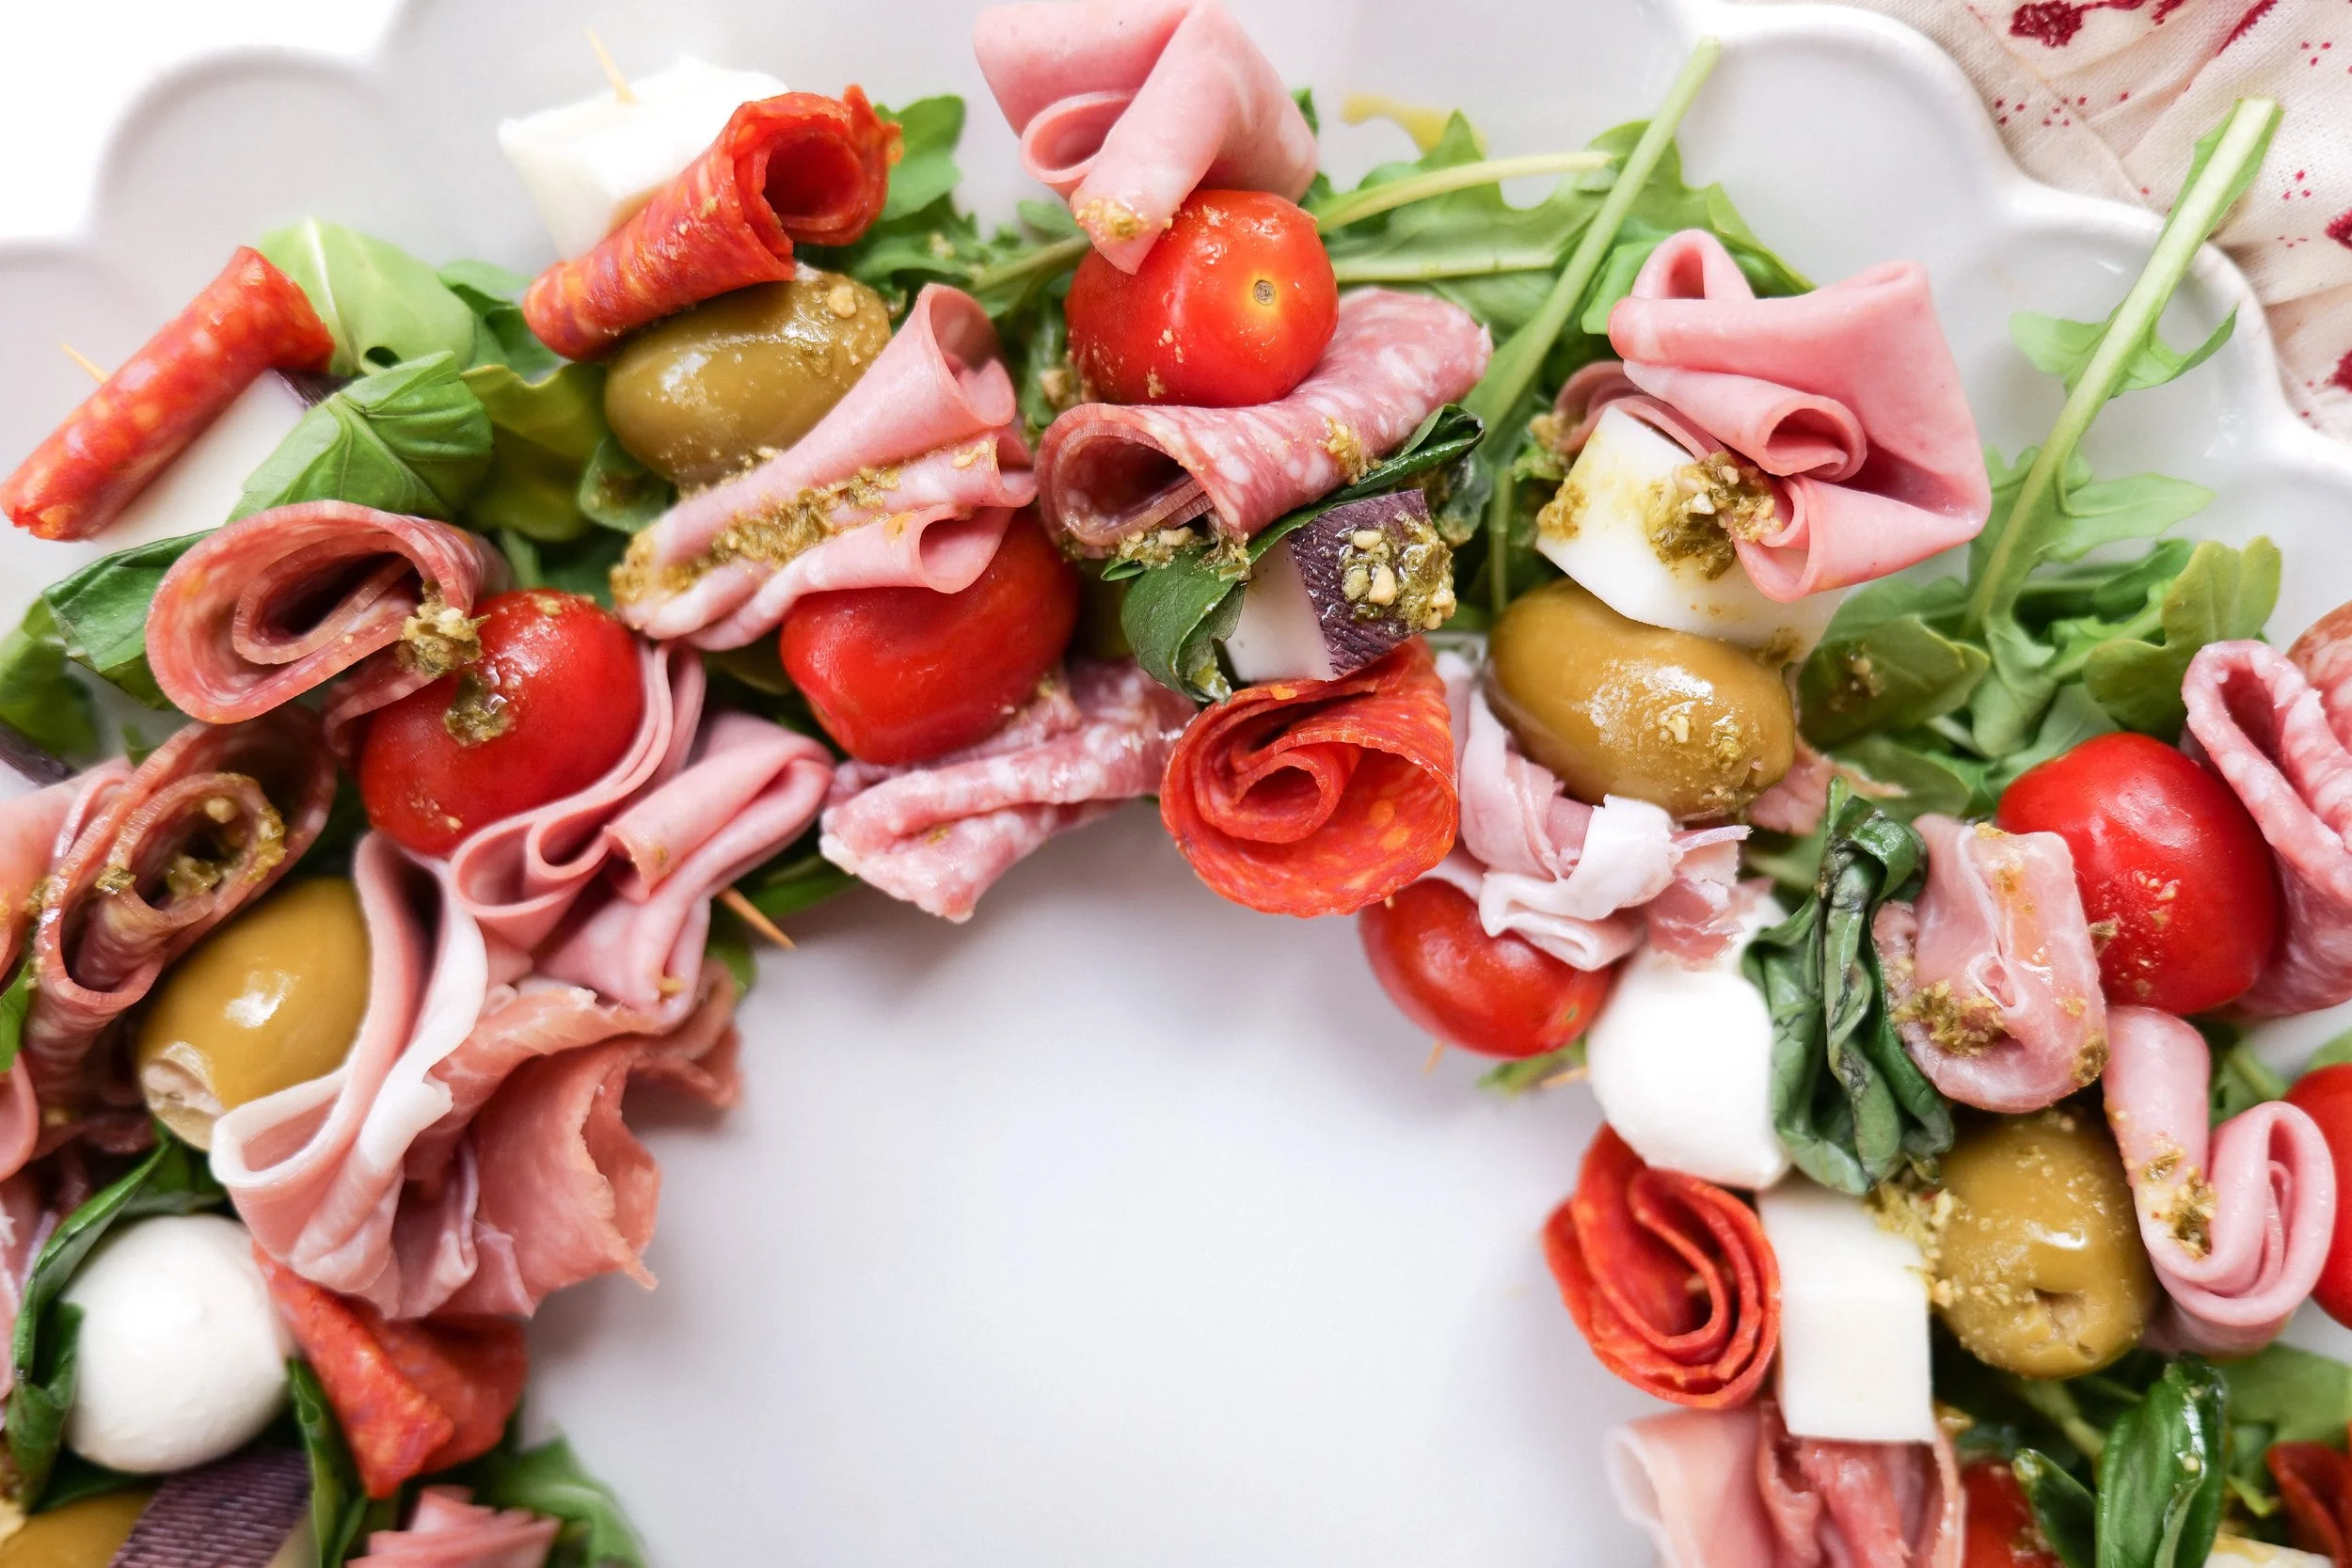
If you're looking for an alternative cheese to top your steak and feta crostini, you should consider trying crumbled goat cheese, blue cheese, or gorgonzola. All of these cheeses provide a creamy, tangy flavor that pairs well with steak and makes a delicious alternative to feta. Goat cheese and blue cheese are milder in flavor than feta, while gorgonzola is a bit stronger but still delicious. Additionally, if you're looking for a more mild cheese, you could opt for a brie or mozzarella. Whichever cheese you choose, you can be sure that your steak and feta crostini will be a delicious and flavorful dish.

Ingredients

1 pound ribeye steak

1 French baguette

3 tablespoons melted Butter

6 oz feta cheese

4 oz Greek yogurt

3 tablespoons extra virgin olive oil

2–3 tablespoons water

Salt & pepper, to taste

Basil pesto spread

Instructions

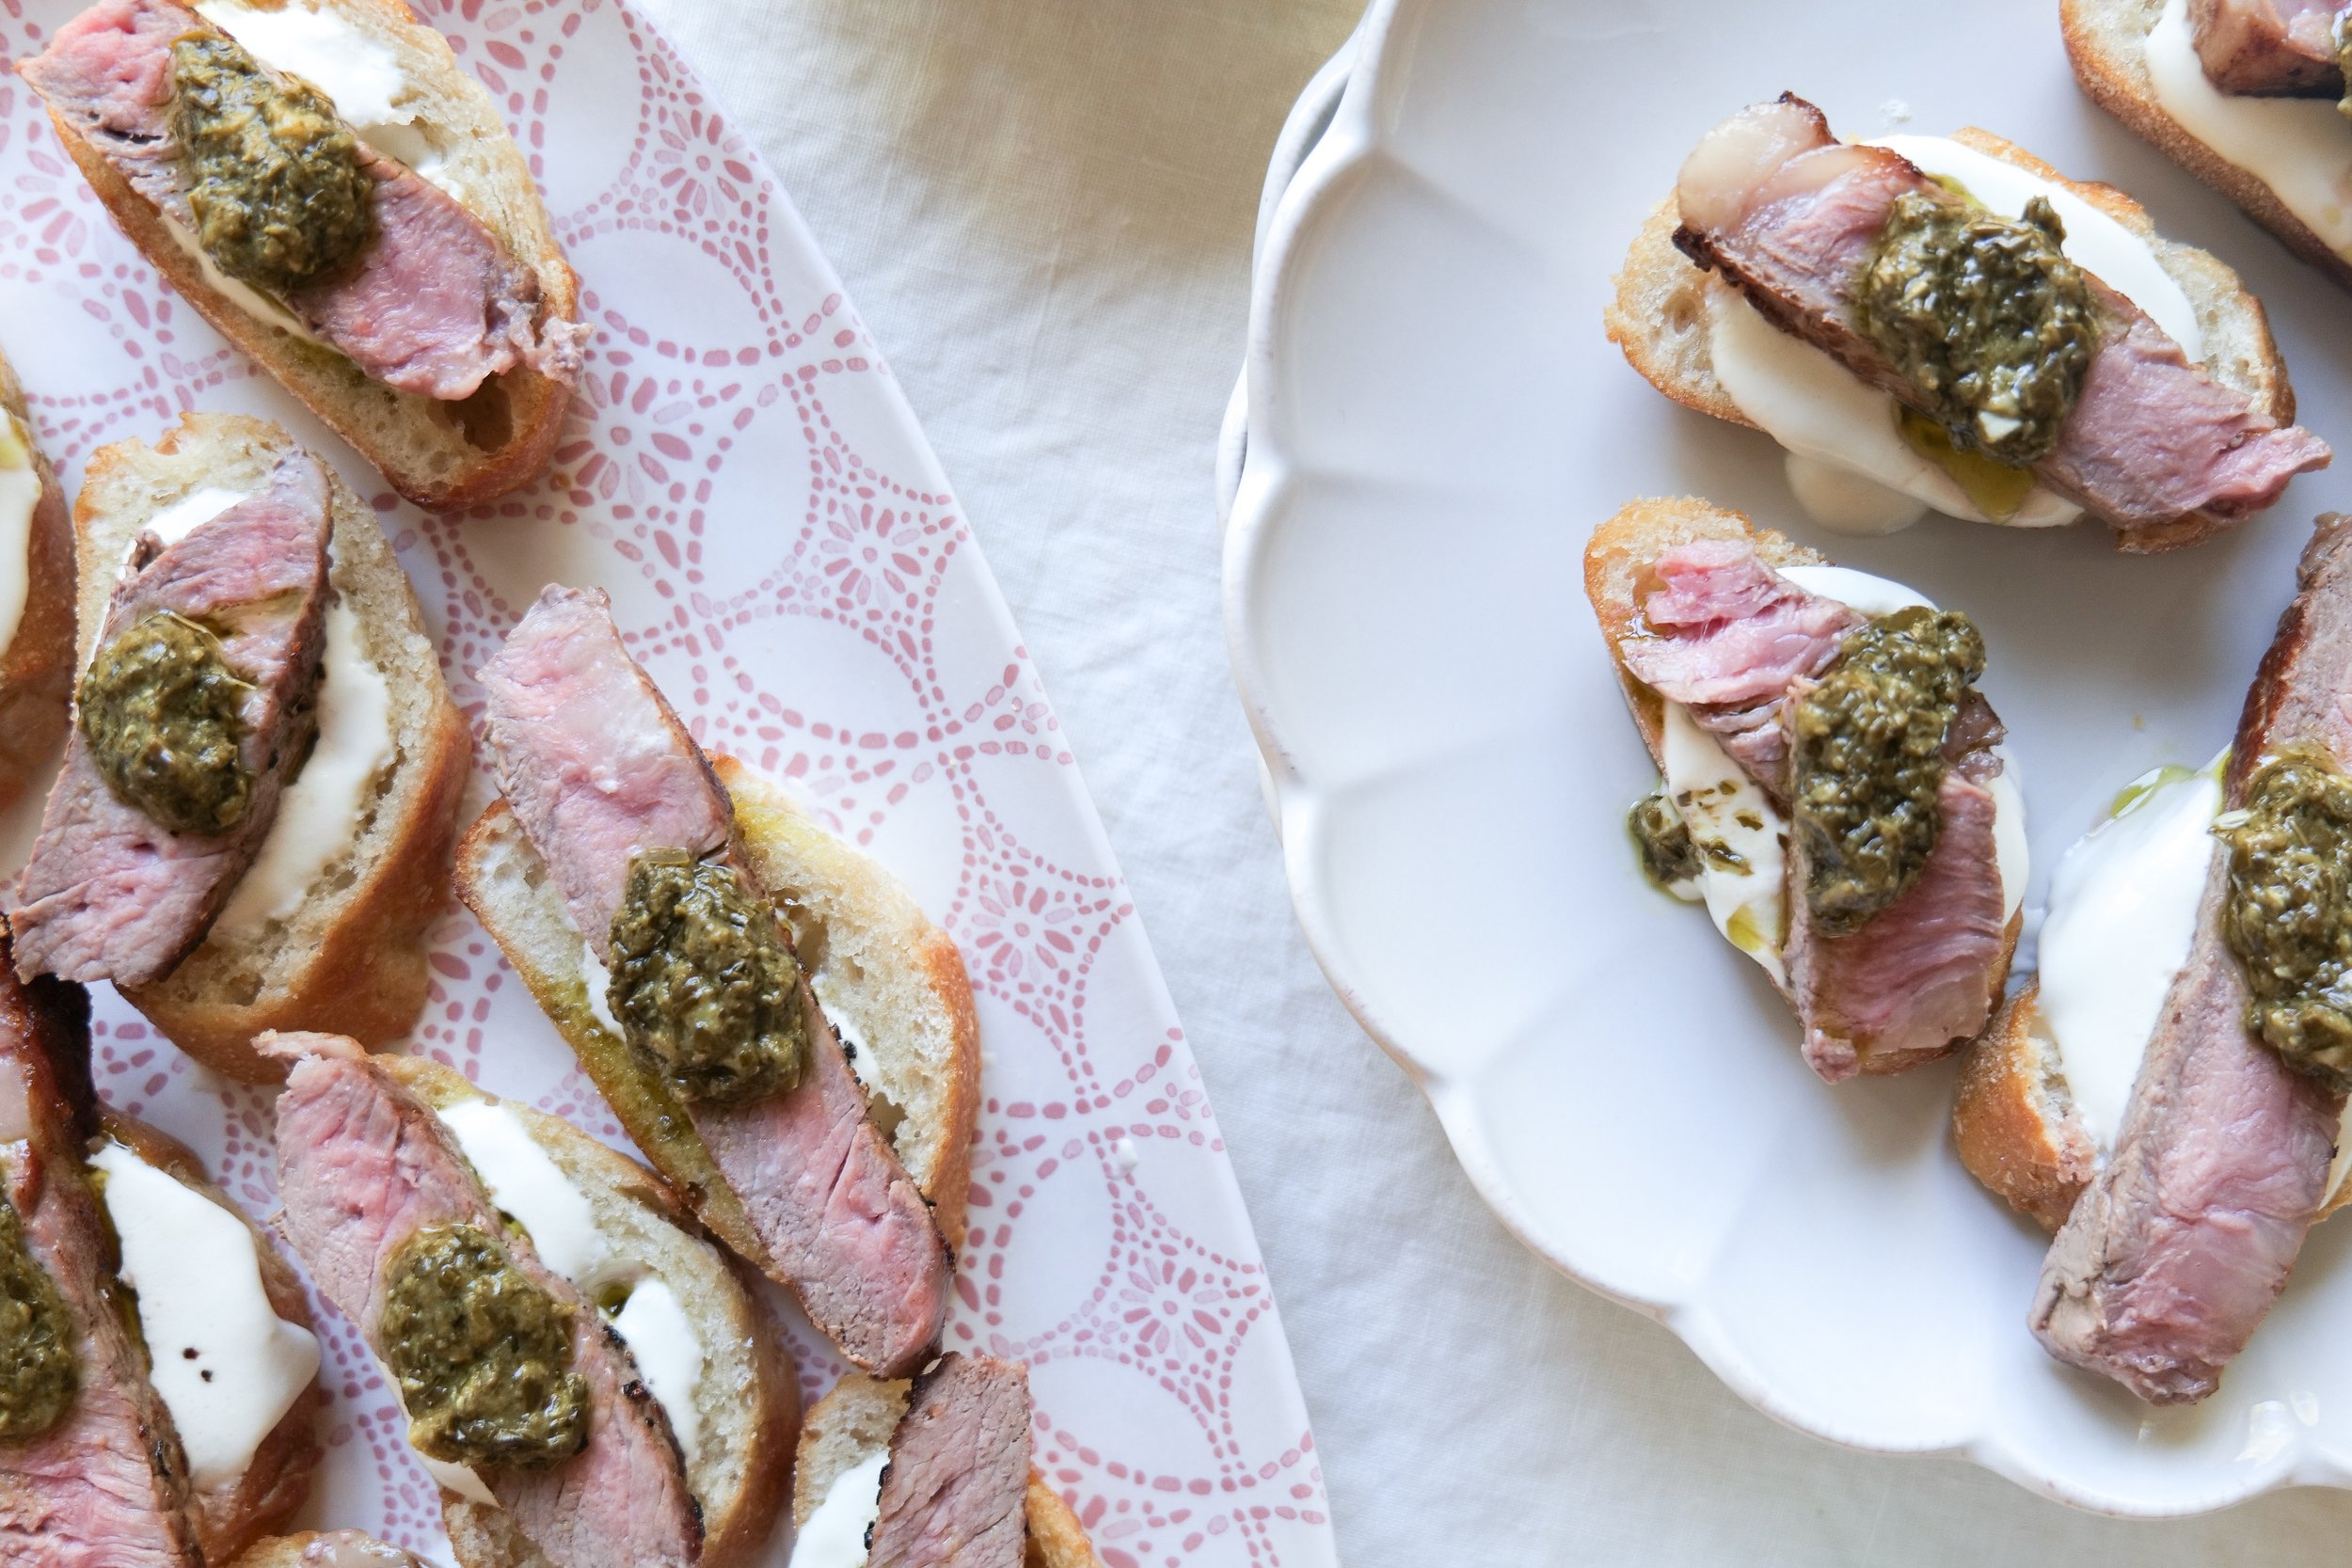
1. Arrange the baguette slices on a large baking sheet. Lightly brush both sides of the bread with melted butter. Place bread under the broiler for 1-2 minutes on each side until lightly brown. Briefly set the crostini aside to cool.

2. Pat both sides of the steak with a paper towel. Season with salt and Pepper to taste. Add 1 tablespoon of butter to a heated skillet and add prepped Ribeye steak cooking both sides for three minutes. Remove the steaks to a cutting board and let them rest for 10 minutes before thinly slicing them against the grain.

3. While the steak is resting, make the whipped feta. Add crumbled feta, greek yogurt, olive oil, and water and blend until smooth and well blended. Prepare the crostini by layering bread, feta mixture, a thinly sliced steak, and pesto on top. Serve & enjoy your steak crostini!

Other Hearty Appetizer Recipes:

A Crowd-Pleasing Stuffed Mushroom Recipe

5 Ingredient Bacon Ranch Football Shaped Cheese Ball

Create a Delicious Layered Hummus Dip for Your Next Snack or Appetizer

Delight Your Guests with an Antipasto Christmas Wreath

Indulge in the Sweet & Salty Deliciousness of Peach Baked Brie

Are you looking for the perfect appetizer to serve at your next gathering? Look no further! This Sweet & Salty Peach Baked Brie Recipe is sure to be a hit with your guests. The combination of sweet and salty flavors, creamy cheese, and juicy peaches creates a tantalizing dish that is sure to have everyone asking for more. With a few simple ingredients and a few easy steps, you can whip up this delicious appetizer in no time. Read on to find out how to make this delicious Sweet & Salty Peach Baked Brie Recipe!

Simply bake the Brie in the oven and top with the peaches, butter, and brown sugar mixture when done. When the Brie is finished baking, the result is an irresistible appetizer with a creamy texture and a delicious sweet and salty flavor. Serve this dish warm with crackers or crusty bread and be sure to prepare enough for seconds - this recipe is sure to be a crowd-pleaser at your next gathering.

Full Video of Peach Baked Brie Being Made on Instagram

Ingredients

1 wheel of brie cheese

2 juicy fresh peaches

1/2 cup dark brown sugar

3 tablespoons butter

1 tablespoon flour

Instructions

1. Preheat your oven to 350°F. Place a wheel of brie in an oven-proof dish and score the top with a knife in a crisscross pattern. Bake for 10 to 15 minutes, until the cheese is soft and bubbling.

2. While brie is baking in a stovetop pan melt butter and let brown. Once butter gets a nutty smell add in dark brown sugar and stir to combine. Slice peaches thinly and add to butter/brown sugar mix. Stir occasionally and let juices marry into peaches for 3-5 minutes or until the brie is ready.

3. Once the cheese has reached the desired texture, it's time to serve! Transfer the brie tp a plate and top with peach mixture. Serve and enjoy with your favorite crackers, toast points, or a sliced baguette. You can also add chopped pecans for an added crunch.

Creating the Perfect Memorial Day Charcuterie Board

Memorial Day is a holiday dedicated to the remembrance of those brave heroes who have died in service of our country. In my world, anytime you have a gathering of close friends, family, and loved ones, a good charcuterie board is a great way to celebrate. On this day your board can follow the theme and help to show off your patriotism while bringing friends and family together for a special celebration of remembrance. This board is the perfect snack to enjoy while watching the parade or just spending valuable time with family. With its colorful array of fruits, veggies, meats, cheeses, and other items, this board will be sure to make your Memorial Day a special one.


Why We Love This Idea for Memorial Day

With the variety of meats, cheeses, and fruits available, you can create a unique charcuterie board that will be sure to impress your guests. Start by selecting a variety of meats, such as prosciutto, salami, and pepperoni. Add some cheeses, such as cheddar, brie, and blue cheese. Then, add some fruits and vegetables to your board, anything that adds reds, whites and blues is perfect for any patriotic celebration! Your Memorial Day Charcuterie Board will be a delicious way to share in the spirit of the holiday. Enjoy some quality time with your loved ones and savor the flavors of the season. Whether you’re hosting a backyard barbecue or just having a relaxing evening at home, a charcuterie board is the perfect way to mark the occasion. So, get creative and show off your patriotism with a Memorial Day Charcuterie Board.

How to Make Your Charcuterie Board a Patriotic Theme

Memorial Day is the perfect time to get creative with your charcuterie board. Start with a red, white, and blue background, like a red plate, a white plate, and a blue platter. Add some bright and festive fruits and vegetables to your board, such as strawberries, blueberries, pomegranates, blackberries and raspberries. Cheese is also an essential part of any charcuterie board, and classic varieties like cheddar, bleu cheese, and brie are sure to be a hit. Include some charcuterie meats like salami, prosciutto, and pepperoni for added flavor. Add some jams and spreads like strawberry jam, blueberry jam, cranberry jam or anything red or blue to your board for a sweet touch. Make sure to include some crackers and breads like baguettes, crostini, and crackers for scooping up all the deliciousness. Add in some nuts like almonds, cashews, and walnuts for a salty and crunchy element where you see any space on the board. Lastly, grab your star-shaped cookie cutter. You can cut out watermelon cubes as I did here, cheese slices, or a star in the middle of your brie and fill it with jelly or pomegranate seeds. With these tips, you'll have the perfect Memorial Day charcuterie board in no time.

What Type of Board to Use When Making a Charcuterie Board?

Memorial Day is the perfect time to get together with family and friends and enjoy a delicious charcuterie board. Whether you’re hosting a backyard barbecue or having a picnic in the park, a charcuterie board is sure to be the perfect centerpiece. When creating a charcuterie board, the first thing to consider is the board itself. A wooden board is the most ideal choice for creating a charcuterie board. Its natural surface provides an attractive backdrop for the food items and also makes it easier to clean once the board is finished. Ceramic, slate, and marble boards are also great options for making a charcuterie board. These materials all create a stunning presentation for the food and they are also easy to clean. For a truly unique charcuterie board, you can use a cutting board made of bamboo. Bamboo is a natural material that looks beautiful and is also easy to maintain. For this board, I used a large white tray with handles that made this a perfect “board” to travel outside with. It had a soft red edge that went with the theme. You can find similar boards that will be perfect for your Memorial Day charcuterie board by following the link below! So, this Memorial Day, make a charcuterie board to celebrate the occasion in style!

What Types of Drinks Pair Well with a Memorial Day Charcuterie Board?

For a festive start to the evening, why not try a glass of sparkling wine? Sparkling wine is a classic pairing for charcuterie boards, and for the best flavor choose a dry, high-acid sparkling wine. If you’re looking for festive cocktails, then why not opt for a classic gin and tonic or a Moscow mule? I also linked some delicious cocktail recipes below that I love to make in the summer months! Alternatively, a cold beer is always a great choice when enjoying a charcuterie board. If you’re a beer drinker, opt for something light and refreshing like a pilsner or pale ale.

For a truly memorable Memorial Day, creating a charcuterie board and pairing it with drinks is a great way to celebrate. Enjoy a glass of sparkling wine, a classic cocktail, or a cold beer with your board for the perfect Memorial Day celebration.

How Long Does a Memorial Day Charcuterie Board Take to Make?

A Memorial Day Charcuterie Board is the perfect way to celebrate the holiday in style. With minimal effort and some planning, you can make a beautiful board in as little as 15 minutes. If you plan ahead with a good grocery list, you can have your board ready in no time for a Memorial Day celebration. If you are pressed for time you can make ahead and refrigerate as well. All you need to do is pick out your favorite meats and cheeses, along with a variety of crackers, jams, and other accompaniments and start assembling. You can also incorporate some Memorial Day-themed items, such as American flags or red, white, and blue decorations, to make your board more festive. By getting creative, you can make your board something truly special. You can also add in a few special touches, like a festive flag or some festive desserts, like chocolate covered pretzels, to make your board even more special.

This Memorial Day, why not pay tribute to the holiday with a delicious charcuterie board? It's a great way to celebrate as friends and family come together, and you don't have to spend hours putting it together. In just 15 short minutes you can create a stunning and scrumptious board that will be the centerpiece of your celebration. So get ready to honor Memorial Day with a fabulous charcuterie board

Other Appetizers & Cocktails to give you inspiration this Holiday:

2023: Charcuterie Board Ideas to Help You Ring in the New Year

Celebrating Mother's Day with a Deliciously Decadent Charcuterie Board

Refreshing Lemon Twist Cocktail

Strawberry Orange Bourbon Smash

3 Mexican Mule Recipes with a Twist!

Celebrating Mother's Day with a Deliciously Decadent Charcuterie Board

Mother's Day is the perfect time to show appreciation for all the amazing mothers in our lives. What better way to show it than with a beautiful and delicious charcuterie board? Whether you’re planning an intimate gathering with your mom or showing appreciation for all the mothers in your life, a charcuterie board is a perfect way to make all those special women feel extra special. This blog post will go over the steps required to create a stunning and delicious Mother's Day charcuterie board that can double as both a lovely gift, and as one of your appetizers for the day!

Tired of Creating Boring Charcuterie Boards??

Treat your mom to something special this Mother’s Day with a delicious and beautiful charcuterie board! With a little extra effort, you can up your charcuterie game and give your Mom a gift that keeps on giving. For an extra special personal touch, add some of your Mom’s favorite treats. Get creative with your board by adding colorful fruits, homemade dips, and spreads, as well as cookie cutters and garnishes. Transform your board into a work of art with thematic colors and decorations, and elevate it with unique charcuterie meats, cheeses, and crackers. Show your mom how much you love her this Mother’s Day with a charcuterie board made with love and care and personal touches.

This board I made spelled out MOM in pomegranate seeds! This can obviously be made into any word or number for a birthday party! This can help to highlight the guest of honor and feel very personal in a lovely way. To easily do this just buy the amount of small brie rounds needed, I found these at Trader Joe's. Then, I cut the word MOM out into each round. I first traced it out and then made a larger hole so the pomegranate seeds can easily fit in. If you don't do this it may cause the cheese to split. Place your seeds in the cutout letters and add them to your board. This gives a uniqueness to your Charcuterie board but also is using 3-dimensional characters that are so beautiful and fun! Next, you will Fill in the rest with delicious meats, cheeses and accouterments. Not sure what to put? Read on!

How to Make a Mother’s Day Charcuterie Board

A charcuterie board is the perfect way to show your love to the special Mom in your life. To assemble the perfect charcuterie board, gather a variety of cheeses, crackers, meats, fruits and vegetables. Arrange the items on a large wooden board or platter with the cheeses in the center and surround them with meats, crackers, fruits and vegetables. Small bowls of olives, nuts, jams and chutneys can be added for extra flavors and to make the board look even more impressive. Decorate the board with edible flowers, herbs or edible decorations to make the board look even more special. To make the board even more special, present it with a personalized card or gift for the special Mom.

Charcuterie boards are an easy way to feed a crowd without spending a lot of money. Plus, it is an activity that the whole family can enjoy together. You can take it a step further and get creative by adding a personalized message to the board like MOM spelled out in pomegranate seeds. Mom will love it!

If you’re ready to create the perfect charcuterie board for Mother’s Day, here are some tips for success. Start by gathering a variety of cheeses, meats, fruits, and vegetables. Place the items in an eye-catching pattern and add some decorations to make it look even more special. Finally, don’t forget to include some crackers, bread, or nuts to complete the board. I always start with the larger items on the board first, and then fill in with smaller ones in different areas. Another trick I do to make the board look cohesive (and not spend a lot on 100 different items) is to use the same item at different spots on the board. So if I am using strawberries, I put a few in one spot and a few in another spot on a different part of the board.

Ingredients Used:

Mother's Day is the perfect time to show your Mom just how much you appreciate her and all she has done for you. Whether your Mom is a just cheese and wine lover, or a charcuterie fan, a charcuterie board is a perfect way to show your love and appreciation. A charcuterie board is a great way to show your mom that you care and that you put lots of thought into her gift.

A charcuterie board typically consists of a variety of cheeses, cured meats, olives, fresh fruits, nuts, sweet treats, pickles, hummus, spreadable cheese, dried fruits, jam, crudités, croutons, pesto, and dip or salsa. All these items can be found in the grocery store or your local specialty food shop. Some of my favorite places to go are Trader Joe's, HEB, Whole Foods and Kroger. They all have great cheese sections and the freshest produce!

Put together a charcuterie board for your Mom this Mother's Day. Start with a selection of crackers, then add a variety of cheeses like cheddar, brie, gouda, and blue cheese. Assemble a selection of cured meats like salami, pepperoni, and prosciutto. Add olives, fresh fruits, and nuts for a crunchy texture. Don't forget the sweet treats like chocolates and cookies. Include pickles, hummus, spreadable cheese, dried fruits, jam, crudités, croutons, pesto, and dip or salsa. Lastly, don't be afraid of overlapping on the board. You want it to feel full not like you need more items. Overlapping adds even more added texture and beauty to your board.

Tools Needed:

To make a beautiful charcuterie board, you will need a few essential items. Start with a good quality cutting board, a cheese knife, and a charcuterie board. Other tools I sometimes use are a mixture of bowl sizes, cheese knives and honey stir. Once you add to this a variety of cheeses, cured meats, fresh and dried fruits, nuts, olives, crackers, bread slices, pickles, jam or honey, and dips and spreads you will be able to create the perfect board. This will give you a great selection of items to choose from and an easy way to build a board.

Now that your charcuterie board is ready, it’s time to enjoy! Serve the board with a selection of beverages and let everyone dig in. A tasty Mother's Day charcuterie board is sure to be a hit and will make the day even more special for Mom.

Charcuterie Board Tips & Tricks

This Mother's Day, treat your Mom to a special charcuterie board! Start with a variety of meats, such as salami, prosciutto, and ham, as the base of the board. Include items like nuts, olives, and crackers for crunch, as well as a mix of cheeses, like cheddar, brie, and goat cheese. Layer fresh fruit, such as grapes, strawberries, and blueberries for a burst of color and sweetness. Place a few sweet treats, like jams, honey, and dark chocolate, to add a little extra indulgence. Top it off with fresh herbs, edible flowers, and edible glitter to give it that special touch. For even more flavor, provide a variety of dips and spreads, such as hummus, pesto, and tapenade. To make your charcuterie board truly unique, include something unexpected, like pickled vegetables, dried fruit, and roasted nuts. Finally, use a variety of colors, shapes, and textures to create a visually appealing board that’s sure to impress. With this charcuterie board, your Mom is sure to have the most memorable Mothers Day ever!

A charcuterie board is a beautiful and fun way to show your Mom how much you care. Not only is it a beautiful centerpiece, but it allows Mom to pick and choose what she wants to snack on. I hope these charcuterie board ideas gave you inspiration for your Mother's Day festivities. Treat your Mom to a special show stopper charcuterie board this Mother's Day and let her know how much she means to you.

Other Charcuterie Board Inspiration:

2023: Charcuterie Board Ideas to Help You Ring in the New Year

Delight Your Guests with an Antipasto Christmas Wreath

How To Make A Christmas Holiday Dessert Board

Other Mothers Day Inspiration:

My Spring Tablescape

Delight Your Guests with an Antipasto Christmas Wreath

Welcome to the Holiday season! With Christmas just around the corner, what better time to get creative with your holiday recipes? One of the most eye-catching and unique dishes to serve for any Christmas gathering is an antipasto Christmas wreath. This delicious and festive dish is sure to be the talk of the table. I think it is so cute that this dish is designed to look like your traditional Christmas wreath, with a variety of savory antipasto ingredients like salami, olives, cherry tomatoes, and cheese. Not only is this dish festive and colorful, but it's also a great way to feed a crowd without having to spend too much time slaving away in the kitchen. Read on to find out how to make stunning antipasto for Christmas Eve or Christmas Day to wow your guests and give them something fun to change up the same old charcuterie boards we have been making all year.

This wreath is the ultimate edible centerpiece that promises to be as visually stunning as it is tantalizing to the taste buds. This culinary creation is both a feast for the eyes and a prelude to the main events of the holiday meal. Prepare to be the host with the most, as we show you how to delight your guests with an Antipasto Christmas Wreath that's guaranteed to be the talk of the table. The fun thing about this antipasto Christmas wreath is you can customize it in so many ways to make it all your own! You can change and swap the cured meats, add marinated artichoke hearts, and drizzle different toppings instead of the olive oil pesto I share below. Other delicious options for drizzle would be balsamic vinegar or garlic butter. YUM! This is one of my favorite recipes that I have found and is such a unique appetizer that is sure to be a hit for your first course of the meal. Another great option is to make this antipasto in the form of a candy cane instead of a wreath. Both are beautiful and perfectly festive for the Christmas season!

Start with a large round platter lined with arugula or green lettuce. Then layer the cured meats, such as salami, prosciutto, and soppressata, and top off the wreath with a variety of cheeses, olives, sundried tomatoes, artichokes, and roasted red peppers. For a festive look, add fresh herbs and edible flowers. Include a few different types of crackers on the side and a bowl of olive oil and balsamic vinegar for dipping. Enjoy the traditional flavors of Italy without leaving your home with this tasty and convenient dish. No cooking necessary - just assemble the ingredients and you're set! Your guests will be delighted by the unique presentation and delicious flavors of this antipasto Christmas wreath. This is a great way to provide an elegant and tasty centerpiece that will impress your guests this holiday season. To complete the experience, serve the wreath with a festive holiday cocktail. Your guests will love it! With a little bit of effort, you can create a beautiful and delicious antipasto Christmas wreath that will be the highlight of your holiday gathering.

Other Appetizers To Serve On The Side Of The Antipasto Wreath

For an appetizer that won't take too much time to prepare, pesto crostini is a great choice. Simply spread pesto on a toasted baguette, top with slices of fresh tomato and you will have a delicious and easy appetizer that is sure to please any crowd. Bruschetta is another classic Italian appetizer that is perfect for a holiday gathering. Fresh tomatoes, basil, and garlic make the perfect topping for a toasted baguette. Stuffed mushrooms are also a great appetizer for your holiday party. Filled with a flavorful mix of herbs, cheese, and breadcrumbs, these mushrooms are sure to be a crowd-pleaser. Finally, antipasto skewers are a colorful and easy way to add some pizzazz to your antipasto Christmas wreath. Olives, artichokes, salami, and other delicious ingredients will make for a great presentation and a tasty treat. Delight your guests with all of these great choices, especially the Antipasto Christmas Wreath this holiday season. With a variety of options to choose from, whatever you prepare is sure to be a hit!

Holiday Antipasto Wreath Ingredients

4 oz salami salami

4 oz pepperoni

4 oz prosciutto

4 oz mortadella

1 pint cherry tomatoes

1 cup blue cheese stuffed olives or similar

8 oz favorite cubed cheese

8 oz Cherry sized mozzarella balls

Mezzetta Basil pesto

Olive oil

Fresh Basil

Arugula or other lettuce to lay down on a plate

Instructions

1. Layer arugula or other lettuce on your round plate of choice. I used a white dish to let the colors of the food stand out but feel free to add in holiday color and texture here also.

2. Lay out all of the ingredients so you can see everything you're using to assemble the antipasto skewers. Grab your skewer and start layering your meats, cheeses, veggies, and herbs! I change it up for each one so if a guest doesn't like one thing on one they can grab another. However, if you like to have more symmetry and keep it simple, then of course make them all the same. I also try to not put the same colors next to each other. So, meats and cherry tomatoes wouldn't go by each other but instead you can add olives, marinated artichokes, and mozzarella balls to add variety and color.

Now that you assembled the skewers and layered them in a wreath pattern you're ready to layer with a light sauce to make it extra delicious! I personally love the pesto & olive oil sauce I make but they give delicious combination variations to this dish. (another option if you are making for a big party is to add all 3 sauces on the side for the guests to pick whatever one they would like!).

3. Mix together the Mezzetta basil pesto and olive oil to your consistency. I add roughly 3 tablespoons. Stir and sprinkle over the antipasto skewers.

4. You can make this ahead of time and leave in the refrigerator in an airtight container and bring it out right before the guests arrive. I hope you ENJOY this recipe and that it gave you lots of inspiration for your holiday appetizers!

Other great recipes to try this holiday season:

A Crowd-Pleasing Stuffed Mushroom Recipe

How to Make the Perfect Pear and Pomegranate Arugula Salad

Slow Cooker Hot Cocoa Bar Station

Chocolate Peanut Butter Brownies

Perfect Pairings: Savor the Flavor with Our Ultimate Steak and Feta Crostini Recipe!

Festive Flavors Unveiled: Crafting a Herb Christmas Tree Focaccia Bread Masterpiece for the Holidays

Indulge Your Taste Buds with The Ultimate Raspberry Pistachio Cheesecake Recipe

A Crowd-Pleasing Stuffed Mushroom Recipe

If you're looking for an easy, crowd pleasing, finger grab appetizer, then look no further than this delicious stuffed mushroom recipe. This appetizer is the perfect start to any Christmas meal, but also just as fitting any time of the year! They are quick and easy to prepare, and sure to be a hit at your next gathering. This tasty dish is packed with flavor, thanks to a combination of creamy cheese, savory herbs, and my secret ingredient...chopped pecans. These are a great way to add some gourmet flair to your next gathering, and to be food friendly to most all types of guests. They are keto and vegetarian, making an incredibly versatile dish to bring to any holiday event. If you don't have anyone coming to your party that is vegetarian, and you want to add some delicious meat, my favorite to add in is Italian sausage for a great and hearty taste. Read on to discover the recipe and how to make these tasty stuffed mushrooms.


My Crowd pleasing stuffed mushroom recipe

Ingredients

15 large baby bell or portobello mushrooms

3 tablespoons butter

2 garlic cloves

1 small yellow onion

1 teaspoon sea salt or kosher salt

1/2 teaspoon black pepper

4 oz cream cheese

1/2 cup grated Parmesan cheese

1/3 cup chopped pecans

3 tablespoons fresh parsley

Instructions

  1. Preheat oven to 400 degrees.

  2. De-stem mushrooms, set aside tops and chop stems.

  3. Take a sauté pan and heat adding butter and chopped mushroom stems. Sauté for 3-5 minutes. Add in chopped onion, garlic cloves, salt and pepper. Cooking until onion is soft and opaque.

  4. Add stove top mixture to softened cream cheese, Parmesan and chopped pecans. Mix until well combined and fill mushroom tops!

  5. Add into a casserole pan (or my personal favorite from 360 cookware the 9 by 13 bake & roast pan) and bake in oven for 20-25 min.

  6. Sprinkle fresh parsley and serve!

For 20% off all 360 cookware use code AMANDAWARREN20

More Appetizer Recipes

Fruit & Goat Cheese Bruschetta

My Italian Seasoning Recipe

3 Easy Homemade Seasoning Recipes