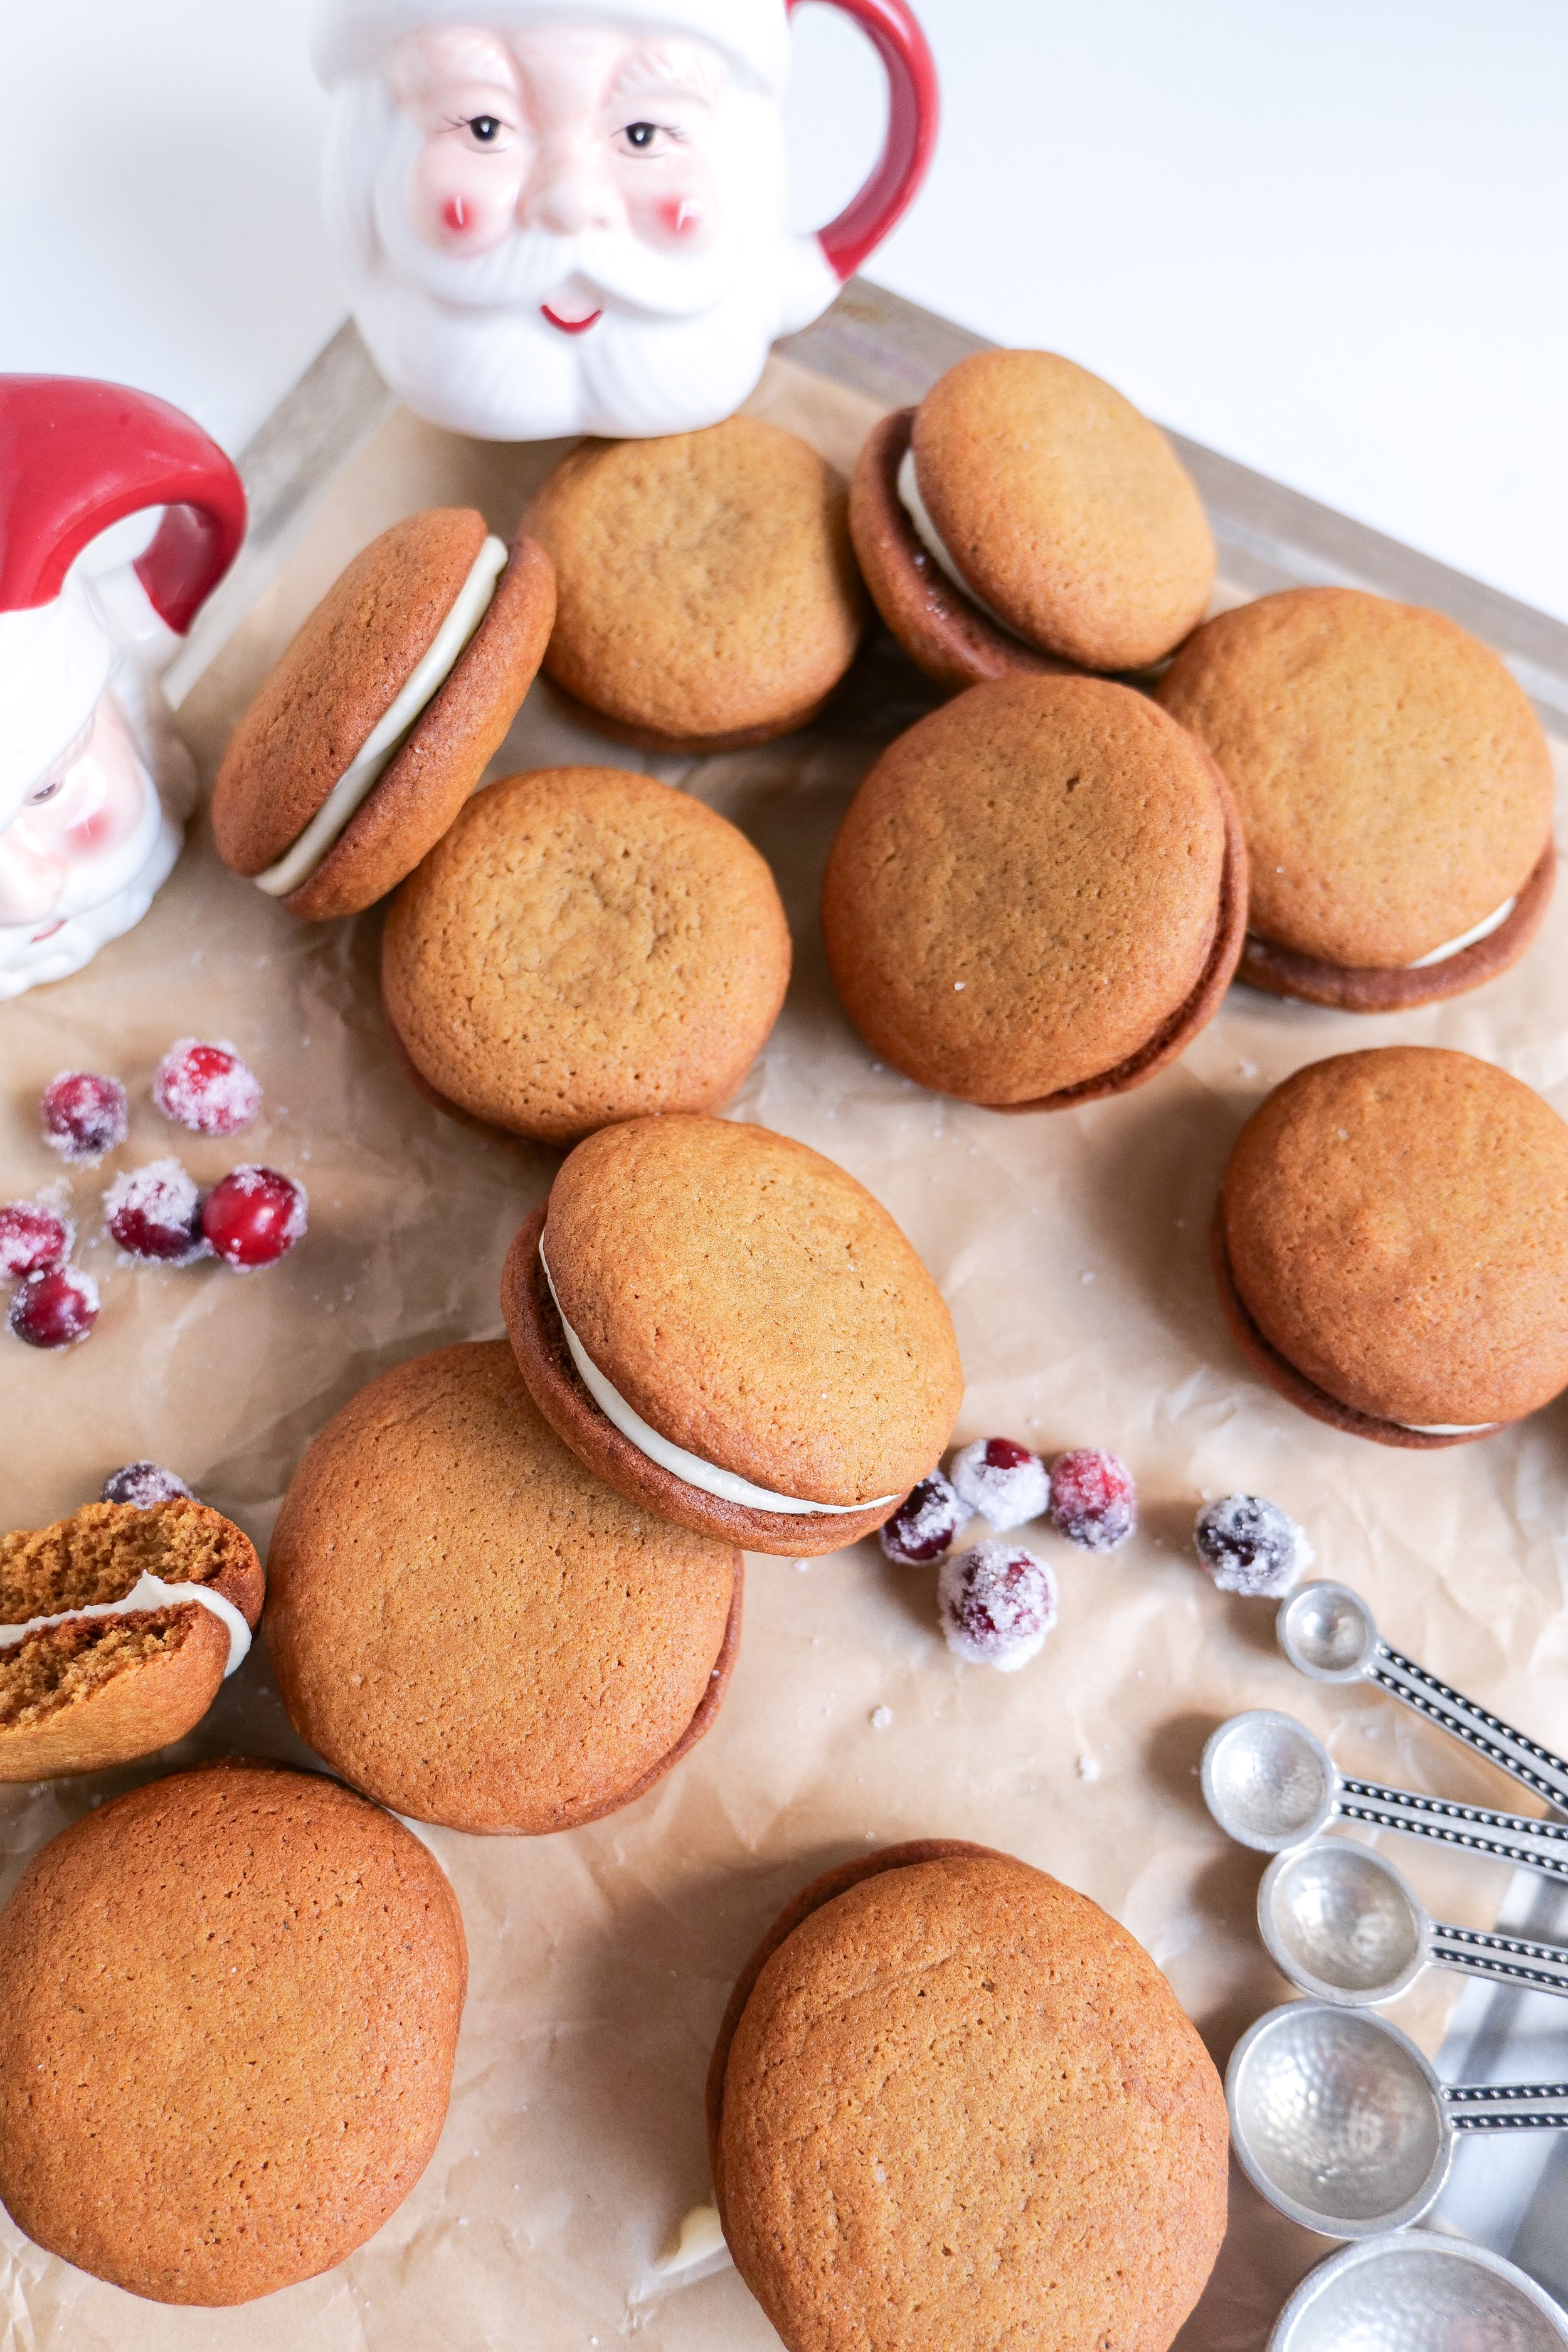
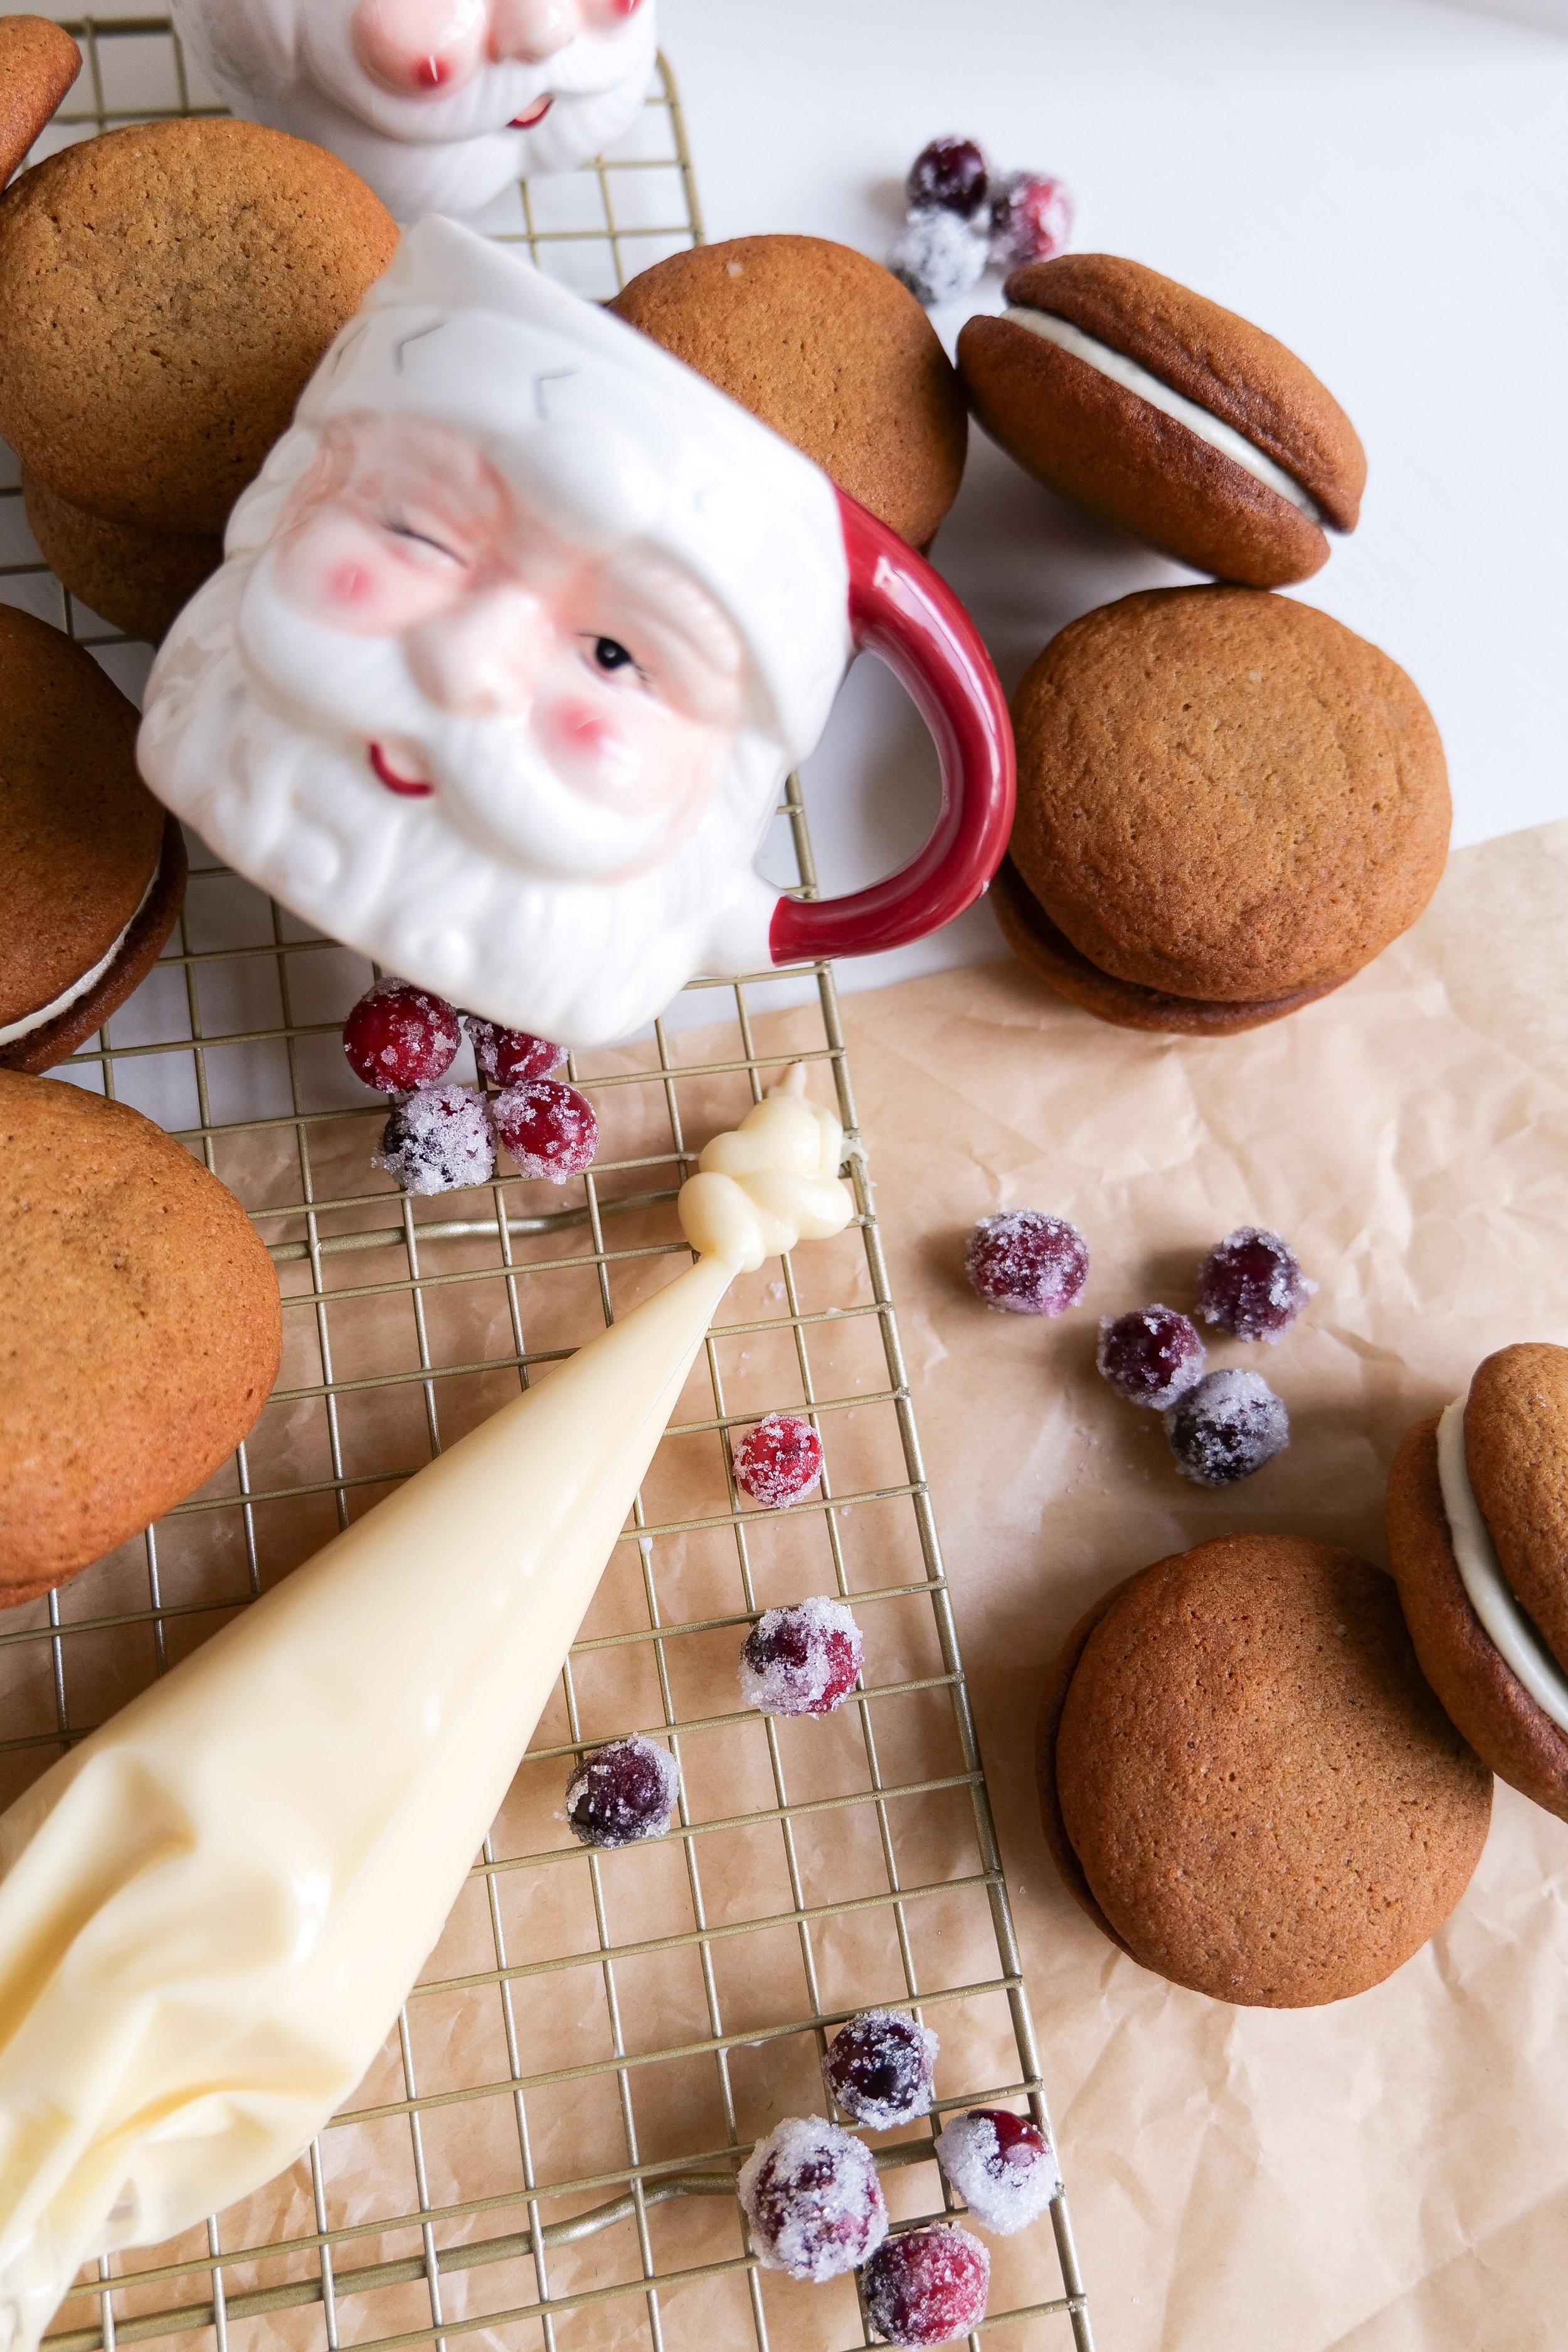
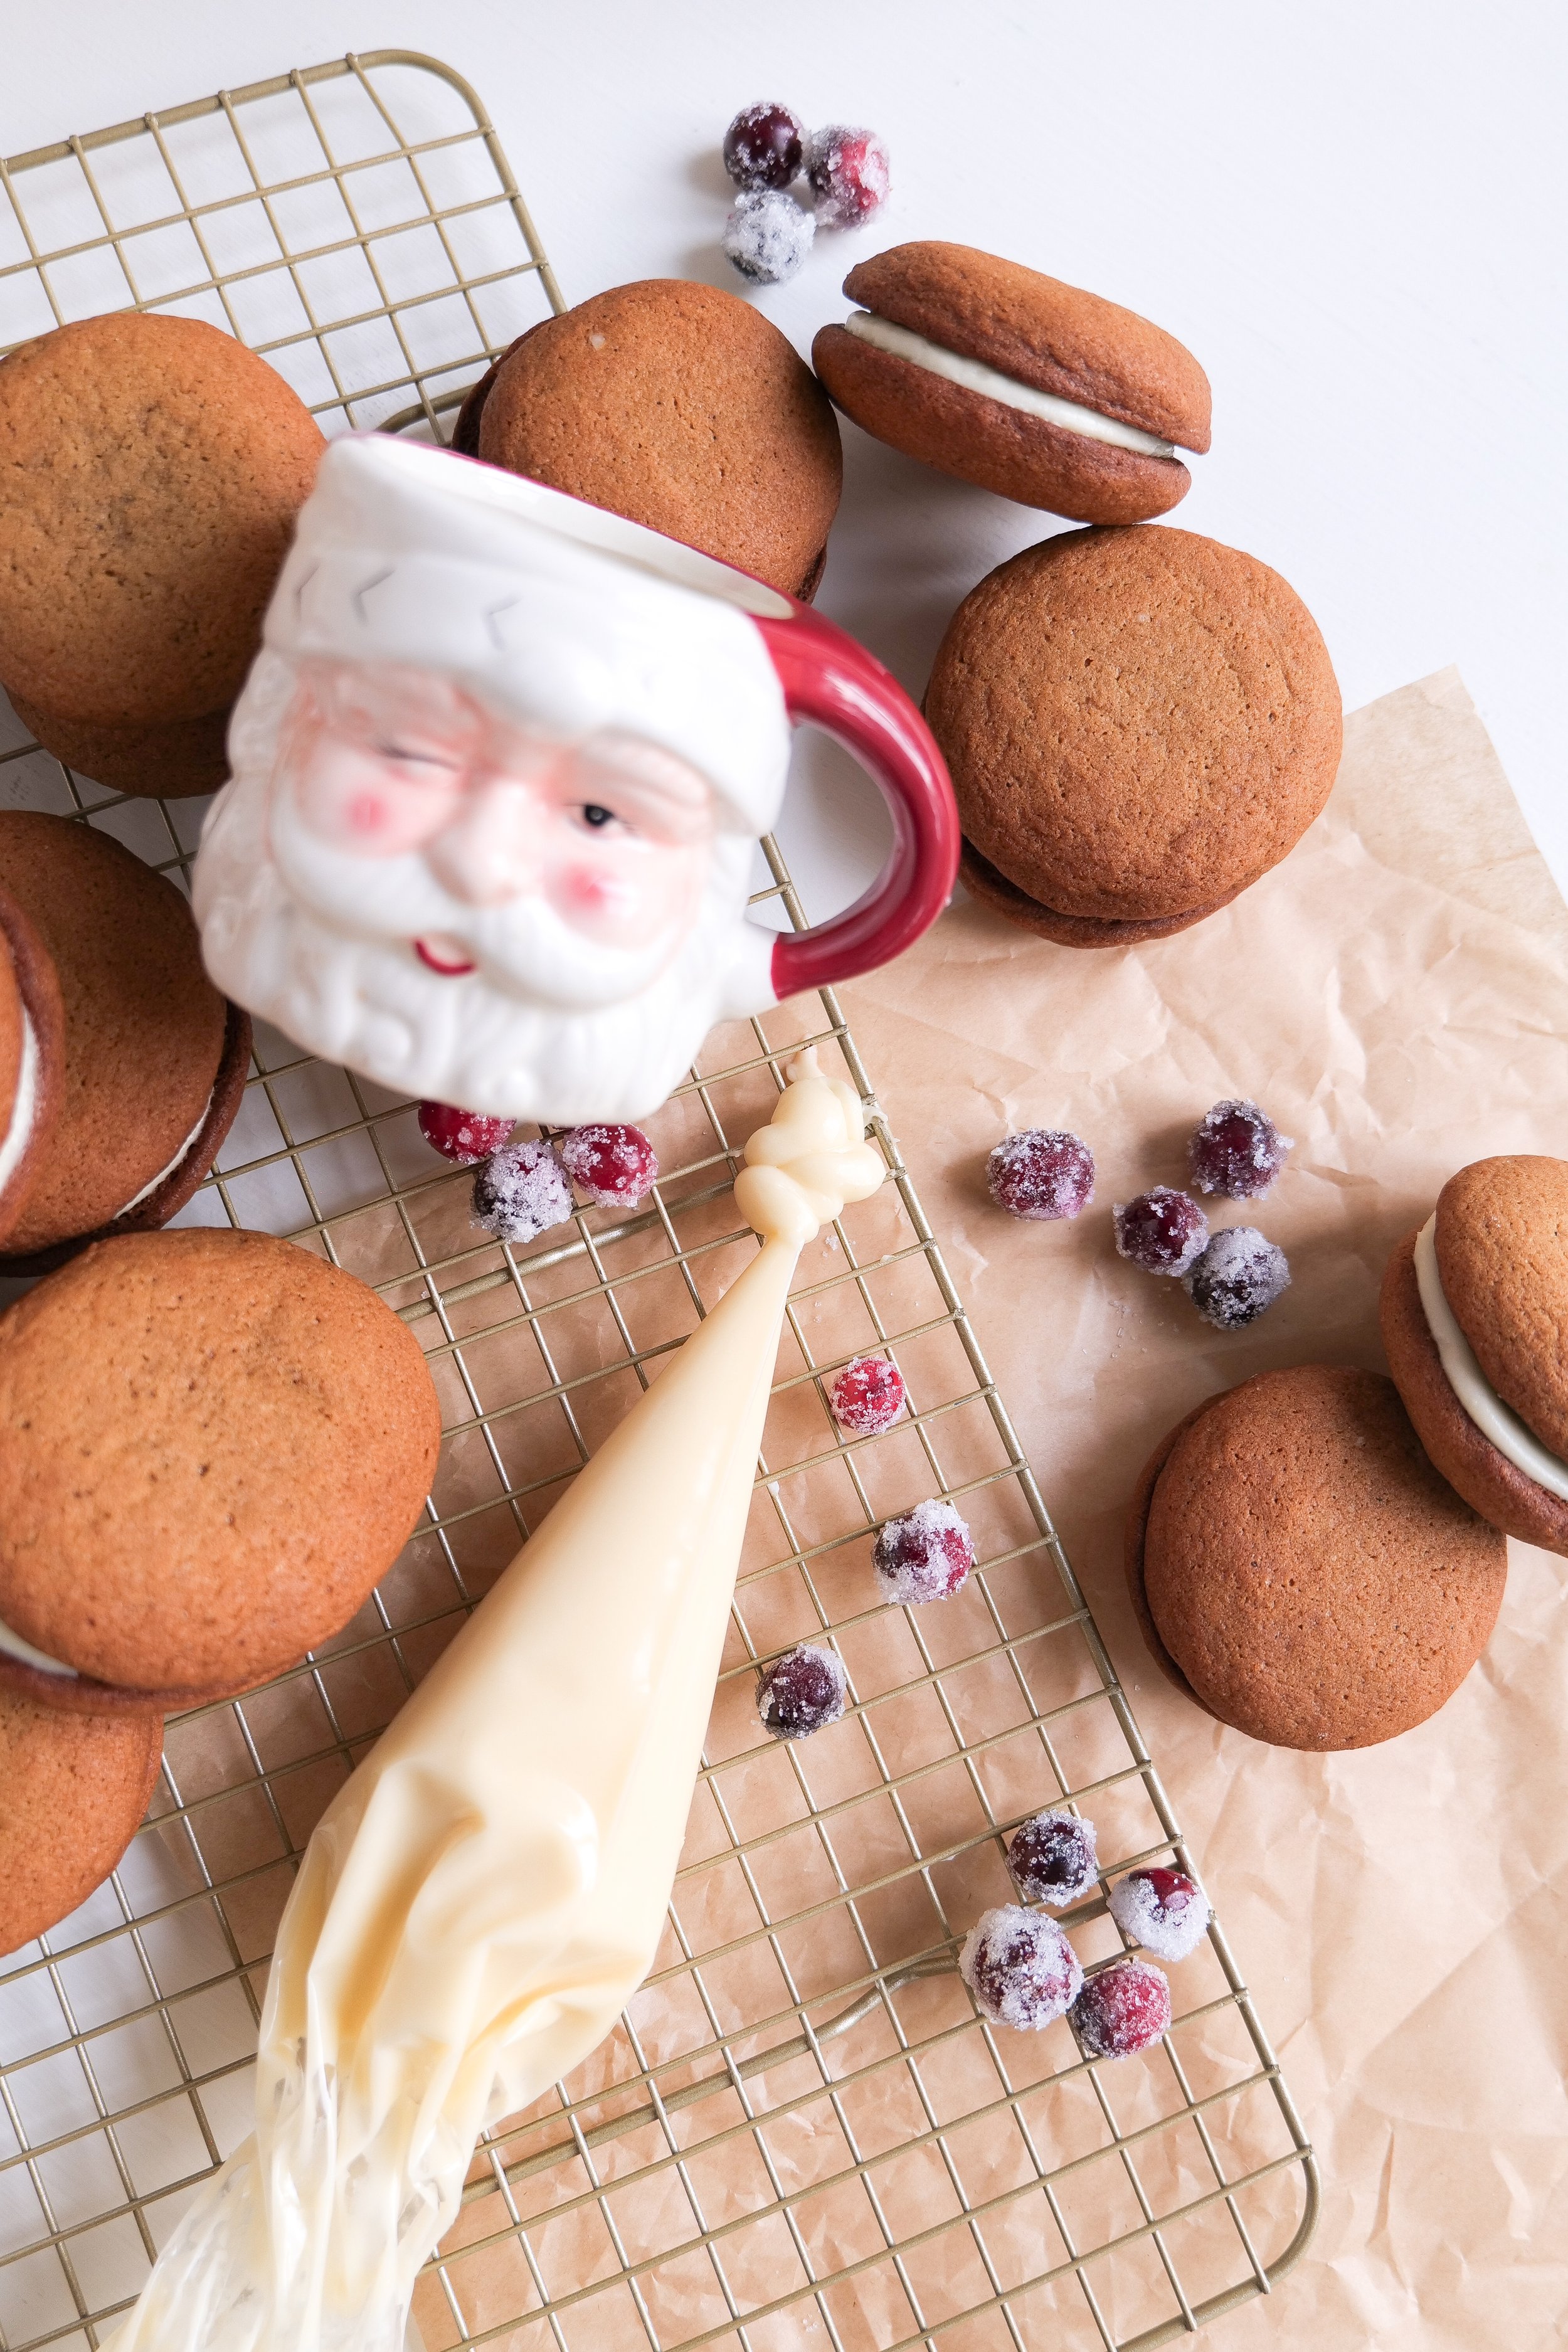
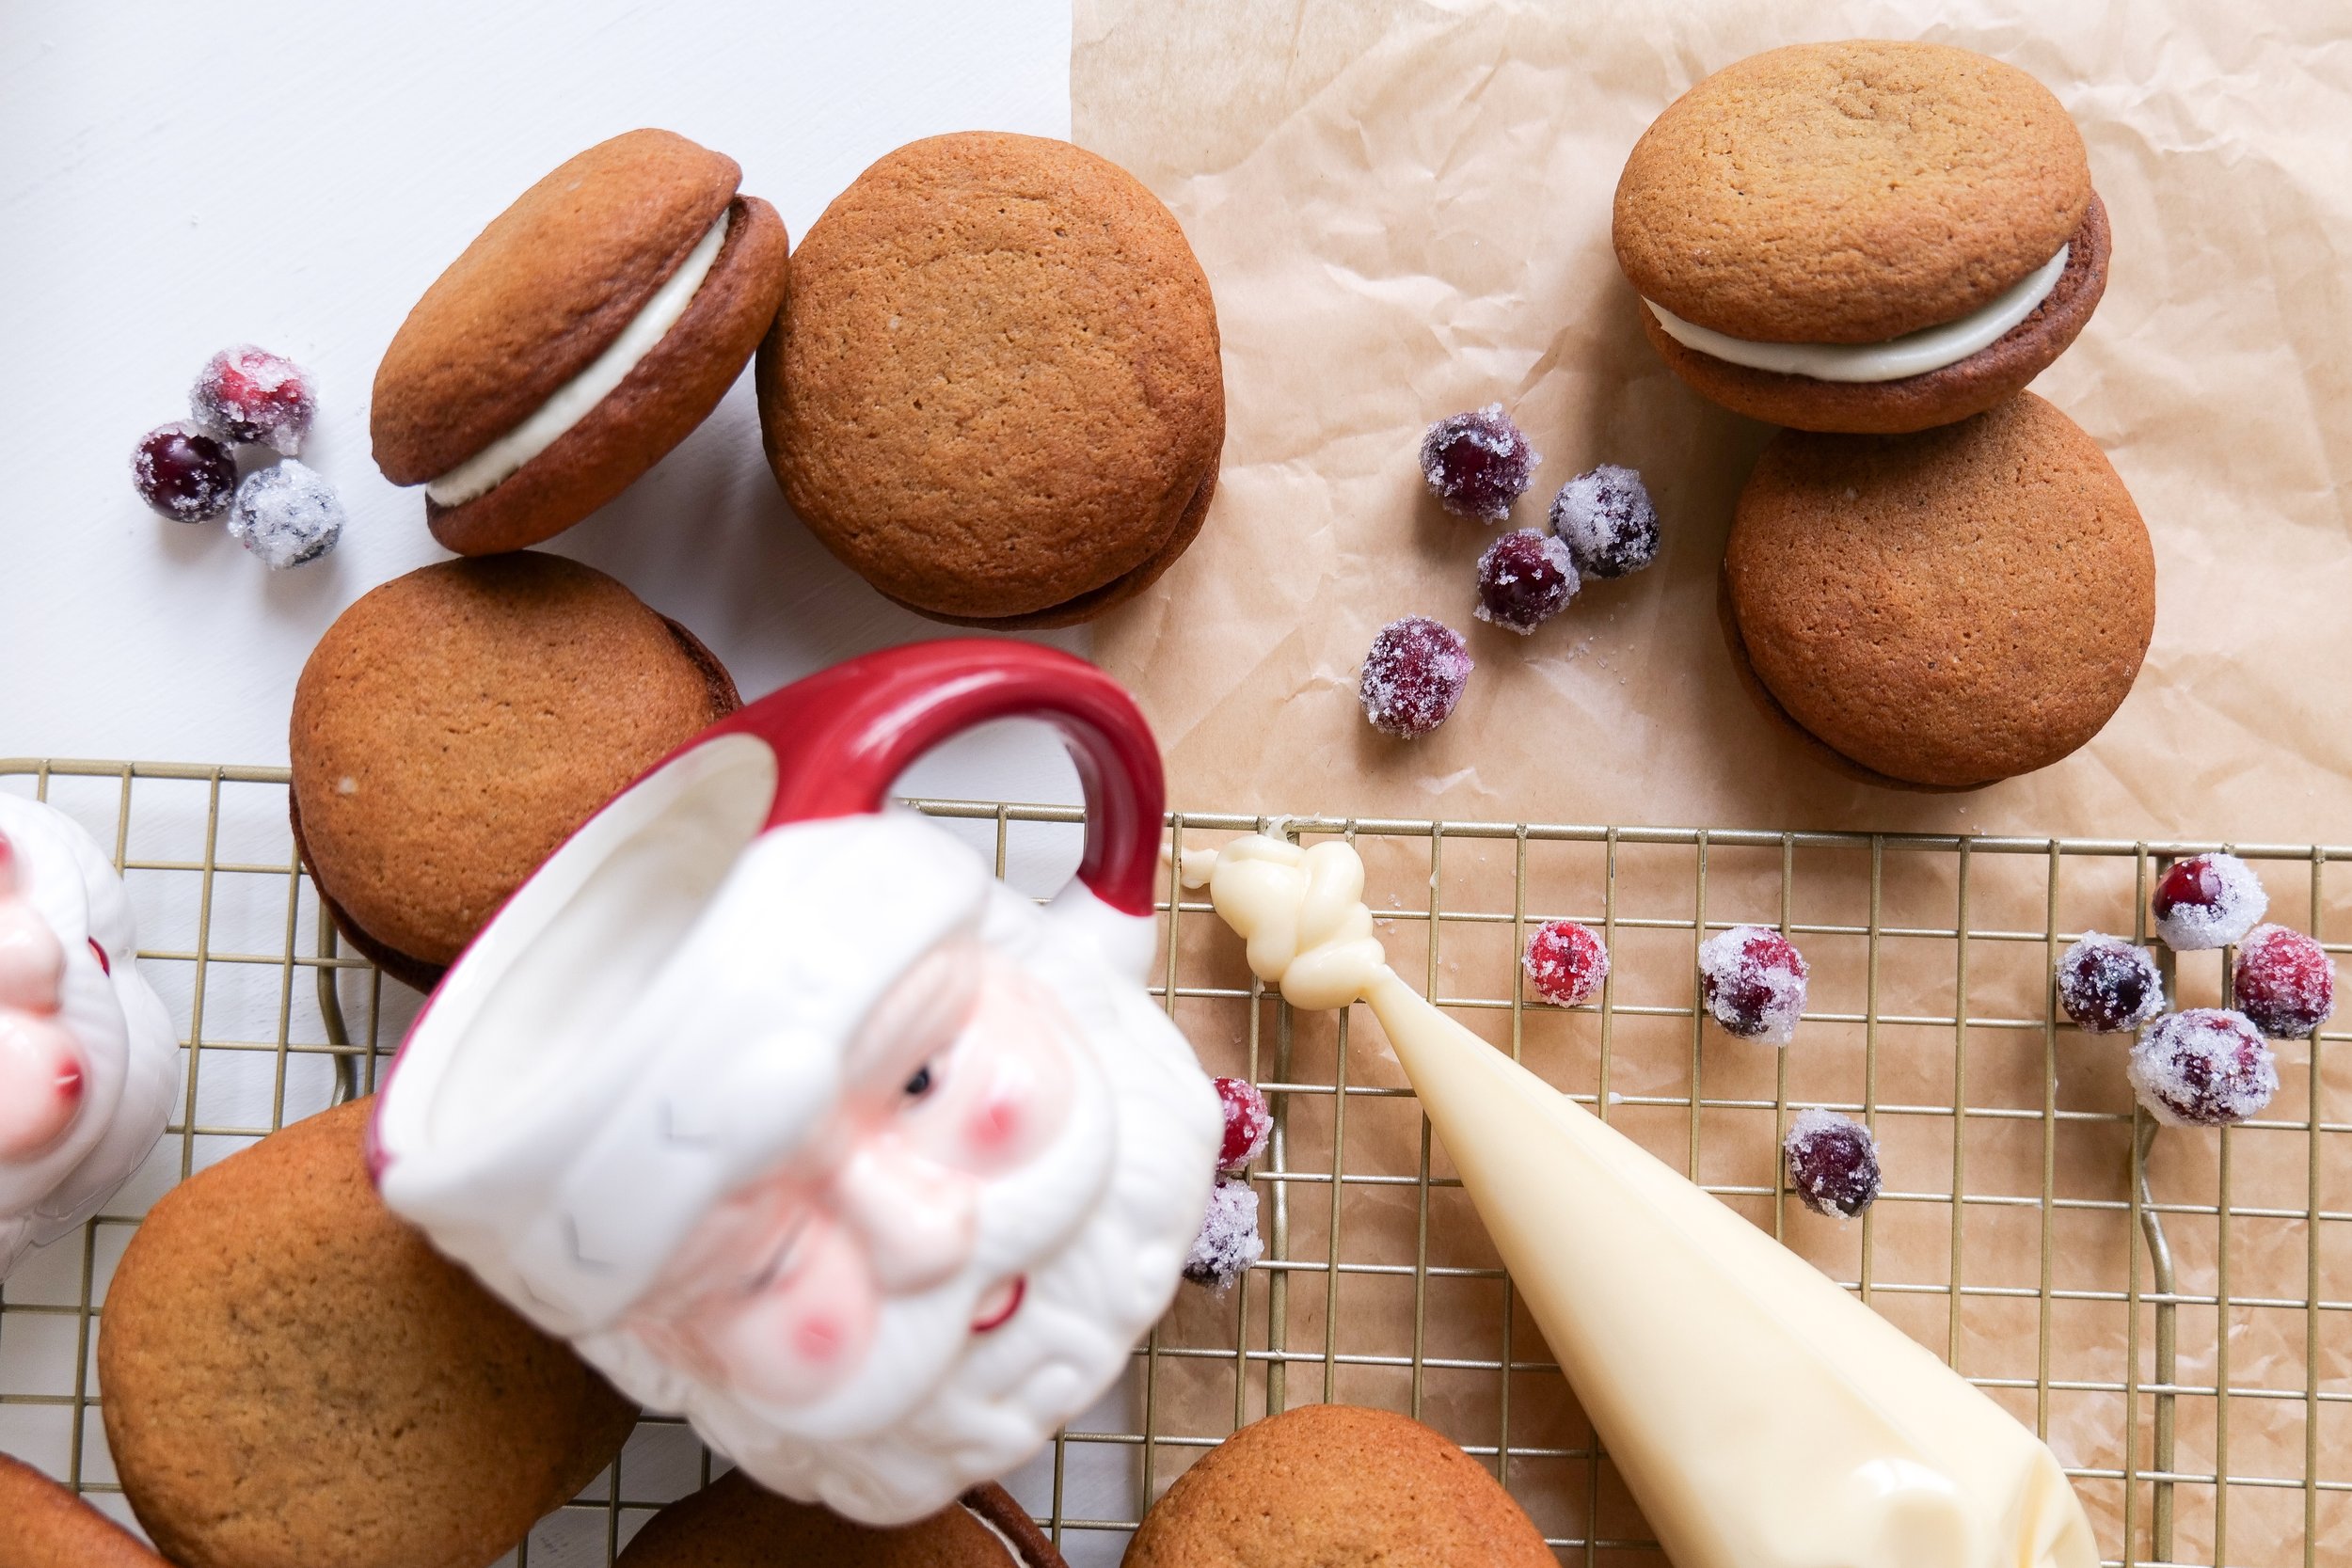
Indulge Your Sweet Tooth: The Ultimate Guide to Making Gingerbread Whoopie Pies at Home

Welcome to a world where the warm, nostalgic spices of gingerbread unite with the creamy, indulgent fluffy comfort of whoopie pies. This sweet treat promises to teleport your taste buds to a festive winter wonderland! Are you looking for the perfect, unique treat this holiday season? Gingerbread whoopie pies are the perfect dessert that is sure to wow your friends and family! This delightful confection, with its soft, cake-like gingerbread cookies and luscious filling, offers the perfect balance of spice and sweetness, making it a hit for any fall gathering, holiday party, or simply a quiet evening at home with a cup of tea. So tie on your apron, preheat your oven, and let's embark on the culinary adventure of creating these charming and irresistibly tasty treats that are certain to become a beloved addition to your baking repertoire.

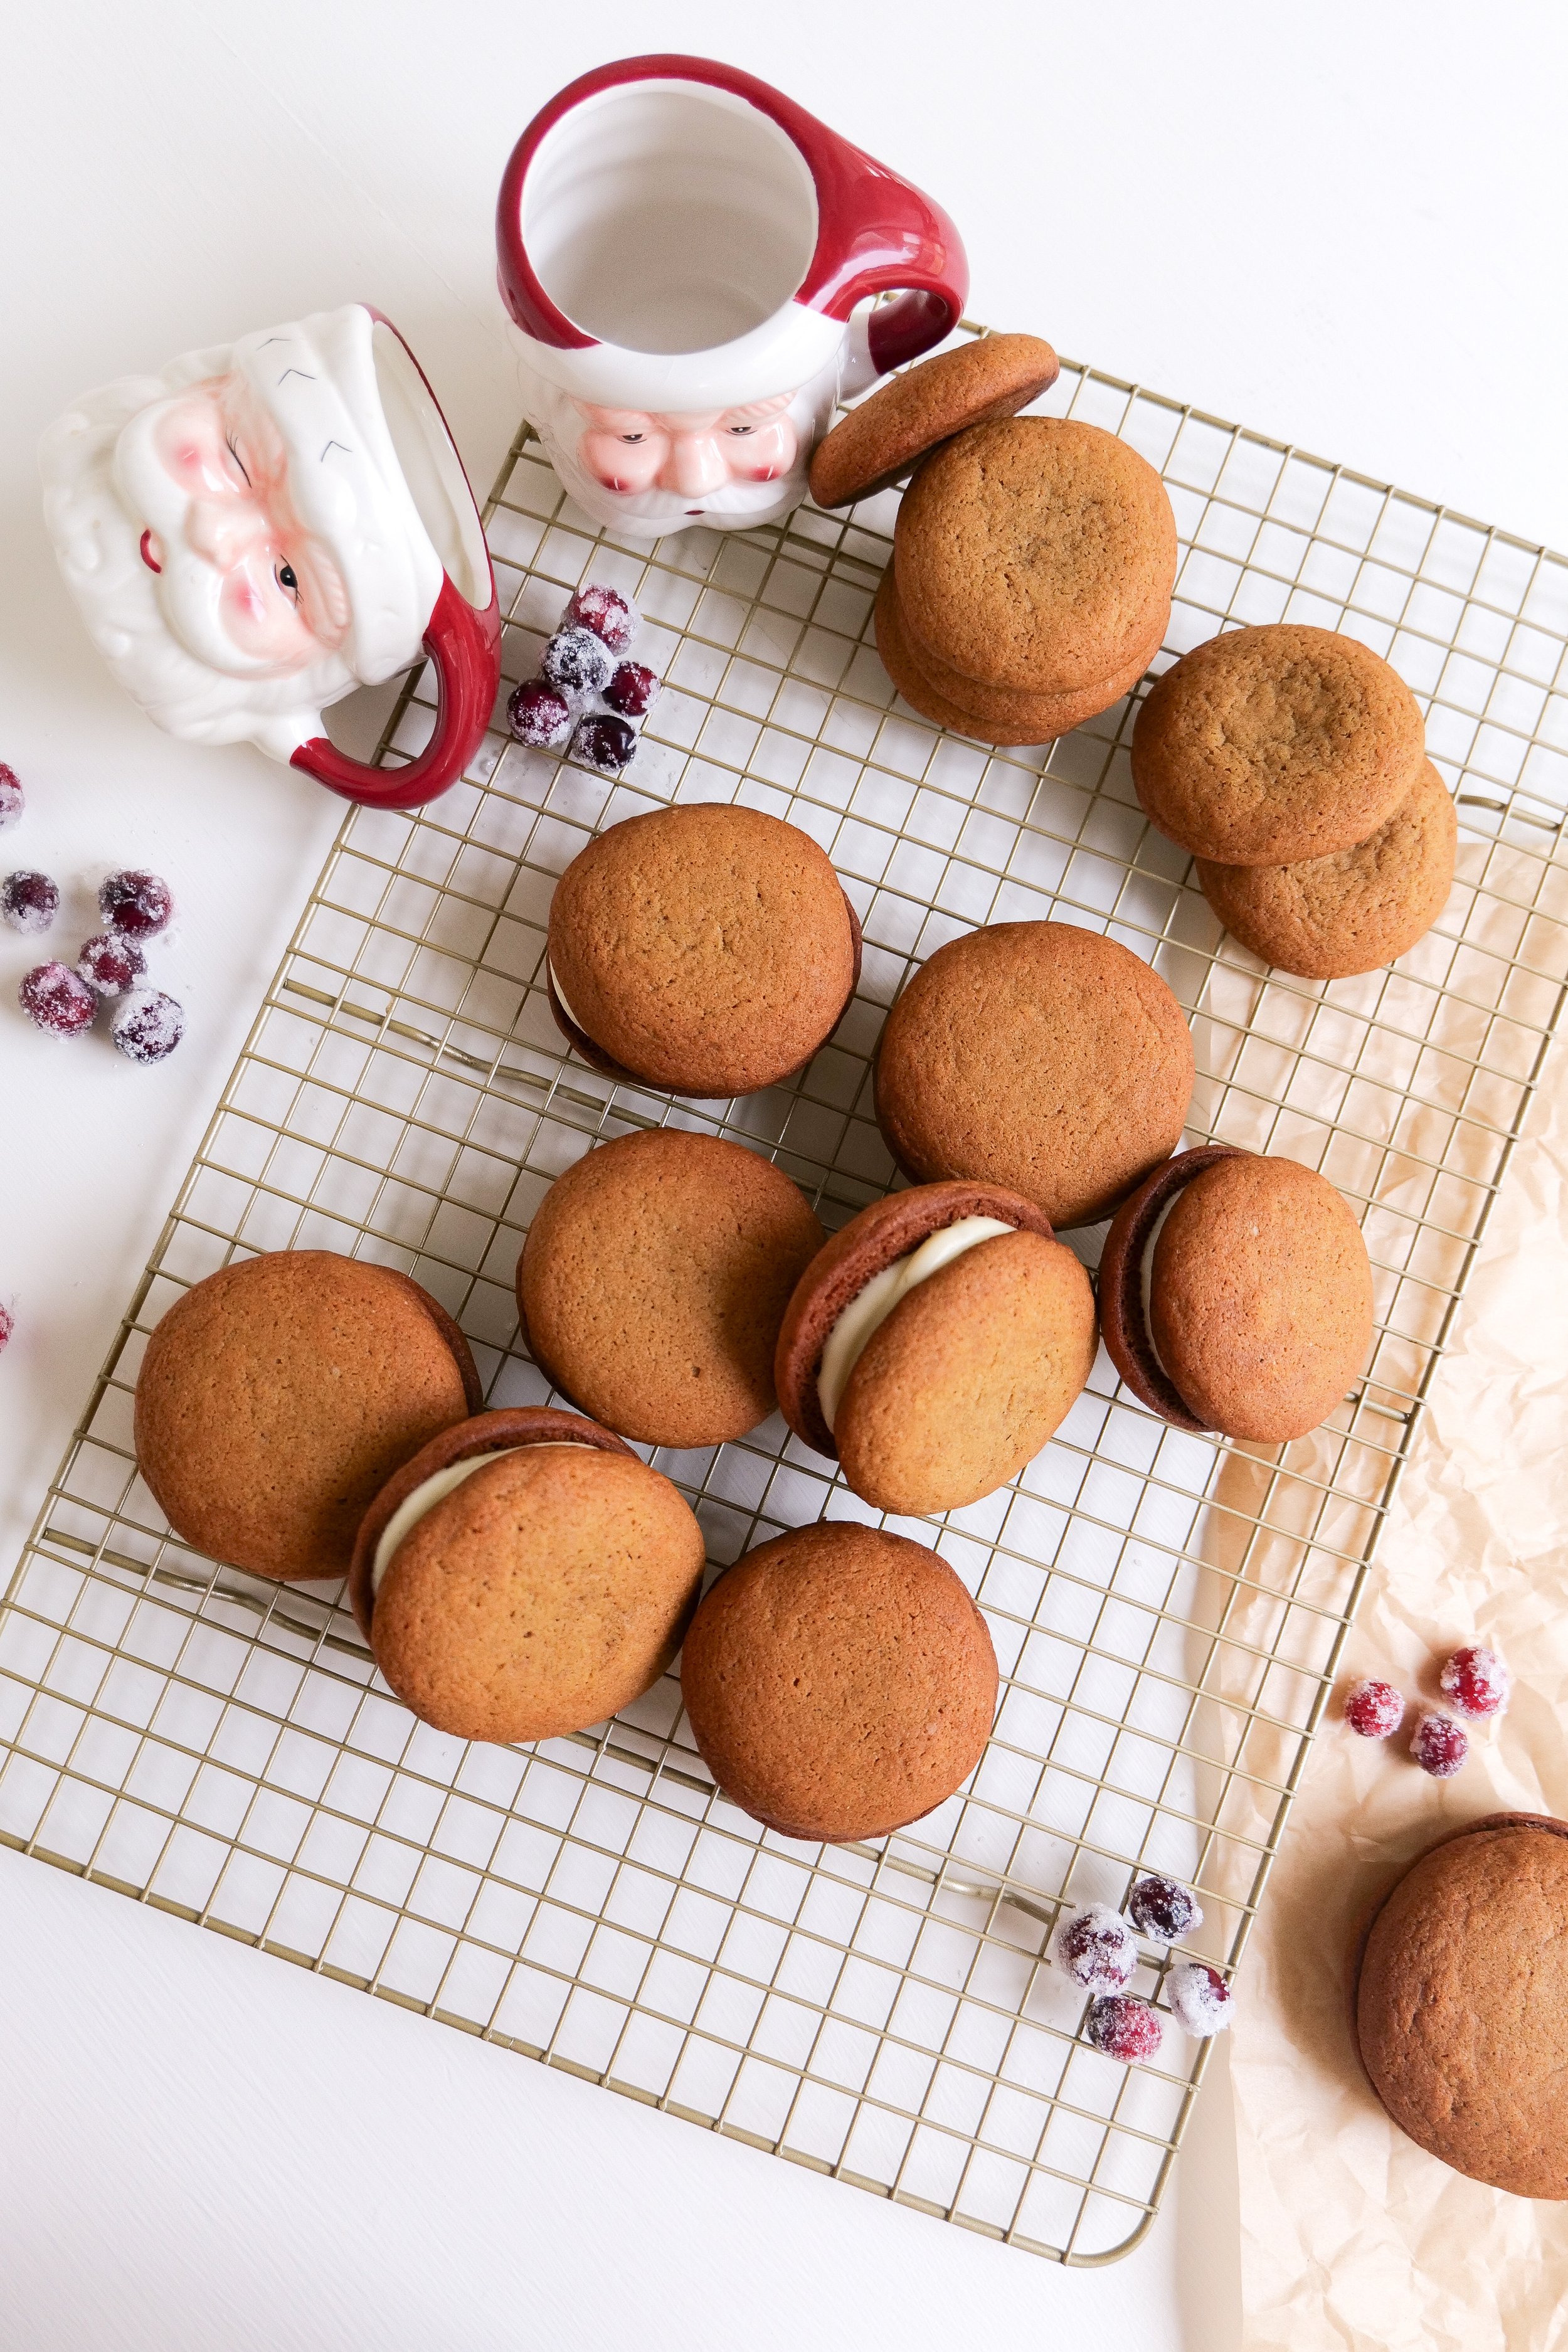
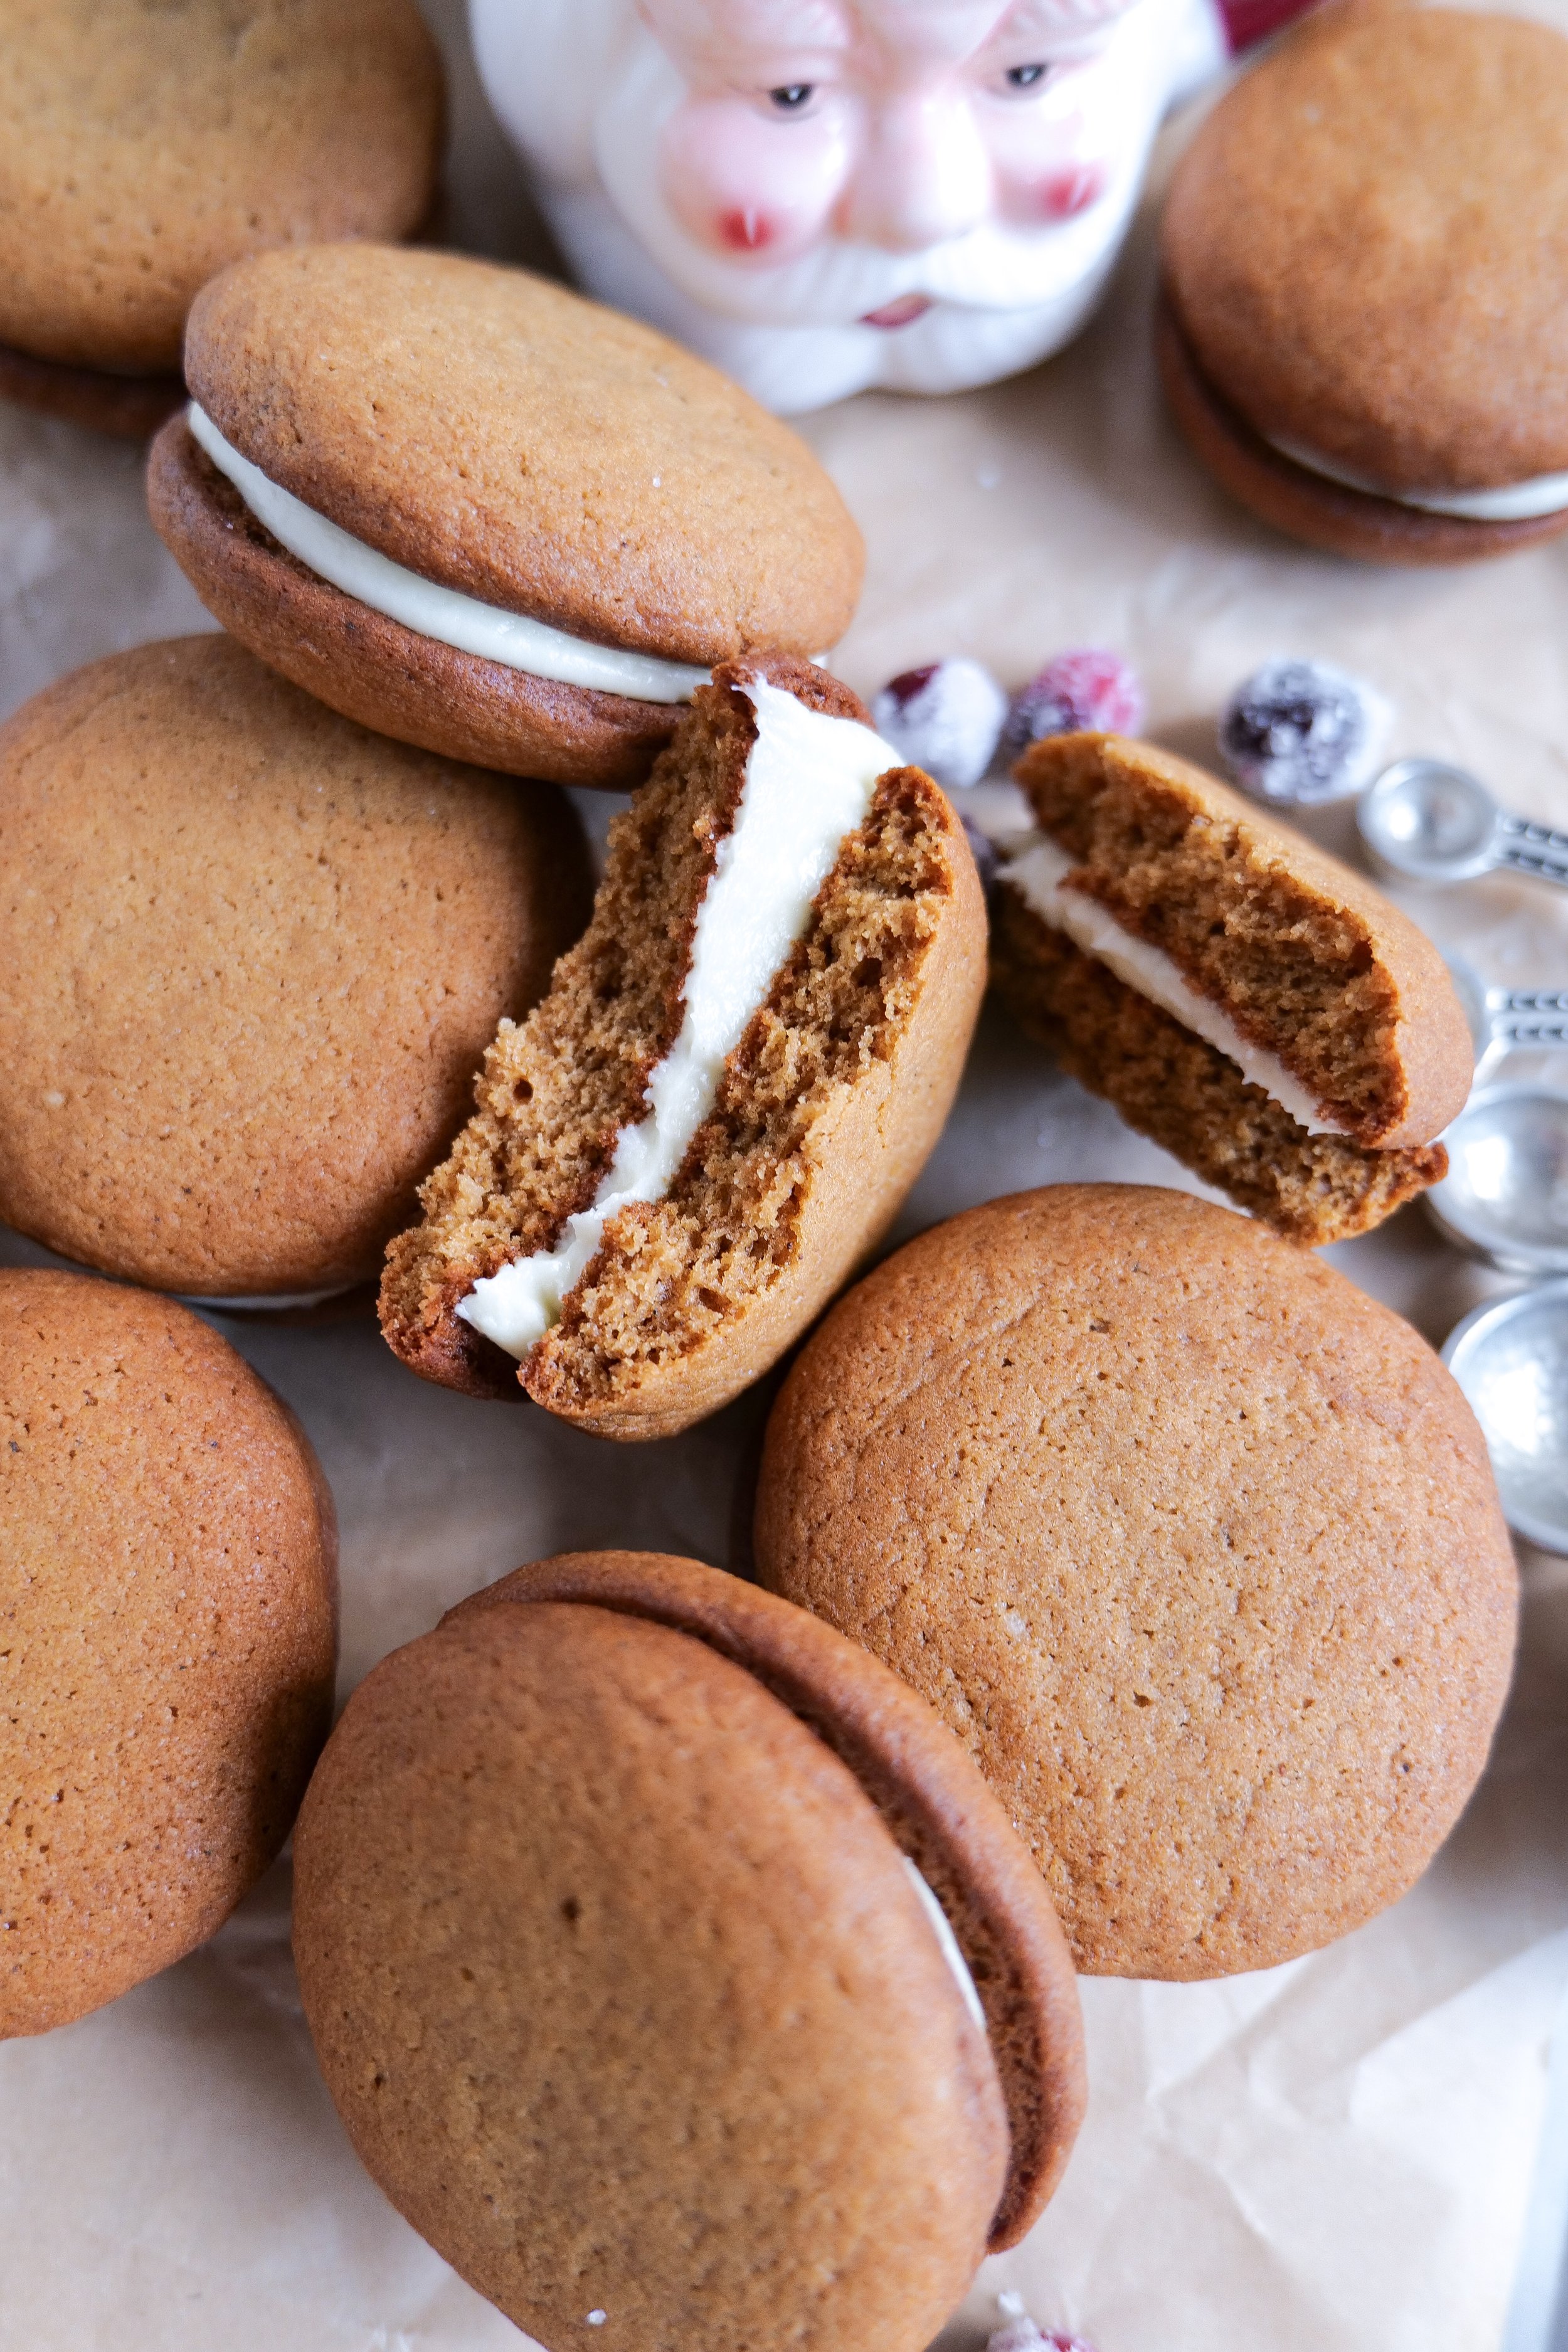
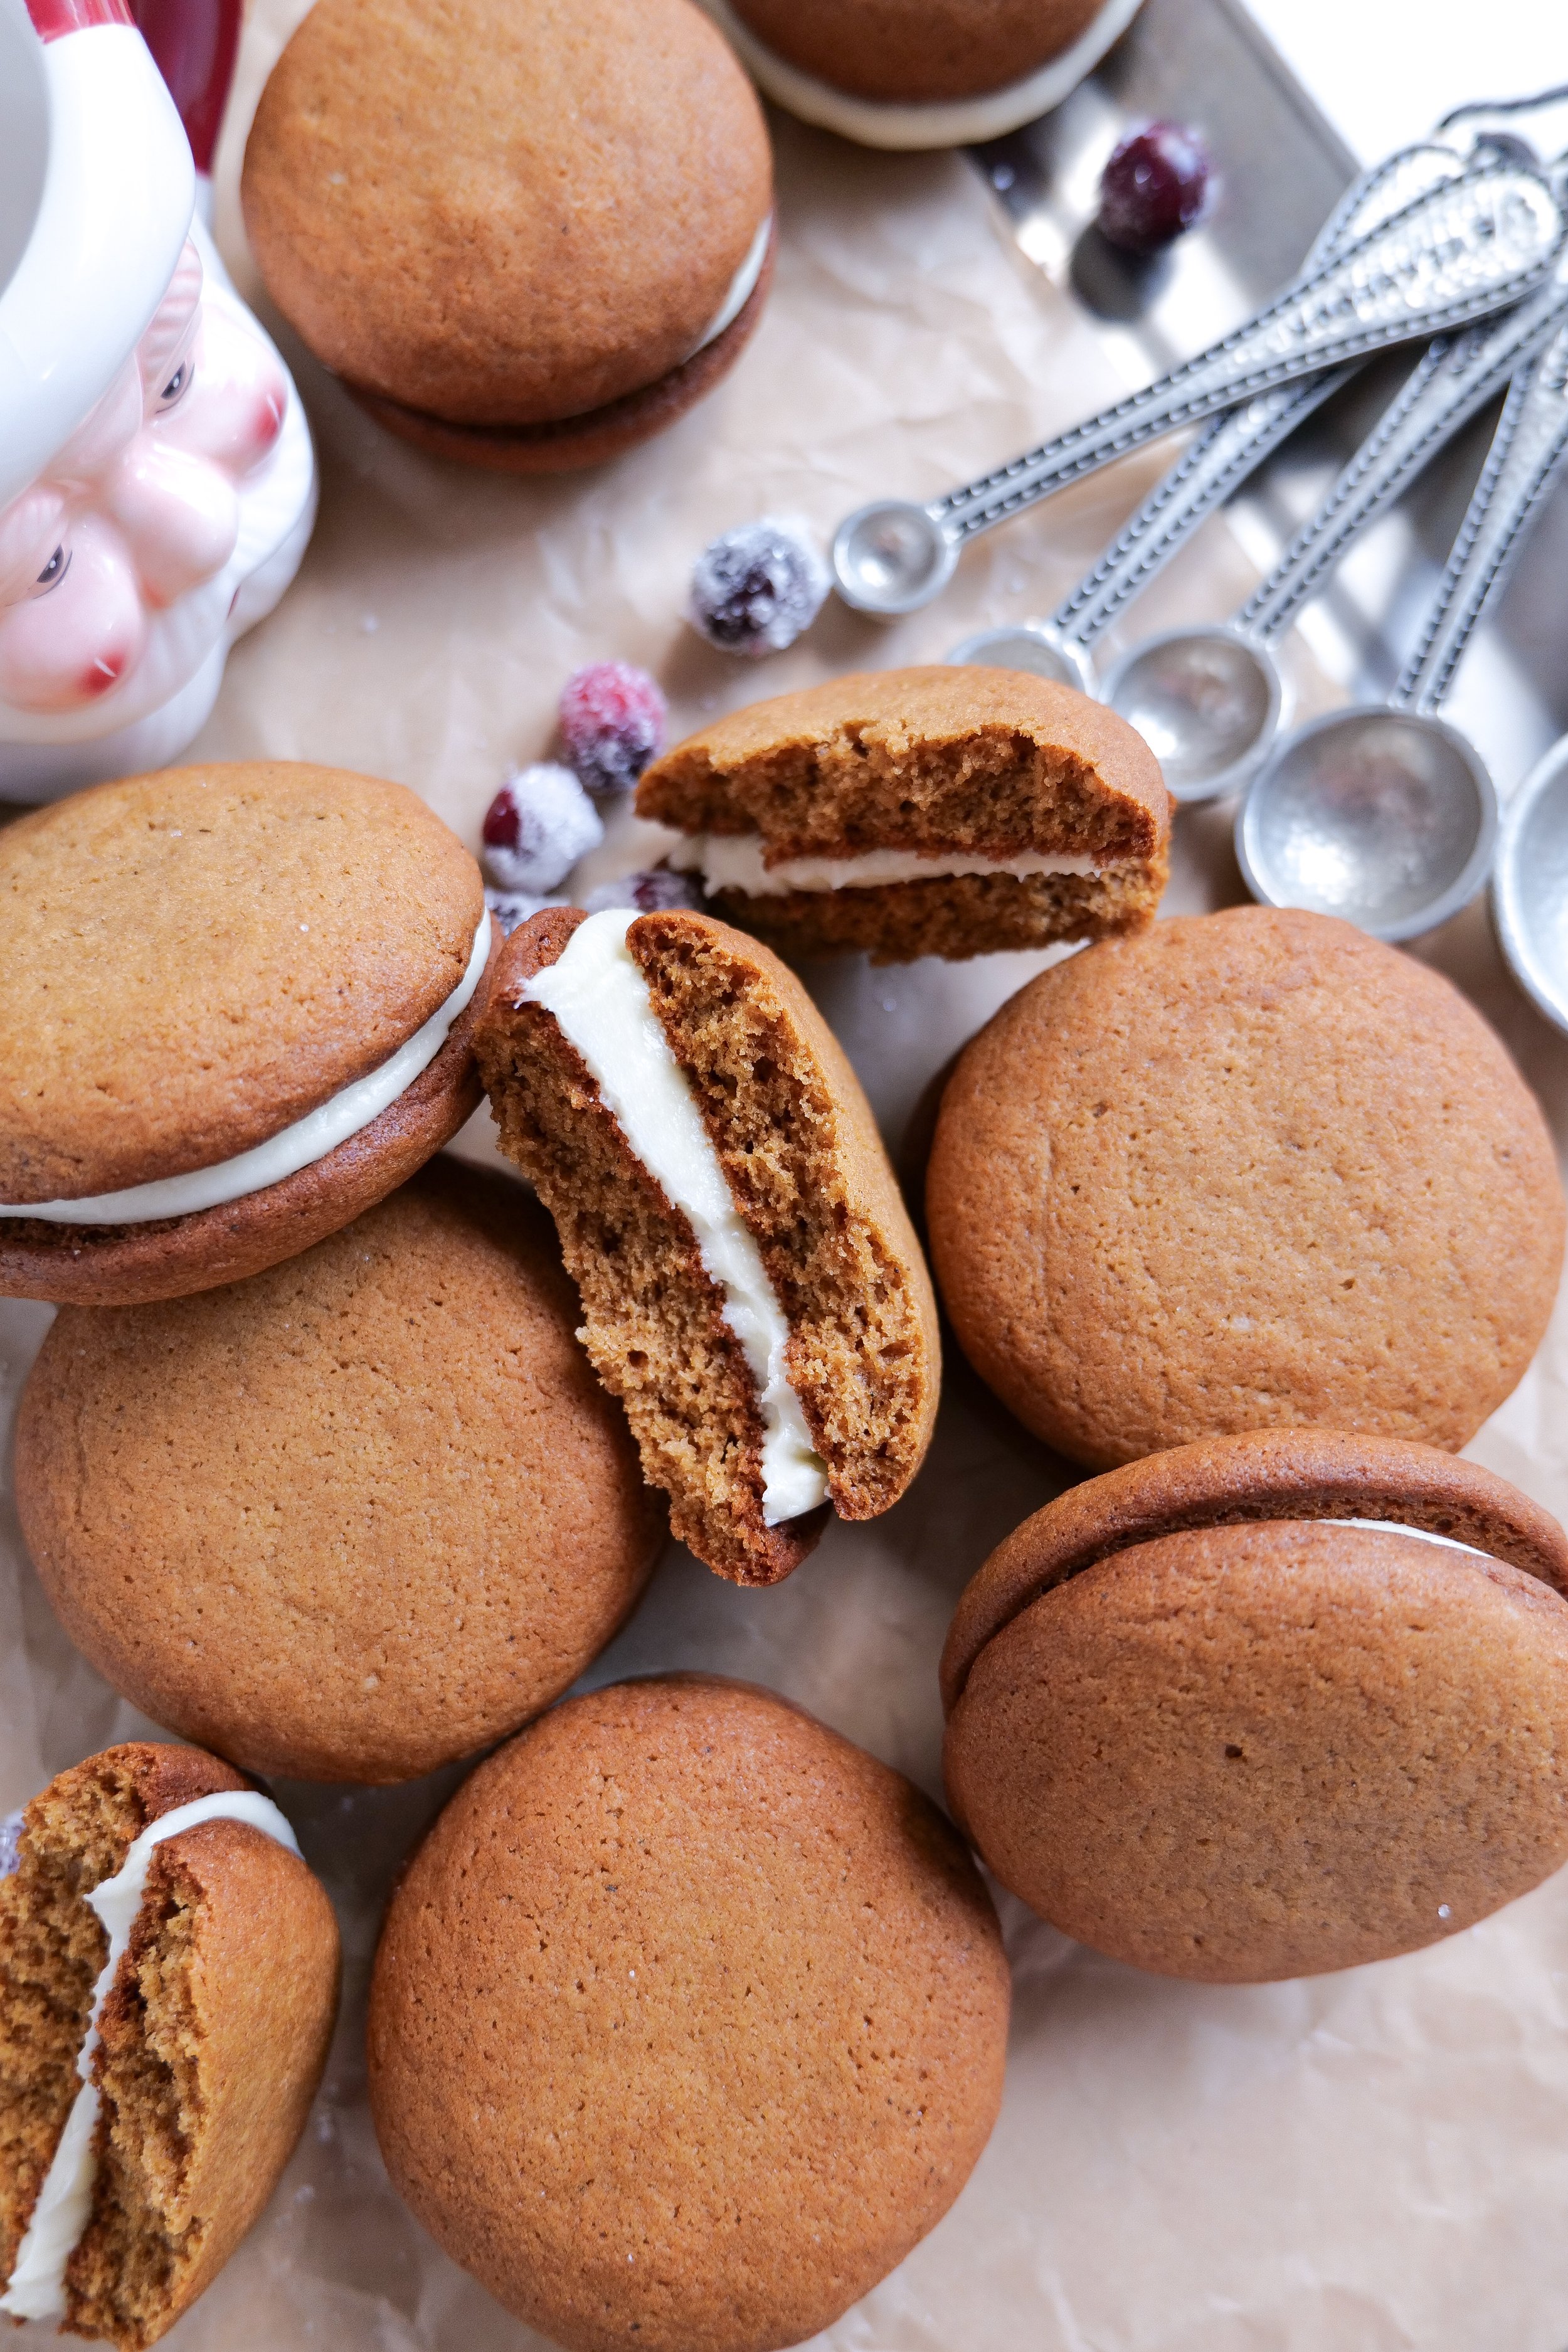
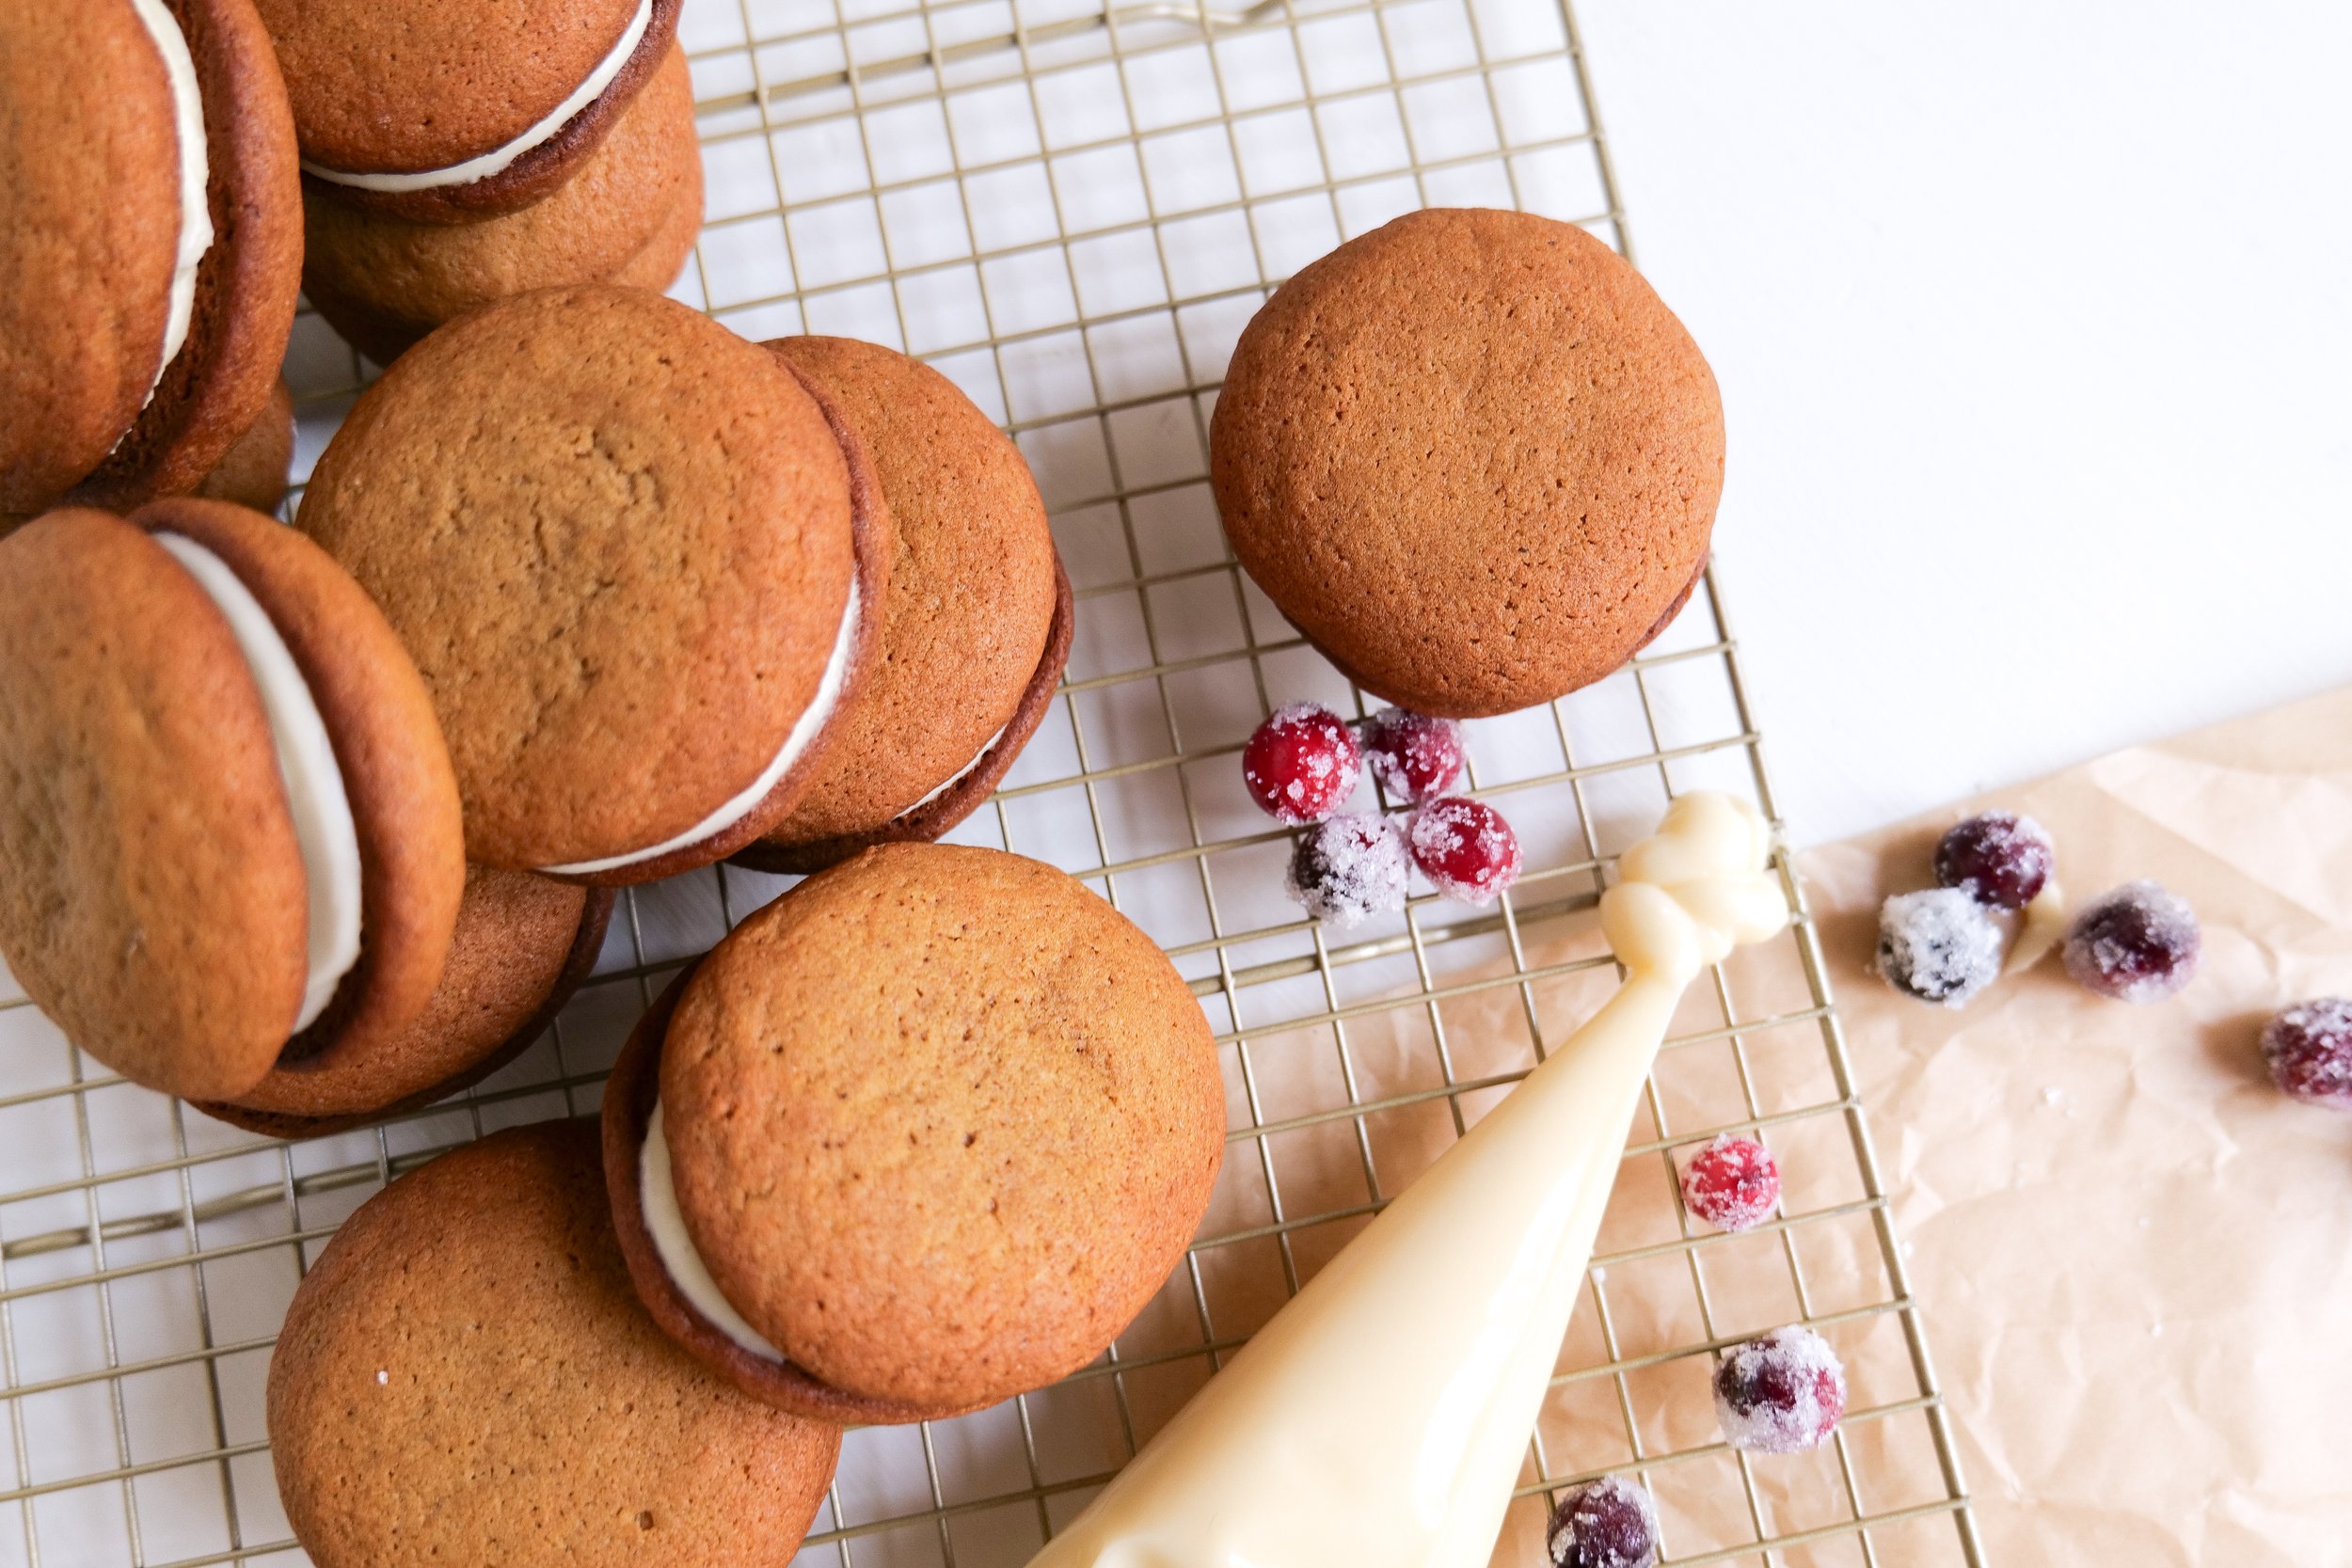
Gingerbread whoopie pies are a delicious and unique twist on a classic dessert. The combination of gingerbread and the Spiced Cream Cheese Filling is a match made in flavor heaven! The cream cheese filling is so easy to make - and it can be prepared ahead of time, making it a great option for busy bakers. The cream cheese filling is also very versatile and can be used to fill other desserts such as cupcakes or as a topping for cakes. It’s a great way to add an extra layer of flavor to any dessert. So if you’re looking for a unique twist on a classic dessert, give gingerbread whoopie pies with Spiced Cream Cheese Filling a try! It’s sure to be a hit with family and friends.

How Do I Store For the freshest results?

Gingerbread whoopie pies are a delightful treat that can be enjoyed year-round. For those who are looking to store them for later, there are a few tips to ensure their freshness. To store for up to 4 days, feel free to place whoopie pies in an airtight container and store in the refrigerator. For longer storage, place in an airtight container and freeze. If freezing, be sure to thaw the whoopie pies overnight in the refrigerator before serving. To keep them from sticking, place parchment paper or wax paper between each whoopie pie and place in a single layer in the container. For optimal freshness, always store them in a cool and dry place. Enjoy these delicious gingerbread whoopie pies!

Gingerbread whoopie pies are the perfect dessert for any occasion. They are easy to make, can be made ahead of time, and can be stored for later use. So the next time you’re looking for a sweet and delicious treat, look no further than these holiday gingerbread whoopie pies!

Ingredients

1 cup salted butter

1/2 cup dark brown sugar

1/2 cup granulated sugar

2 egg

1 teaspoon vanilla extract

1/4 cup molasses

2 1/2 cups all-purpose flour

2 teaspoons baking soda

1 teaspoon ground cinnamon

1 teaspoon ground ginger

1/2 teaspoon ground cloves

1/2 teaspoon sea salt

Cream Cheese Filling

4 ounces cream cheese

1/4 cup salted butter, softened

1 1/2 cups powdered sugar

1 teaspoon vanilla extract

Instructions

1. Preheat oven to 375 degrees. Line a large cookie sheet with parchment paper and set aside.

2. In a large bowl mix together melted butter and sugar. Add in eggs and vanilla until smooth. Mix in molasses until well combined.

3. Mix in all-purpose flour, baking soda, cinnamon, ginger and cloves to batter until consistency is smooth. Cover and chill for 15-30 minutes in the fridge.

4. Take refrigerated cookie dough and scoop large scoops (around 1 1/2-2 tablespoons) and place onto prepared baking sheet 2 - 21/2 inches apart. Flatten the top with a flat bottom of a glass.

5. Bake for 8-10 minutes. Let cool for 1 minute and transfer to a cooling sheet. While cooling make cream cheese filling

6. Whip together cream cheese, melted salted butter, powdered sugar and vanilla extract. Fill each cookie and top with another, serve & enjoy!

Festive Flavors Unveiled: Crafting a Herb Christmas Tree Focaccia Bread Masterpiece for the Holidays

'Tis the season for savory scents and festive flavors! As the holiday cheer begins to fill the air, what could be more delightful than combining the comfort of freshly baked bread with the spirit of a lovely Christmas tree? Enter the Herb Christmas Tree Focaccia Bread – a holiday twist on a classic Italian favorite bread that's sure to dazzle your dinner guests. Whether you're hosting a cozy family gathering or looking to impress at a yuletide potluck, this aromatic blend of rosemary, thyme, and other herbs arranged in a charming Christmas tree shape will not only be a feast for the eyes but a treat for the taste buds as well. So don your aprons, preheat your ovens, and let’s embark on a culinary journey to craft the perfect focaccia recipe for Christmas!

How to Store Focaccia

To store the Herb Christmas Tree Focaccia Bread, you have a few options. For short-term storage, an airtight container will keep the focaccia fresh for up to two days at room temperature. For longer-term storage, wrap the focaccia tightly in plastic wrap and store it in the refrigerator for up to five days. You can also store it in a freezer-safe bag for up to three months in the freezer. When it’s time to reheat the Herb Christmas Tree Focaccia Bread, wrap it in a damp paper towel and place it in the microwave for 30-45 seconds. Enjoy your delicious and unique holiday treat!

What To Pair With Festive Christmas Tree Focaccia

Herb Christmas Tree Focaccia Bread can be served as a side dish with any holiday main course, or as an appetizer served on a cheese plate. For a hearty cold-weather meal, serve it with a tomato and mozzarella salad, soup, or stew. To add even more flavor, top it with a variety of your choice of herbs and seasonings. This delicious bread is sure to be a hit with friends and family during the holidays. It also makes a great homemade gift for those special people in your life. So, this holiday season, make sure to give your loved ones the gift of Herb Christmas Tree Focaccia Bread.

Making Herb Christmas Tree Focaccia Bread is easy and customizable. You can experiment and use your favorite herbs and spices to create a flavor that you and your family will love. Topping the bread with cheese and your favorite vegetables is a great way to add a few extra special touches. Serve with a side of olive oil and balsamic vinegar for dipping, and you’ve got the perfect holiday treat.

Can I make the Herb Christmas Tree Focaccia Bread ahead of time for my holiday gathering?

Making Herb Christmas Tree Focaccia Bread is simple and hassle-free. All you need to do is bake the focaccia dough, assemble the tree, and bake one final time. The process is incredibly easy and requires very little preparation. Plus, you can make it slightly ahead of time so you can enjoy the festivities without worrying about last minute prepping. Herb Christmas Tree Focaccia Bread is the perfect addition to any holiday gathering. It’s a flavorful and unique treat that everyone will love. Plus, it looks so festive and inviting and it really stands out. Your guests are sure to be impressed with your creative and delicious holiday dish.

Are there any variations or substitutions I can make to the traditional Herb Christmas Tree Focaccia Bread recipe?

Herb Christmas Tree Focaccia Bread is a delicious way to bring some festive spirit to your holiday table. This easy-to-make focaccia bread is a great way to surprise your guests with a unique and delicious twist on the traditional focaccia. The classic focaccia is made with rosemary, cherry tomatoes, green olives and thyme, but you can easily change up the flavors by using different herbs such as basil, chives, or parsley. You can also add Parmesan cheese and mozzarella for an extra layer of flavor. To add some festive Christmas flair to your focaccia, try adding cranberries or cranberry sauce.

You can also change up the ingredients by using different vegetables as toppings such as bell peppers, carrots, or mushrooms. Also, don't be afraid to experiment with different types of cheeses such as feta, cheddar, or blue cheese. With so many options available, the possibilities are endless when it comes to creating this unique and delicious Herb Christmas Tree Focaccia Bread.

Ingredients:

8 Cups Flour

4 teaspoons salt

4 teaspoons instant yeast

4 cups warm water

Olive Oil spray to grease the pan

6 tbsp olive oil

1 tsp flaky sea salt

Herbs & Veggies of choice - I used:

Rosemary Sprigs, Thyme, Cherry Tomatoes & Green Olives

Instructions:

  1. Mix flour, salt, yeast and warm water in a mixing bowl. Combine well and cover with a towel or plastic wrap. Put in fridge overnight in the mixing bowl. (9 hours or Up to 24 hours)

  2. The next morning take out the pan to bake. I like this -Jelly Roll- pan the most from 360. The sides are the perfect amount and it's a great size to bake this bread in. Drizzle oil on pan and oil on bread mixture.

  3. Lay oiled bread mixture onto the pan and let rise for 20 min covered with a towel. If your home is cooler inside I suggest warming the oven up for 1 minute while prepping bread and turning it off. Then place the pan with bread in to feel warmth and rise.

  4. After risen. Move bread into a longer shape to fill the pan and poke. Using fingers you will make small indentions along the bread. Let rise again for 20 min to 1 hour until the bread has risen enough for you to see it past the jelly roll line.

  5. Next, poke more holes and then sprinkle over the oil mixture; add in your Christmas focaccia art however you would like to arrange for decorating.

  6. Bake at 425 for 25 to 30 min until the bottom is crisp and the top is a golden color. Let cool and enjoy your gorgeous homemade focaccia bread art!

Other Delicious Bread Recipes You Will Love:

The Perfect Beginners Sourdough Bread Recipe for Delicious Homemade Bread

The Most Delicious Homemade Corn Bread Loaf Recipe

Garlic & Herb Focaccia Bread

Delight in Every Bite: Making the Ultimate Apple Cider Loaf with Brown Butter Glaze