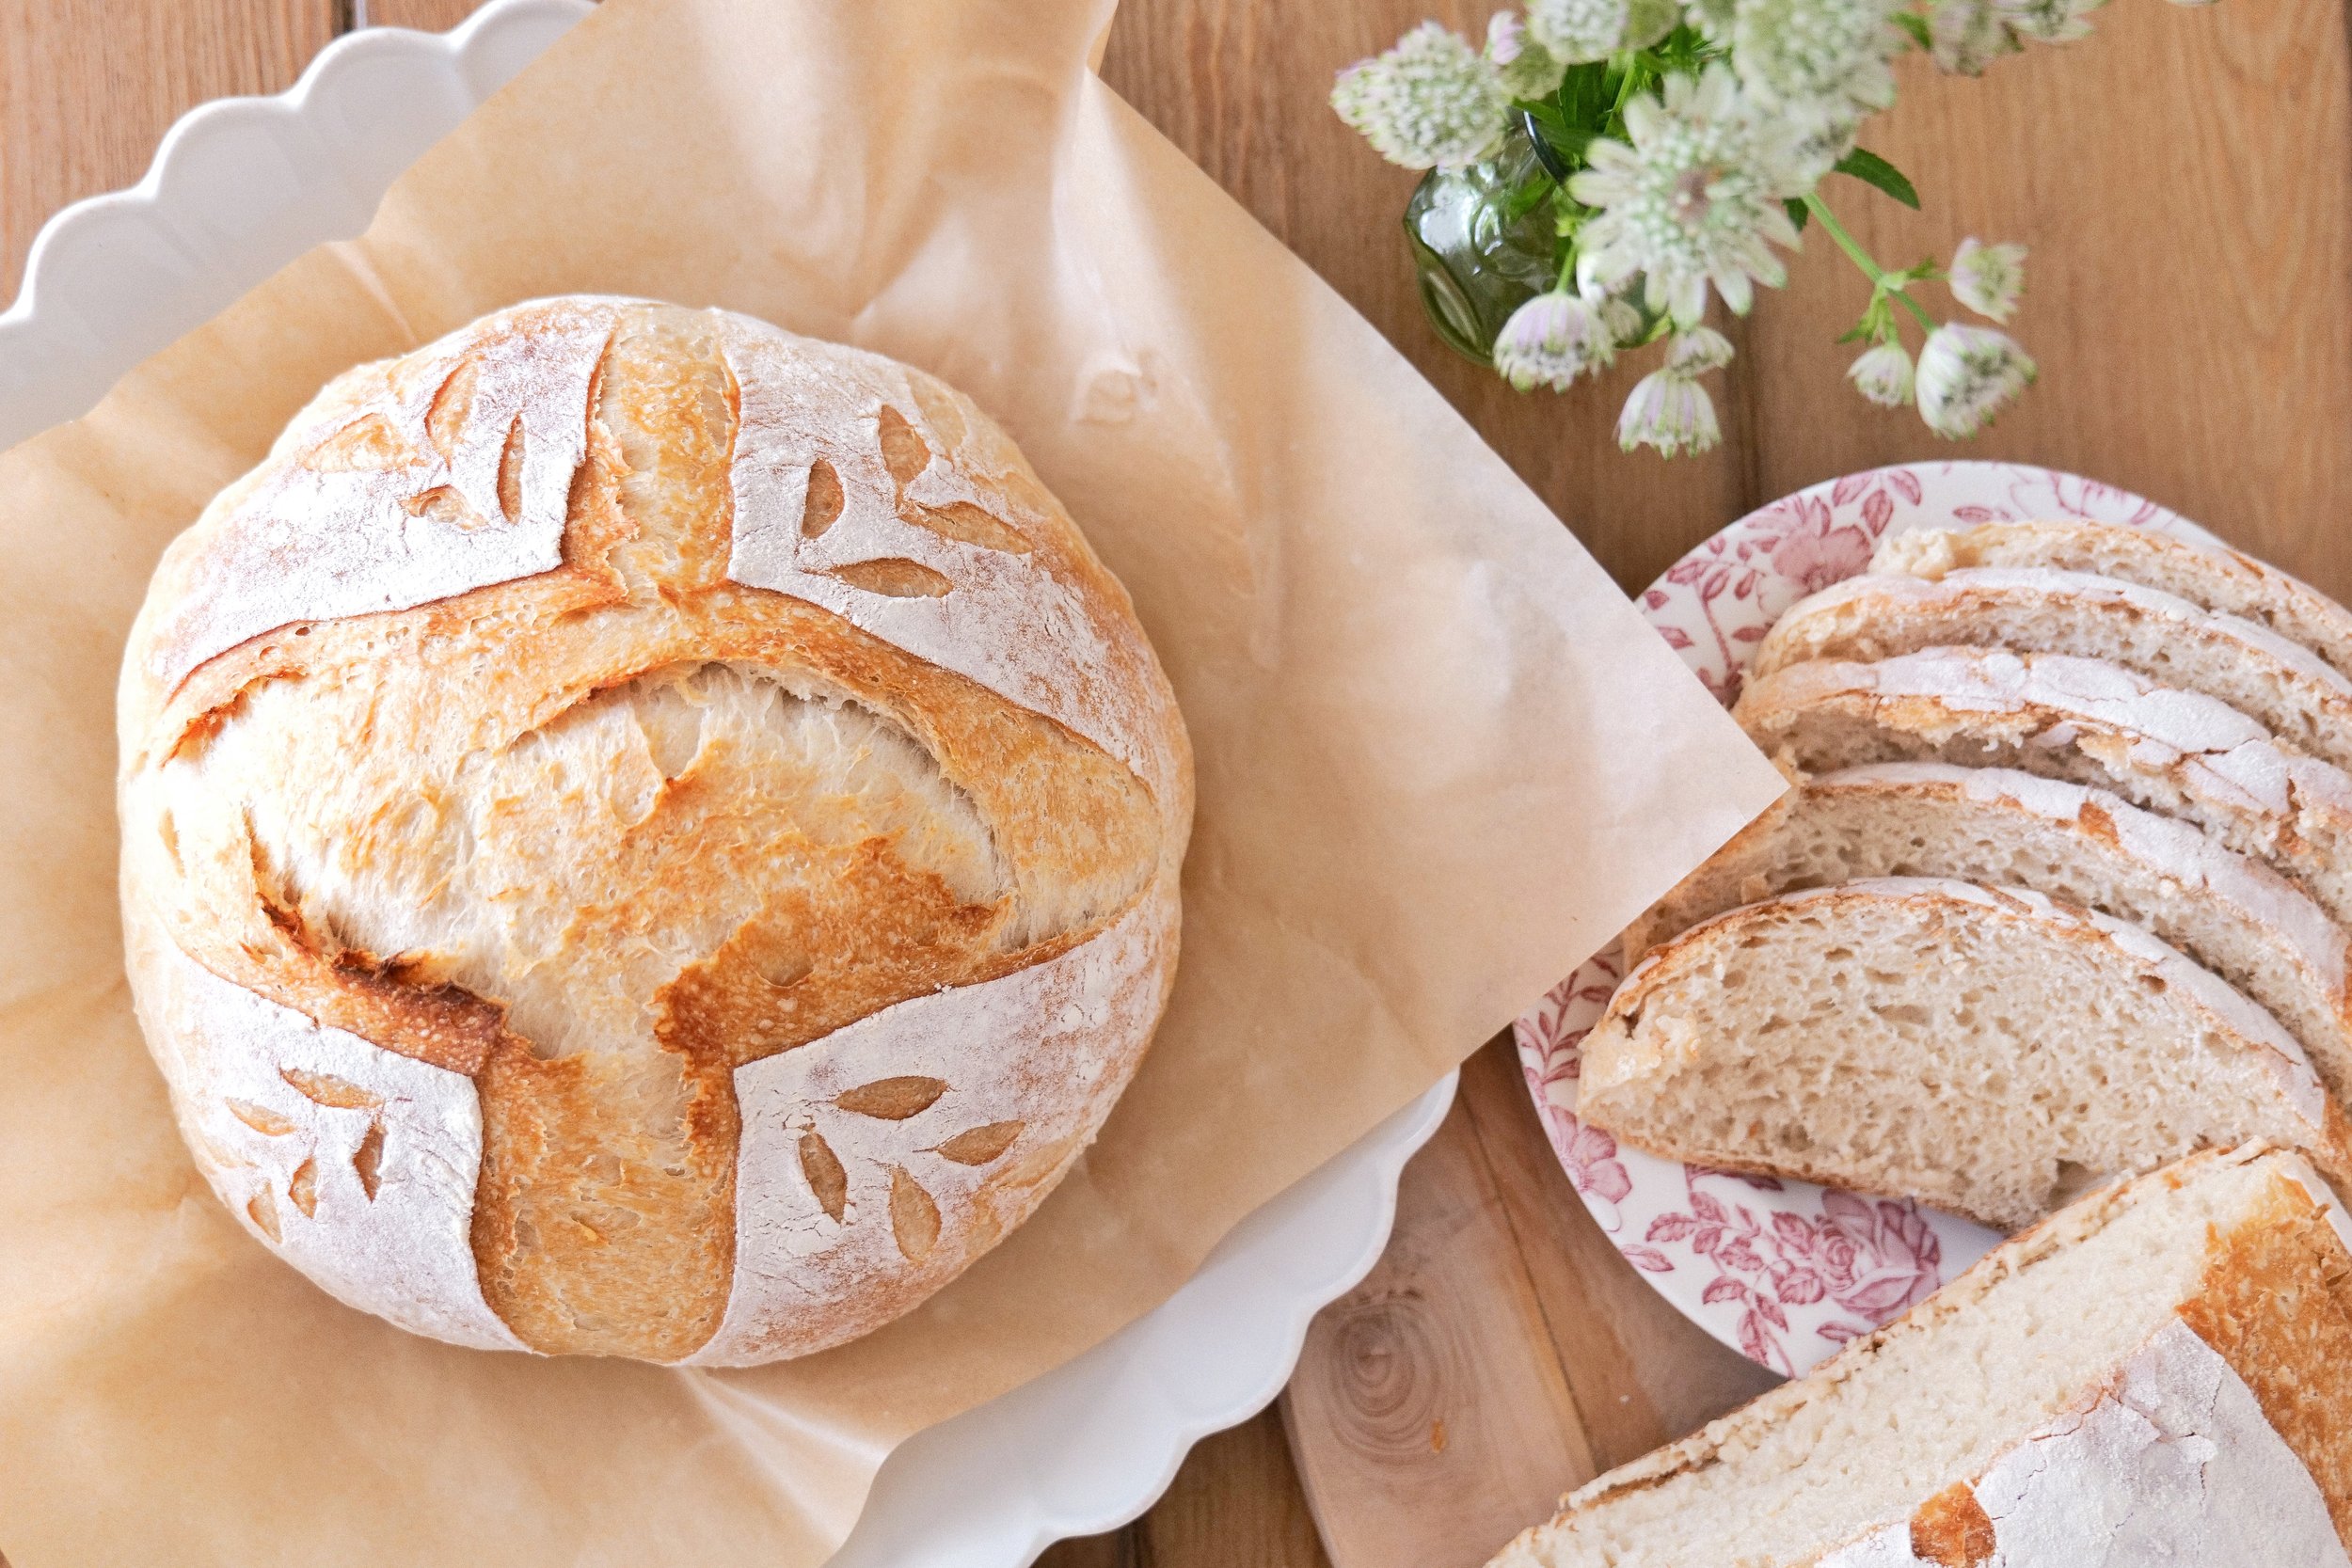
Festive Flavors Unveiled: Crafting a Herb Christmas Tree Focaccia Bread Masterpiece for the Holidays

'Tis the season for savory scents and festive flavors! As the holiday cheer begins to fill the air, what could be more delightful than combining the comfort of freshly baked bread with the spirit of a lovely Christmas tree? Enter the Herb Christmas Tree Focaccia Bread – a holiday twist on a classic Italian favorite bread that's sure to dazzle your dinner guests. Whether you're hosting a cozy family gathering or looking to impress at a yuletide potluck, this aromatic blend of rosemary, thyme, and other herbs arranged in a charming Christmas tree shape will not only be a feast for the eyes but a treat for the taste buds as well. So don your aprons, preheat your ovens, and let’s embark on a culinary journey to craft the perfect focaccia recipe for Christmas!

How to Store Focaccia

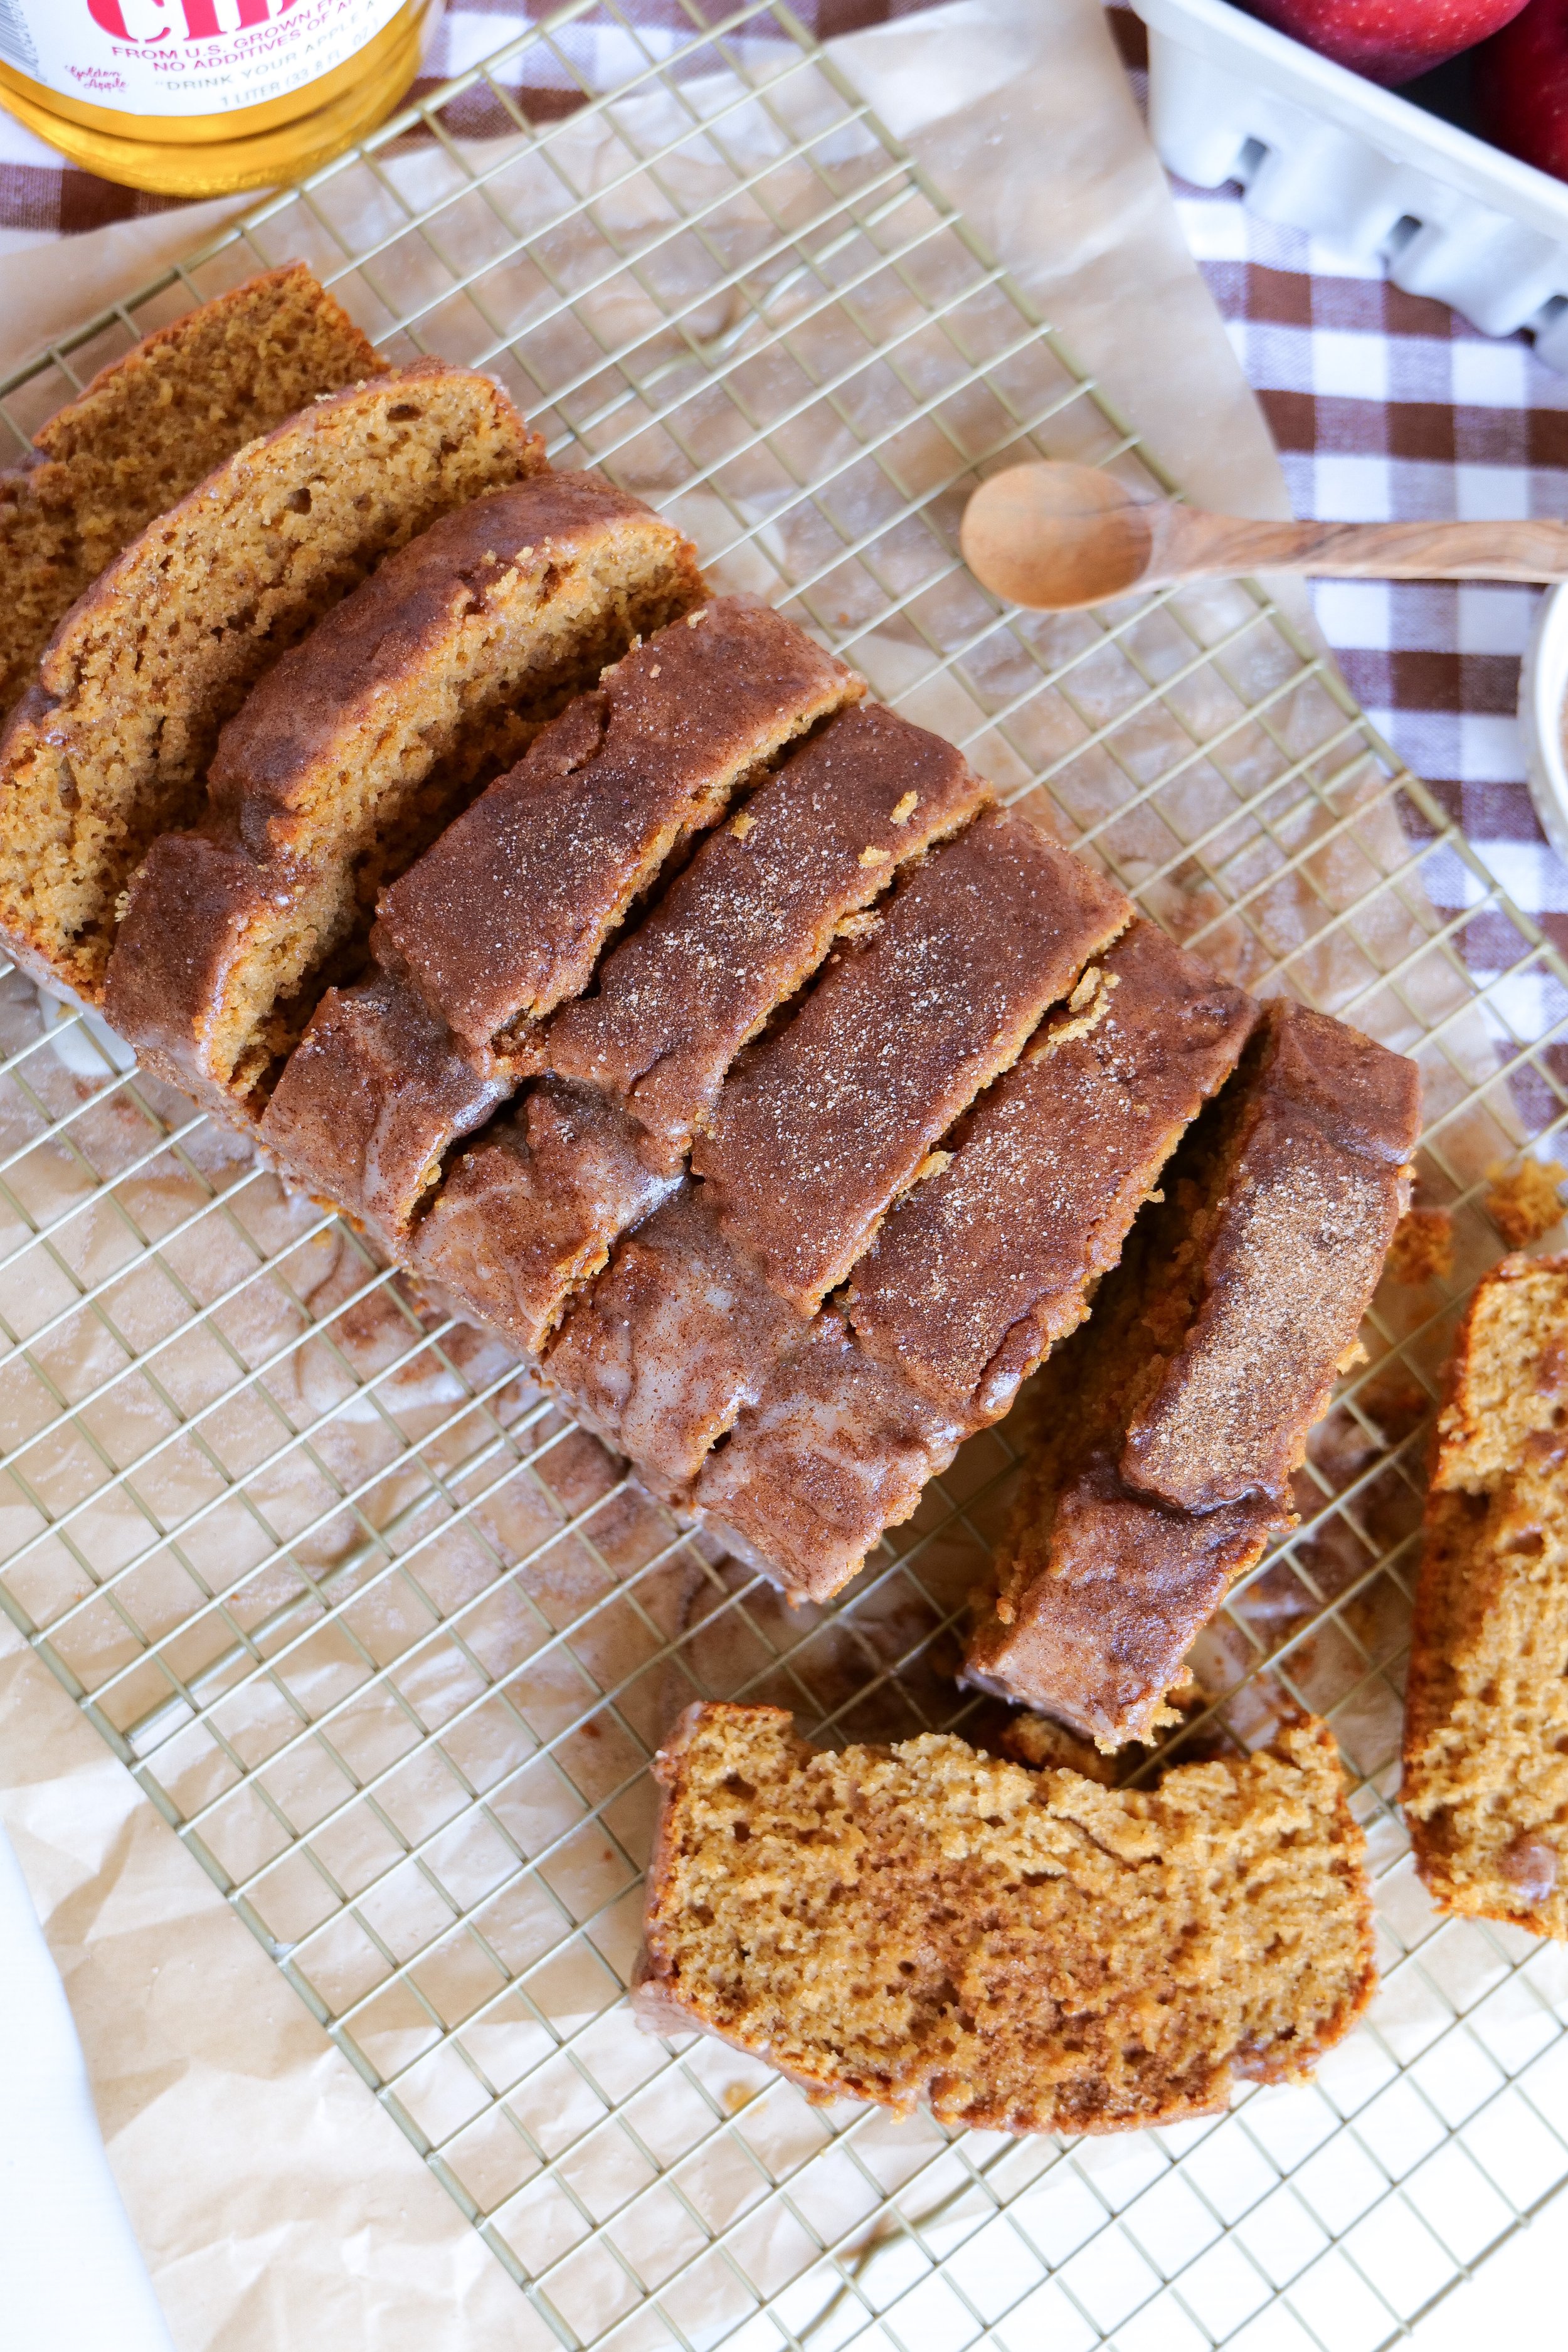
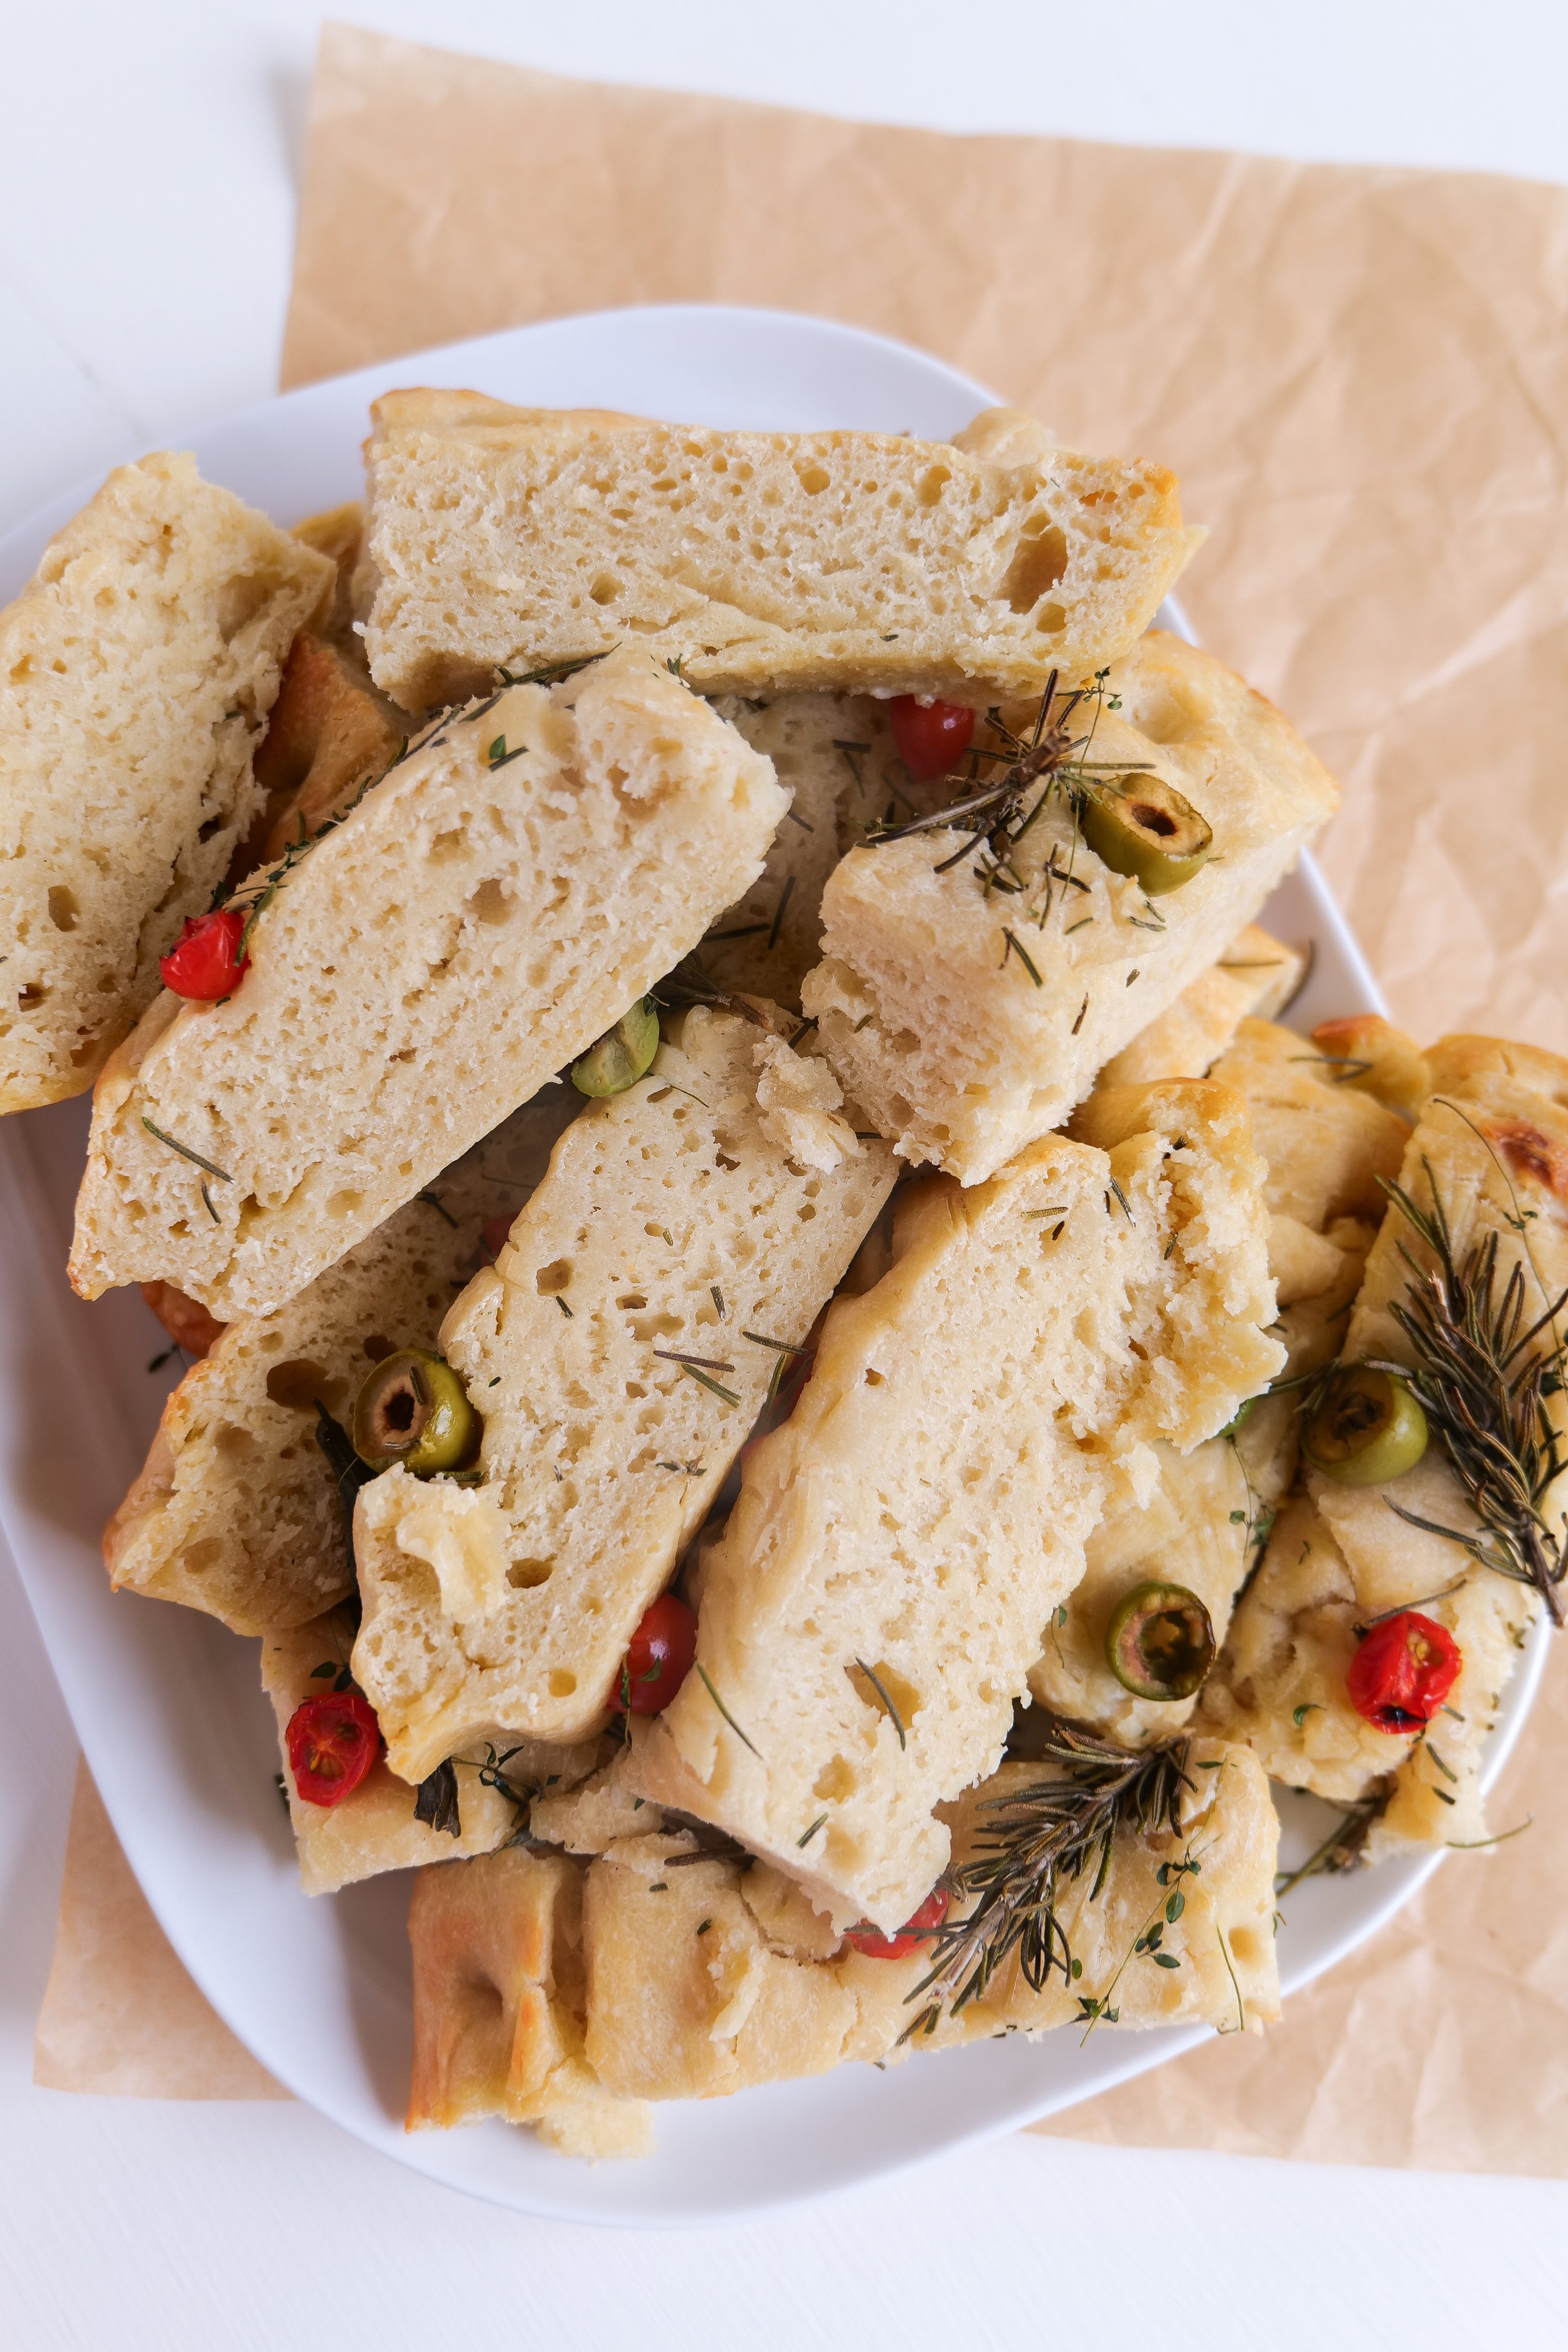
To store the Herb Christmas Tree Focaccia Bread, you have a few options. For short-term storage, an airtight container will keep the focaccia fresh for up to two days at room temperature. For longer-term storage, wrap the focaccia tightly in plastic wrap and store it in the refrigerator for up to five days. You can also store it in a freezer-safe bag for up to three months in the freezer. When it’s time to reheat the Herb Christmas Tree Focaccia Bread, wrap it in a damp paper towel and place it in the microwave for 30-45 seconds. Enjoy your delicious and unique holiday treat!

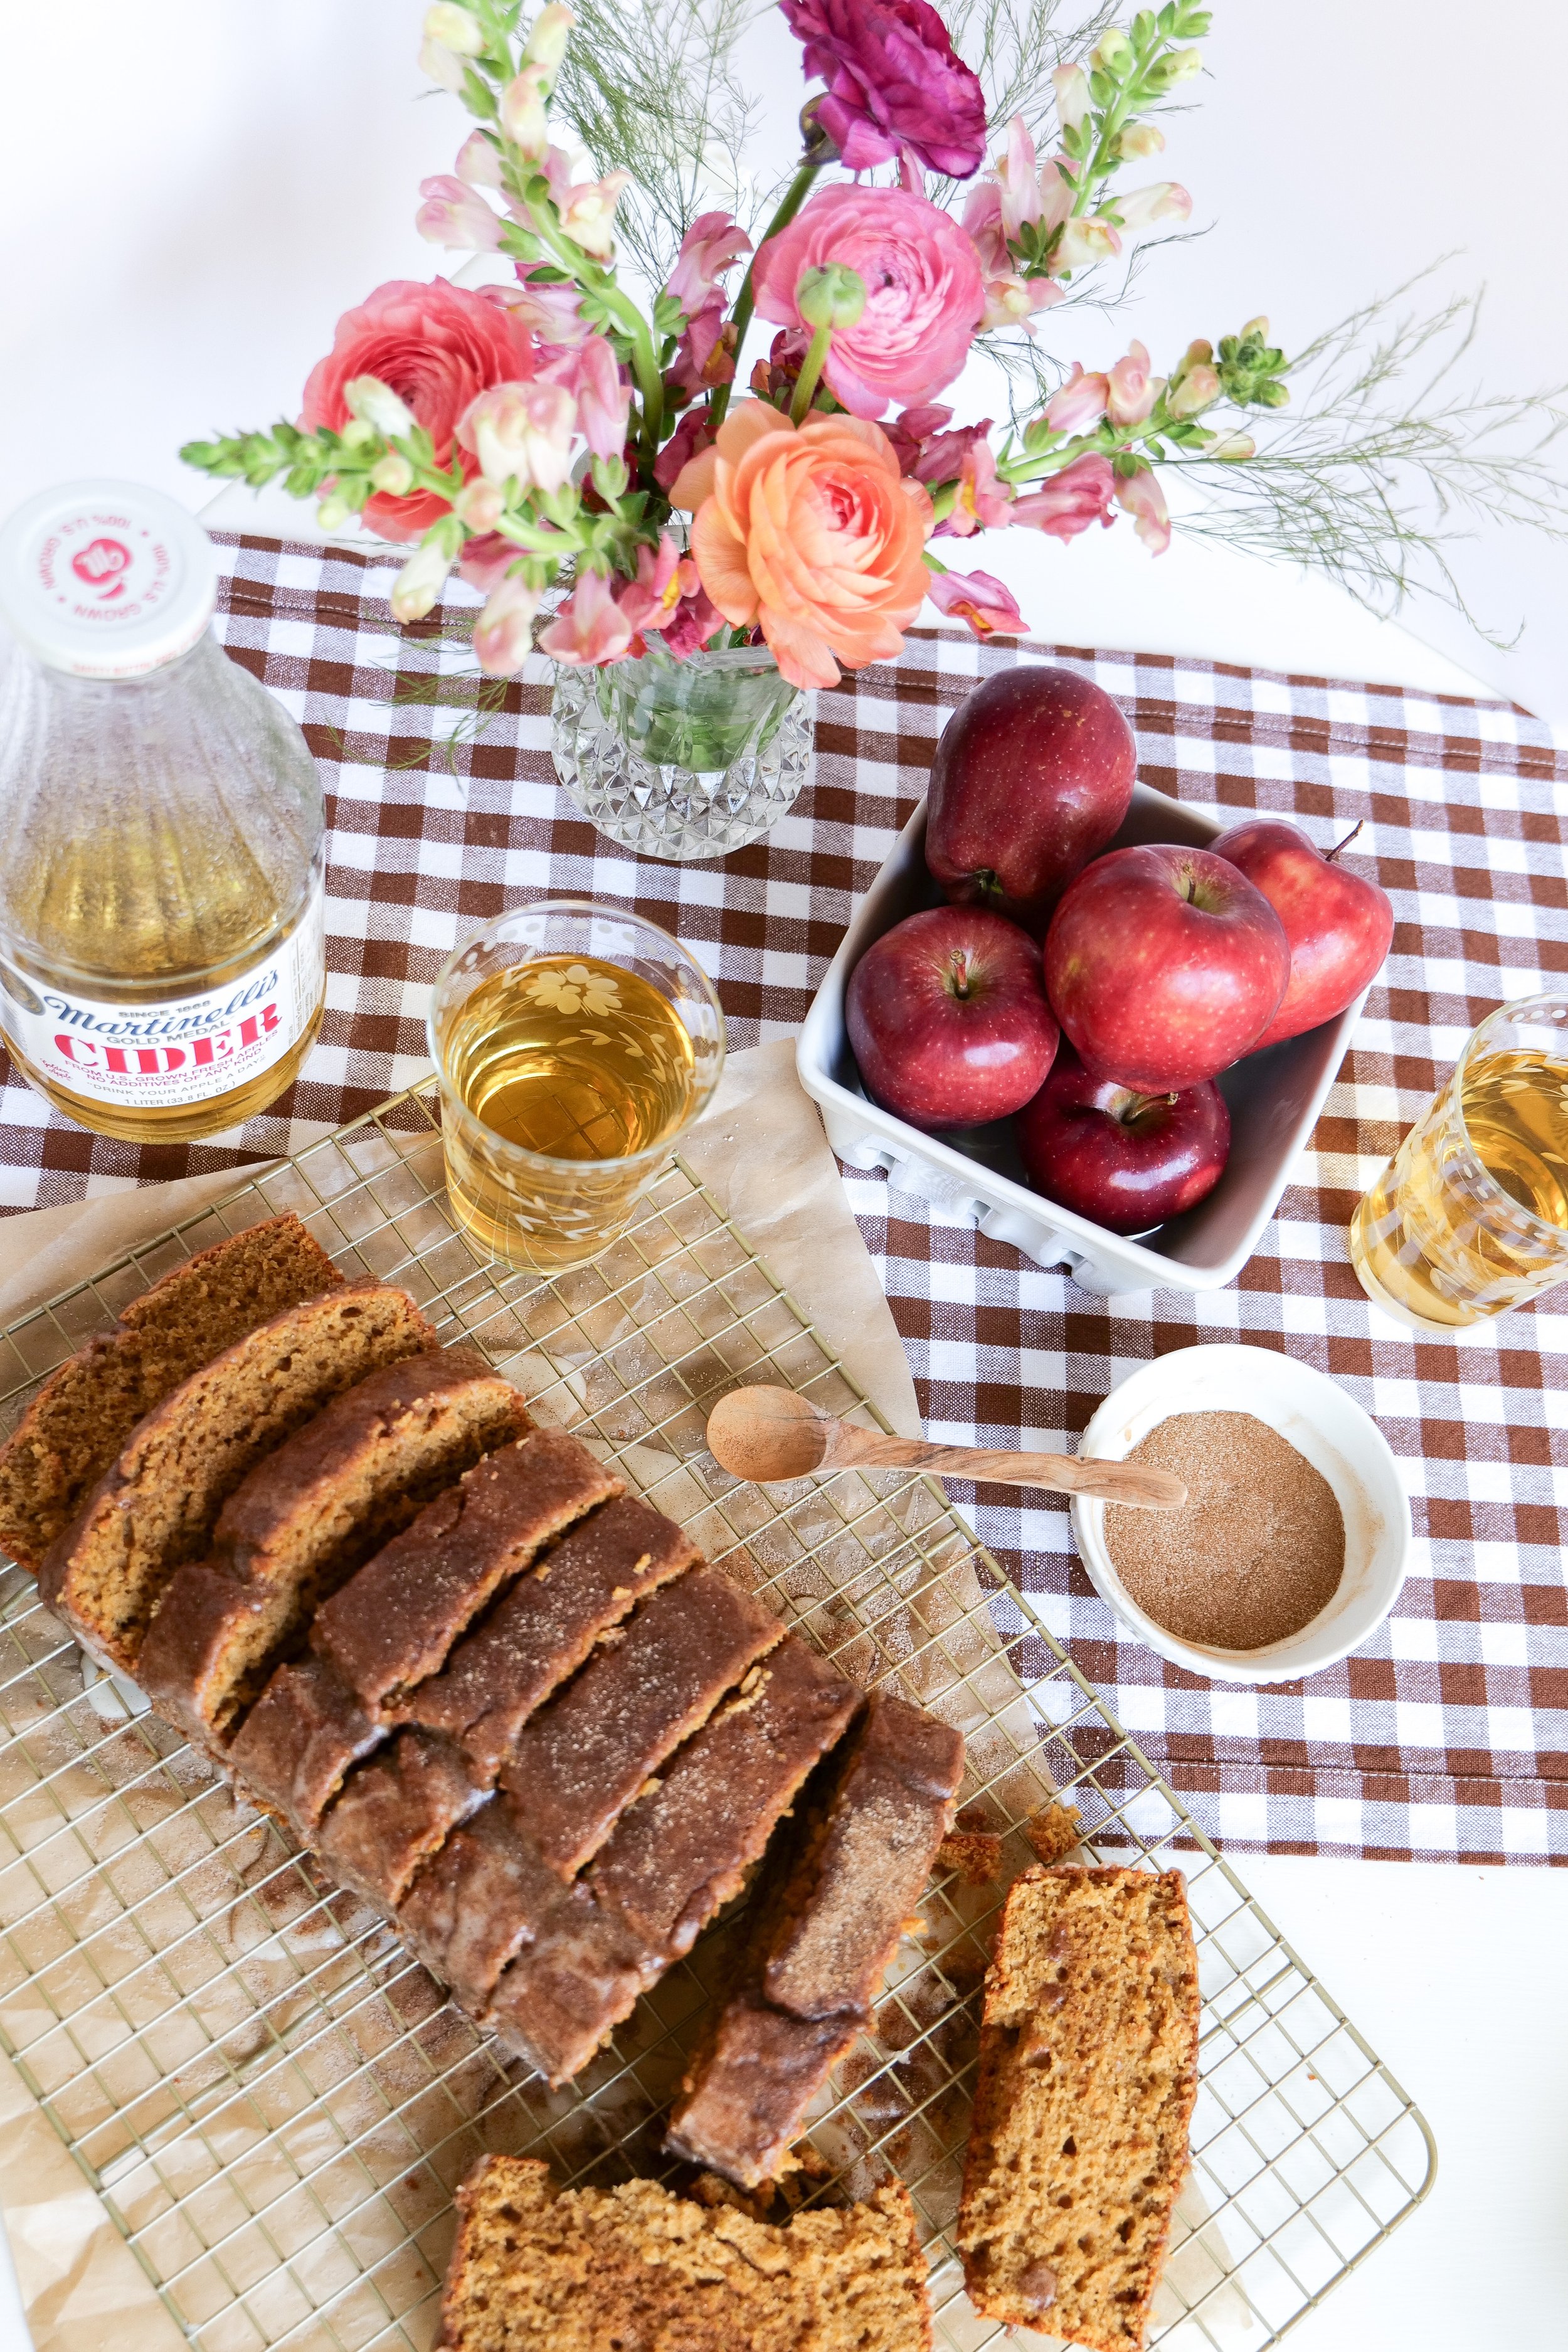
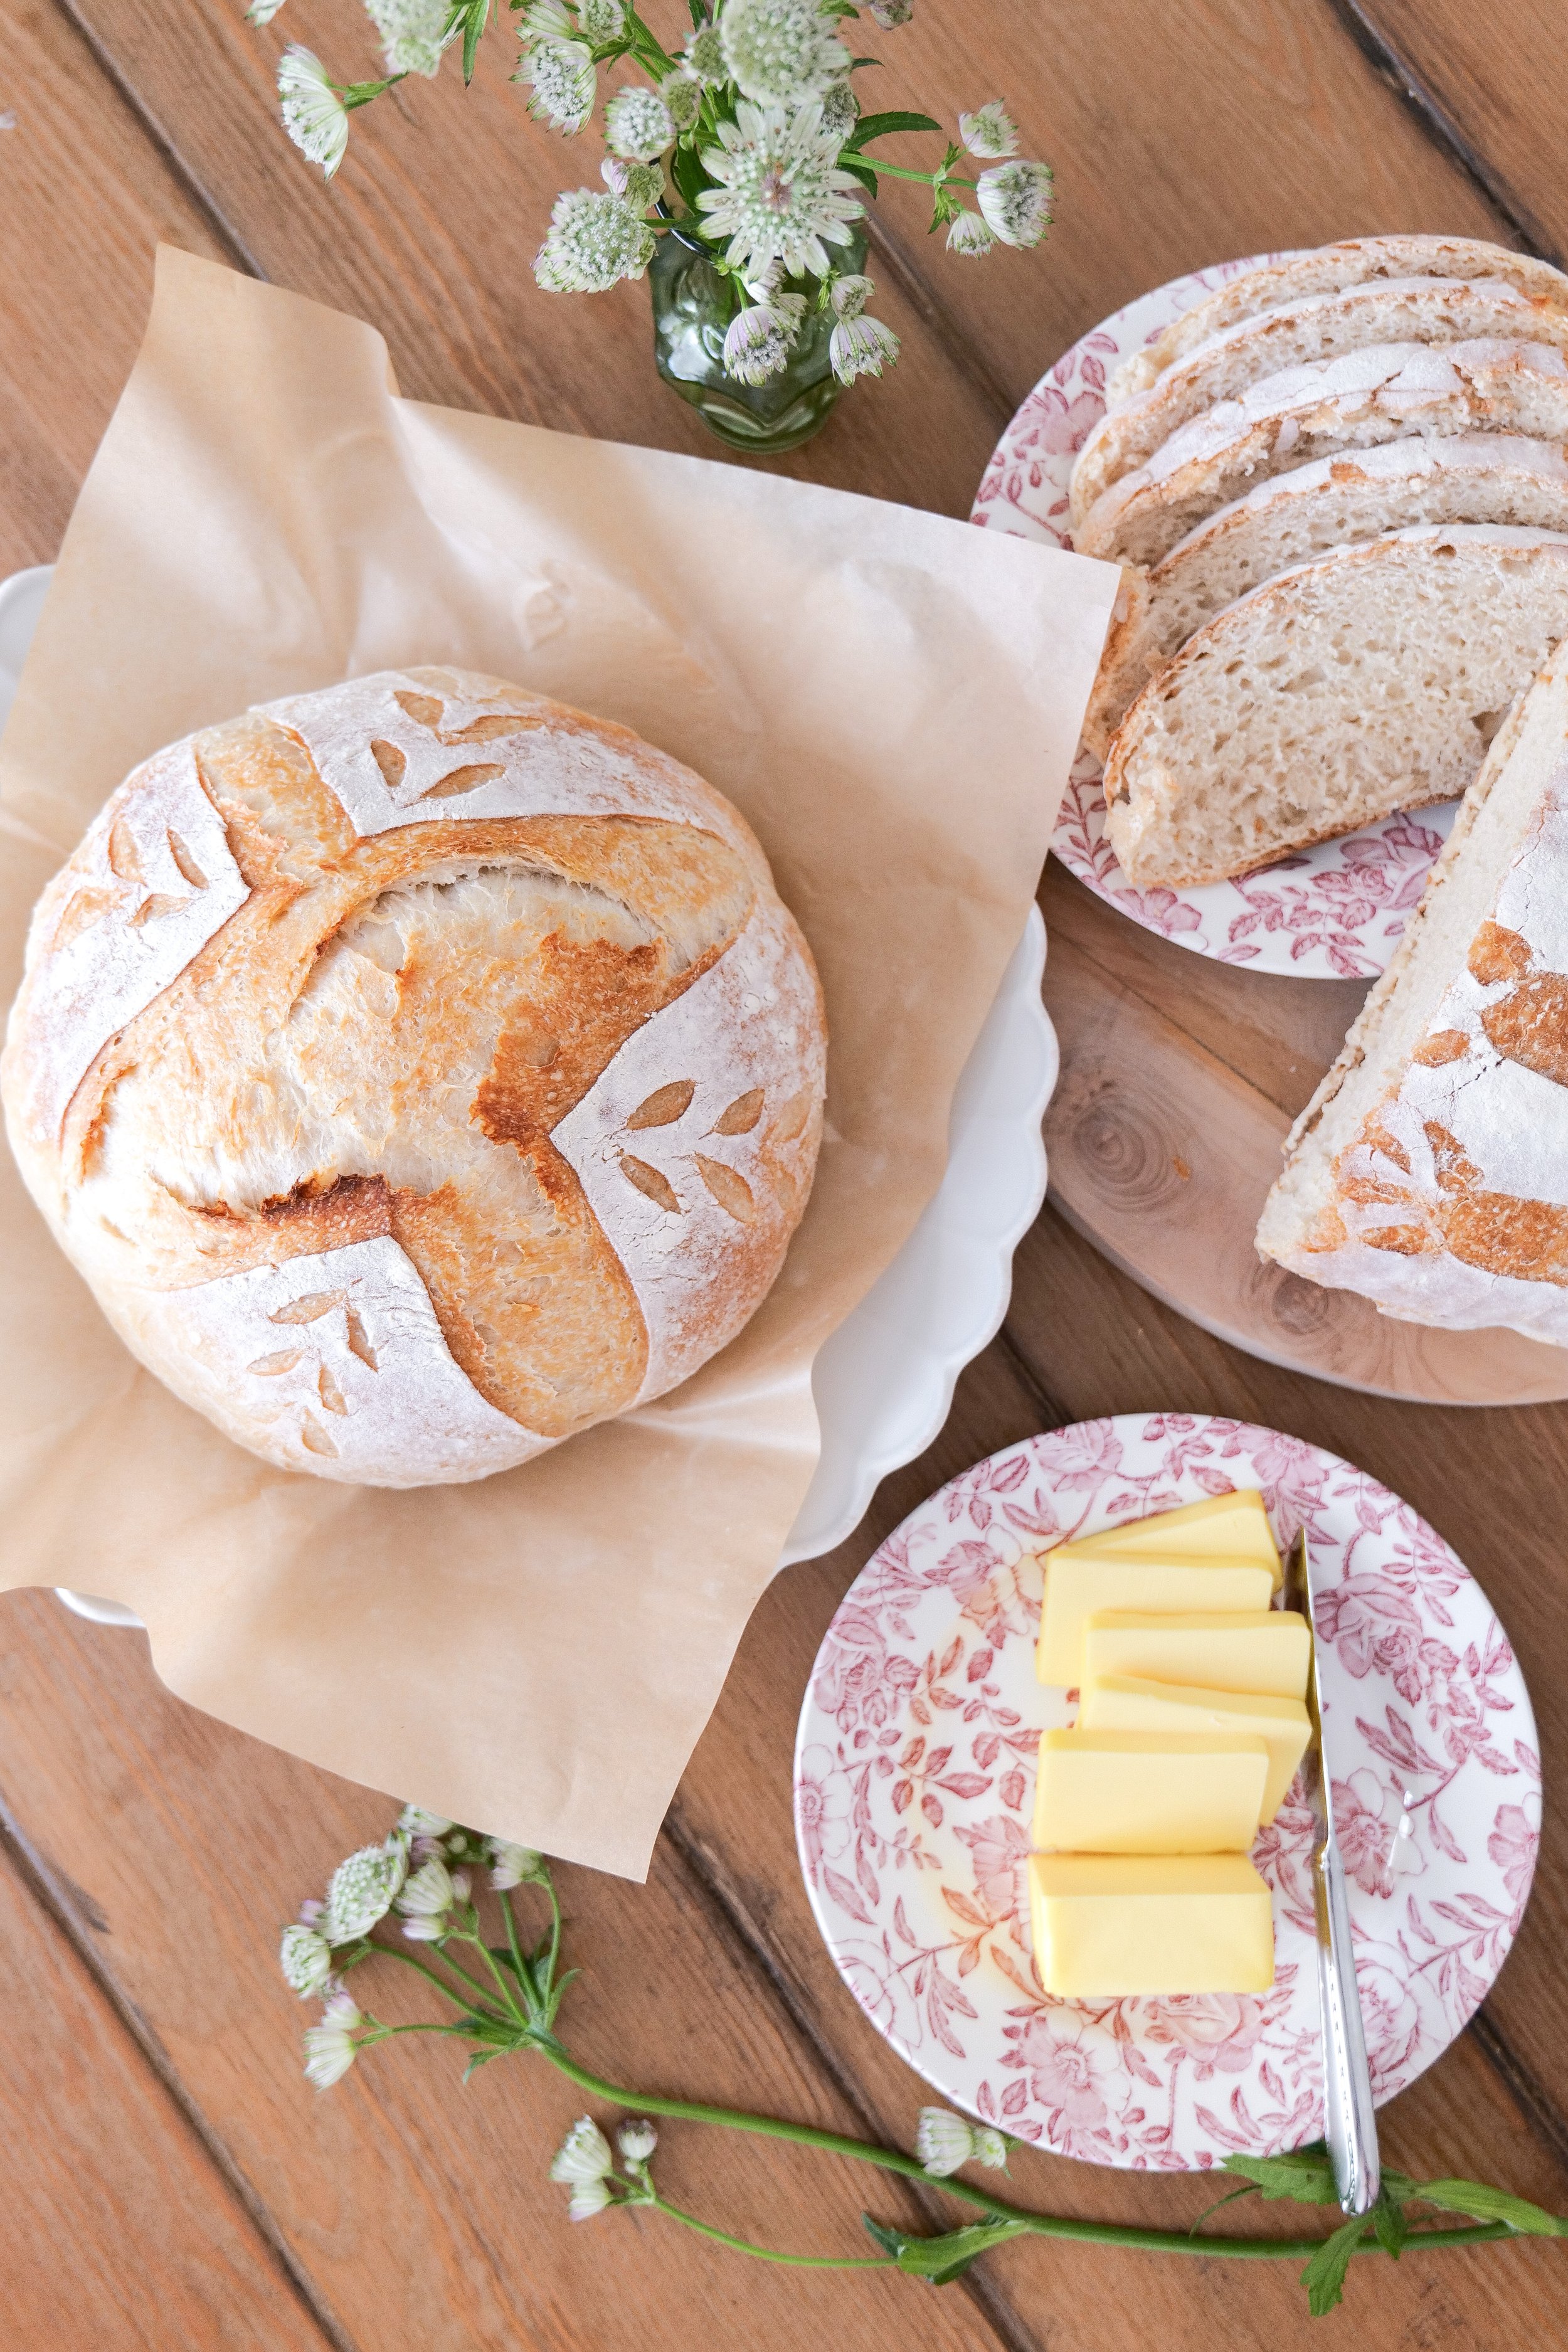
What To Pair With Festive Christmas Tree Focaccia

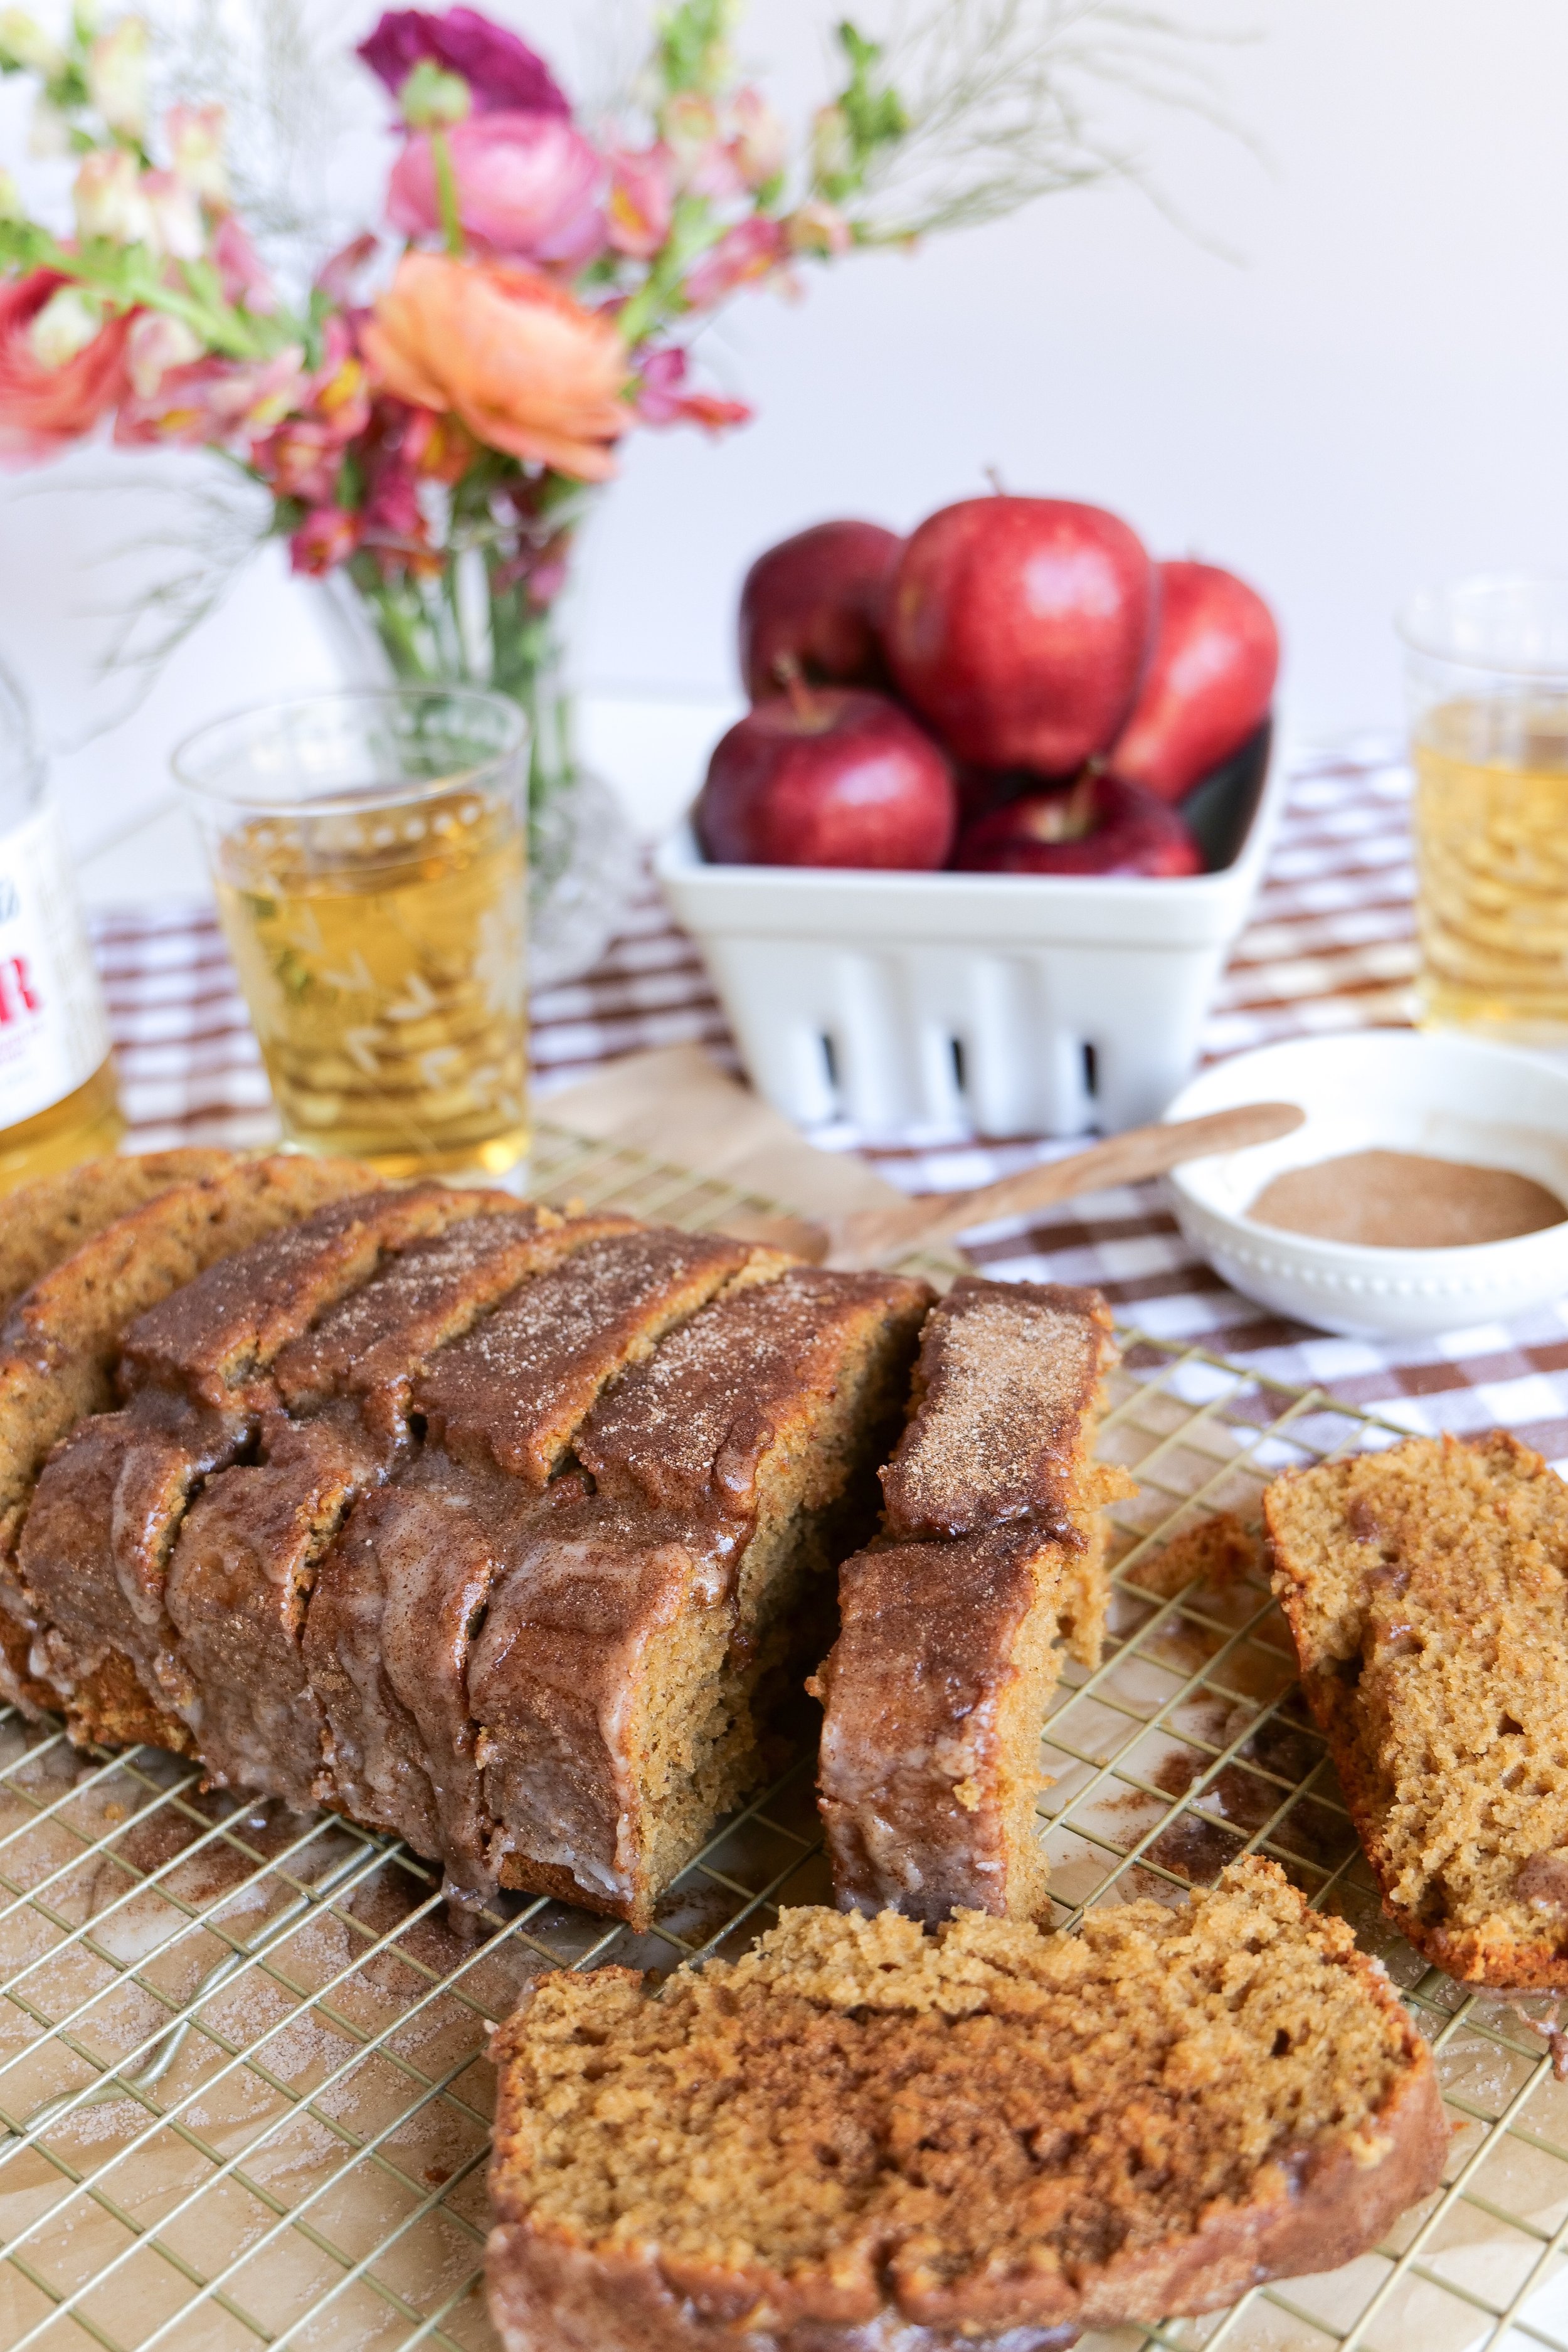
Herb Christmas Tree Focaccia Bread can be served as a side dish with any holiday main course, or as an appetizer served on a cheese plate. For a hearty cold-weather meal, serve it with a tomato and mozzarella salad, soup, or stew. To add even more flavor, top it with a variety of your choice of herbs and seasonings. This delicious bread is sure to be a hit with friends and family during the holidays. It also makes a great homemade gift for those special people in your life. So, this holiday season, make sure to give your loved ones the gift of Herb Christmas Tree Focaccia Bread.

Making Herb Christmas Tree Focaccia Bread is easy and customizable. You can experiment and use your favorite herbs and spices to create a flavor that you and your family will love. Topping the bread with cheese and your favorite vegetables is a great way to add a few extra special touches. Serve with a side of olive oil and balsamic vinegar for dipping, and you’ve got the perfect holiday treat.

Can I make the Herb Christmas Tree Focaccia Bread ahead of time for my holiday gathering?

Making Herb Christmas Tree Focaccia Bread is simple and hassle-free. All you need to do is bake the focaccia dough, assemble the tree, and bake one final time. The process is incredibly easy and requires very little preparation. Plus, you can make it slightly ahead of time so you can enjoy the festivities without worrying about last minute prepping. Herb Christmas Tree Focaccia Bread is the perfect addition to any holiday gathering. It’s a flavorful and unique treat that everyone will love. Plus, it looks so festive and inviting and it really stands out. Your guests are sure to be impressed with your creative and delicious holiday dish.

Are there any variations or substitutions I can make to the traditional Herb Christmas Tree Focaccia Bread recipe?

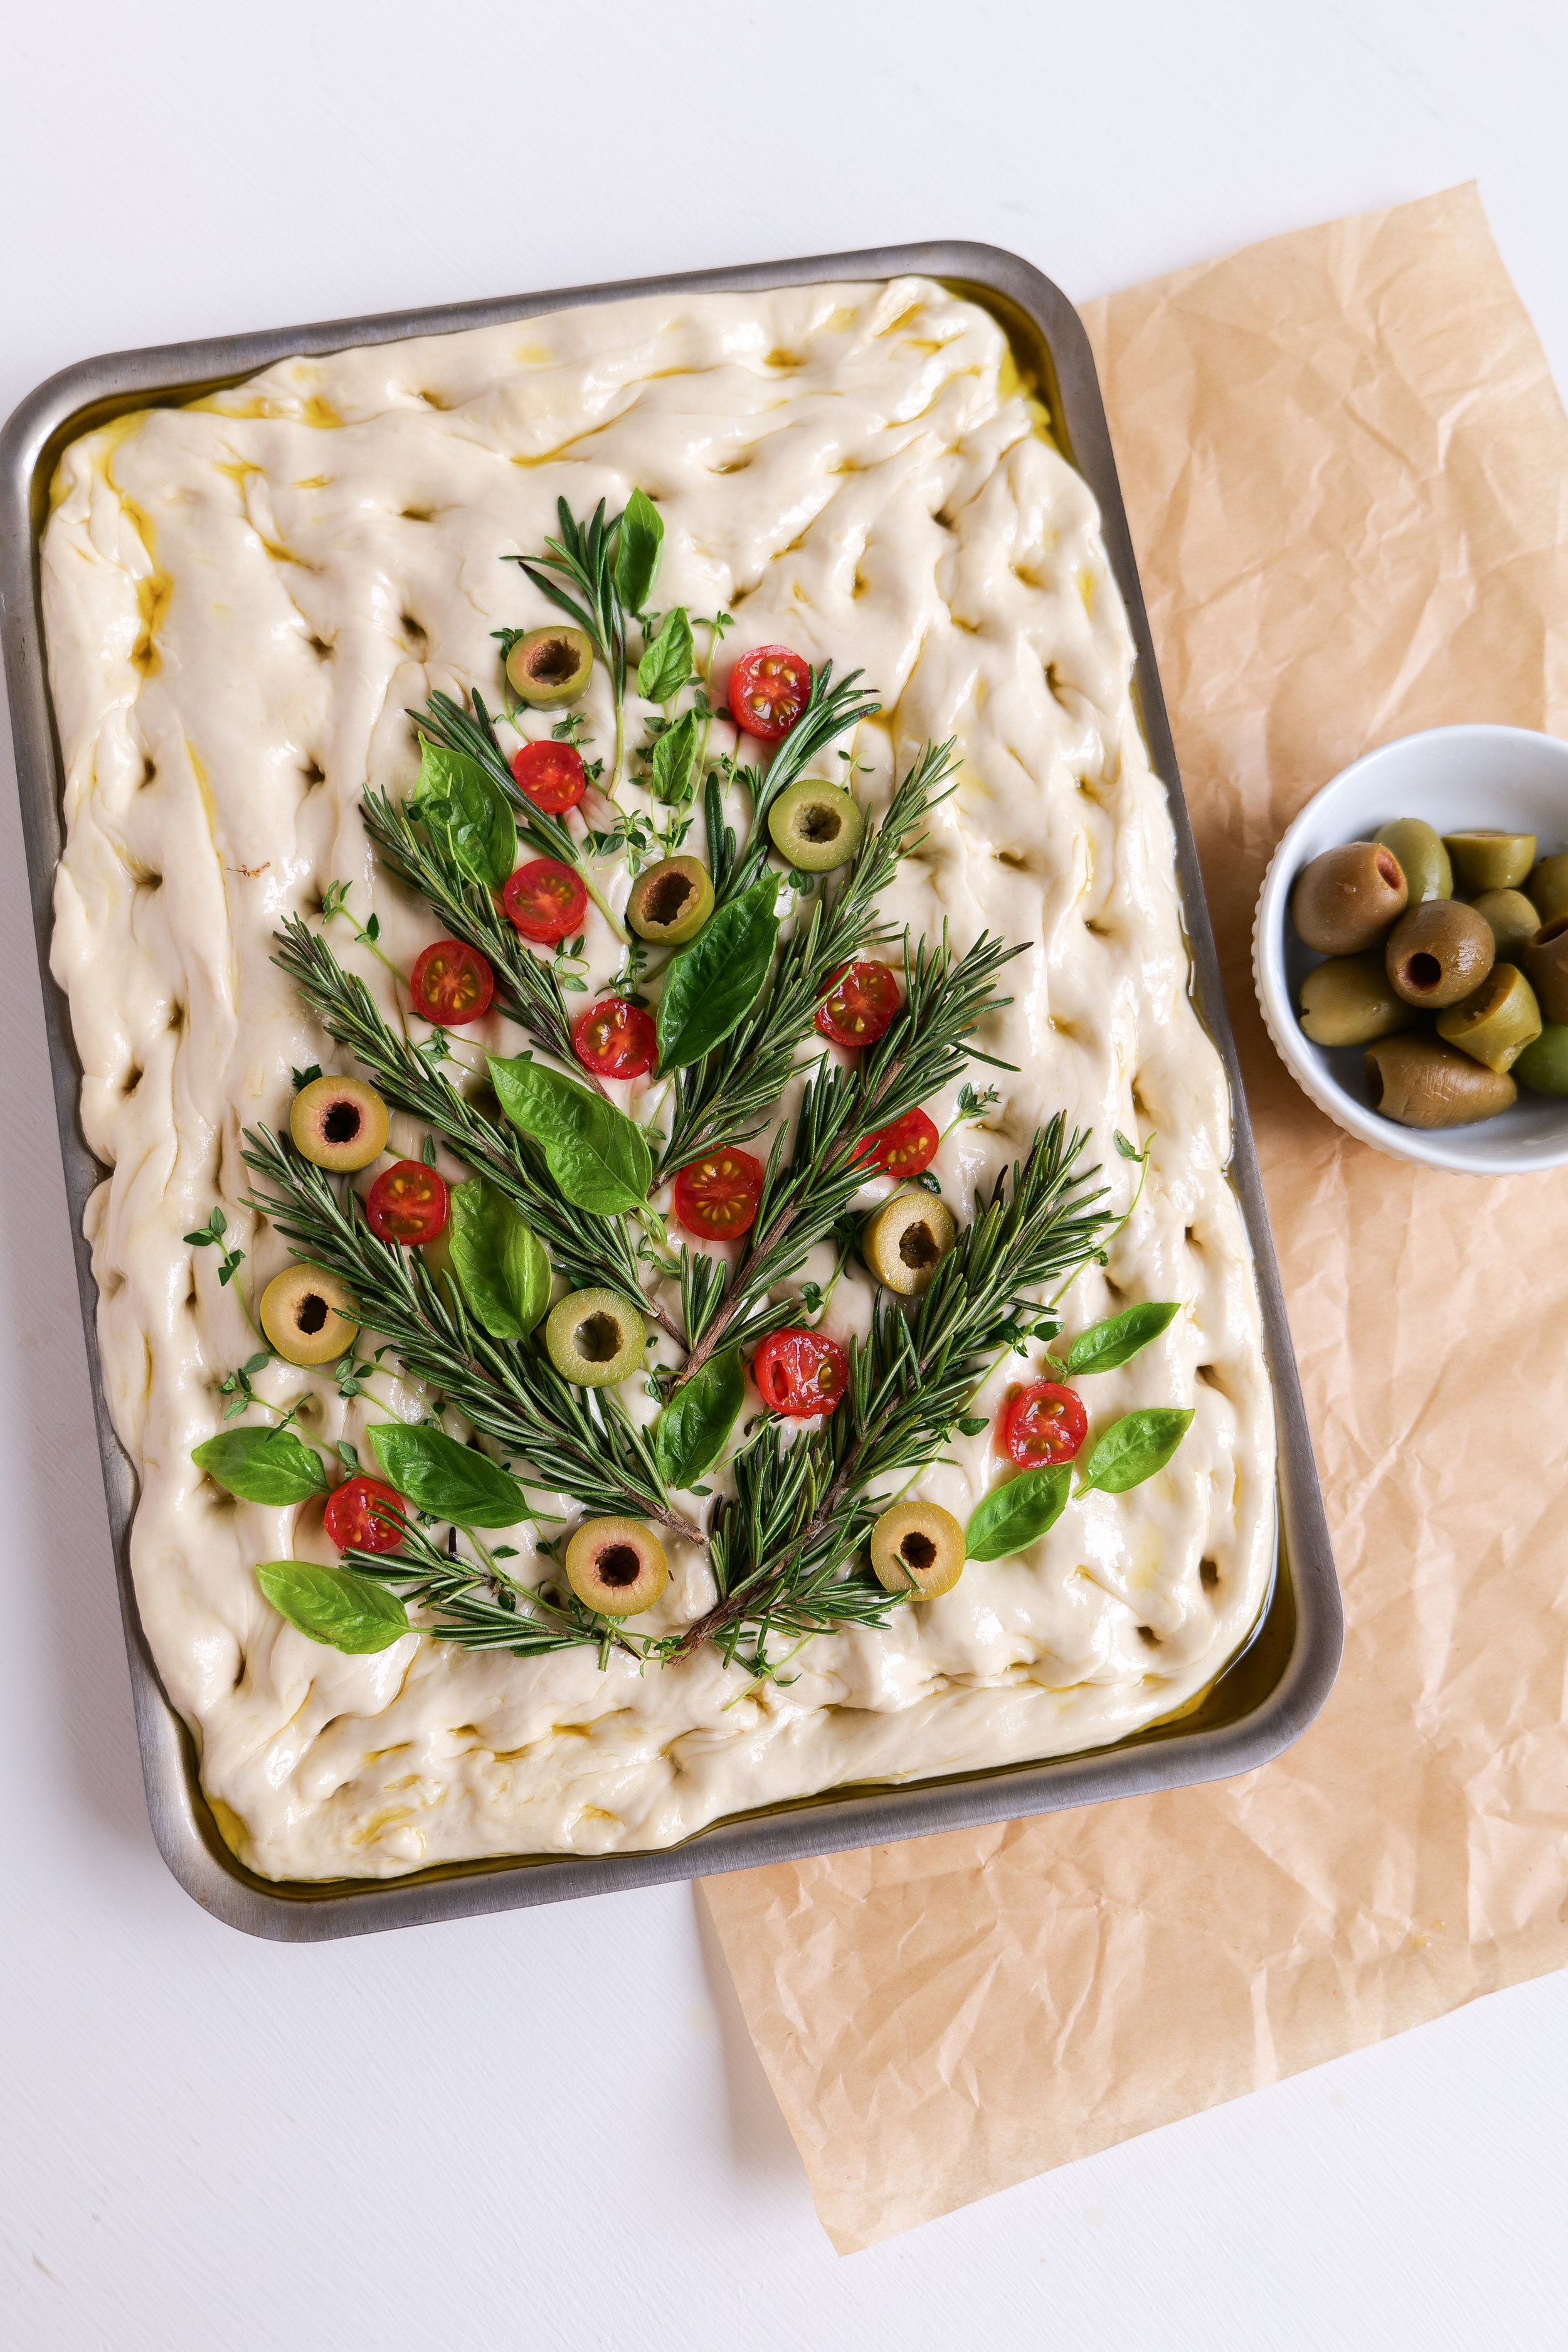
Herb Christmas Tree Focaccia Bread is a delicious way to bring some festive spirit to your holiday table. This easy-to-make focaccia bread is a great way to surprise your guests with a unique and delicious twist on the traditional focaccia. The classic focaccia is made with rosemary, cherry tomatoes, green olives and thyme, but you can easily change up the flavors by using different herbs such as basil, chives, or parsley. You can also add Parmesan cheese and mozzarella for an extra layer of flavor. To add some festive Christmas flair to your focaccia, try adding cranberries or cranberry sauce.

You can also change up the ingredients by using different vegetables as toppings such as bell peppers, carrots, or mushrooms. Also, don't be afraid to experiment with different types of cheeses such as feta, cheddar, or blue cheese. With so many options available, the possibilities are endless when it comes to creating this unique and delicious Herb Christmas Tree Focaccia Bread.

Ingredients:

8 Cups Flour

4 teaspoons salt

4 teaspoons instant yeast

4 cups warm water

Olive Oil spray to grease the pan

6 tbsp olive oil

1 tsp flaky sea salt

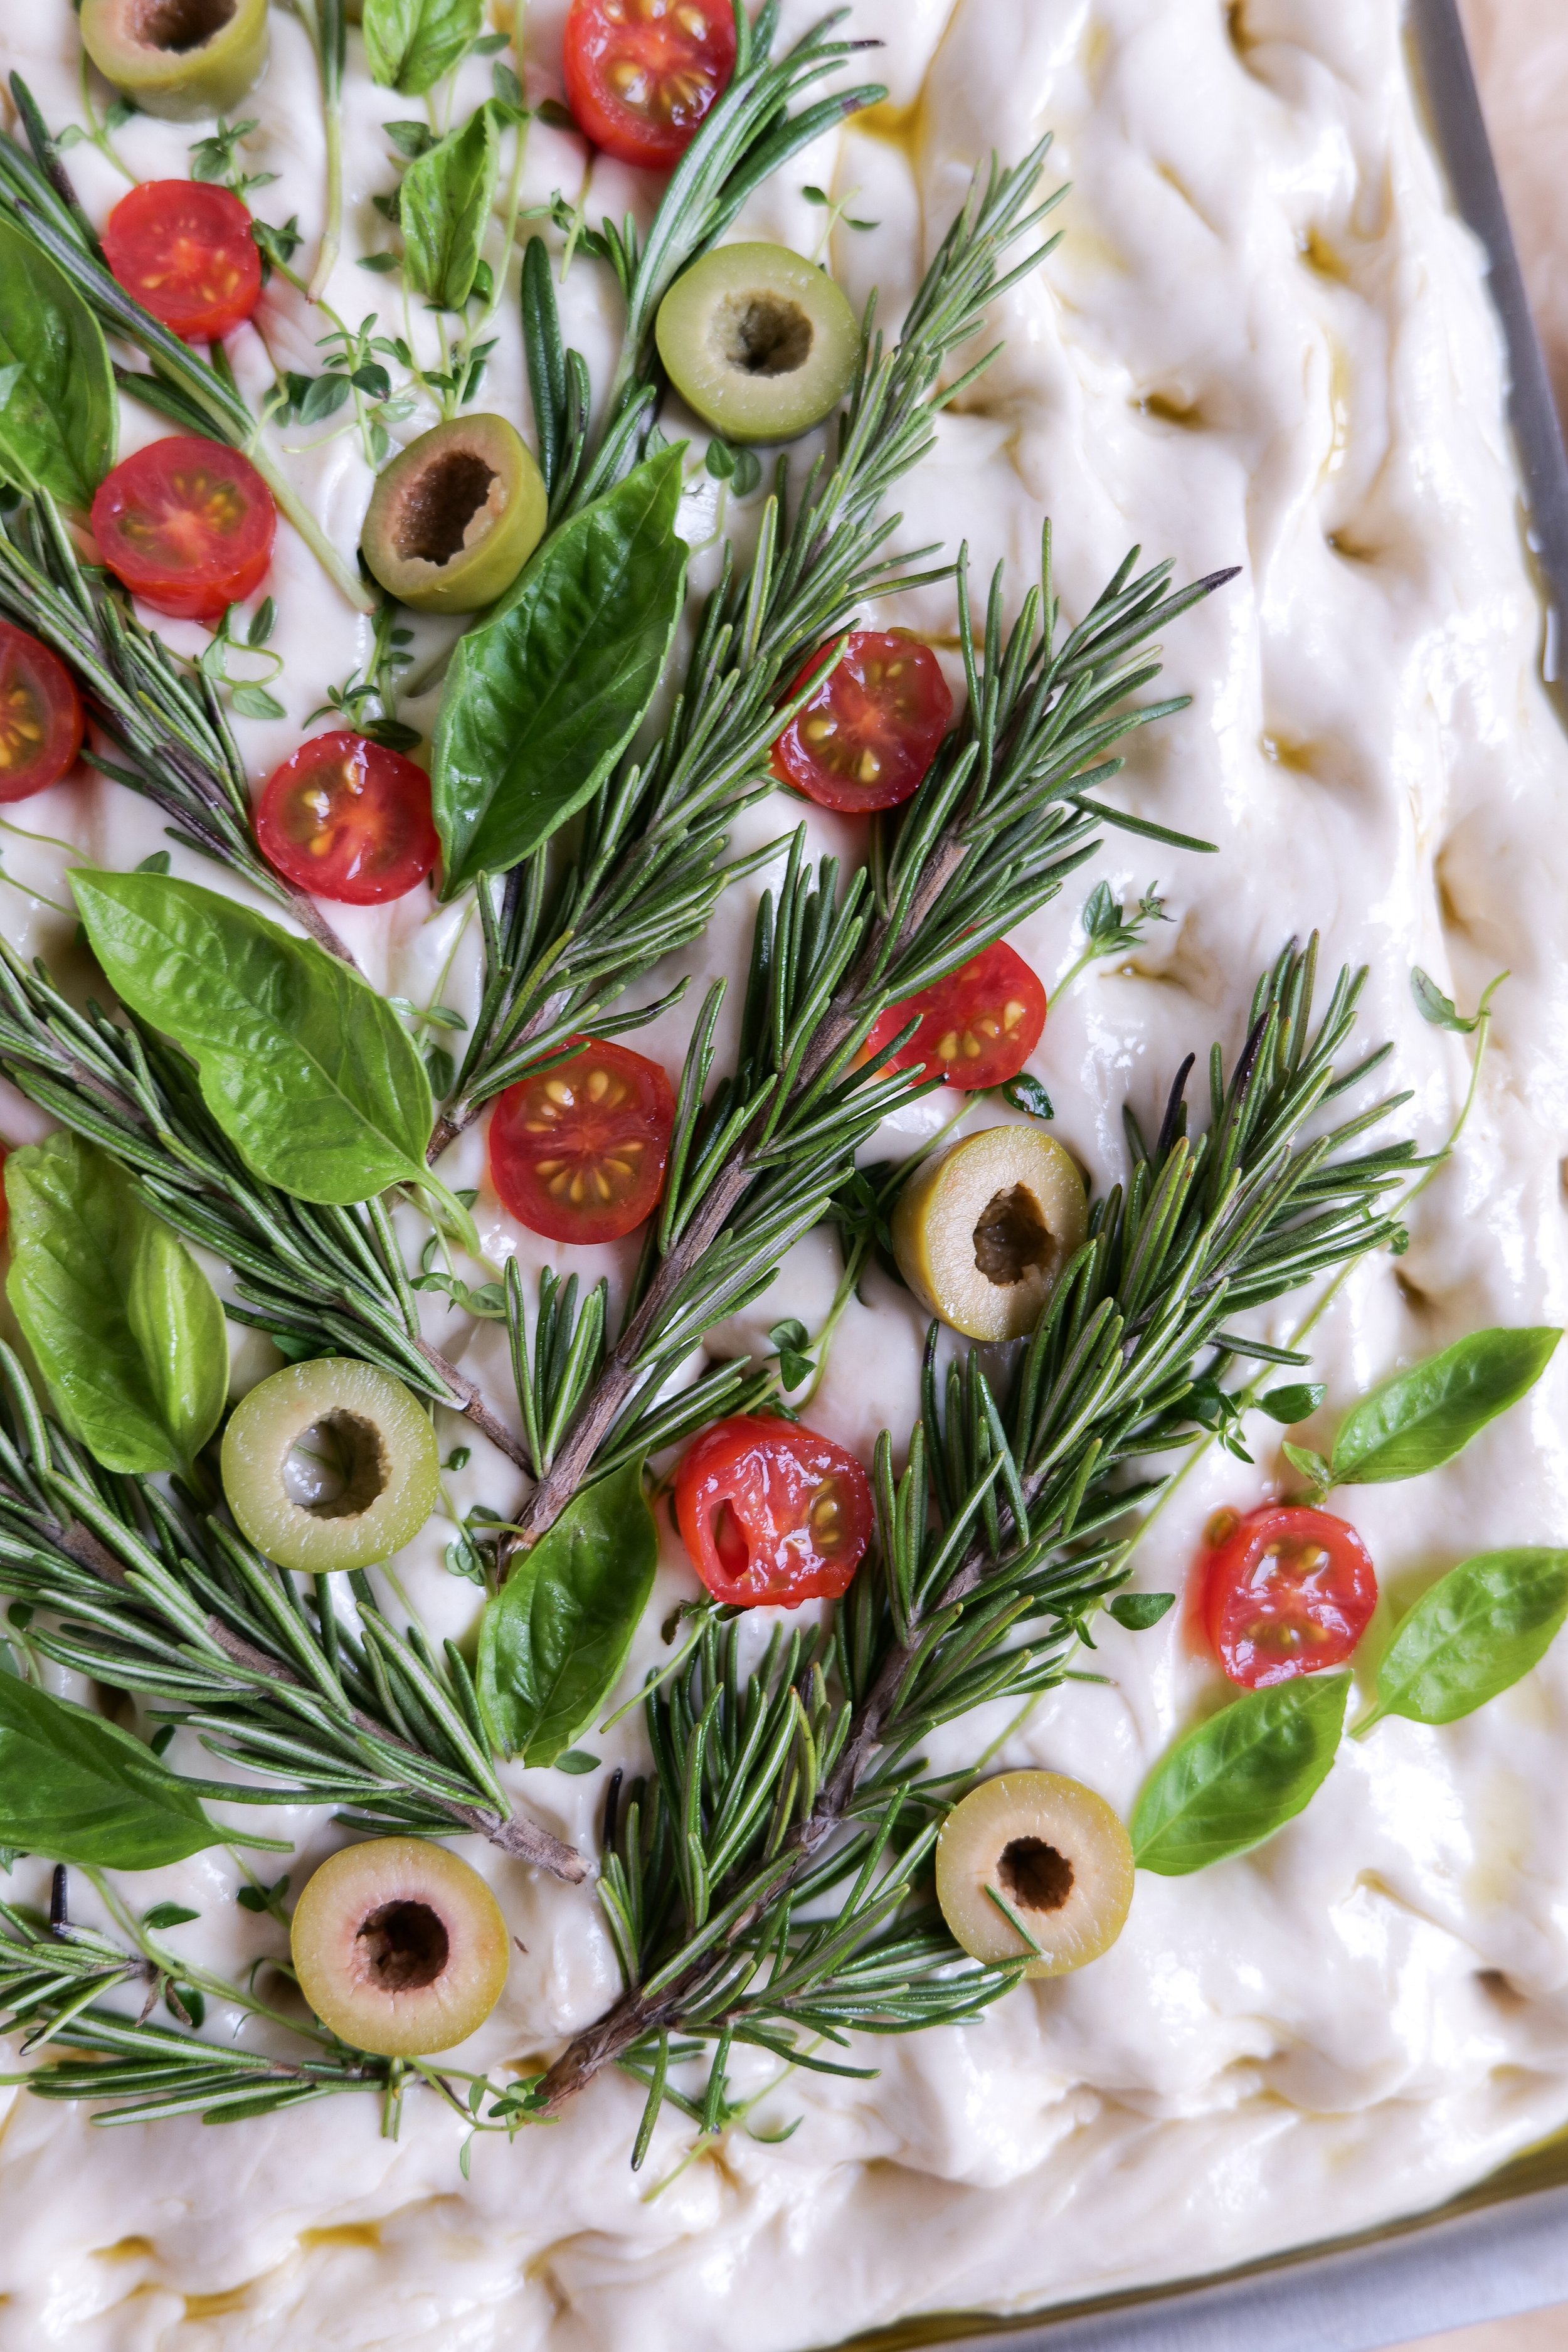
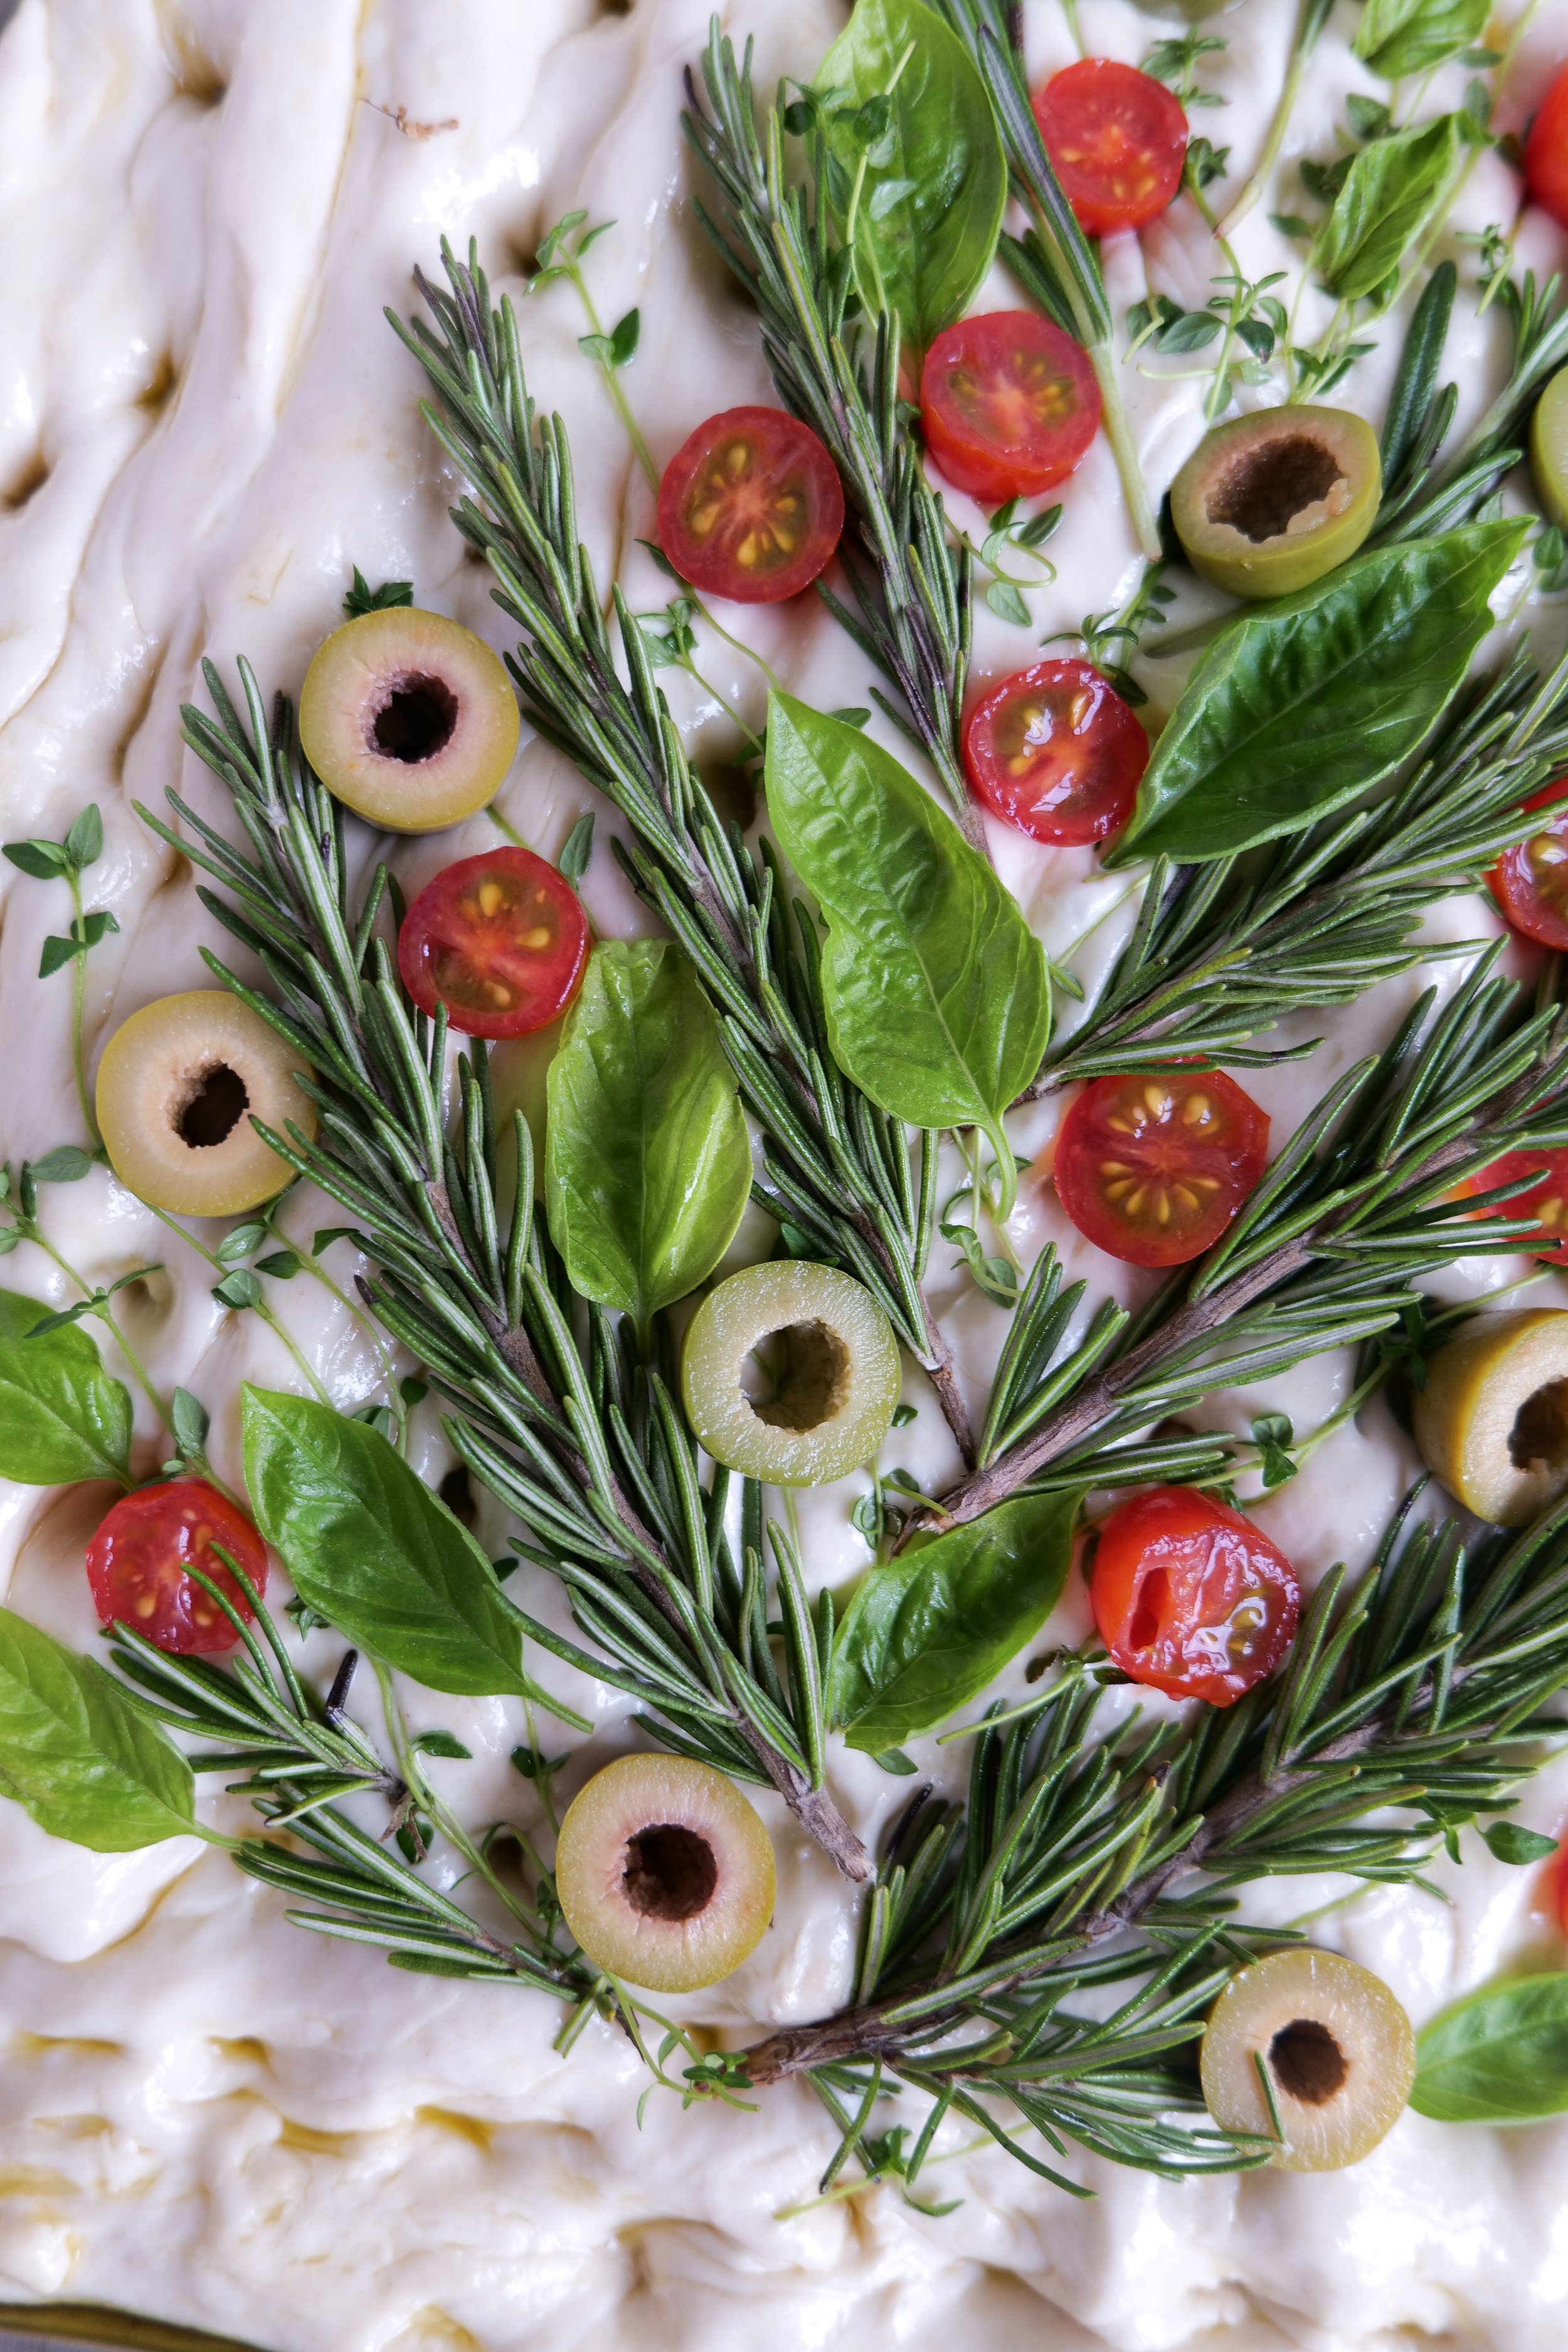
Herbs & Veggies of choice - I used:

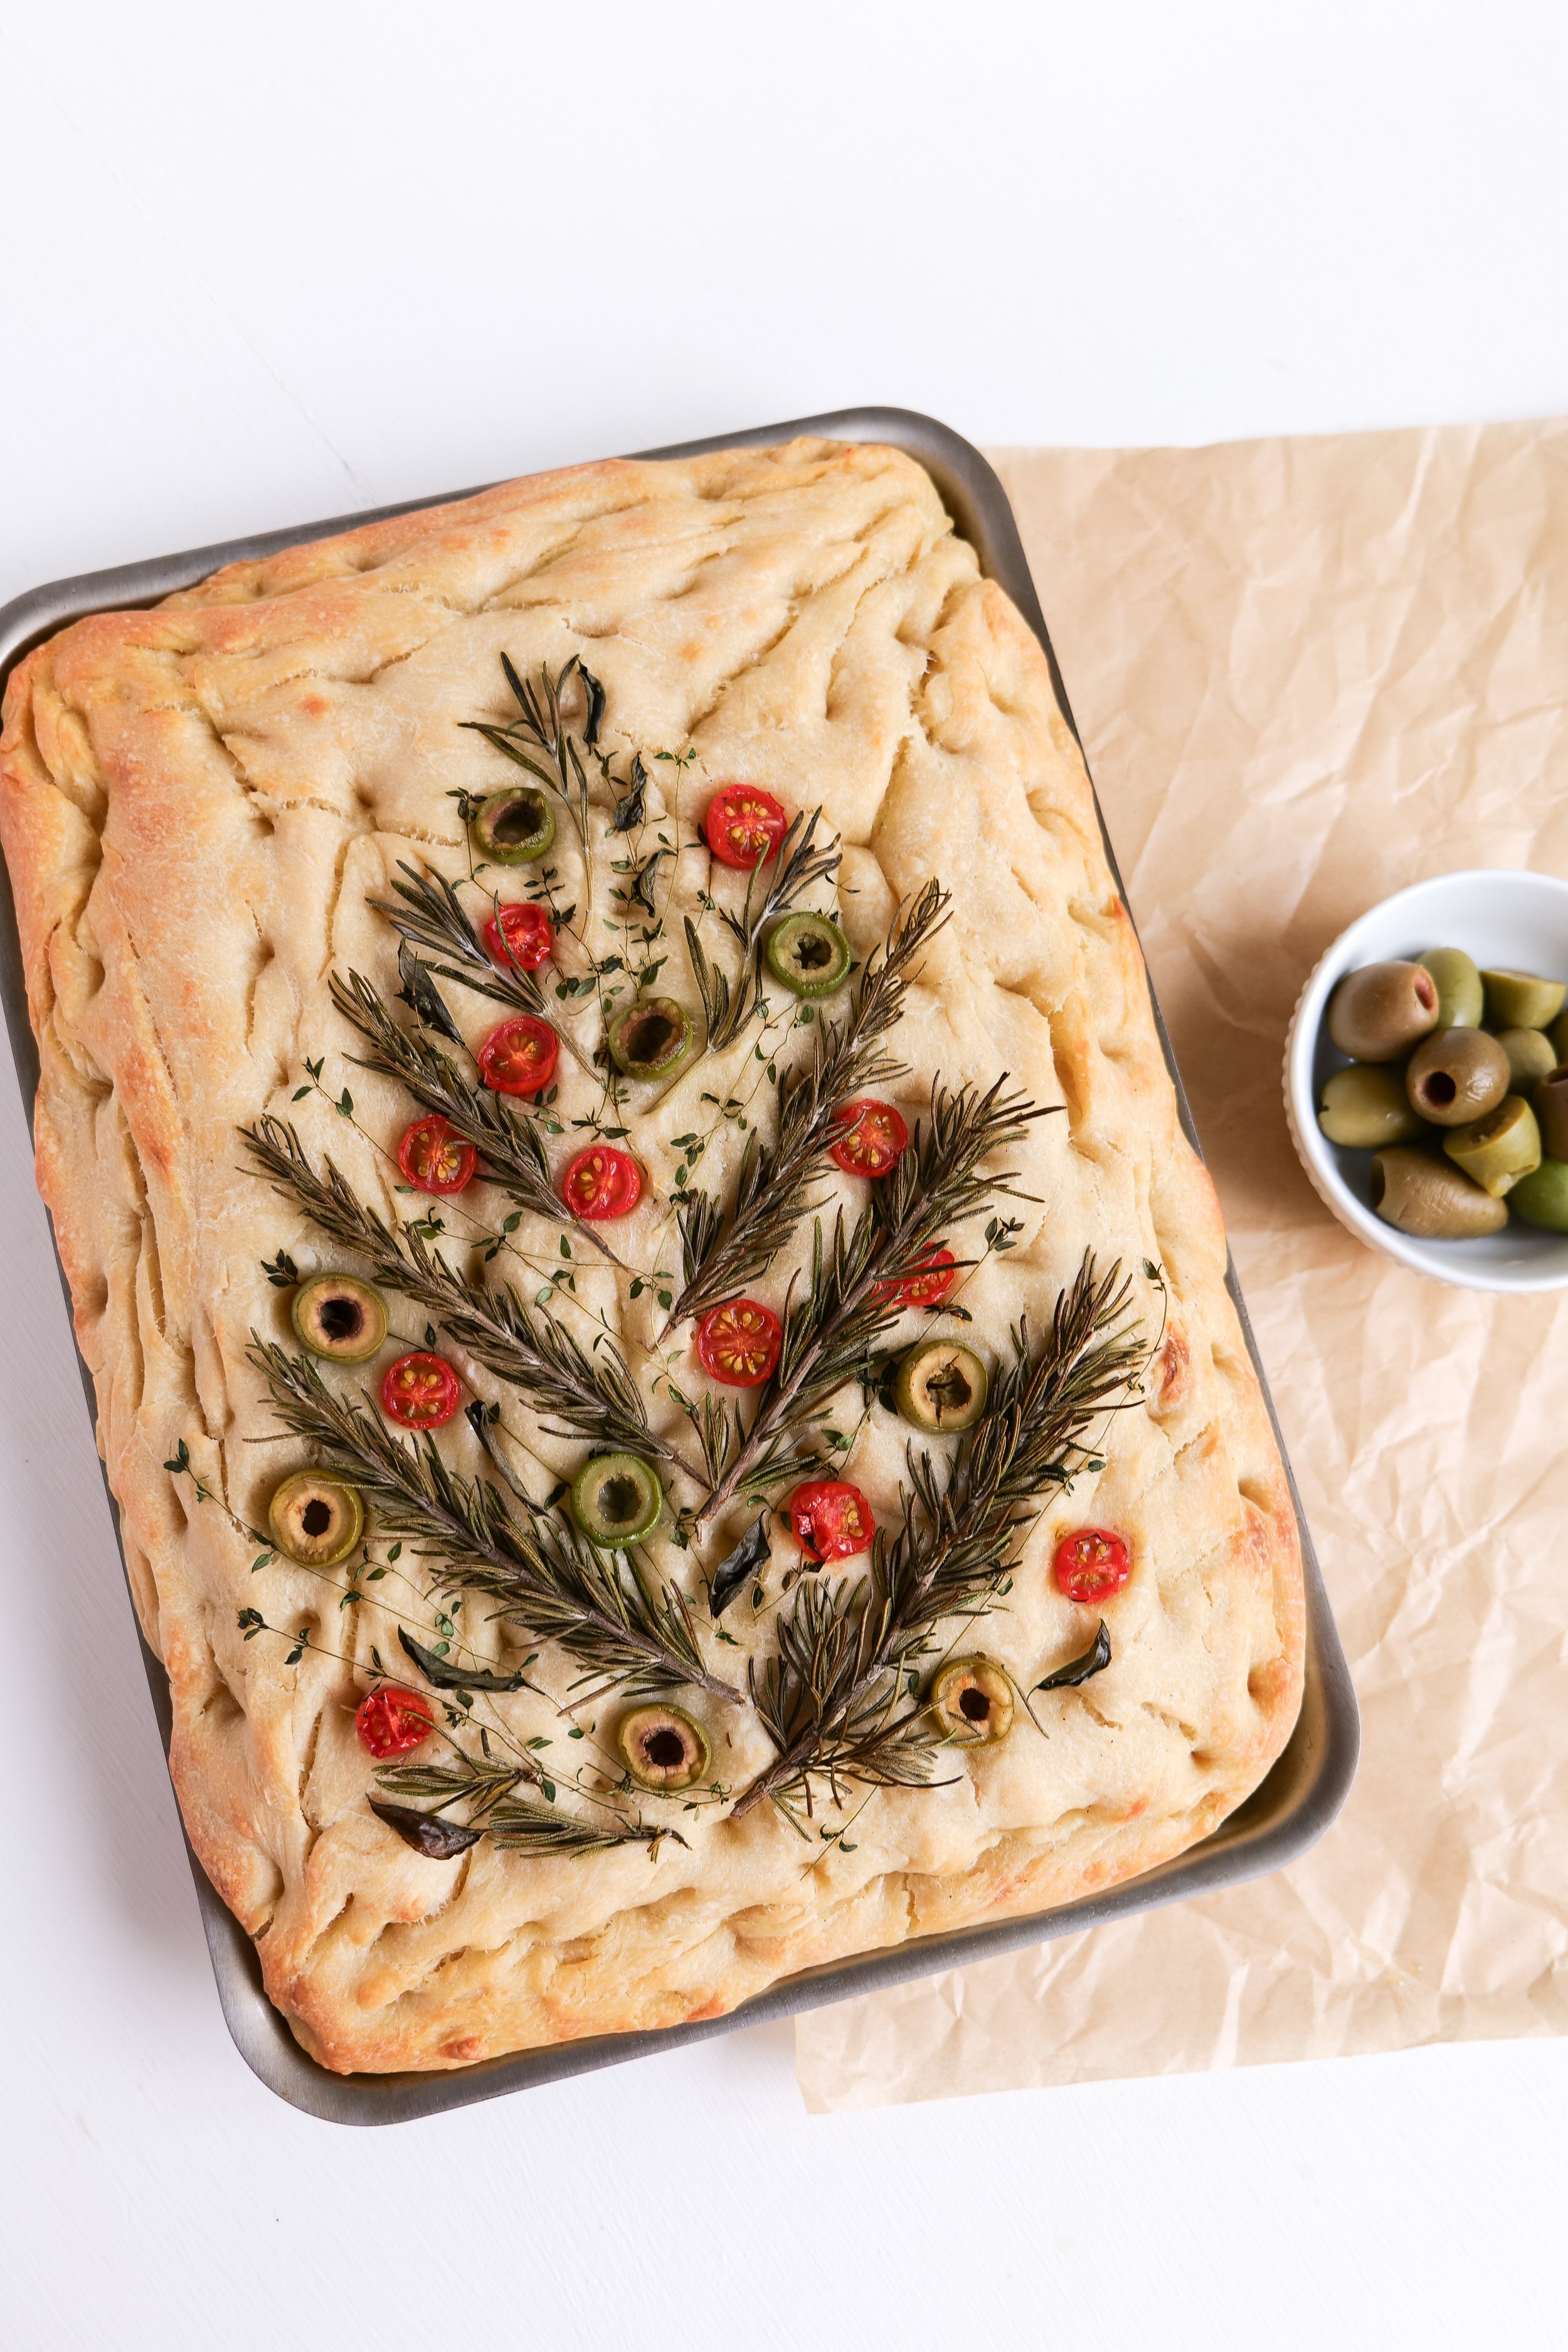
Rosemary Sprigs, Thyme, Cherry Tomatoes & Green Olives

Instructions:

  1. Mix flour, salt, yeast and warm water in a mixing bowl. Combine well and cover with a towel or plastic wrap. Put in fridge overnight in the mixing bowl. (9 hours or Up to 24 hours)

  2. The next morning take out the pan to bake. I like this -Jelly Roll- pan the most from 360. The sides are the perfect amount and it's a great size to bake this bread in. Drizzle oil on pan and oil on bread mixture.

  3. Lay oiled bread mixture onto the pan and let rise for 20 min covered with a towel. If your home is cooler inside I suggest warming the oven up for 1 minute while prepping bread and turning it off. Then place the pan with bread in to feel warmth and rise.

  4. After risen. Move bread into a longer shape to fill the pan and poke. Using fingers you will make small indentions along the bread. Let rise again for 20 min to 1 hour until the bread has risen enough for you to see it past the jelly roll line.

  5. Next, poke more holes and then sprinkle over the oil mixture; add in your Christmas focaccia art however you would like to arrange for decorating.

  6. Bake at 425 for 25 to 30 min until the bottom is crisp and the top is a golden color. Let cool and enjoy your gorgeous homemade focaccia bread art!

Other Delicious Bread Recipes You Will Love:

The Perfect Beginners Sourdough Bread Recipe for Delicious Homemade Bread

The Most Delicious Homemade Corn Bread Loaf Recipe

Garlic & Herb Focaccia Bread

Delight in Every Bite: Making the Ultimate Apple Cider Loaf with Brown Butter Glaze

Delight in Every Bite: Making the Ultimate Apple Cider Loaf with Brown Butter Glaze

Welcome to our delicious corner of the internet, where today, we're diving into the delectable flavors of Autumn with an exceptional Apple Cider Loaf covered in a mouth-watering Brown Butter Glaze. This cozy, comforting recipe captures the essence of the season, combining the rich aroma of fresh apples and spicy cider with a tantalizingly sweet and nutty brown butter glaze. Whether looking for a scrumptious addition to your brunch table, a decadent afternoon snack, or a homemade gift for loved ones, this Apple Cider Loaf recipe promises to take your Fall baking adventures to exciting new heights. So, put on your favorite apron, fire up your oven, and let's get baking!

How to Make Brown Butter

To make the brown butter glaze, you will need to first make brown butter. If you haven't done this before let me explain to you just how easy it is. Soon, you'll be doing this to your butter for many recipes you make. First, you will need to melt the butter in a small saucepan over a medium-low heat. Let that cook, stirring occasionally, until the butter is a light golden brown color and has a nutty aroma. Then remove from heat and let cool. Depending on the recipe you will let it come to room temp and place it in the fridge, let come to room temp alone with no fridge, or use right away. Any way you choose to use the butter, it takes every recipe to the next level. The combination of sweet apple cider and nutty brown butter makes for a truly indulgent treat. Brown butter glaze is the perfect finish to this autumnal delight.

How to Store This Cake

After baking the cake, allow it to cool completely before storing. To ensure the cake stays fresh, wrap the cake tightly in plastic wrap, foil, or place it in an airtight container or cake carrier. Store at room temperature for up to 3 days, and in the refrigerator if you plan to keep the cake for longer than 3 days. If freezing, wrap the cake tightly in plastic wrap and then in aluminum foil. Feel free if necessary to store in the freezer for up to 3 months. To thaw, remove from the freezer and place in the refrigerator overnight. Enjoy the delicious flavors of this Fall delight apple cider loaf with brown butter glaze, no matter what time of year it is.

The best part is that this cake is easy to make and can be prepped ahead of time for a quick and easy dessert. So don’t worry if you’re short on time - this cake is a great option for any busy holiday.

Why is this apple cider bundt cake so good?

If you’re looking for the perfect Fall dessert, look no further than this delicious apple cider loaf with brown butter glaze! The addition of apple cider in the batter makes the cake incredibly moist and fluffy, and the warm Fall spices, such as cinnamon, nutmeg, and allspice, give it an unmistakable seasonal flavor. The addition of brown butter in the glaze adds a rich, nutty flavor that perfectly complements the sweetness of the cake. Not only does it add flavor, but the brown butter glaze also adds a beautiful glossy finish to the cake, making it look as good as it tastes. The classic combination of apple flavor and cinnamon in this cake is sure to be a hit with your family and friends.

What’s the difference between apple cider and apple juice?

Apple cider and apple juice are both popular drinks enjoyed by many around the world, but they are not the same. Apple cider is made by pressing and fermenting apples while apple juice is made from the juice of apples that have already been pressed. Apple cider is slightly tart and usually contains less sugar than apple juice. Additionally, apple cider is often enjoyed warm and spiced while apple juice is served cold. Furthermore, apple cider has a shorter shelf life than apple juice, as it is not pasteurized. Apple cider is usually darker in color than apple juice. If you can't find fresh apple cider, store-bought apple cider will work just as well. For a sweeter loaf, opt for unfiltered, preservative-free apple cider. This will make the loaf more flavorful and give it a richer sweetness.

Using these flavorful ingredients, you can easily whip up this delicious apple cider loaf with brown butter glaze. This delightful loaf is perfect for a light breakfast or as an afternoon snack. Enjoy it on its own or with a side of Greek yogurt and fresh berries. The possibilities are endless!

Can the brown butter glaze be prepared ahead of time?

The brown butter glaze gives this cake a rich, nutty flavor and a creamy texture. Conveniently, the glaze can be prepared ahead of time. Up to one day ahead for best results. To prepare the glaze ahead of time, simply melt the butter, whisk in the spices, and then let cool to room temperature. When ready to use, whisk in the powdered sugar and apple cider until it's smooth and creamy. Refrigerate the glaze until ready to use, and then bring to room temperature before pouring over the loaf. The glaze will add a beautiful sheen to the loaf and a wonderful flavor that will make your taste buds sing. Serve this apple cider loaf with brown butter glaze at your next brunch gathering, holiday celebration, or any day you're looking for something sweet and special.

Can I substitute or omit any ingredients in the apple cider loaf with the brown butter glaze recipe?

There are always substitutions you can find to better suit your diet. Here are a few that are easy for this recipe. Know that these substitutions can alter the flavor and cook time, however. Instead of using butter, you can substitute applesauce to cut down on the fat content of the recipe. Omitting the nutmeg and cinnamon will still yield a tasty loaf, but adding raisins, dried cranberries, or chopped walnuts to the batter will give the loaf some extra texture and flavor. For an even more unique taste, you can substitute apple cider for apple cider vinegar. This will give the bread a slight tangy taste that will be sure to tantalize your taste buds.

Ingredients

2 cups all-purpose flour

2 teaspoons baking powder

½ teaspoon cinnamon

¼ teaspoon nutmeg

½ teaspoon kosher salt

1 ½ cups apple cider reduced to ¾ cup

1 cup dark brown sugar

2 large eggs room temp

½ cup brown butter

1 teaspoon vanilla extract

½ cup sour cream

Glaze:

1 & 1/3 cups powdered confectioners sugar

3 tablespoons brown butter

2 tablespoons apple cider, saved from above

Instructions

1. Preheat oven to 375 and oil a loaf pan.

2. Put cider in a small saucepan over medium heat and bring to a boil. Boil for about 10 minutes, or until reduced to 3/4 cup. Pour the cider into a small bowl and set aside to cool slightly. Then brown butter for glaze and loaf (1/2 cup + 3 tablespoons) in the same saucepan until it gets a nutty fragrance and is browned. pour in another separate bowl and let cool. At this time you can take a third bowl and add in the 2 tablespoons of cider and 3 tablespoons of brown butter and set aside. This will be used later for the glaze

3. Once the bowl with apple cider has cooled to room temp add sour cream and set aside. Mix all wet ingredients, brown sugar, egg, brown butter, and vanilla extract with hand or stand mixer on medium-high until well combined.

4. Add dry ingredients to bowl of wet ingredients (not the one with apple cider), all-purpose flour, baking powder, and salt until smooth and no powder is showing and well incorporated. With a spatula mix in apple cider and sour cream mixture.

5. Pour batter into the prepared loaf pan. Bake for 55-60 minutes or until a toothpick in the center comes out clean.

6. While the loaf is baking mix powdered sugar and remaining brown butter and apple cider together for frosting. As soon as the loaf is done place it on a cooling rack and drizzle the glaze mixture on top so that it will stick well and melt into the warm loaf. Cut, Serve and Enjoy!

Apple Cider loaf with Brown Butter Apple Cider Glaze is a moist and flavorful loaf that will be sure to please any crowd. With a hint of apple cider, this loaf is the perfect way to use up any extra apple cider you may have. The brown butter glaze provides a nutty, caramel-like flavor that is sure to be a hit. The loaf is easy to make and only requires a handful of ingredients, so you can whip it up with ease. The result is a moist and flavorful loaf that will be sure to become a family favorite! Whether you're in the mood for a classic cake or something a bit more unique, this Apple Cider Loaf with Brown Butter Apple Cider Glaze is sure to satisfy. Serve it up with a dollop of whipped cream or a scoop of ice cream for a truly indulgent treat!

Other Fall Recipes You Will Love:

Indulge Your Sweet Tooth with This Delicious Brown Butter Spice Cake with Honey & Fig Jam Frosting

The Ultimate Thanksgiving Dessert - My Pumpkin Crisp Recipe

Baked Burrata Pumpkin Ziti with Pork Sausage Recipe

A Taste of Heaven: Deliciously Easy Apple Pie!

The Perfect Beginners Sourdough Bread Recipe for Delicious Homemade Bread

If you are looking for an easy and delicious bread recipe to try out, look no further! This beginner's sourdough bread recipe is perfect for those just starting out the task of making your very own homemade bread. With a few simple steps, you will be able to whip up your own homemade loaf of sourdough bread in no time. Not only is this bread delicious, but it is also extremely healthy, with all of the probiotic benefits of sourdough. So, give it a try and enjoy the amazing flavor and smell of your own homemade bread!

I've tried many different recipes using sourdough starter trying to get it right each time. There really is nothing like the delicious smell and taste of freshly baked sourdough bread, and thankfully, lately, it's our new normal favorite smell in the home. Just imagine the lovely smell when using the sourdough for cinnamon rolls! I make this bread weekly for sandwich bread and sides for dinners and delicious soups.

Full disclosure, I have only been making sourdough bread and working with sourdough starter for about 6 months now. However, making it weekly, I have been able to dabble with this recipe time and time again and this has been the easiest to work with and the best tasting of all! To start you will want to make sure your sourdough starter has been fed one of its "regular feedings" 12 hours before starting. A good rule of thumb is that if your starter has risen to twice its size after a feeding, then you're ready to use. I normally will feed my starter the night before and start the bread process first thing in the morning to have fresh bread by dinner that evening. You cn say this makes this a same day sourdough bread. If I want a breakfast loaf, I would feed it in the early evening and once its risen enough start the process. Then, let it sit overnight and bake in the morning.

Another important note is the surrounding environment for your sourdough starter and your bread dough. If you're house is set at a colder temperature like usual for the Winter, and room temperature is slightly cooler than the norm, then it will take longer for your starter to rise . During this time, I usually keep my starter in the pantry of our house because I notice it's the warmest part of the house. and will keep a towel around the jar. When the sourdough bread is in the proofing bowl, I do the same thing and wrap a towel around the bottom of the bowl as well as keeping the top covered like normal.

Let's get started and make some yummy sourdough bread!

Ingredients:

1/3 cup sourdough starter

1 - 3/4 cup filtered water

1 tsp sea salt

4 cups bread flour

Directions:

1. Once sourdough starter is ready to go you will add 1/3 cup to bowl with water and whisk until blended. Add in sea salt and bread flour and mix together with your hands. Flour bread mixture will be scruffy, that's okay. If all flour hasn't blended in you will need a bit more water, but don't over water just enough so your flour is all incorporated. Place a clean towel over the top and let sit for one hour.

2. After one hour stretch and fold. To stretch and fold you will pick up on one side of the dough pull up and fold into center. Continue around the sides until they have all been picked up and folded into middle. It will normally be around 4-5 times. Cover again and let sit for 30 min. Repeat once more.

3. After all stretch and folds have finished you will scoop out the dough onto a lightly floured countertop. Using a bench scraper fold under to form a large ball of dough. Make sure to have everything floured so that you prevent sticking to your surfaces.

4. Once ball is formed you will pick up with your bench scraper and flip over into floured proofing basket. Pinching sides of dough on bottom pull together so the part of the dough showing is creased together. Cover with towel and let sit for 7 - 10 hours.

5. When you are ready to bake flip your proofing basket with sourdough onto a lightly floured piece of parchment paper. Now you can score your dough and let sit for 30 minutes while you preheat the oven and stockpot.

6. While your bread is sitting grab your best 360 stockpot, I use the 8 Quart Stockpot with Cover, place in oven and turn on to 450 degrees. Once temperature is reached lower your bread into stockpot holding the sides of the parchment paper. Cover and let bake for 20 minutes. After 20 minutes remove cover and bake an additional 25 minutes or until golden brown.

7. Baking is all done. Now remove bread and set on cooling rack or cutting board for at least 30 minutes for a resting period before cutting. Your sourdough bread will continue to cook while sitting so cutting too early will cut the full bake time down.

8. ENJOY!!

I hope you enjoyed this beginners sourdough bread recipe.

Some of my other favorite bread recipes are:

Garlic & Herb Focaccia Bread

Banana Bread Recipe

Lemon Poppy Seed Bread Recipe

Corn Bread Loaf Recipe

CODE AMANDAWARREN20 GIVES YOU 20% OFF ENTIRE SITE

The Most Delicious Homemade Corn Bread Loaf Recipe

Fall is upon us, the weather is cooling down, and that makes the timing perfect to serve a warm plate of cornbread. I love making this tasty treat. Cornbread is so easy to make and can be used to pair with such a variety of dishes. In this article I'm going to show you how to make a cornbread loaf everyone will love! This recipe makes will make 2 full sized loafs, so to only make 1 loaf you will just split all ingredients of the recipe in half. Another fun way to use this recipe is to make mini cornbread loaves. To do this you will make change the cooking time accordingly. Such Fun for the holidays!

In this recipe I used my 360 Cookware loaf pans that are linked -here- and as you can see in the photos their pans have beautiful handles that look great on the table when serving. They also have the tab loaf -here- that has more of a table handle and is also beautiful. Both of these pans are the best way to make this bread. All 360 Cookware products are made in the good ol' USA and stainless steel, giving your food the best quality and making you feel good about your purchase!

Cornbread loaf is the ultimate comfort food. It Goes great with chili, soups and really any Fall meals, especially warm meals. I love adding actual corn into my cornbread to give an extra crunch that isn't always expected.

Ingredients:

2 cups yellow cornmeal

2 cups all-purpose flour

1 cup sugar

3 teaspoons baking powder

1 tablespoon sea salt

2 cups milk (or buttermilk substitute)

1 stick butter + additional 1/2 tbsp butter

1/2 cup honey

4 eggs

1 cups corn

Directions:

  1. Preheat oven to 375 degrees and oil your loaf pans. This recipe makes 2 loaves of corn bread if you are looking for less just cut everything in half. I use my 360 Cookware pans and will link them below.

  2. Add all dry ingredients into a bowl and mix together.

  3. In a new bowl add eggs, and lightly beat with a fork. Add in milk, melted butter, honey and mix with eggs.

  4. Add all dry ingredients into wet mixture and blend well. Lastly, add in 1 cup of corn and softly fold into batter.

  5. Pour batter into loaf pans equally and bake for 30-45 min or until loaf is set in the middle. Tip..place a toothpick in the center of the loaf, then pull out to see if it comes out clean. This means your loaf is cooked well.

  6. Next take the last 2 tbsp of butter and lather the top of the cornbread evenly. This gives a delicious caramelized top to the golden brown bread.

  7. Enjoy! I love my cornbread with butter and a little honey on top! YUM!

To Find more recipes from Amanda Warren head -here- or click on Food & Dink on the website!