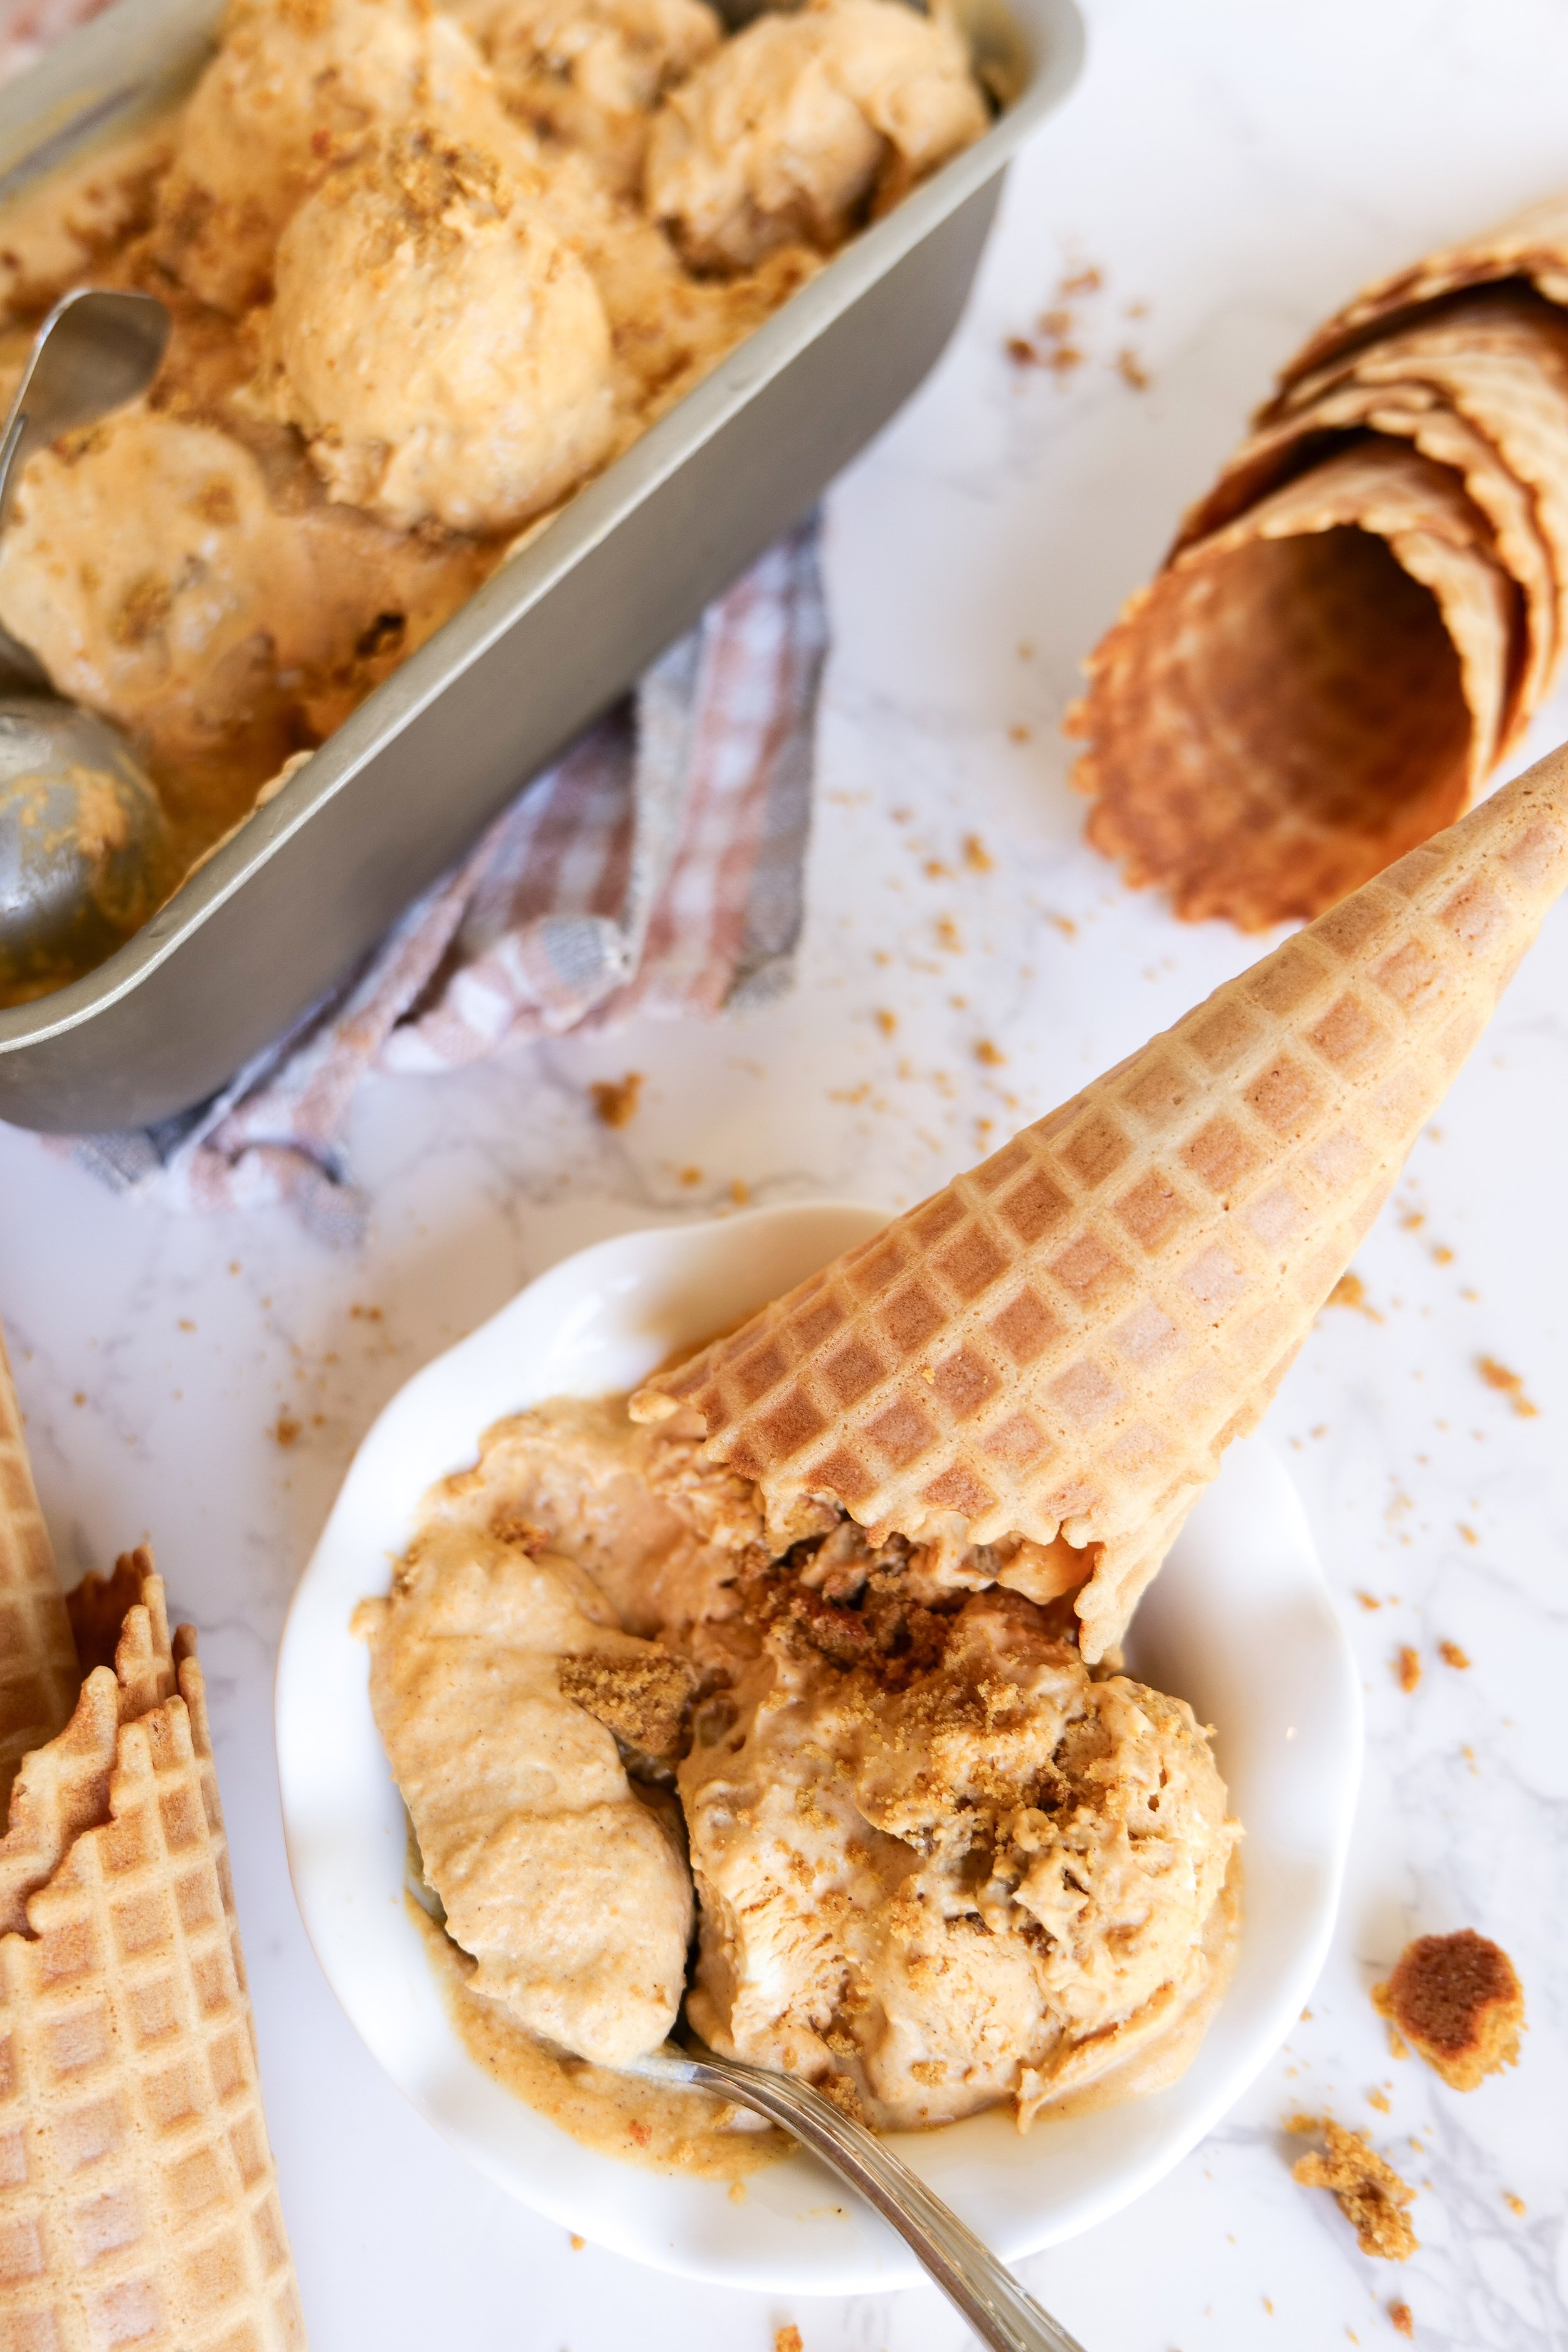
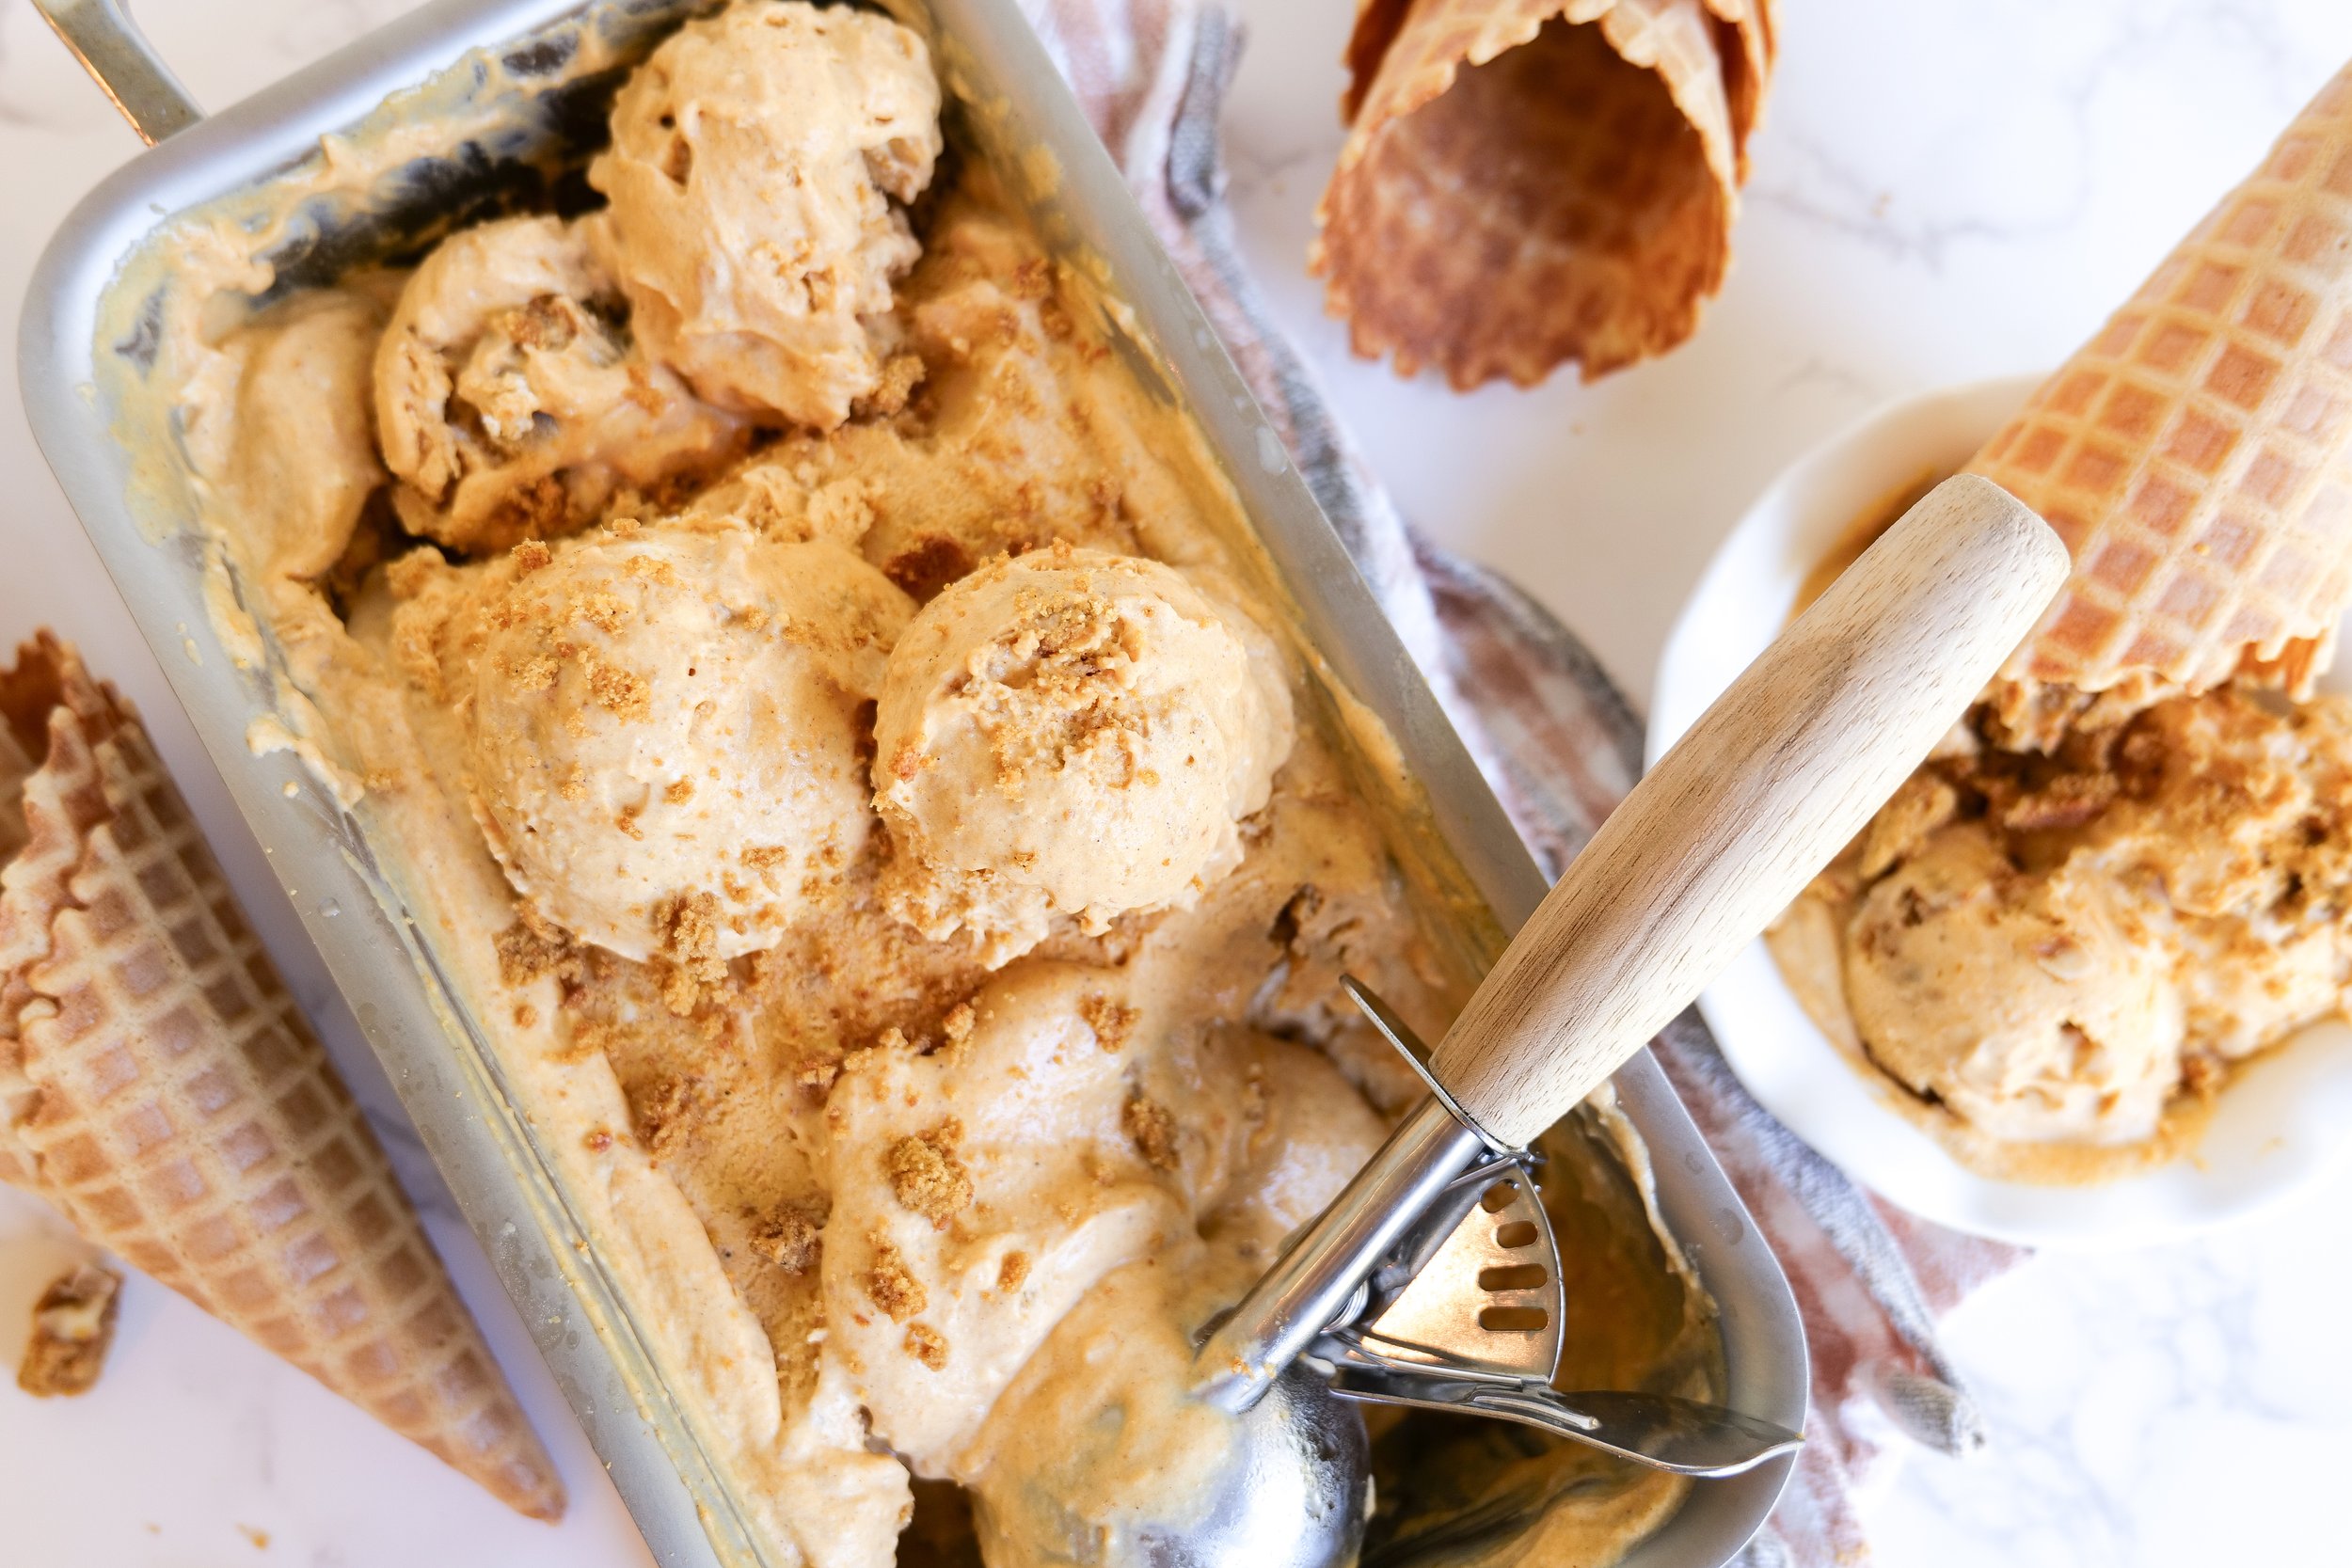
Yummy Pumpkin Ice Cream Recipe with a Twist: Pumpkin Molasses Cookie Chunks!
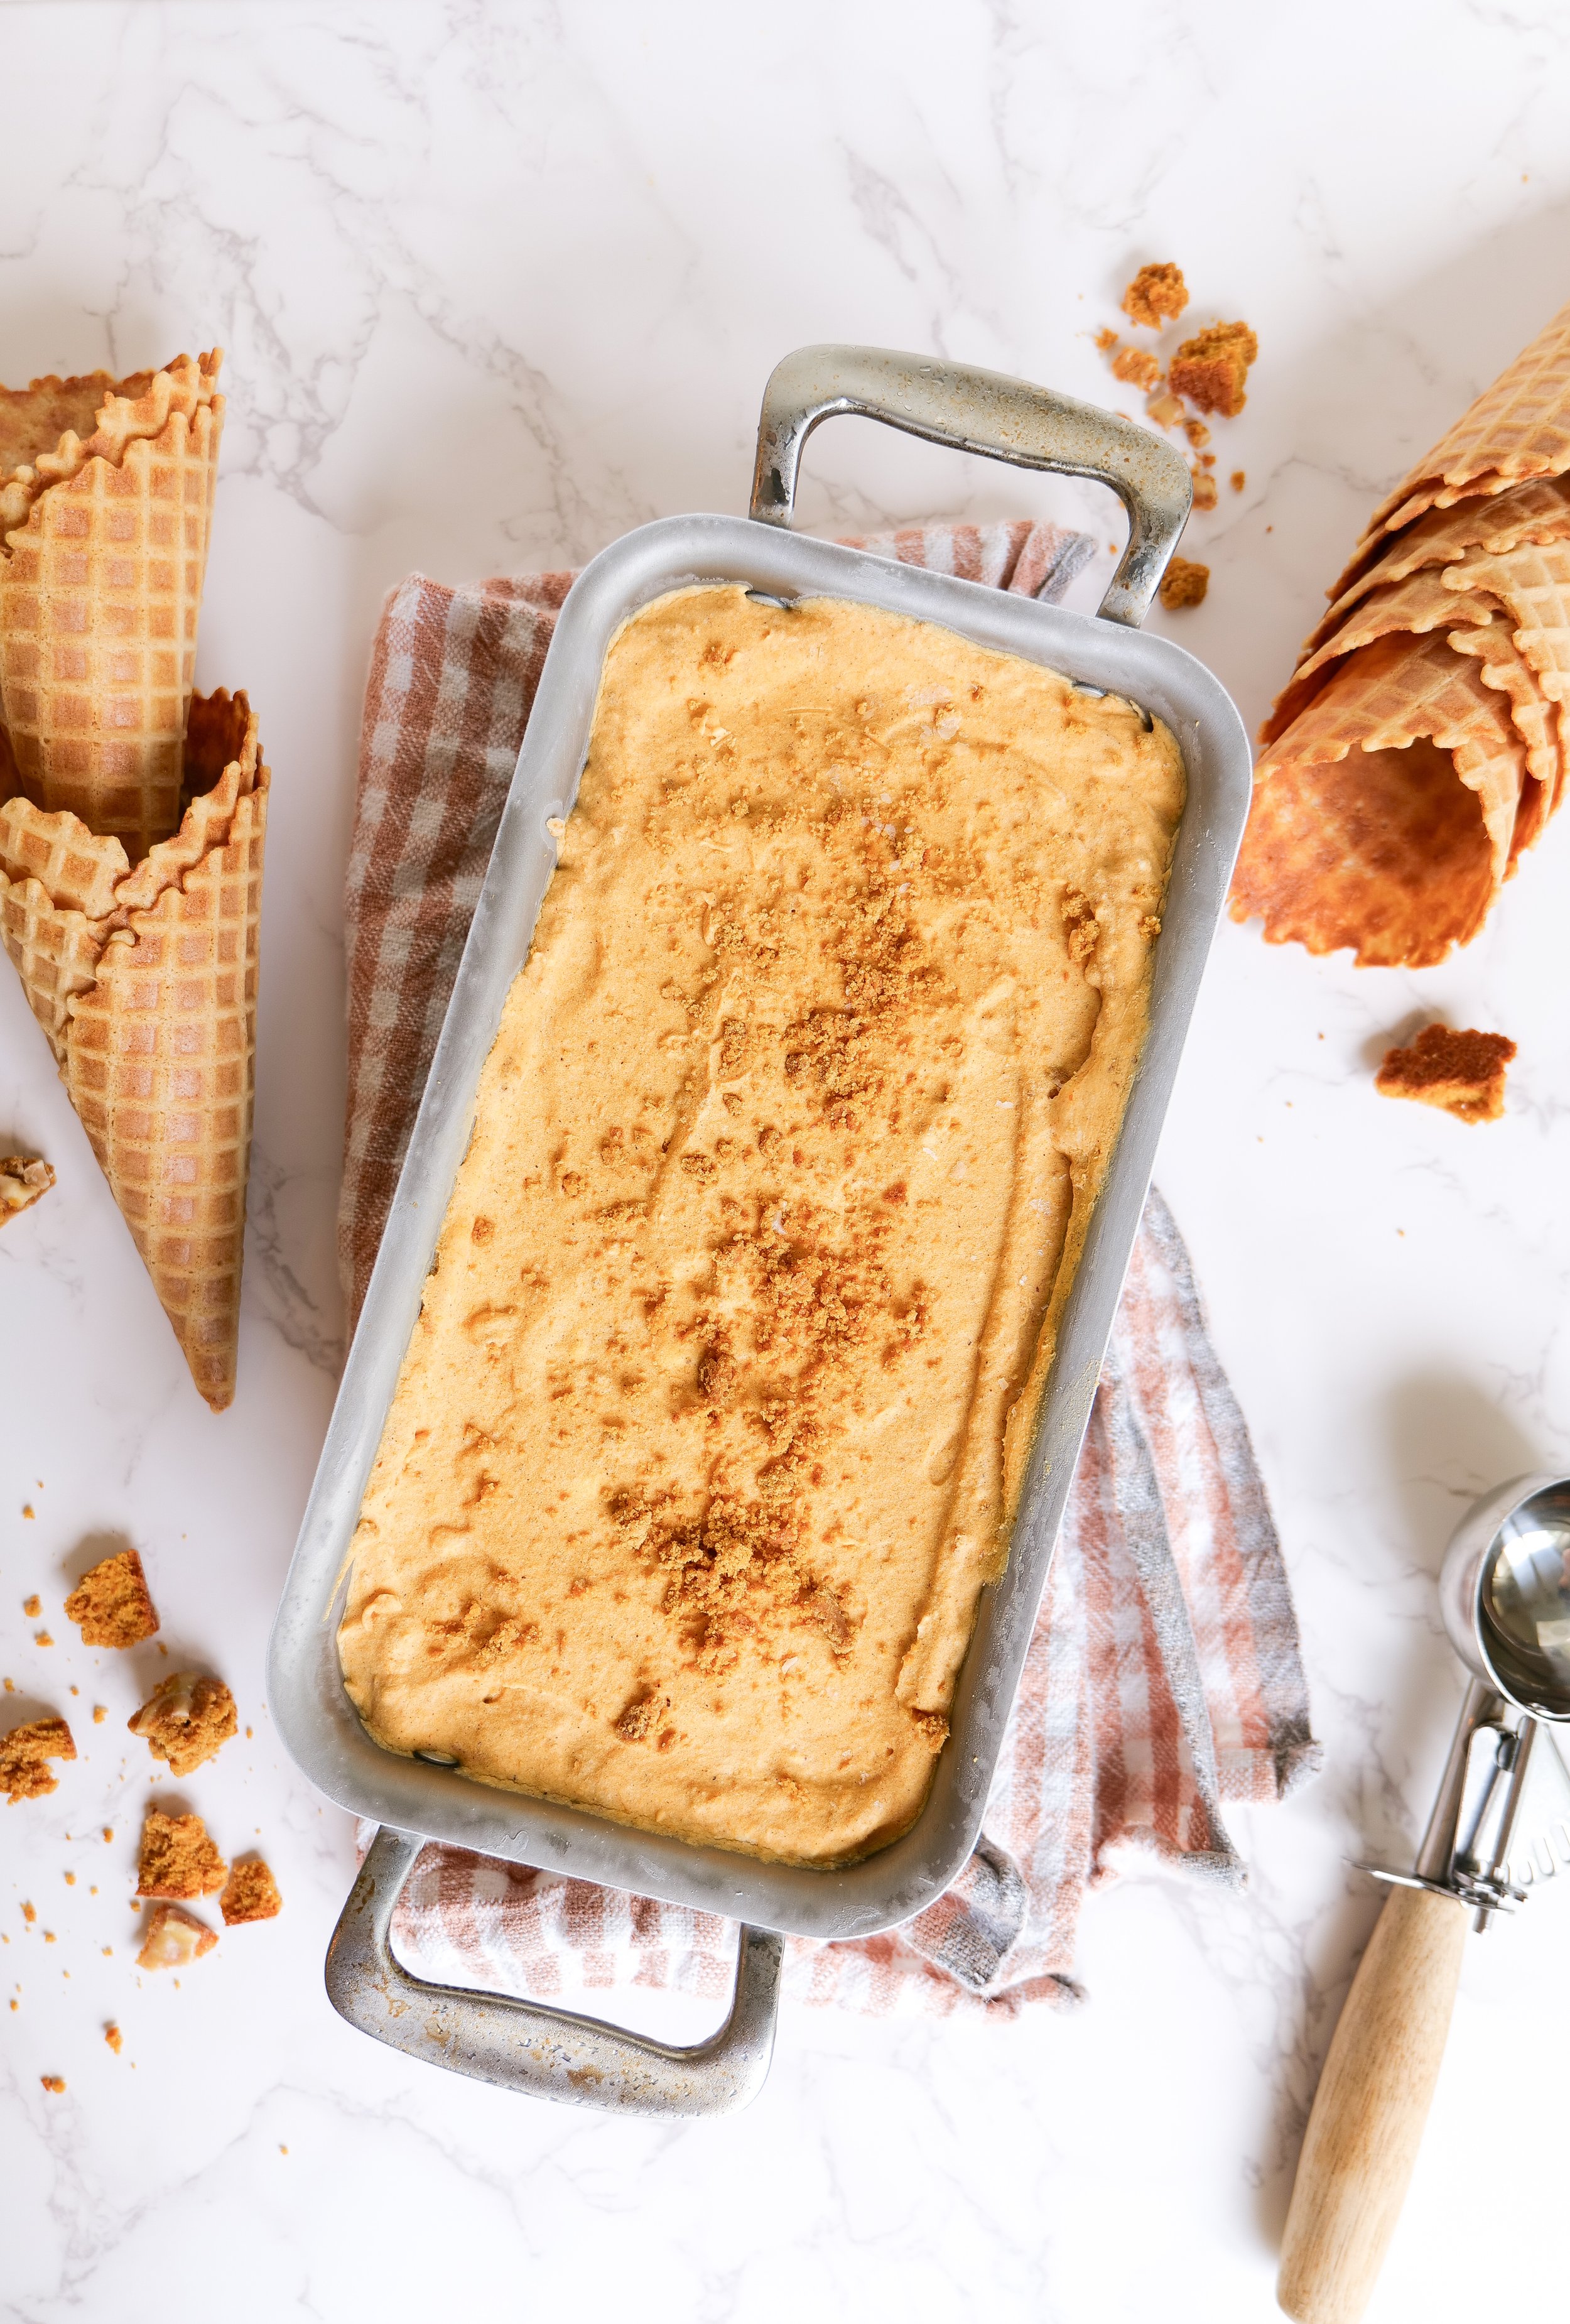
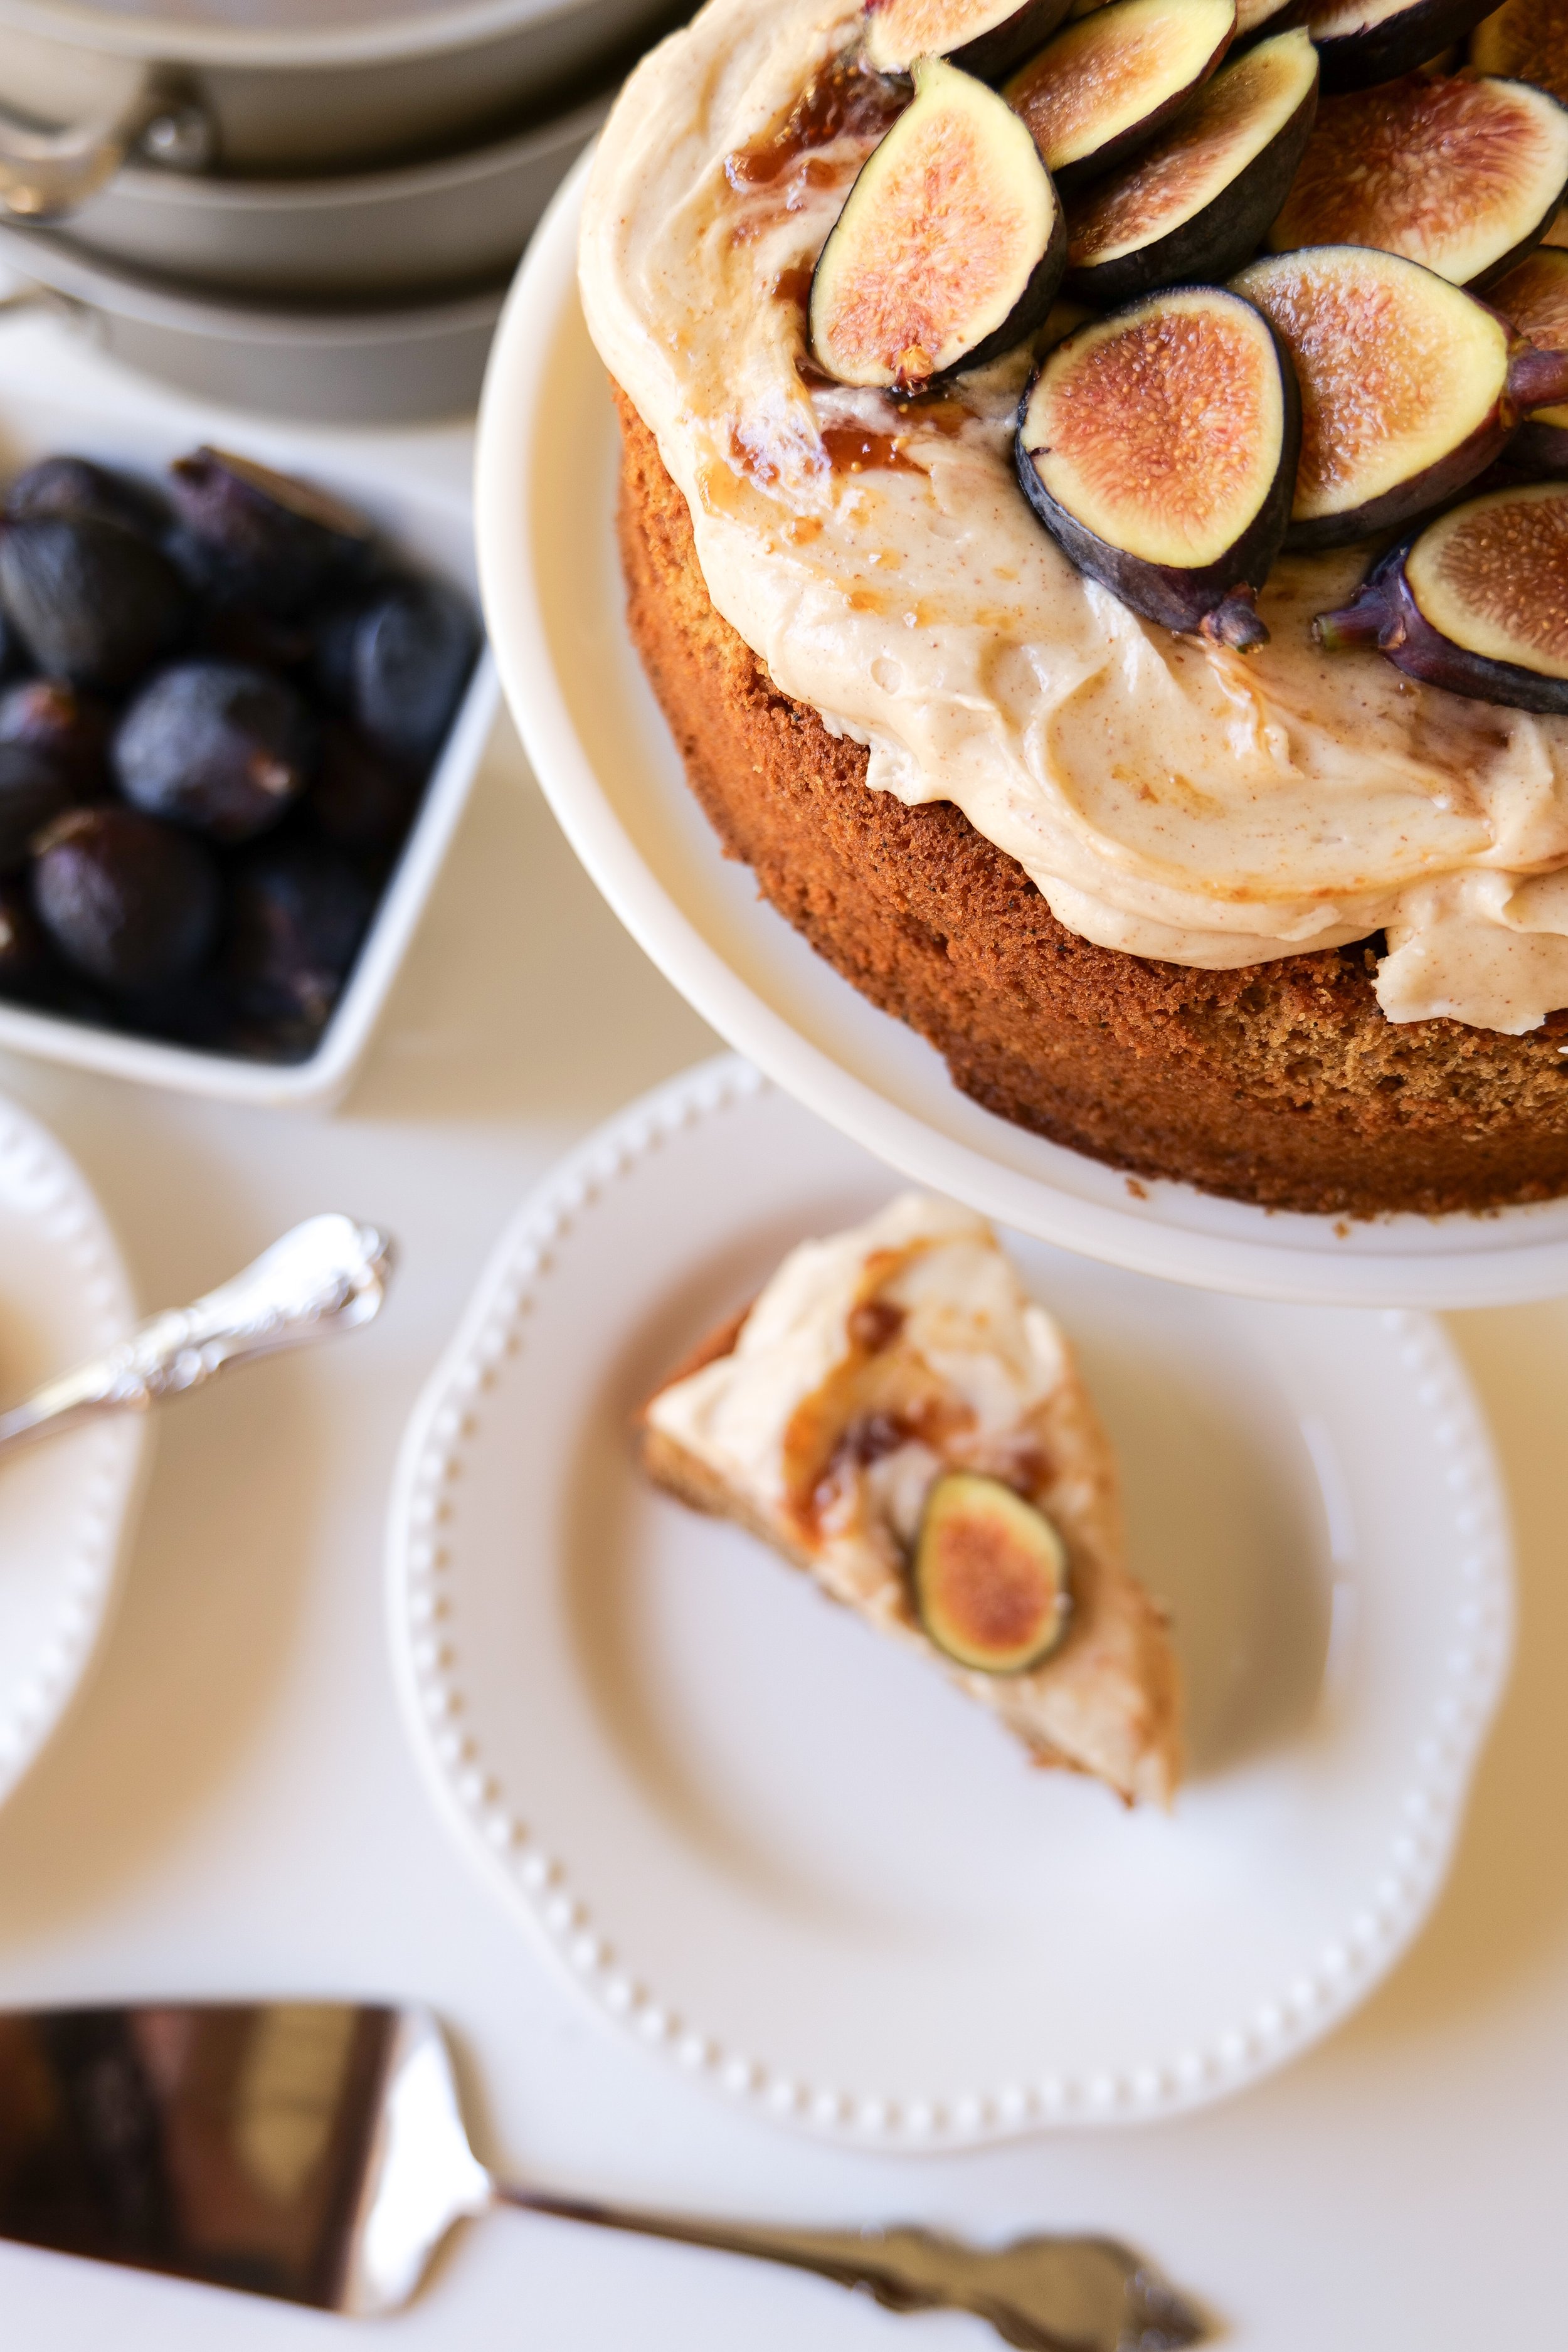
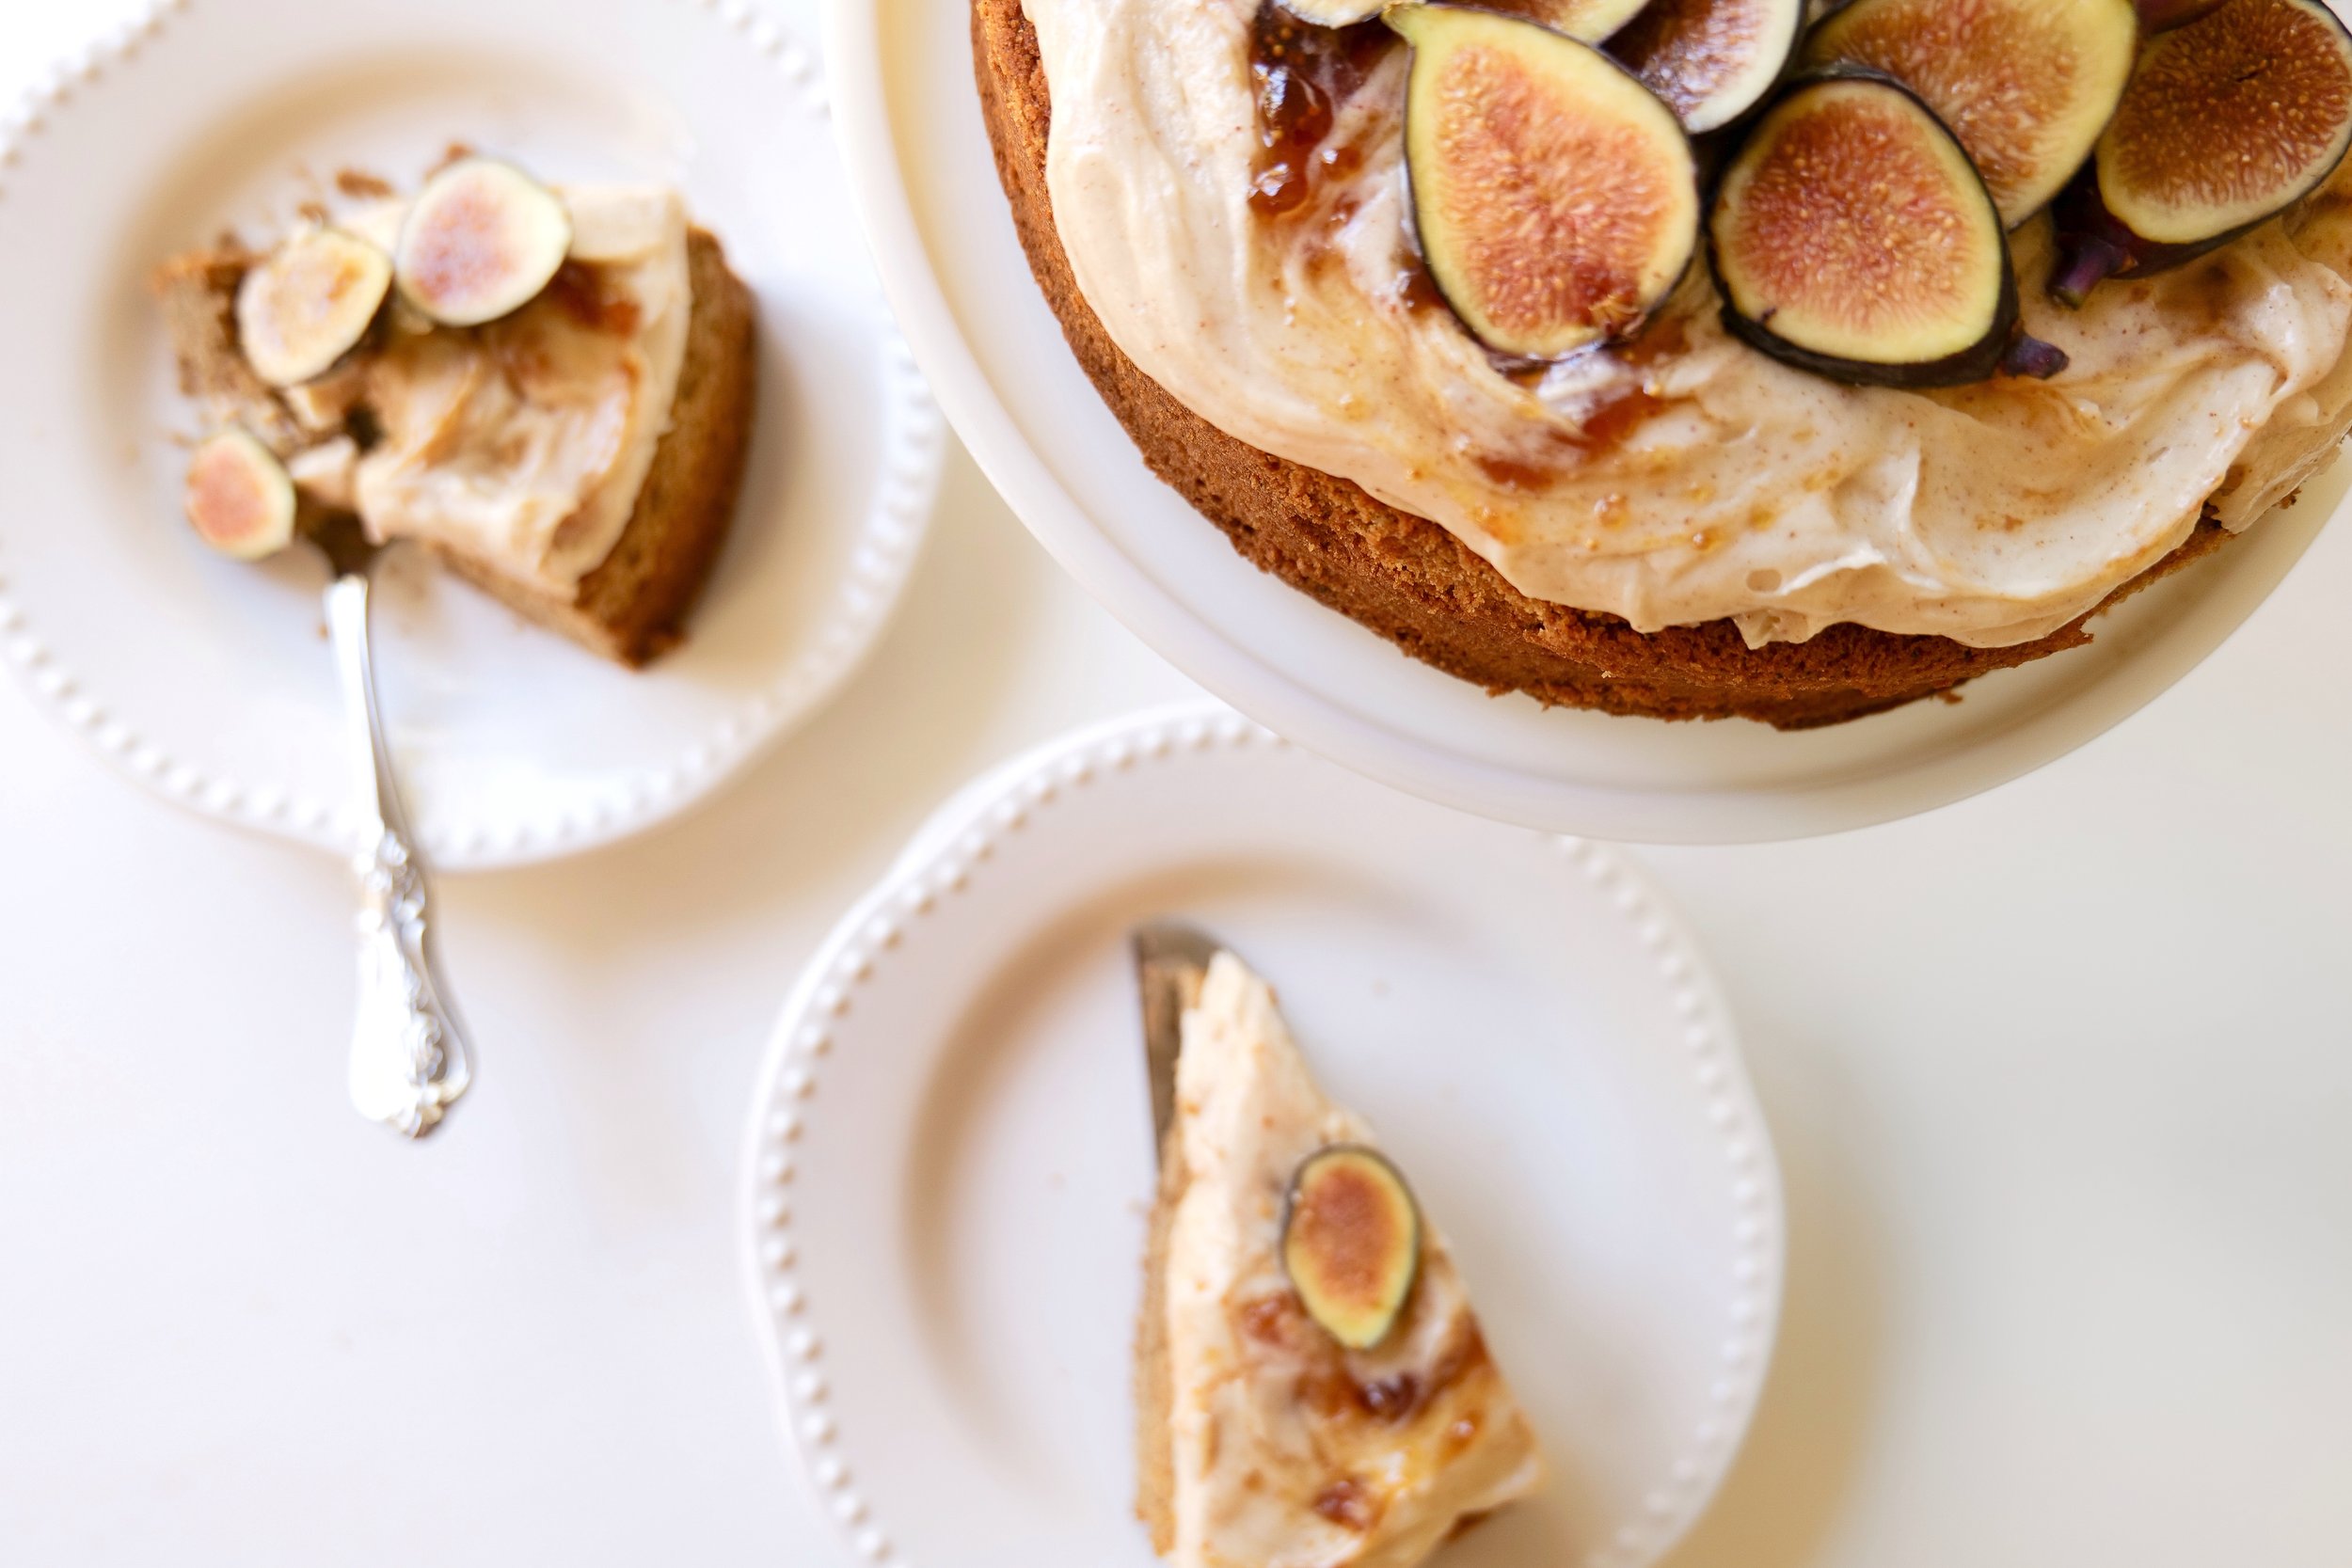
Welcome all Autumn enthusiasts to a culinary journey where the earthy richness of pumpkin blends perfectly with the dreamy creaminess of ice cream. From the hearty aromatic spices to the soul-soothing temperatures, the Fall season brings about a comfort that we all eagerly crave. Today, we are taking this comfort to another level by introducing a swoon-worthy pumpkin spice ice cream recipe. This recipe is a twist on the seasonal favorite, laced with delectable chunks of pumpkin molasses cookies. This ice cream has intense flavors, and is incredibly satisfying, making it the ultimate celebration of all things Fall. It is truly a symphony of flavors that caters to the essence of the season. The molasses cookie chunks are also being combined from my last recipe. Following both these fun recipes means you can potentially utilize any leftovers of the chunks and create new variations of lovely Fall desserts!

Can I use store-bought cookies instead of making pumpkin molasses cookie chunks from scratch?

Making homemade ice cream is a great way to show off your culinary skills, and the addition of pumpkin molasses cookie chunks makes this pumpkin ice cream recipe truly special. If you don't have the time to make the cookie chunks from scratch, store-bought cookies are a great time-saver. There is a wide variety of store-bought cookies available, so you can choose one that best suits your taste. Be sure to chop the store-bought cookies into chunks before adding them to the ice cream mixture. Store-bought cookies may not be as fun of a story, or have the same flavor or texture as cookies made from scratch, but they can still add a delicious crunch to your pumpkin ice cream.

How long does this pumpkin ice cream with pumpkin molasses cookie chunks stay fresh?

This recipe is easy to store in your freezer and can last for up to two weeks. However, before serving, it is important to allow the ice cream to thaw for about 10 minutes to make it easier to scoop. This will also help ensure that the ice cream does not dry out and the cookie chunks remain crunchy. It is best to use the ice cream within two weeks of making it, otherwise, the texture and flavor may not be optimal. After two weeks, the pumpkin ice cream may start to dry out and the pumpkin molasses cookie chunks may become soggy.

Do I need an ice cream maker to make this pumpkin ice cream with pumpkin molasses cookie chunks?

You don't have to worry about needing an ice cream maker to make this delicious dessert! This recipe is simple and easy to make without an ice cream maker. All you need is an ice cream container, an electric mixer, and some basic ingredients. The process is quite simple and requires only a few steps for a delicious homemade pumpkin ice cream with pumpkin molasses cookie chunks.

Ingredients

2 Cups Heavy Cream

14 oz Sweetened Condensed Milk (1 Can)

1 Cup Pumpkin Puree

2 teaspoons Vanilla Extract

1 teaspoon Cinnamon

1 teaspoon Pumpkin Pie Spice

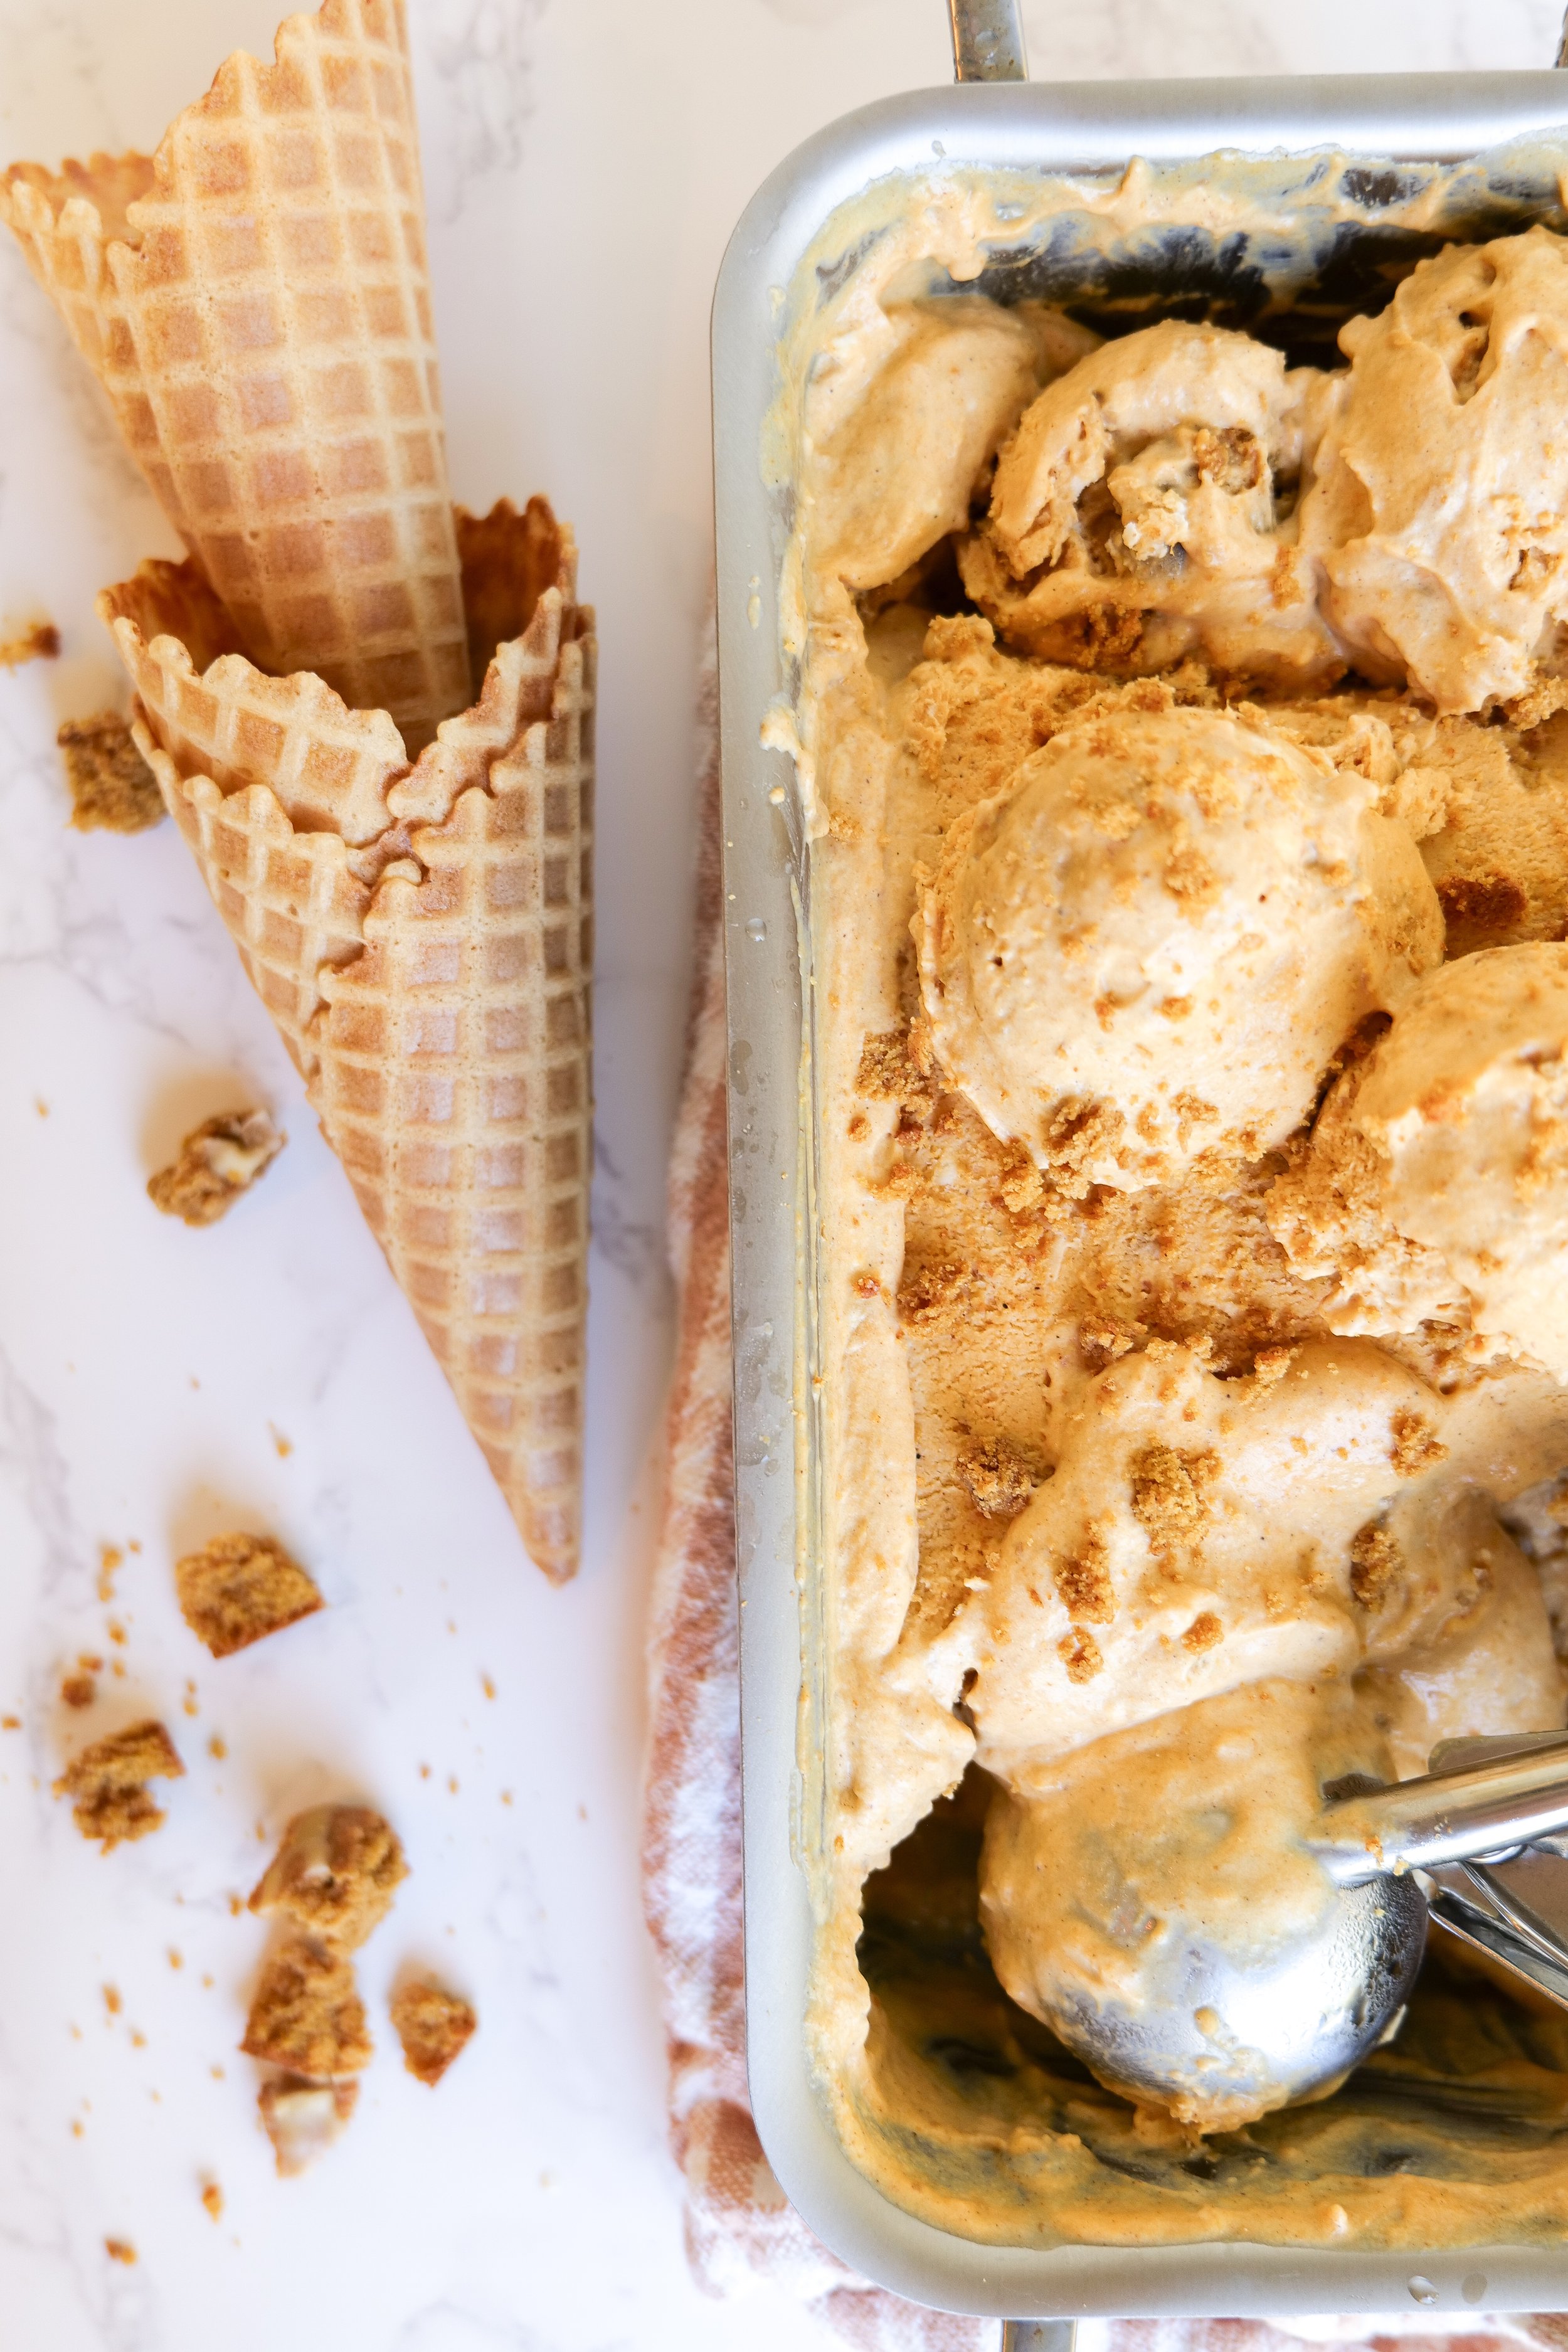
1 cup pumpkin molasses cookies

Instructions

  1. In a large bowl whisk together 2 cups heavy cream until stiff peaks form. I use my hand mixer for this but you can use a whisk or electric mixer with a whisk attachment.

  2. In a separate bowl, stir together the sweetened condensed milk, pumpkin puree, vanilla, salt, cinnamon, and pumpkin pie spice.

  3. Take 1 cup of the whipped cream and stir it into the sweetened condensed milk mixture.

  4. Now add the sweetened condensed milk mixture and fold it gently into the remaining whipped cream bowl. Add in molasses cookie chunks. You can add in more, less or any variation of this you like.

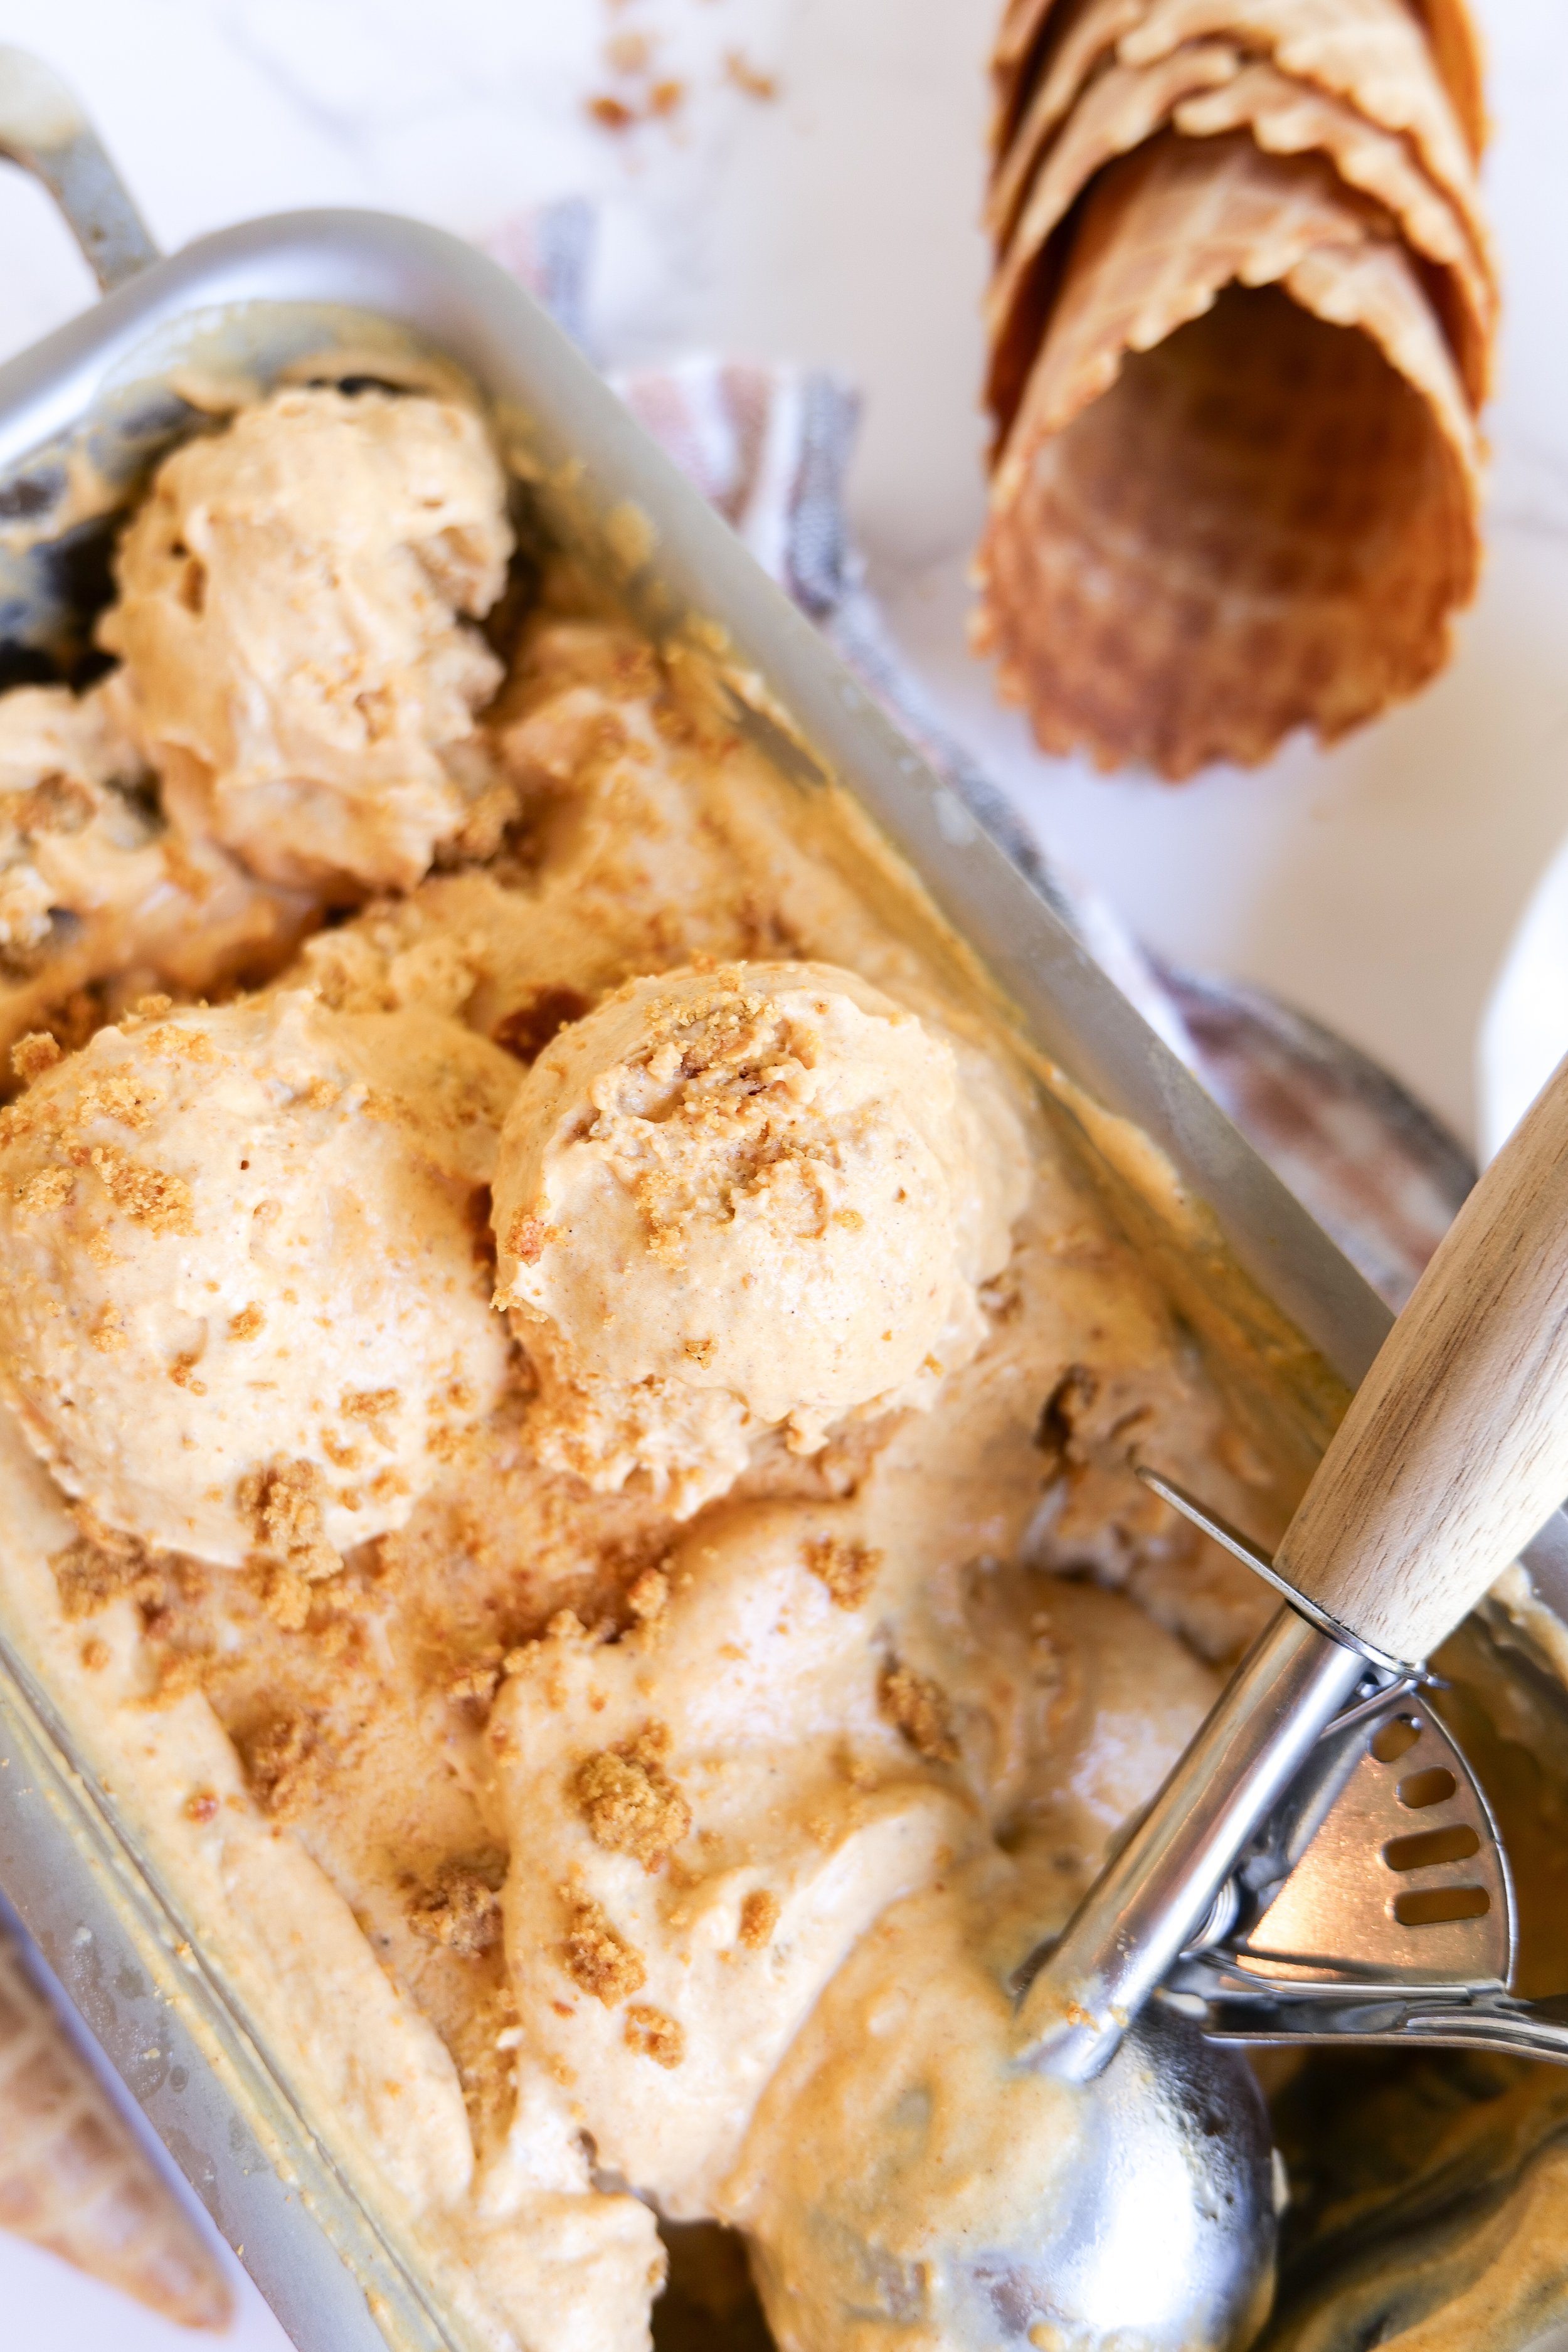
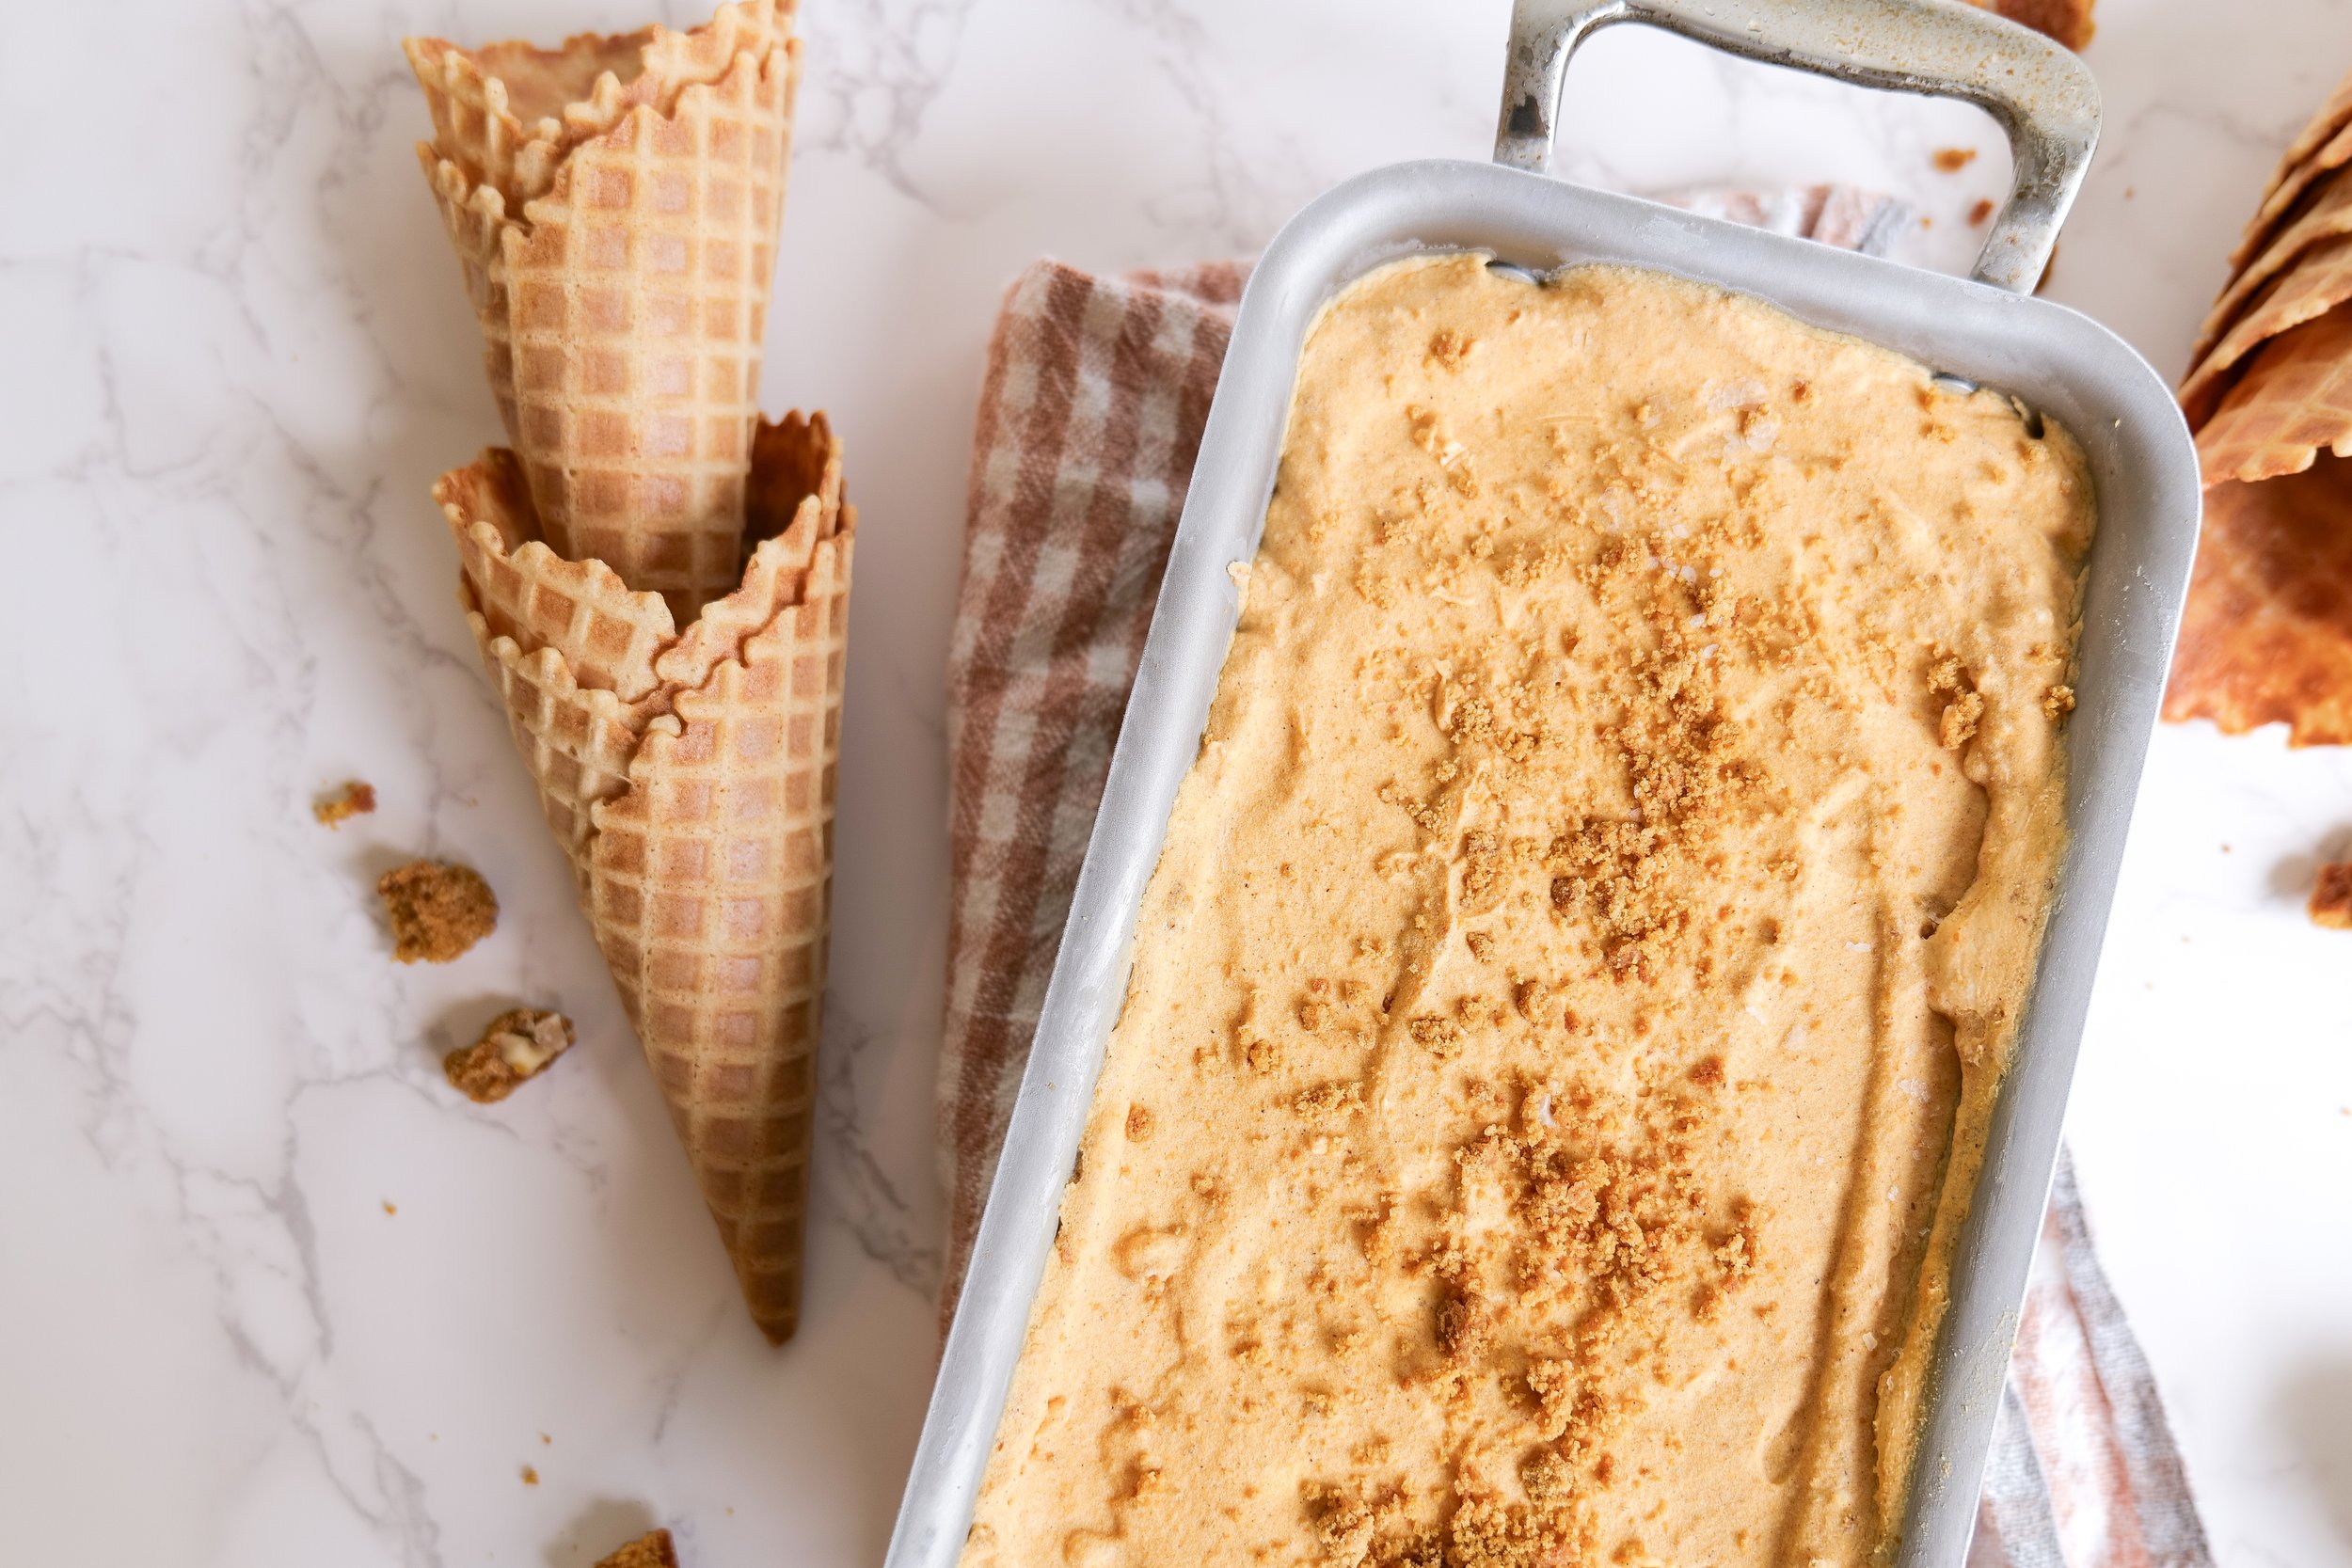
  5. Pour ice cream into a freezer-safe container, cover the top and freeze for at least 6 hours, or overnight.

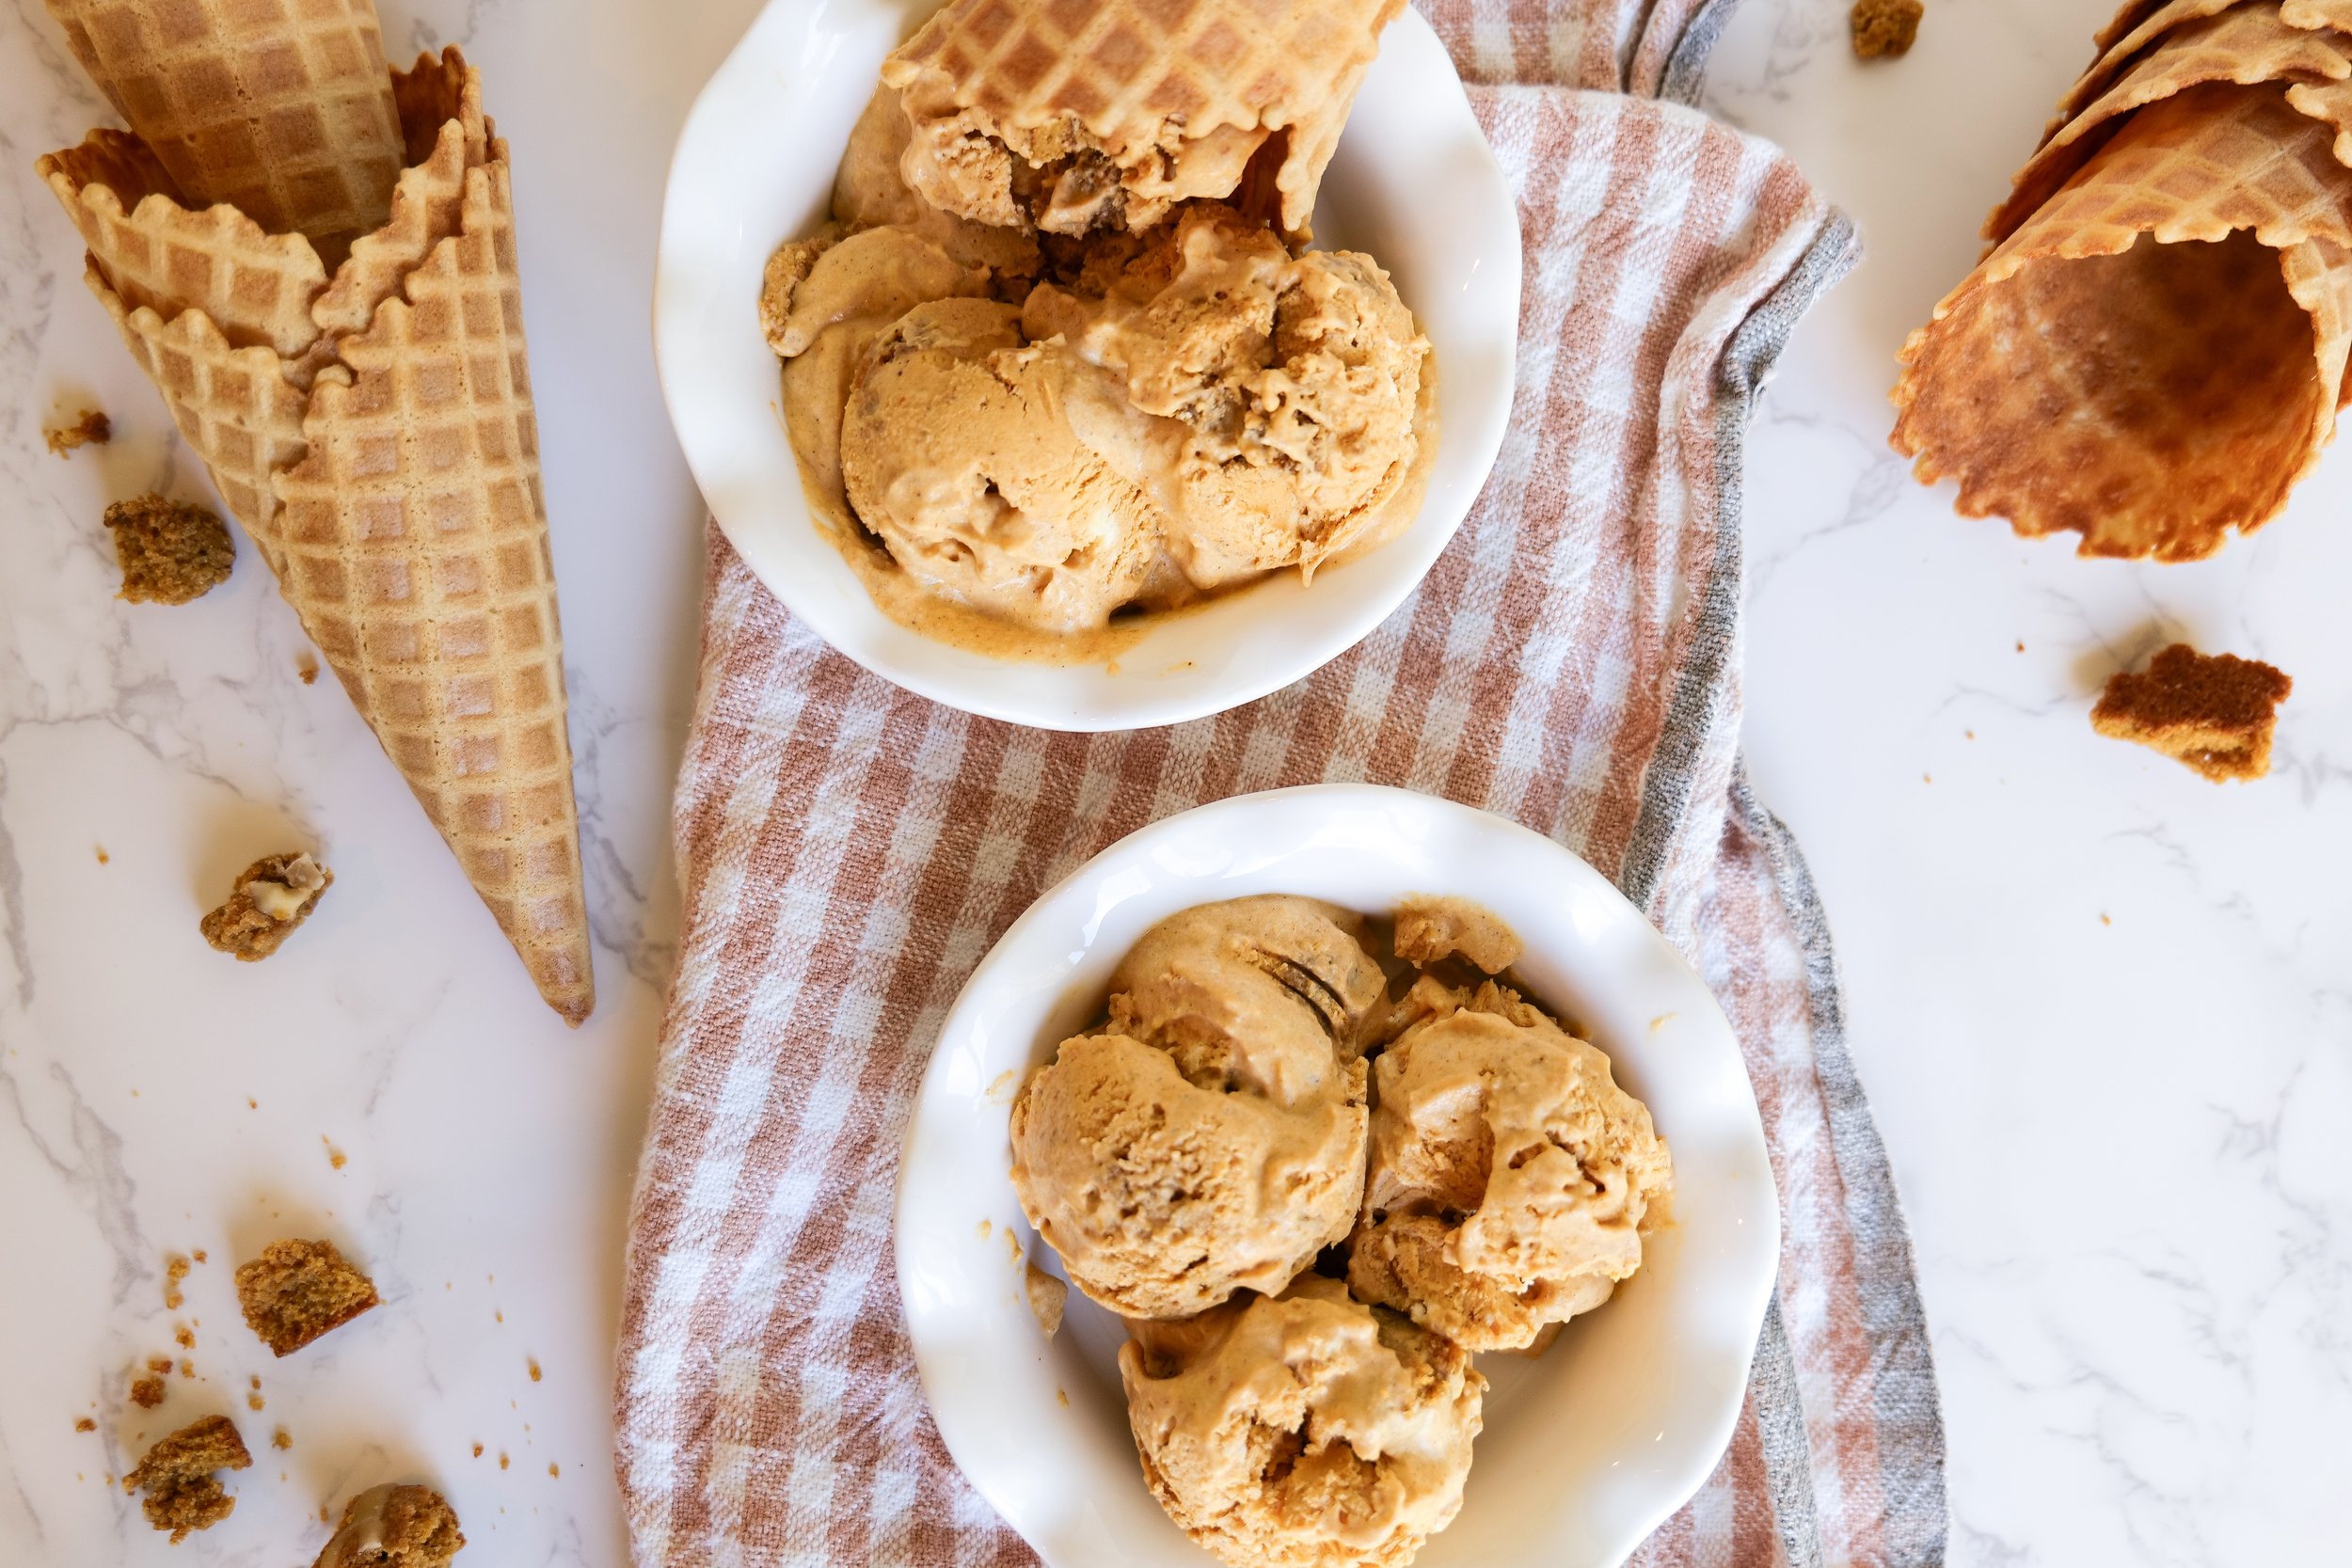
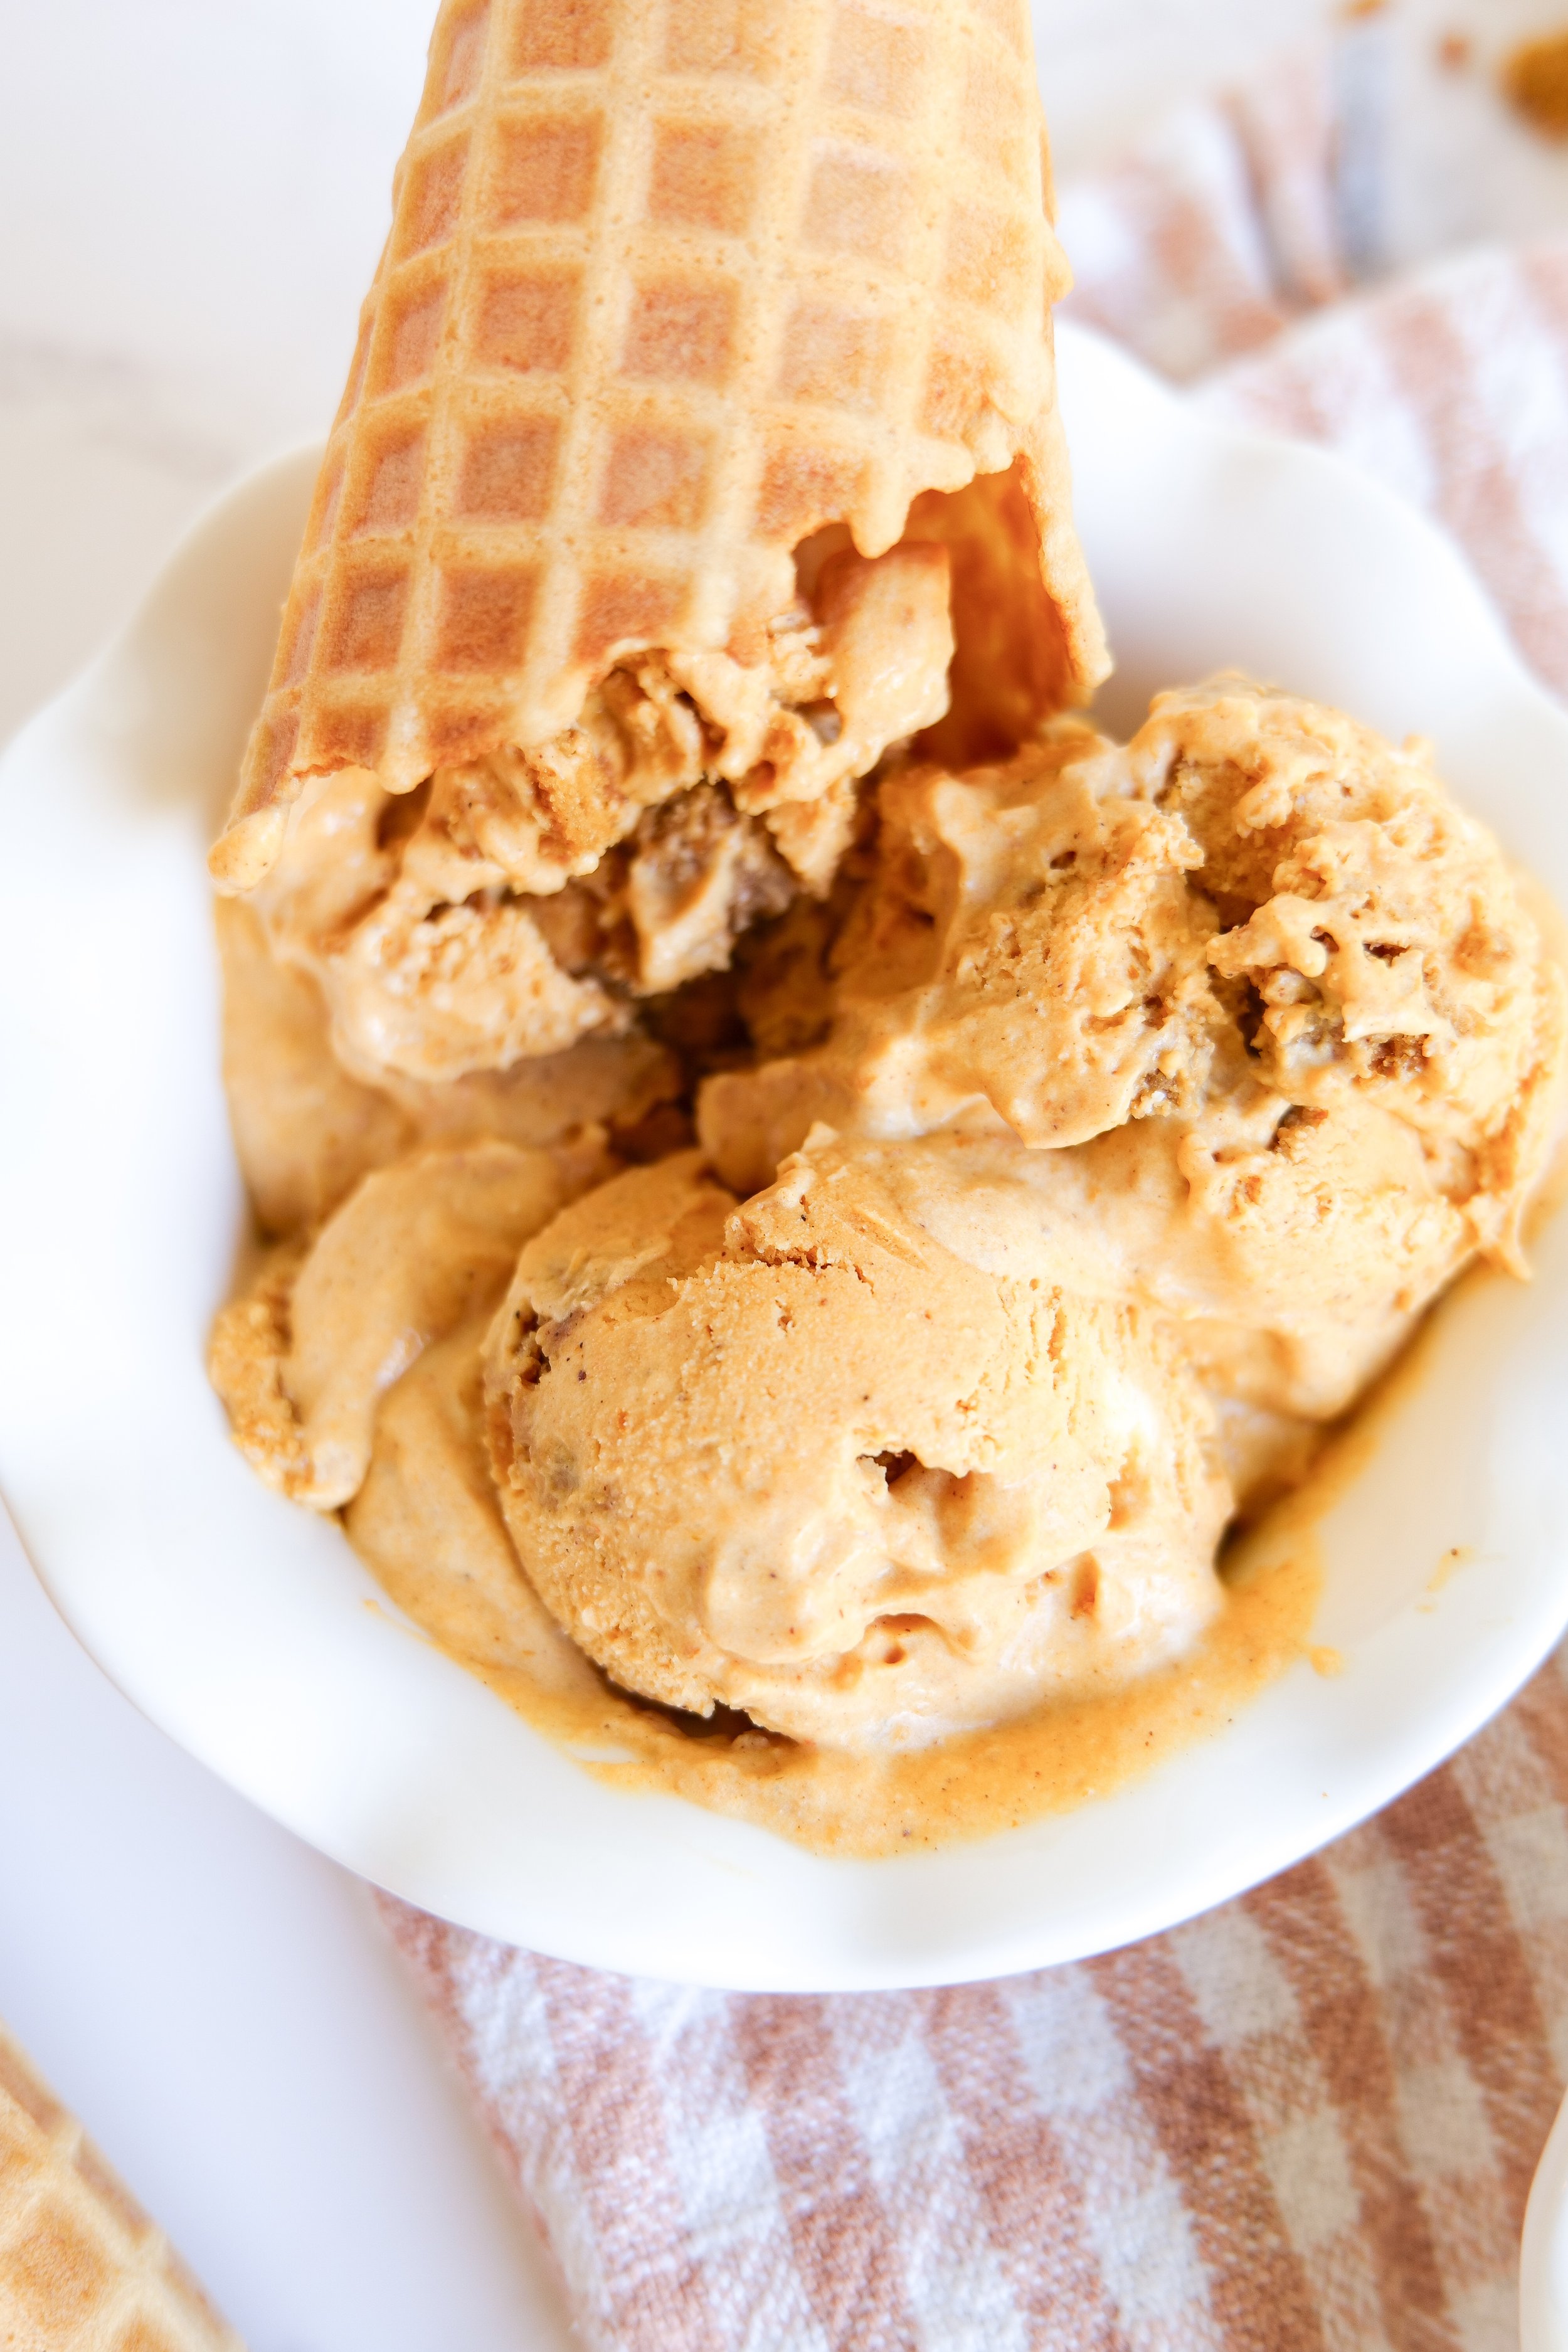
  6. Serve in ice cream cones or bowls and Enjoy!

Your delicious homemade pumpkin ice cream with pumpkin molasses cookie chunks is now ready to enjoy! This delicious dessert is perfect for any occasion. Whether it's a family get-together or a special occasion, this ice cream is sure to please. So gather your ingredients, follow the steps, and enjoy this delicious homemade pumpkin ice cream recipe with pumpkin molasses cookie chunks.

Other Fall Desserts You Will Love:

Deliciously Sweet: Pumpkin Coffee Cake with Pecan Crumbles

Indulge Your Sweet Tooth with This Delicious Brown Butter Spice Cake with Honey & Fig Jam Frosting

A Taste of Heaven: Deliciously Easy Apple Pie!

Guide to Making A Delicious Decadence: The Perfect Caramel Pear Galette

Today we are happily inviting the coziness of the Fall season into your kitchen with our exquisite Caramel Pear Galette recipe. This delightful dessert combines the gentle sweetness of pears, the rich decadence of caramel, and the rustic charm of a free-formed crust in a symphony of flavors that encapsulate the essence of Autumn. Baking a galette may sound and seem complex, but our step-by-step guide will demonstrate just how easy it is to conjure up this impressive treat. This galette is perfect for indulging on a chilly evening or impressing guests at any gathering. So get ready to embark on this delicious journey together.

Combining ripe pears, a flaky pastry crust, and a simple caramel sauce, this classic French dessert is sure to please any crowd. The caramel sauce adds a rich sweetness to the tartness of the pears, for a perfectly balanced flavor. This galette recipe is also incredibly simple to assemble, requiring no special baking skills or equipment. Enjoy the galette on its own or pair it with a sweet scoop of vanilla ice cream or whipped cream for an added indulgence. This simple and delicious dessert is sure to become a favorite in your home. Try this Caramel Pear Galette recipe today for a classic French dessert that is sure to please everyone.

What is a galette?

When it comes to French pastries, a Caramel Pear Galette is a classic dessert that will leave your guests wanting more and more. A galette is an unleavened dough that is folded over the filling and is similar to a tart, though the dough is usually thicker and not as flaky. Galettes are versatile and can be made with a variety of fillings, but the Caramel Pear Galette stands out for its delicious combination of poached pears, caramel, sugar, and spices.

This dessert is surprisingly easy to make and perfect for any celebratory occasion. The crust is made with a simple pastry dough that contains butter, flour, salt, and water. The pears are poached in a mixture of caramel, sugar, and spices such as cinnamon and nutmeg. The pears are then placed onto the pastry dough and the edges are folded up and over the pears. Finally, the Caramel Pear Galette is brushed with melted butter and baked until golden and bubbly.

The Caramel Pear Galette is a delicious and easy-to-make dessert that will leave your guests satisfied and wanting more. Whether you’re looking for something quick and tasty to bring to a party, or you’re in the mood for a classic French dessert, the Caramel Pear Galette is sure to please.

Ingredients

1 store-bought pie crust

2 tablespoons Caramel Sauce

3-4 Pears, cores removed, sliced into 1/8” slices

3 tablespoons White Sugar

2 teaspoon Cinnamon

1/4 tablespoons Nutmeg

4 tablespoons Cold Butter, cut into small cubes

1 teaspoon melted butter for edges

Turbinado or granulated Sugar, for sprinkling on the crust (optional)

Caramel Topping

1 cup granulated sugar

6 tablespoons unsalted butter, cut into pieces

1/2 cup heavy cream

1 teaspoon vanilla

Instructions

1. Preheat oven to 375°F. Remove dough from the freezer and let come to room temperature. In a small bowl, combine sugar, cinnamon, and nutmeg. Set aside.

2. Sprinkle all-purpose flour and roll out the dough, place on parchment paper and cookie sheet. Spread a layer of caramel along with the bottom of the galette dough, leaving a 2-inch border around the edges. Then place the sliced pears in a single, even, and relatively compact layer on top of the apple butter. Sprinkle the pears with the sugar mixture, then top with the cubed cold butter.

3. Gently fold the bare edge of the dough over the filling, overlapping the dough as necessary. Press gently to seal the edges.

4. In a small dish melt the butter and brush across the edges of the galette, then sprinkle with turbinado sugar.

5. Place the Rustic Spiced Pear Galette into the oven, and bake for 35 minutes. Serve warm with vanilla ice cream and extra caramel sauce on top or on the side.

Caramel Sauce

  1. Put 1 cup granulated sugar in a saucepan and heat it over medium heat for about 10-15 minutes, constantly stirring. The sugar will start melting and form clumps, which will turn into amber/brown liquid.

  2. When the sugar is completely melted, add 6 tbsp cubed butter and stir. At this point, the mixture will start to bubble. Stir for a couple of minutes until the butter is melted. First, it will look like the sugar and butter are separated, there is nothing wrong with that.

  3. Gradually add ½ cup heavy cream and stir. It will bubble again.

  4. Stir for another minute, then remove from the heat and add vanilla. You can also add salt at this time if you wish.

Other Fall-Inspired Sweet Treat Recipes:

Satisfy Your Sweet Tooth: A Guide to Making Irresistible Salted Pecan Brownies

Mastering the Ultimate "Kitchen Sink" Rice Krispie Treat Recipe

Indulge your Sweet Tooth: The Ultimate Guide to Making Brown Butter Maple Pecan Chocolate Chunk Cookies

How to Make Fall Chai Low Sugar Scones with Splenda

Savor the Sweetness: A Guide to Making Carrot Sheet Cake with Brown Butter Frosting

Sweet Serenity: Mastering the Art of Pumpkin Cinnamon Rolls with Cream Cheese Icing

Indulge in This Deliciously Sweet Chocolate Espresso Cream Pie Recipe

If you're looking for an indulgent dessert that will satisfy your sweet tooth, look no further than this delicious Chocolate Espresso Cream Pie recipe! This decadent pie is made with a rich chocolate filling and a creamy espresso topping, making it perfect for special occasions, nightcaps, or for just a simple indulgence. Enjoy the perfect balance of the flavors of coffee and creamy chocolate all in one amazing dessert. If you’re looking for an easy and delicious dessert that everyone will love, try this Chocolate Espresso Cream Pie recipe. Your guests are sure to be asking for seconds!

Can I make this with regular whipped cream instead of espresso?

If you are looking for a recipe that doesn't involve espresso, you can easily make this pie with regular whipped cream instead. To begin, you can omit the espresso powder in the whipped topping. For even more flavor, add 1 teaspoon of vanilla extract to the cream filling and omit the coffee liquor. To give the pie a special touch, sprinkle some unsweetened cocoa powder over the top. Now you can enjoy your delicious Chocolate Espresso Cream Pie with regular whipped cream instead of espresso.

Is it possible to make this Chocolate Espresso Cream Pie ahead of time?

This pie has a decadent and delicious flavor, but it’s not too hard to make. If you plan to make the Chocolate Espresso Cream Pie ahead of time, it is possible to make most of the components in advance. You can prepare the crust the day before and store it in the fridge until you are ready to assemble the pie. The espresso cream can also be made a few days in advance and stored in the refrigerator until you are ready to assemble the pie. When you are ready to assemble your pie, all you have to do is assemble the components and you are ready to go! Feel free to also add some melted chocolate or chocolate chips to the top of the pie for an even more indulgent, rich chocolate dessert. Try this delicious Chocolate Espresso Cream Pie recipe today and enjoy a delicious treat you can make ahead of time and serve any time!

Do I need to refrigerate the Chocolate Espresso Cream Pie after baking?

Once you’ve finished baking the Chocolate Espresso Cream Pie, there are several ways you can store it. Refrigeration isn’t necessary, so you can keep it at room temperature for up to three days. It can also be covered in plastic wrap or aluminum foil and refrigerated for up to five days. Refrigerating will make the pie last longer. However, it can also affect the texture of the crust and the creaminess of the filling. If you’d like to keep the Chocolate Espresso Cream Pie even longer, you can freeze it for up to three months after following the directions below.

Ingredients

3/4 cup granulated sugar

1/4 cup cornstarch

1/2 teaspoon sea salt

2 cups whole milk

1/2 cup heavy cream

4 egg yolks

4 tablespoons butter, cut into 4

4 oz semi-sweet chocolate

1 teaspoon vanilla

2 tablespoons coffee liquor

Crust

12 oz chocolate graham cracker

8 tablespoons melted butter

Whipped Topping

1 1/4 teaspoons instant espresso powder

1 1/4 cups cold heavy cream

1 tablespoon powdered sugar

Instructions

1. Preheat oven to 375. Spray pie pan with olive oil spray and make Crust by adding graham cracker to blender and processing until fine. Add in melted butter and blend again. Press the crust mixture into the bottom of the pan until even all the way around. I use a flat-bottom cup or a metal spoon to help. Bake in the oven for 13-15 minutes. Once done remove and let cool before adding filling.

2. Combine sugar, cornstarch and sea salt in a medium saucepan. Whisk in milk and heavy cream and cook over medium heat stir continuously until bubbling and thick.

3. In a large bowl whisk yolks. Pour in the milk mixture slowly while whisking. Once fully incorporated return to saucepan and cook over medium heat until returns to boil.

4. Remove from heat. Add in vanilla, coffee liqueur and butter. Whisky until butter cubes are fully dissolved and incorporated. Pour into pie pan with crust and let cool on the counter for 45 minutes.

5. Press plastic wrap onto the top of the custard filling. Fully covering. Place in the fridge for 4 hours or overnight.

6. Once the pie is ready to serve make espresso whipped topping. In a large bowl whisk add together cream and espresso powder with a hand mixer on medium-high until peaks form. Spread onto pie and sprinkle with additional espresso powder or chocolate shavings.

Delicious and easy to make, this Homemade Chocolate Espresso Cream Pie Recipe is the perfect way to end your meal. Satisfy your sweet tooth with this classic dessert that everyone loves.

Other Delicious Desserts You Will Love:

Tantalizingly Delicious Recipe For Lemon Cheesecake With An Amazing Glaze

Taste the Deliciousness of Pistachio Cake: A Treat for Any Occasion

Indulge in Delicious Personal Pear Tarts

Deliciousness Cherry Chip Cake with chunks of dark chocolate recipe

Indulge Your Sweet Tooth with This Delicious Brown Butter Spice Cake with Honey & Fig Jam Frosting

Welcome to my kitchen! This time, we’re baking a truly decadent cake that is sure to impress any dessert aficionado. Welcome the early fall season with this delicious and flavorful Brown Butter Spice Cake with Honey & Fig Jam Icing recipe. The brown butter and spices give the cake a unique flavor that will make it a favorite in your home. The sweetness of the fig jam icing is sure to be a hit with everyone as well. This recipe is perfect for any occasion, from a family dinner to a special celebration. You can make this cake ahead of time and store it in the refrigerator for up to a week, making it a great make-ahead dish. Serve it as is or dress it up with some fresh figs on top.

What type of honey works best in the icing?

Clover honey is the most popular honey for baking as it has a mild flavor, but you can also experiment with orange blossom honey for a subtle citrus flavor or wildflower honey for a bolder flavor. Acacia honey is a great choice as it is light and delicate in flavor, while Manuka honey is unique and has a distinctive flavor. Whichever honey you choose will go great with this delicious cake and add its own unique twist.

Are there any other variations of this recipe that can be tried?

To make the cake even more unique to you here are a few changes you can make on this cake. You can add walnuts, almonds, or hazelnuts to give it a crunchy texture. For a slightly different flavor, you can also swap the honey for maple syrup. To make the cake even more impressive, you can make this into 2 layers and add icing in between each layer instead of one thick cake. If you're looking for a different flavor, you can try using apricot or raspberry jam instead of fig jam. For a less intense flavor, try substituting dark brown sugar for white sugar. With so many different variations, you can make this Brown Butter Spice Cake with Honey & Fig Jam Icing Recipe your own.

Ingredients:

4 large eggs

1/2 cup buttermilk

1/3 cup brewed espresso

1 cup butter

2. teaspoons almond ext.

1 - 1/2 cup dark brown sugar

2-1/4 cups cake flour

1 tablespoon baking powder

1/2 teaspoon salt

1 teaspoon chai powder

1 teaspoon cinnamon

1/2 teaspoon ground cloves

1/2 teaspoon ginger

Frosting:

1 cup butter

8 oz cream cheese

4 cups powdered sugar

1 teaspoon almond extract

1/4 cup honey

Fig preserves or jam

Instructions:

1. Prep by greasing a 9-inch round cake pan & preheat the oven to 350 degrees.

2. Brown butter in a saucepan and cook until browned and nutty in fragrance. Set aside in a clean bowl freshly brewed espresso and let cool while getting other ingredients ready.

3. Blend eggs, heavy cream, almond extract and the brown butter/espresso mixture, from above, completely in a medium bowl.

4. In a new clean bowl whisk dry ingredients until combined. Add wet ingredients to dry and blend together with an electric hand mixer.

5. Once combined pour into an oiled 9-inch pan and place in the oven. Bake for 45-55 minutes or until a toothpick inserted comes out clean.

7. While the cake is baking blend together all frosting ingredients until well combined. (butter and cream cheese should be at room temperature if not heated in the microwave for 30 sec at a time)

8. Once the cake is done baking let cool in the pan for 15 min and transfer to the cooling rack for another 15.

9. Add Frosting to the top of the cake adding in a large spoon fulls of fig jam and using a knife or rubber spatula to blend to make a stunning and tasty marble effect. Add Fresh figs and drizzled honey on top for an even prettier and tastier cake and Enjoy!

Other Delicious Cake Recipes:

Taste the Deliciousness of Pistachio Cake: A Treat for Any Occasion

My Favorite White Cake Recipe

Indulge in Deliciousness: Cherry Chip Cake with Chunks of Dark Chocolate Recipe