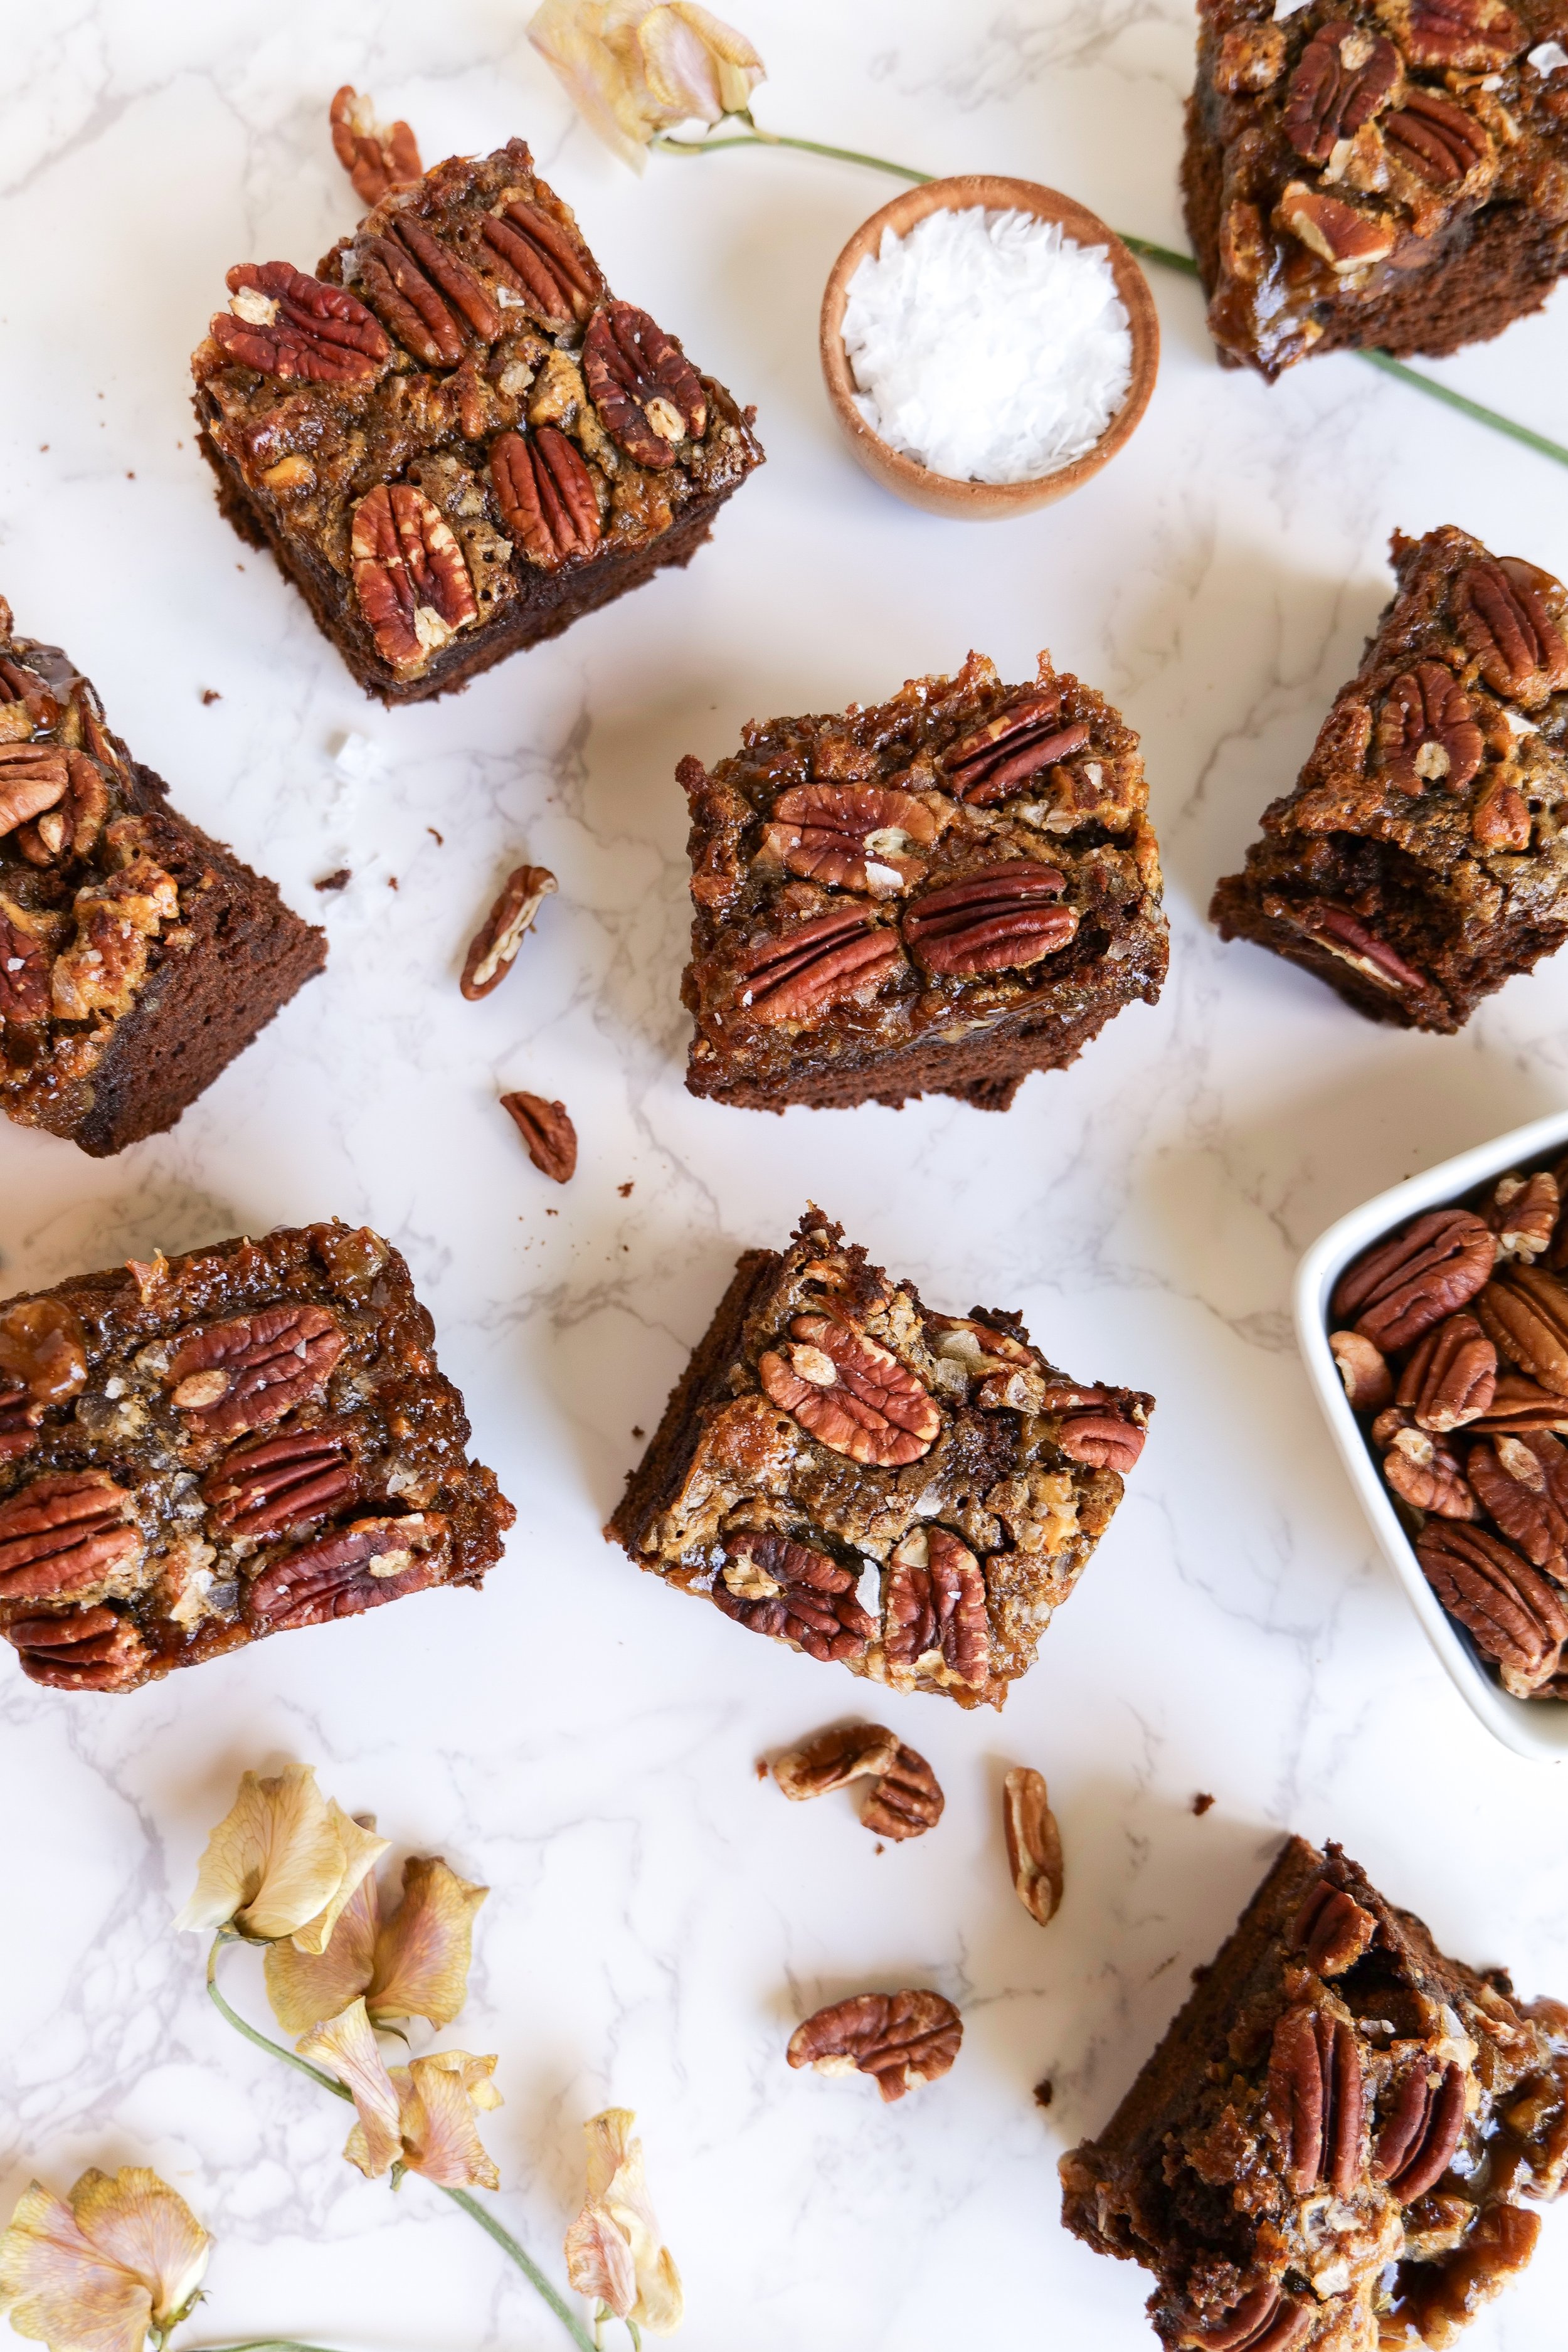
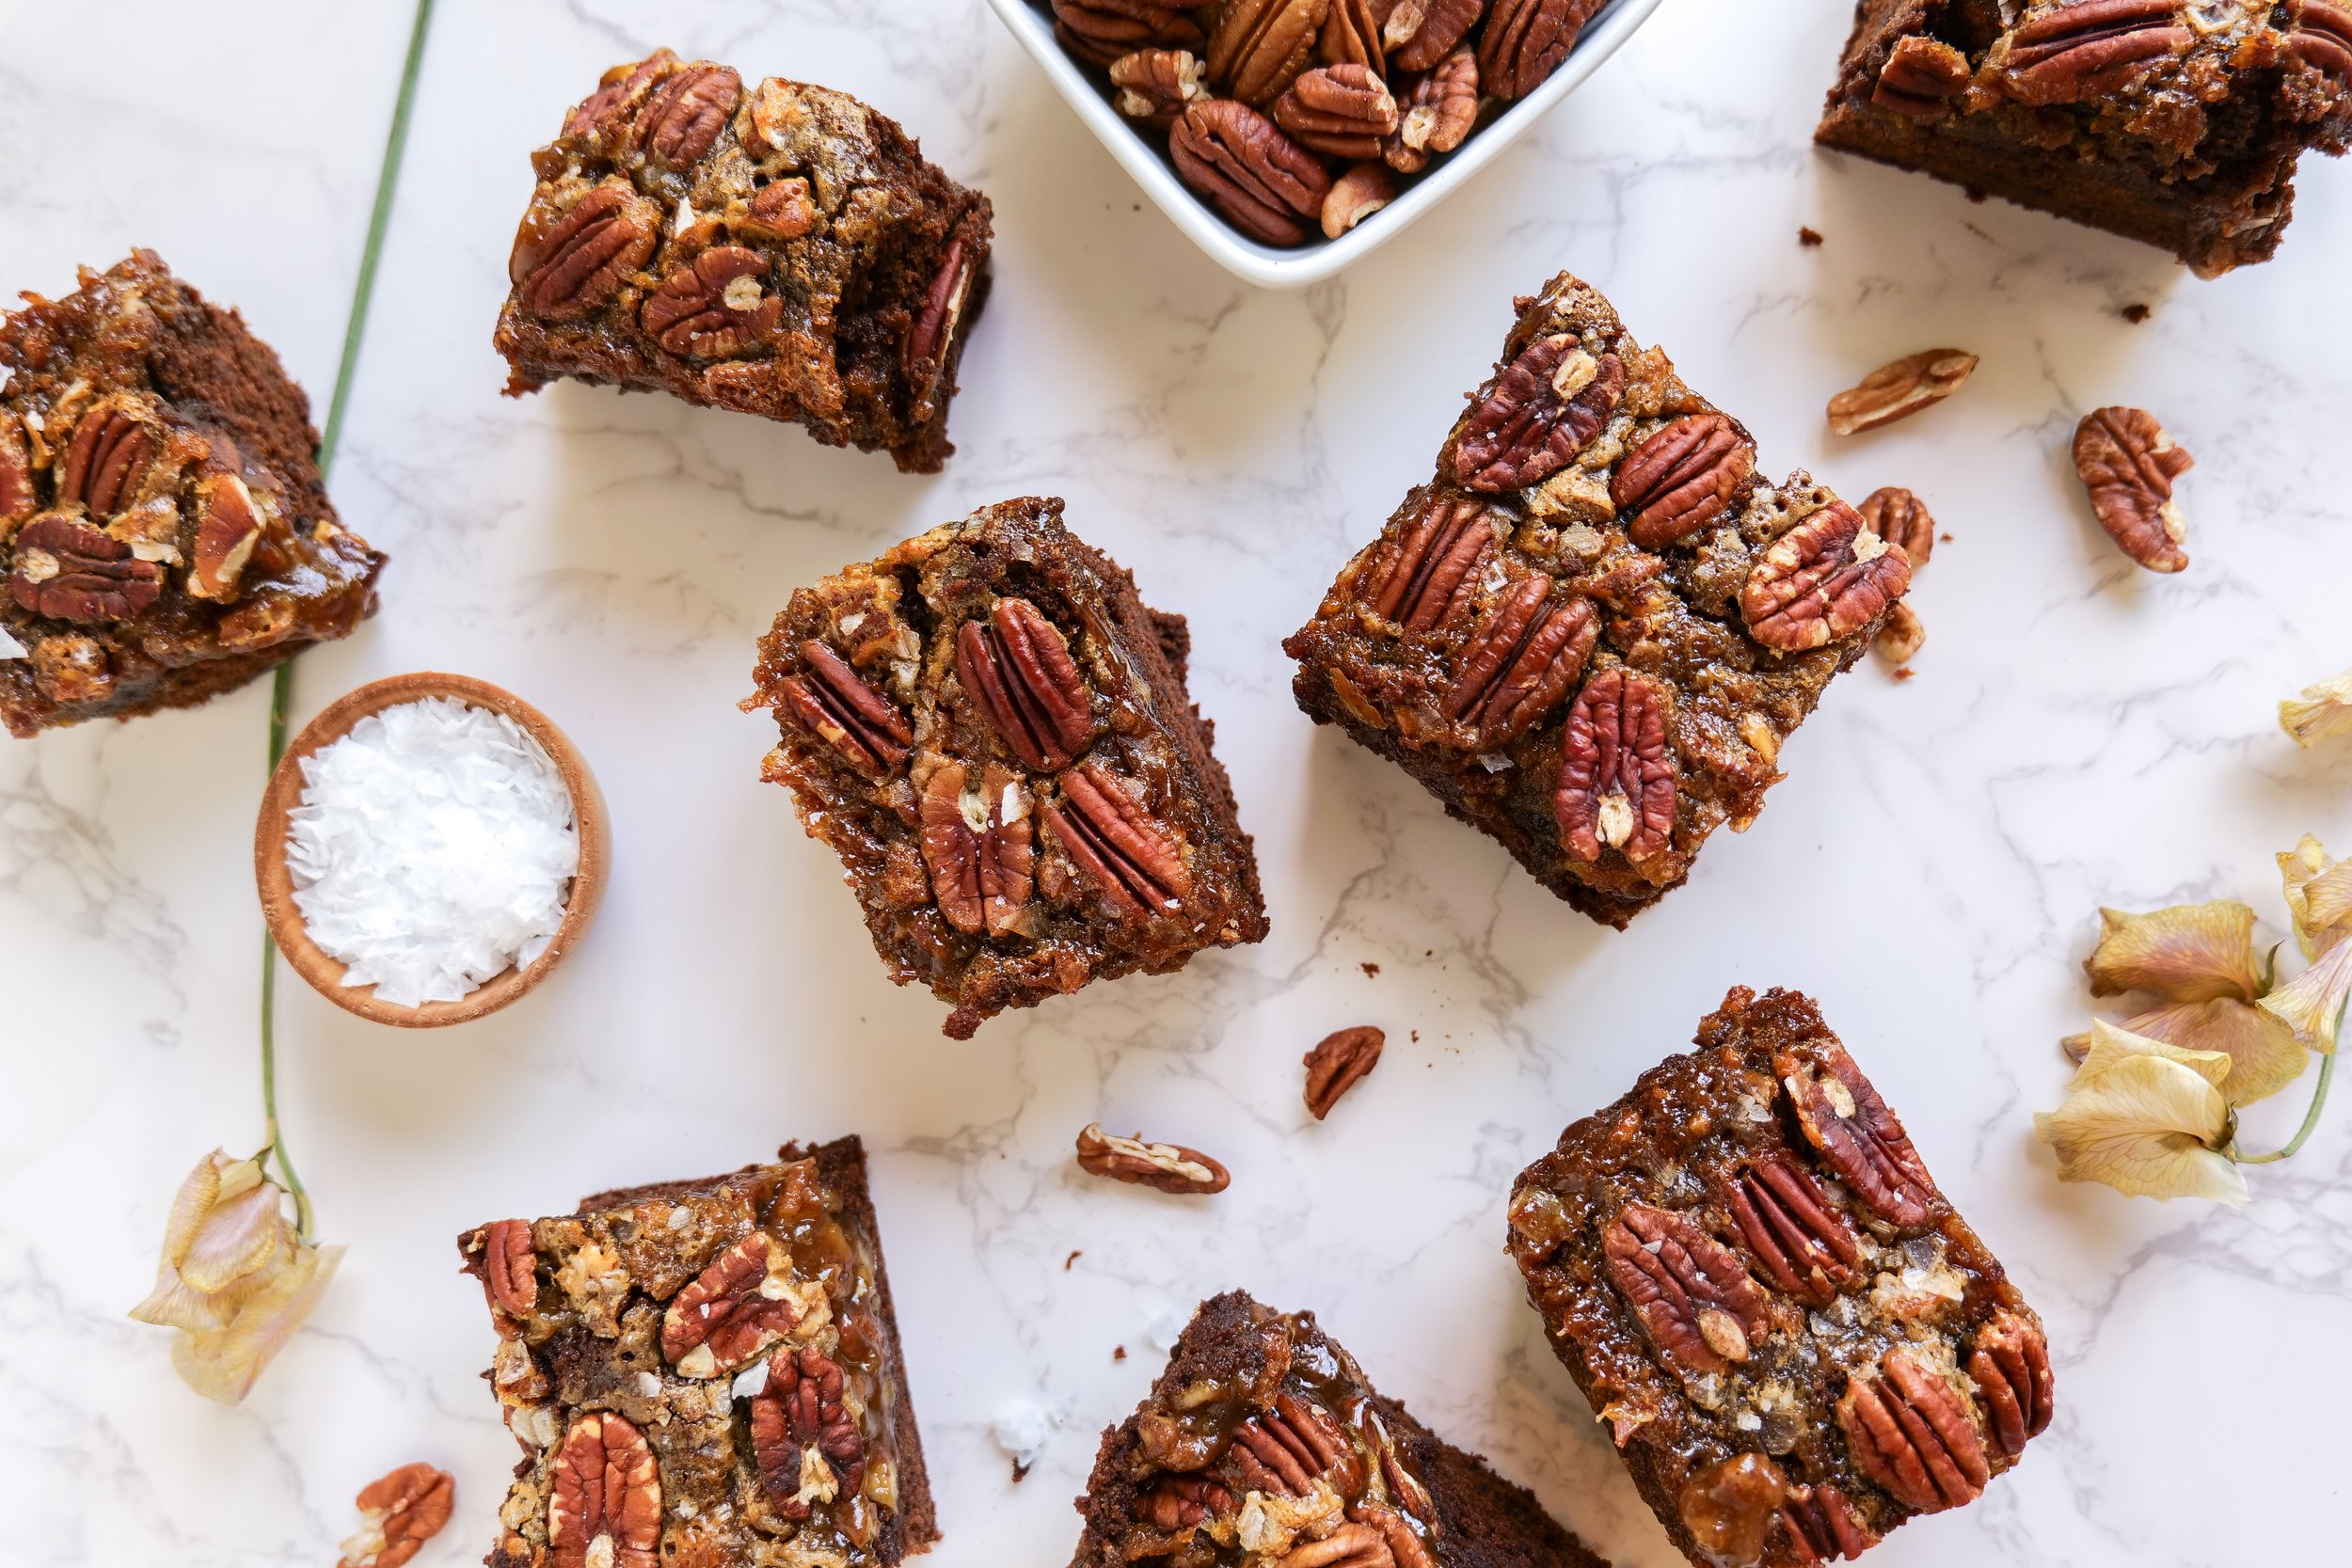
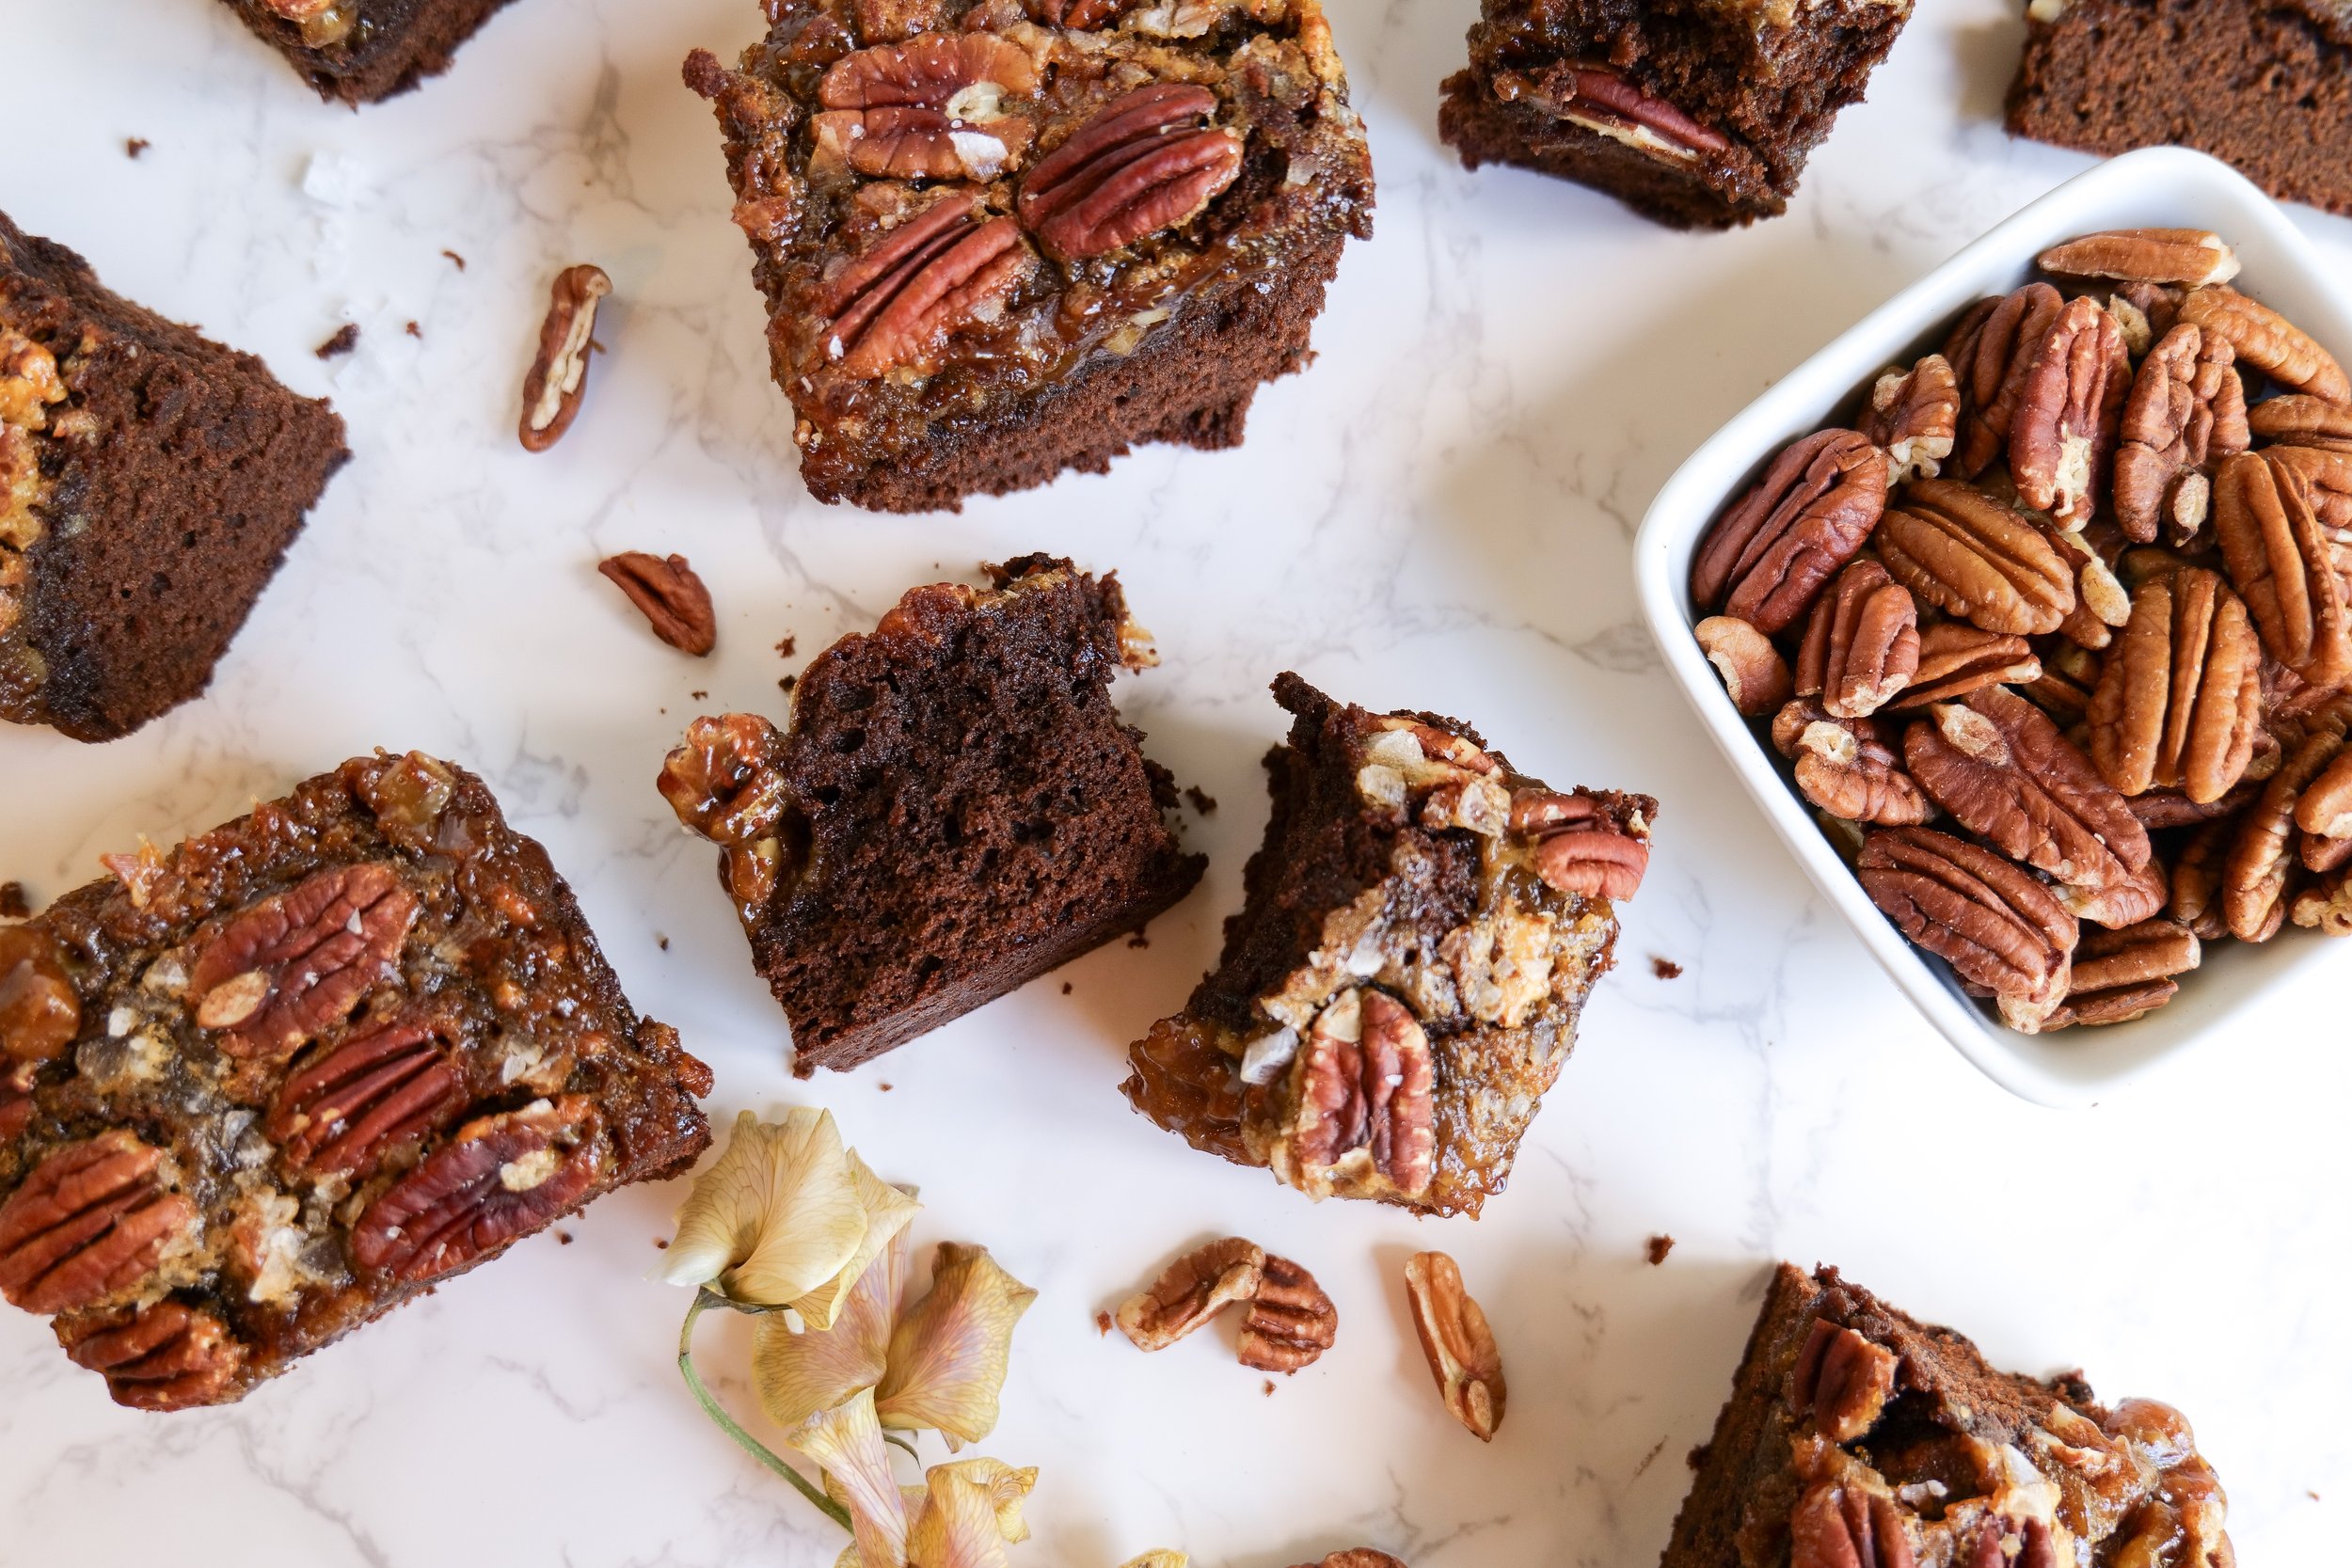
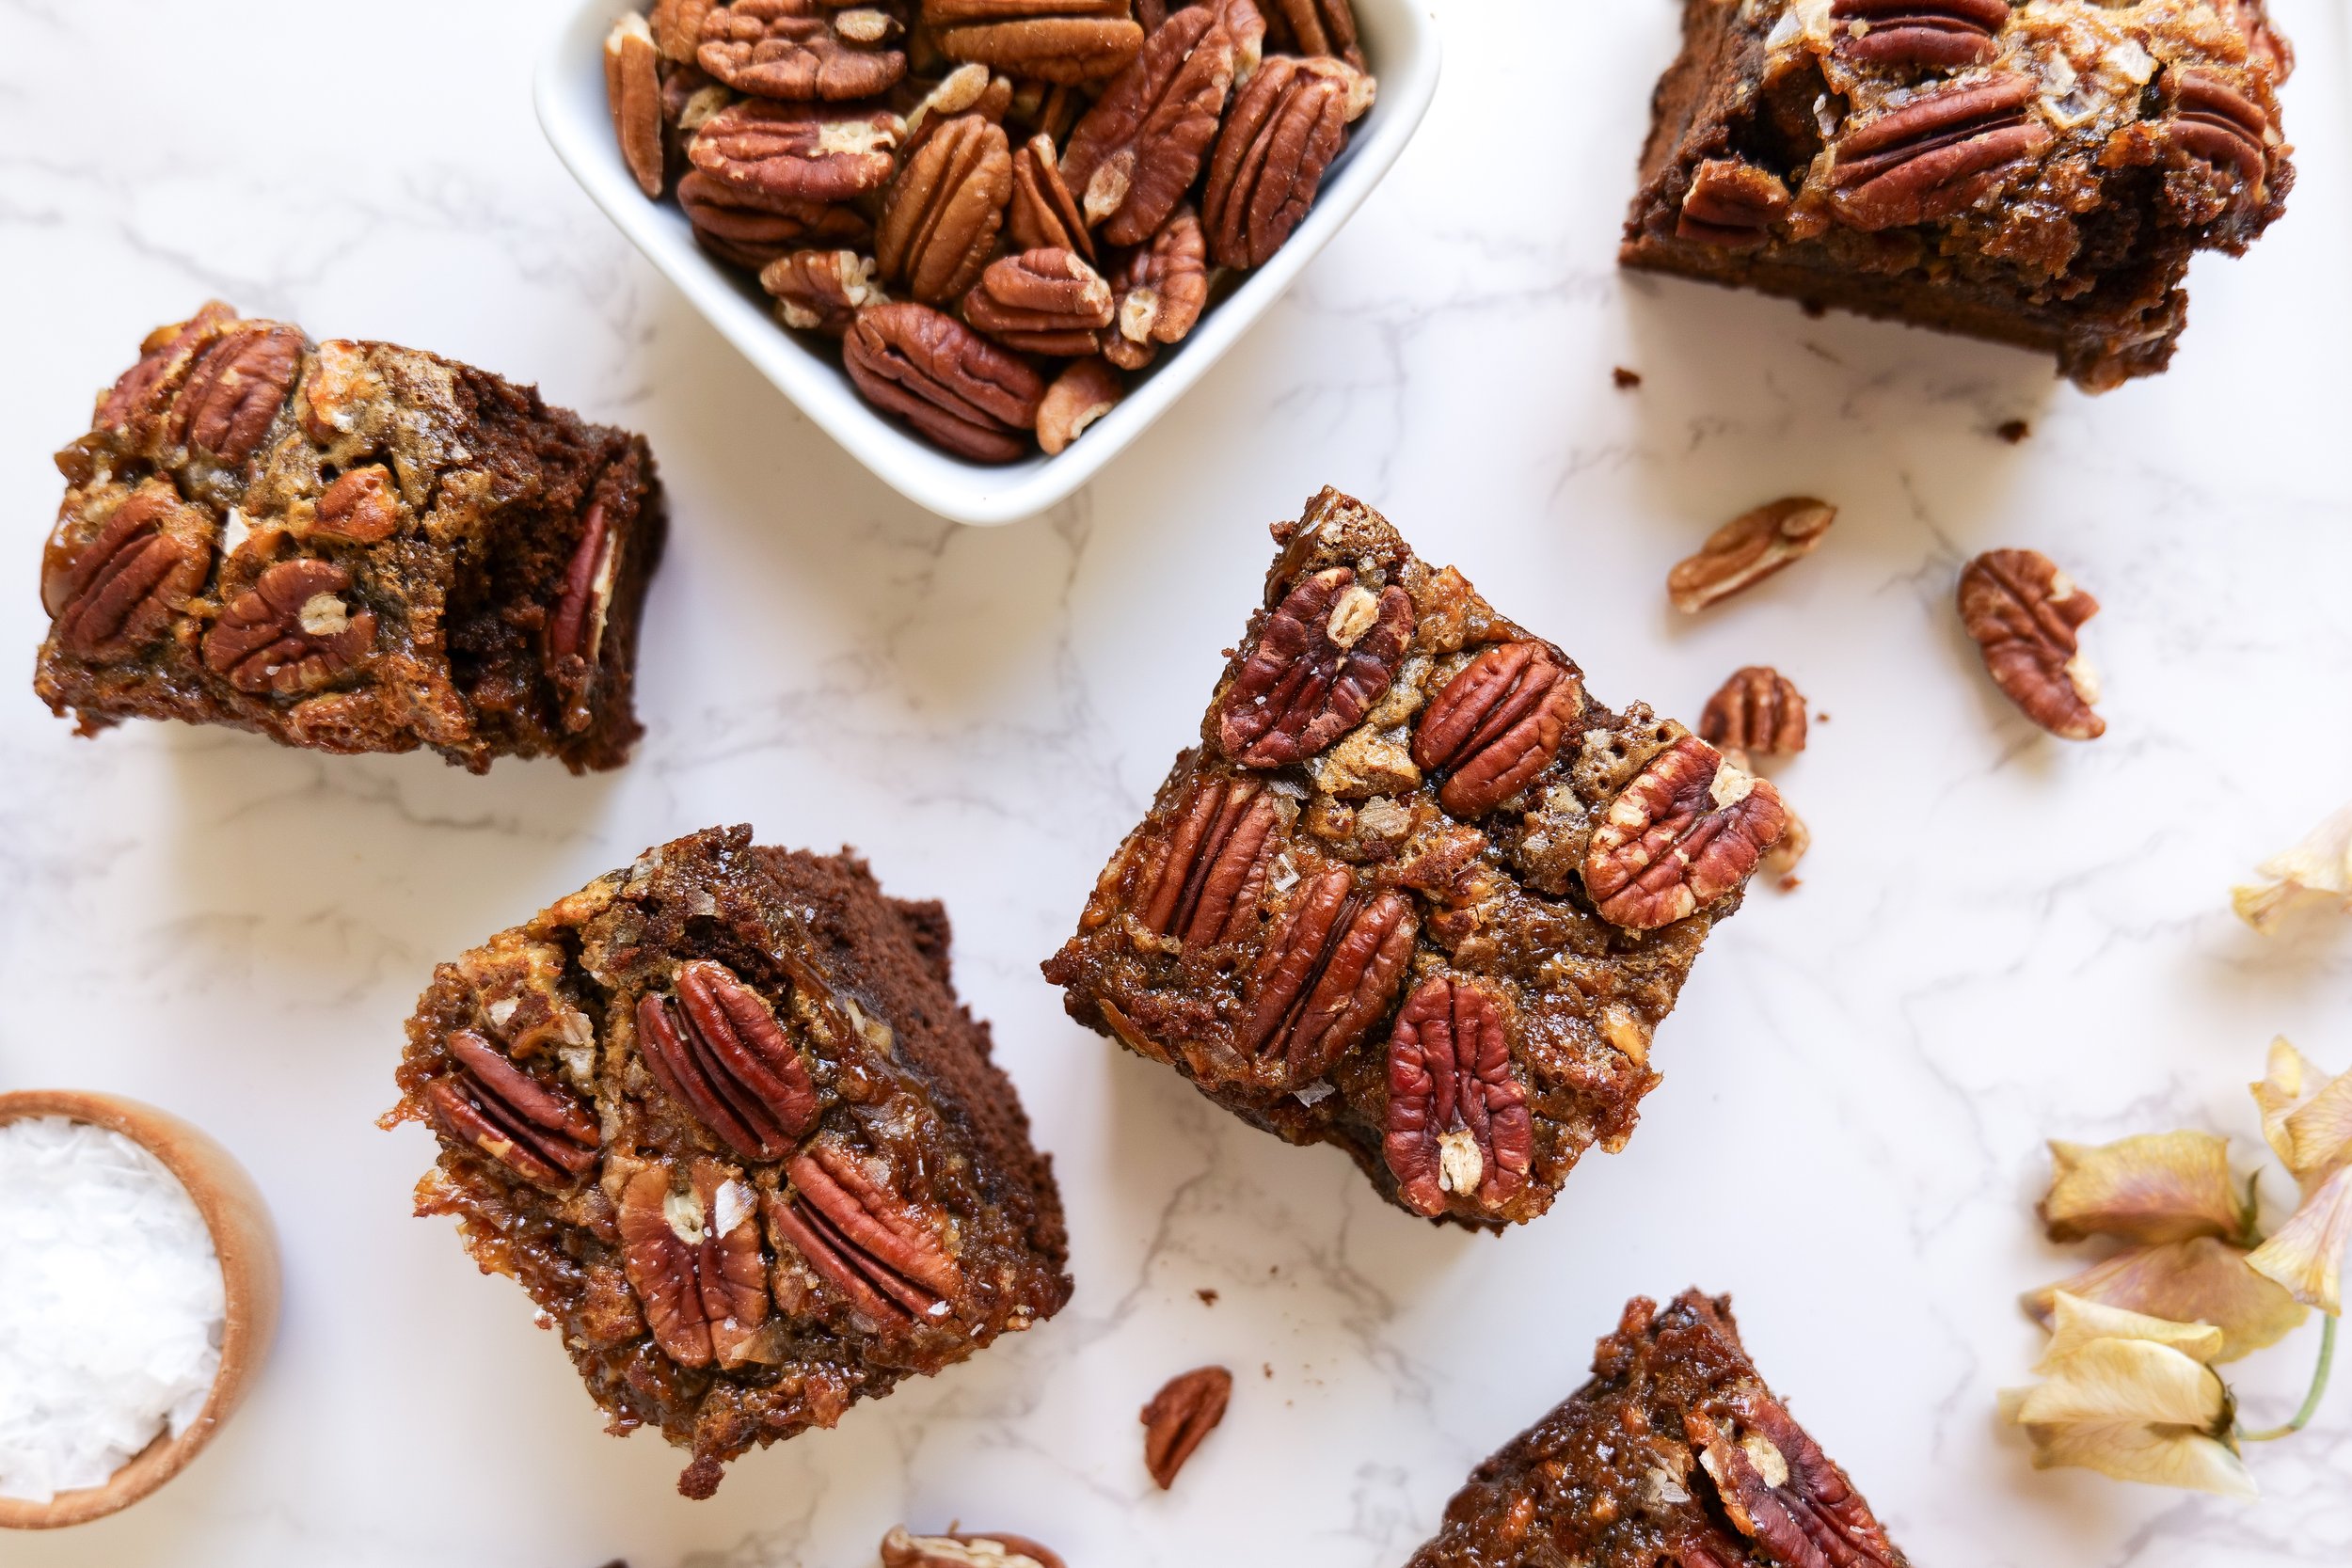
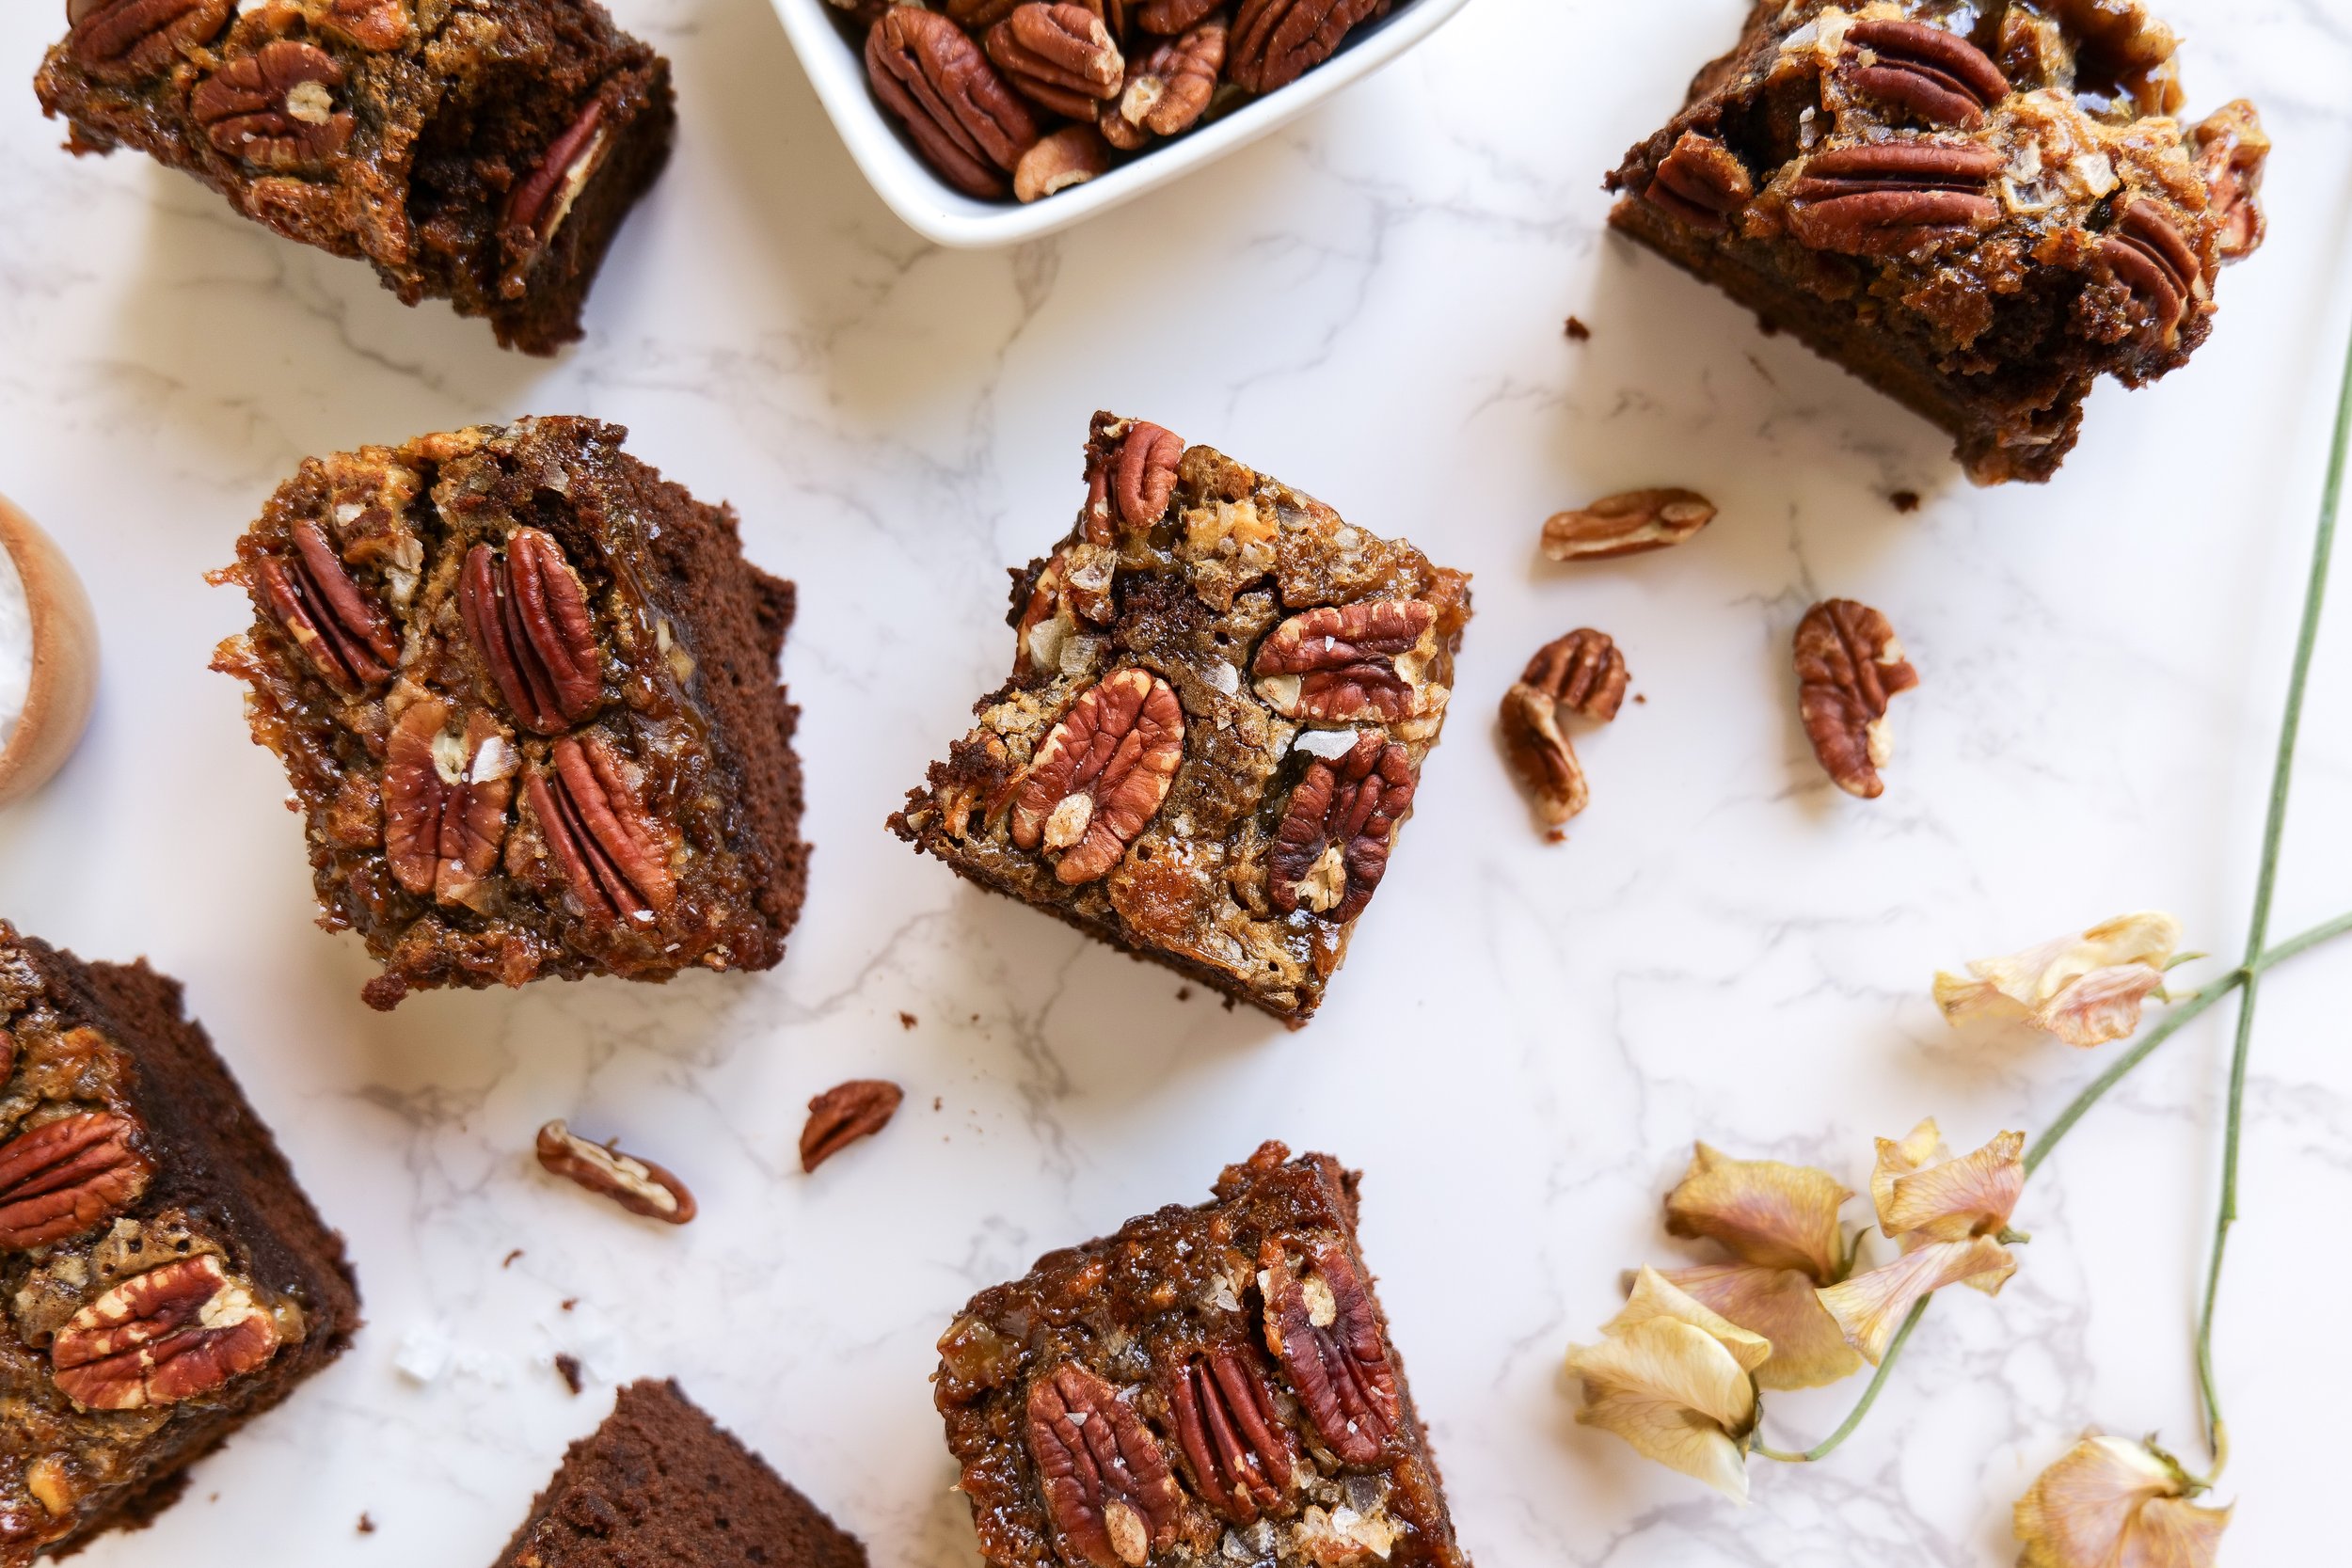
Satisfy Your Sweet Tooth: A Guide to Making Irresistible Salted Pecan Brownies

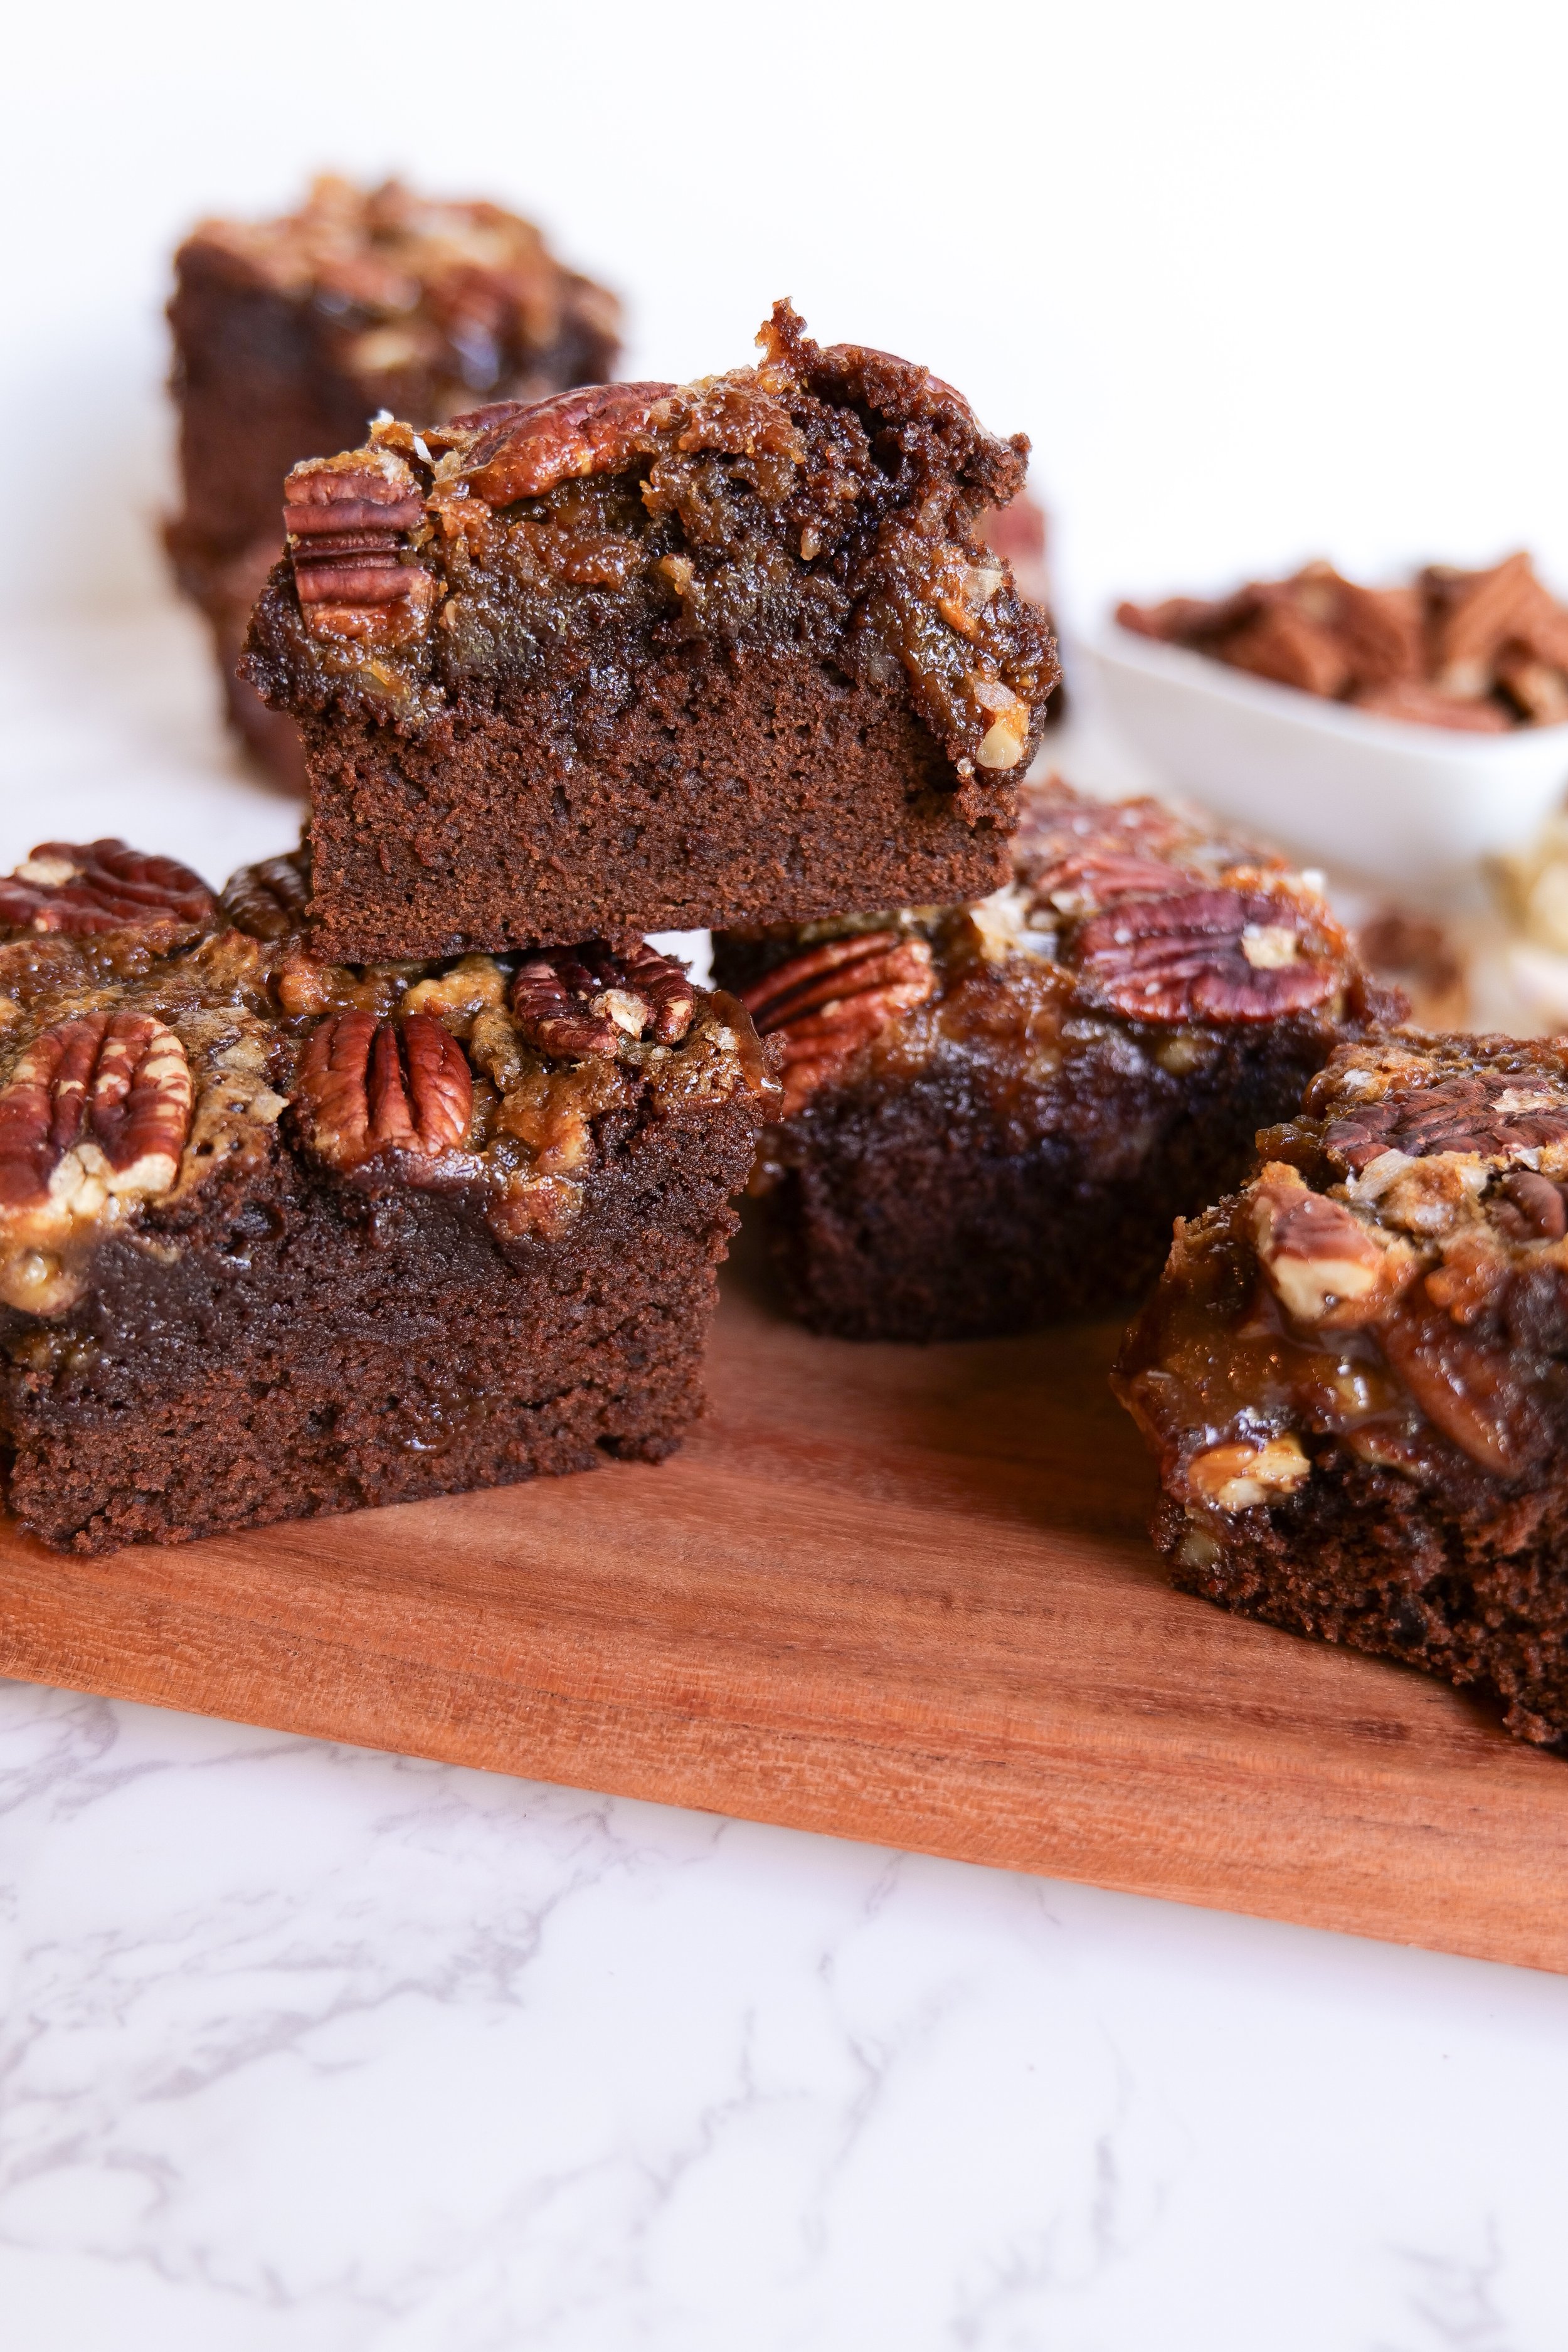
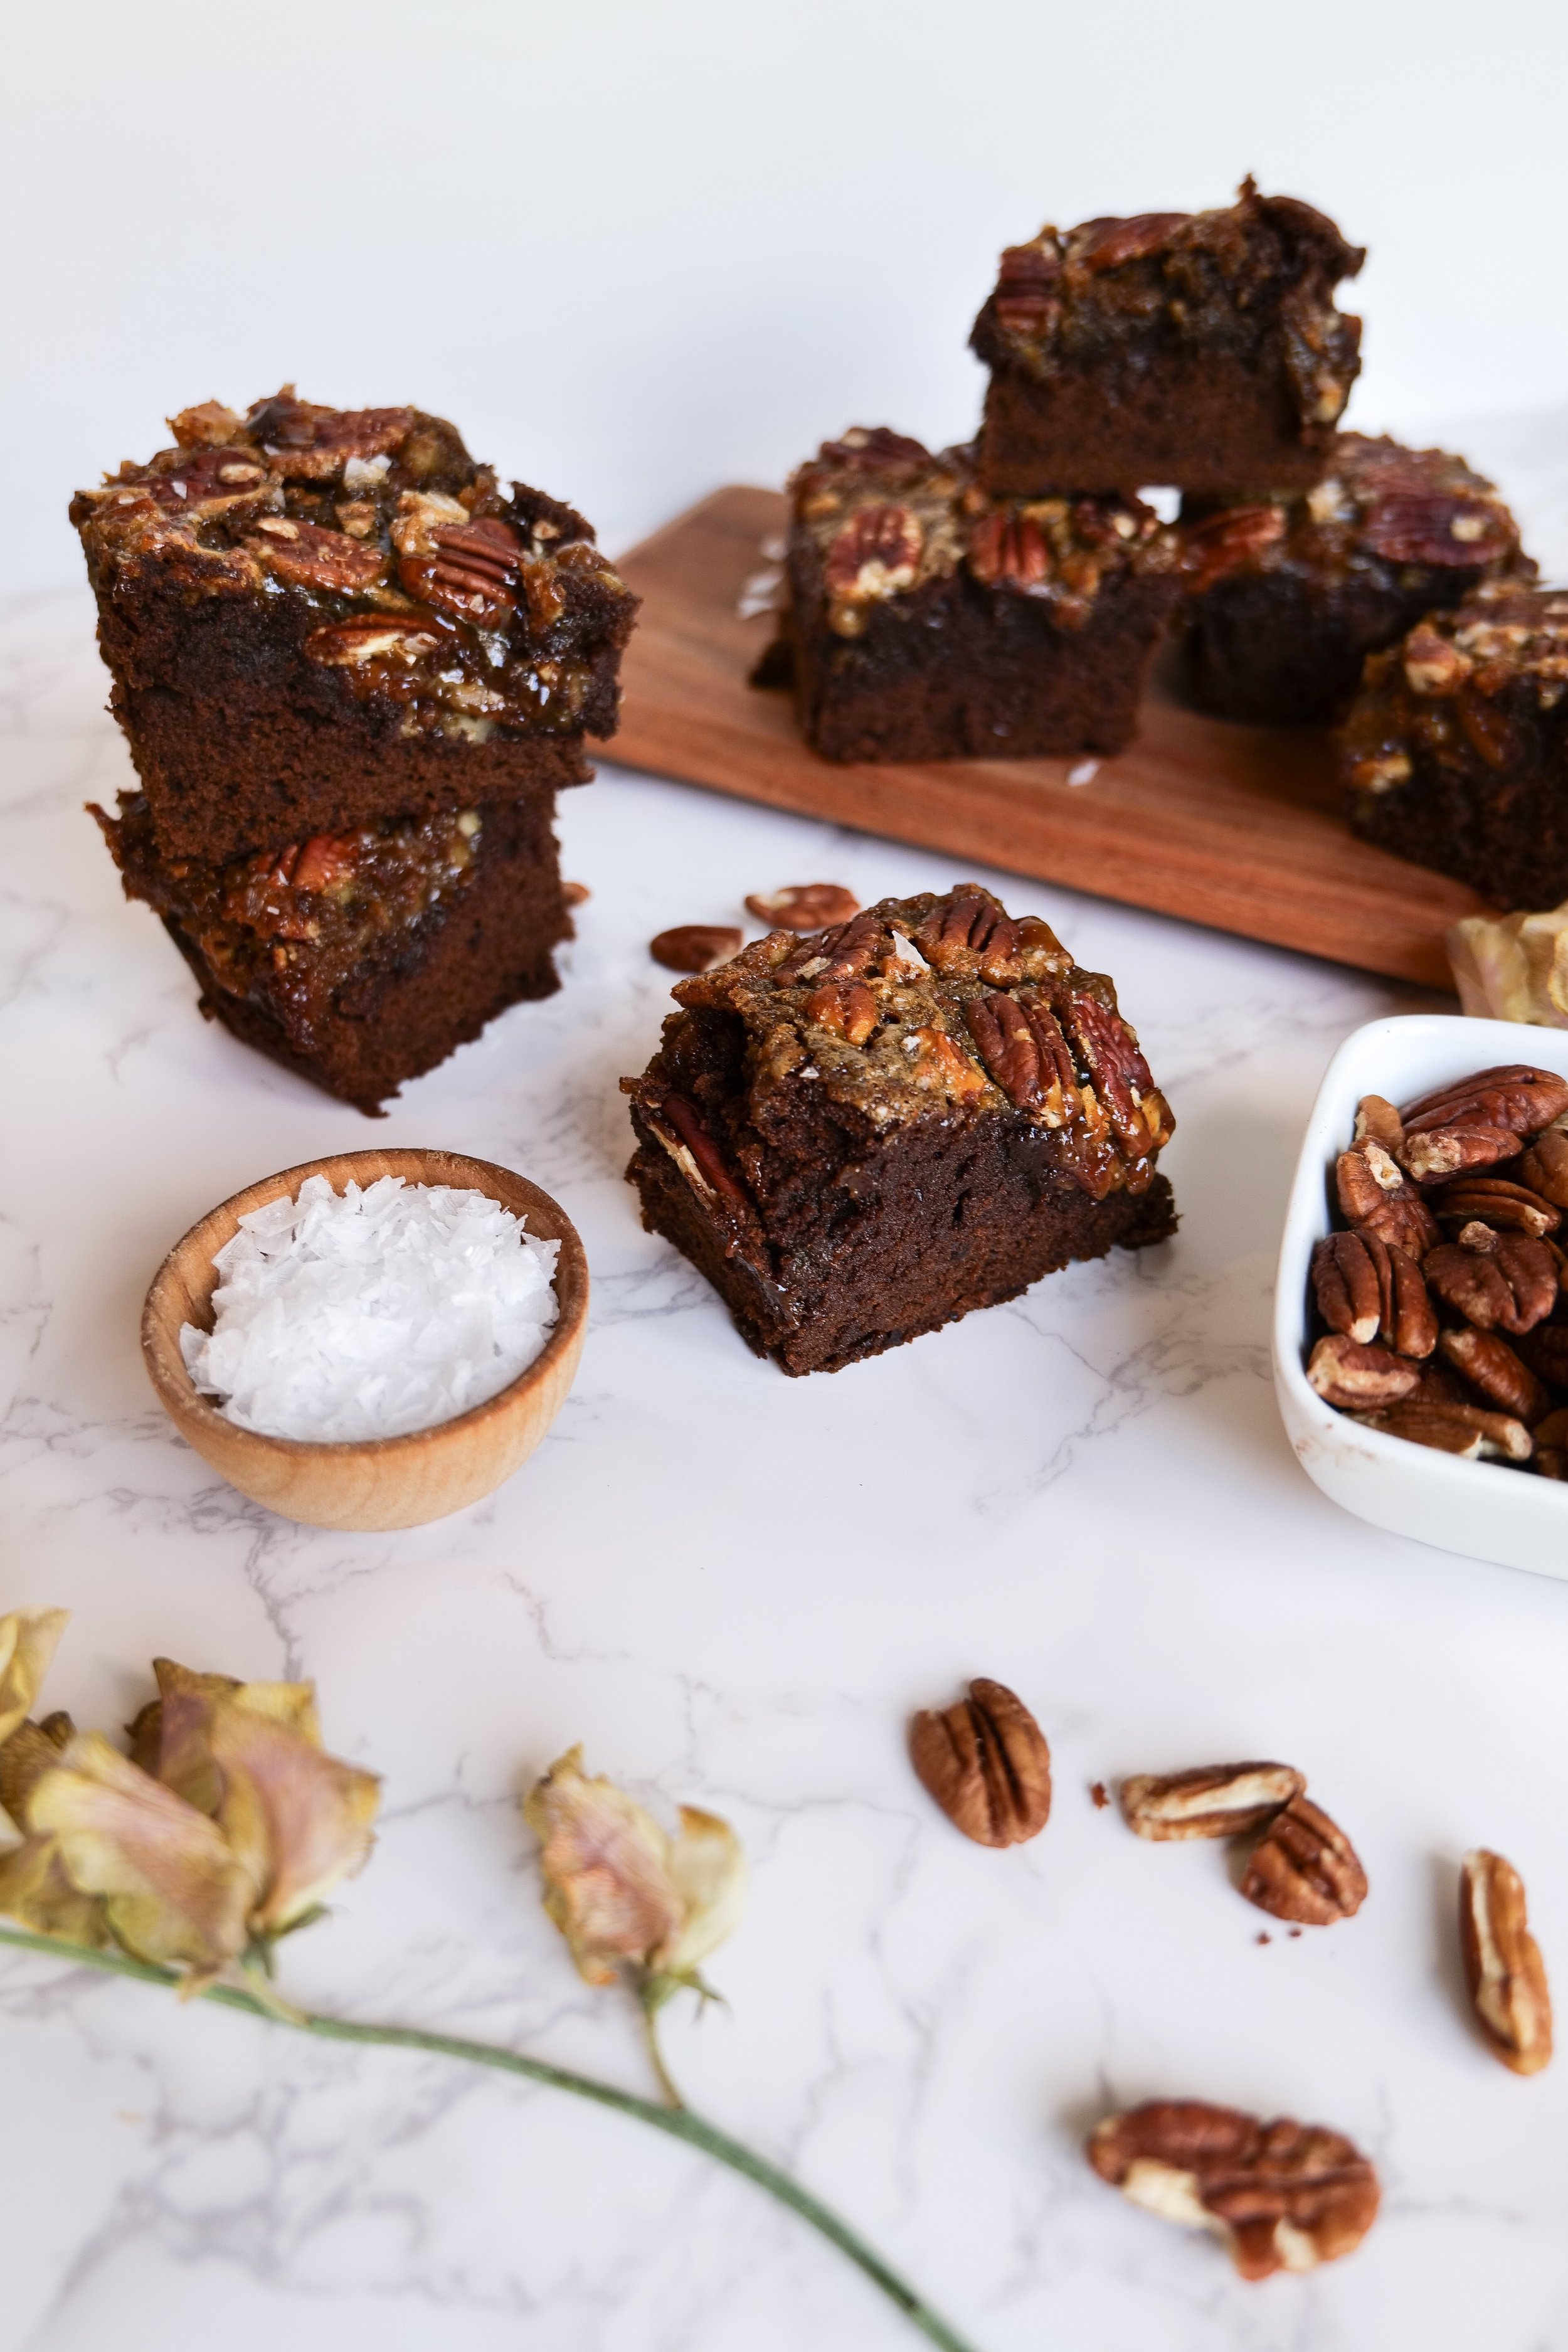
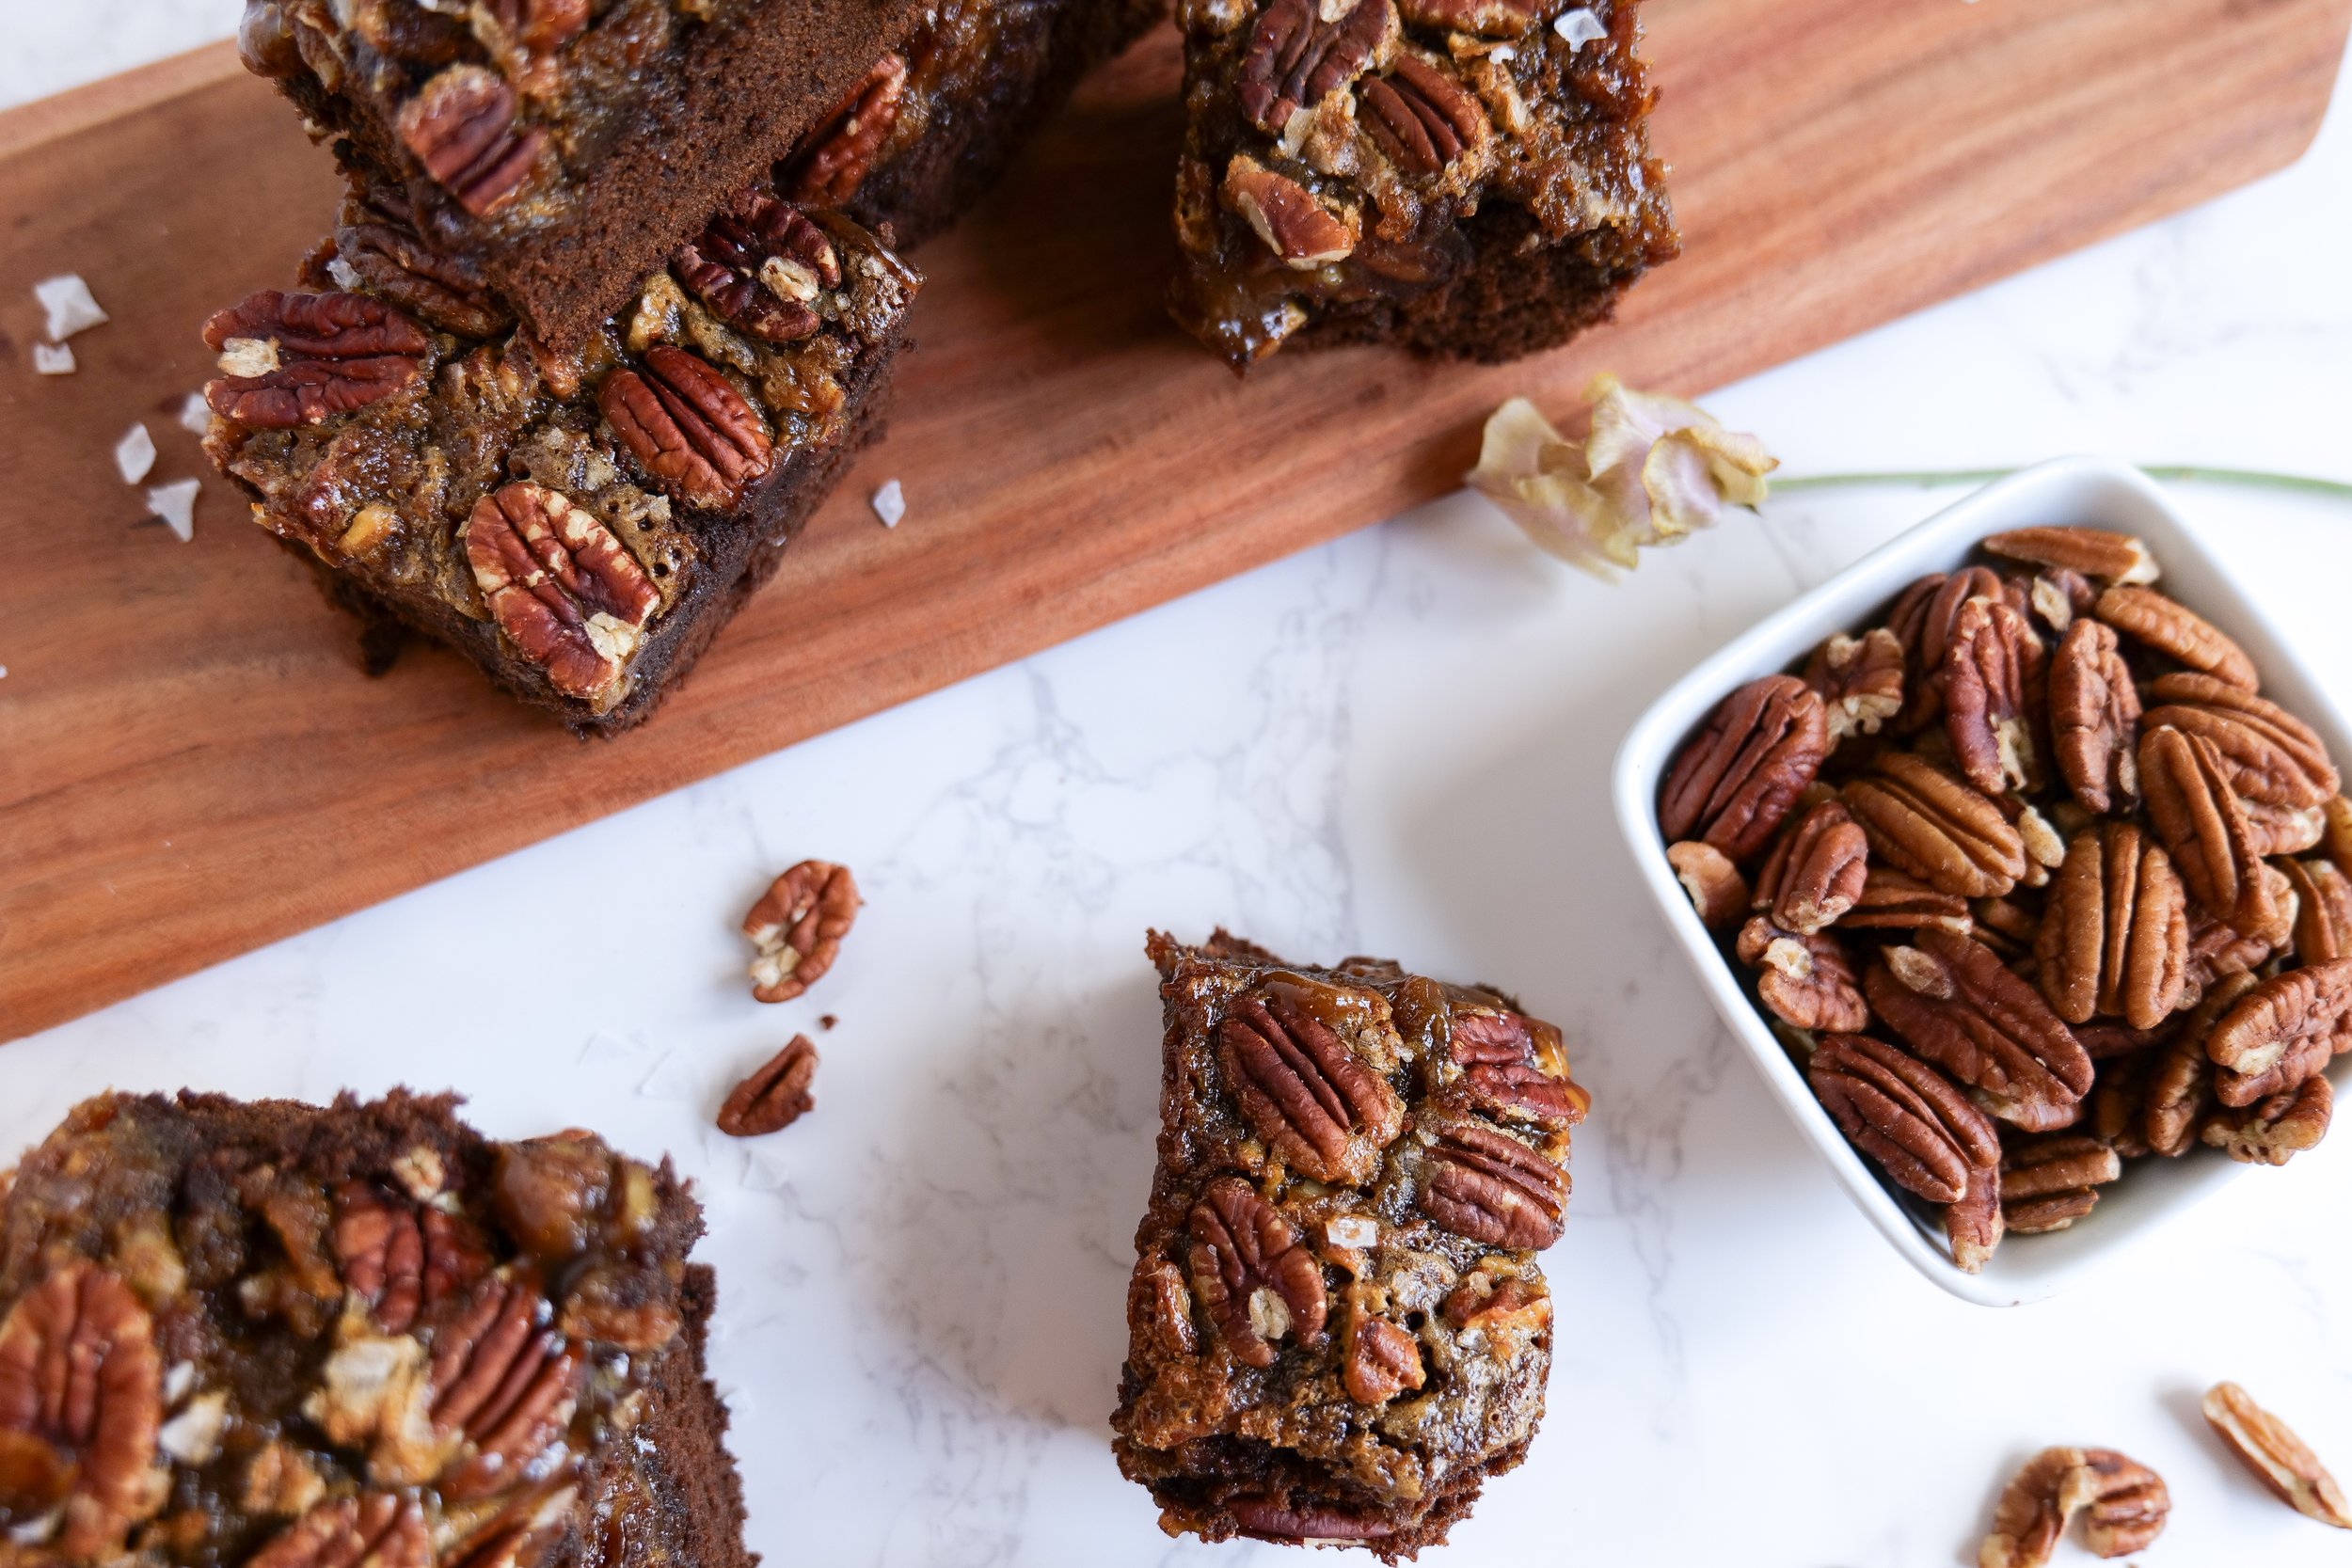
Get ready to delve into the world of rich chocolatey decadent desserts again with our current star of the day - Salted Pecan Brownies! This combination of creamy salted caramel and crunchy pecans creates a truly mouth-watering treat. These brownies are moist and rich, with a texture that melts in your mouth. Topping these brownies off with a sprinkle of sea salt adds a layer of flavor and crunch, creating a unique combination of deep chocolate flavor combined perfectly with salty and sweet elements. The result is a harmonious touch of all the right taste buds perfectly at once. Salted caramel pecan brownies are perfect for any occasion, from a casual family gathering to an elegant dinner party. Whether you’re looking for a delicious dessert to enjoy with your family or to impress your guests, these brownies are sure to make your mouth water.

Equipment

Making a delicious batch of salted pecan brownies doesn't require a lot of fancy equipment. All you need is an 8 x 8-inch baking dish, a mixing bowl, a whisk, a rubber spatula, a wooden spoon, a baking sheet, parchment paper, an oven mitt, and an oven.

To begin, preheat the oven to 350°F. Then, you'll need to prepare the ingredients for the salted pecan brownies. Start by mixing all of the dry ingredients in a bowl with a whisk. Once the dry ingredients are blended, add the wet ingredients and mix them all with a wooden spoon.

Next, you'll need to get the baking dish ready. Line it with parchment paper and lightly grease it with butter or cooking spray. Pour the brownie batter into the 8 x 8-inch baking dish and spread it out evenly. Sprinkle a generous handful of salted pecans over the top of the batter, and then place the baking dish in the oven. Bake the salted pecan brownies for 15-20 minutes, or until they are golden brown.

Once the brownies are done, it’s time to make the topping. Start by melting the butter and brown sugar together in a small saucepan. Add the pecans and stir until the caramel is thick and bubbly. Pour the topping over the brownies and sprinkle with sea salt. Let the brownies cool before cutting into slices and serving. Enjoy your Salted Pecan Pie Brownies with a scoop of vanilla or your favorite ice cream or a drizzle of chocolate syrup. Enjoy!

Brownie Batter

½ cup dark brown sugar packed

1 cup granulated sugar

3 large eggs

2 teaspoons vanilla extract

1/2 cup salted butter

1 cup all-purpose flour 

1/2 cup unsweetened cocoa powder

1/2 tsp baking powder

¼ teaspoon salt

1/3 cup heavy whipping cream

Salted Pecan Topping

1/2 cup Granulated Sugar

1/2 cup Dark Brown Sugar

2 tablespoons All-Purpose Flour

1/2 cup Dark Corn Syrup

2 Large Eggs

1/2 cup salted Butter

2 teaspoon Vanilla Extract

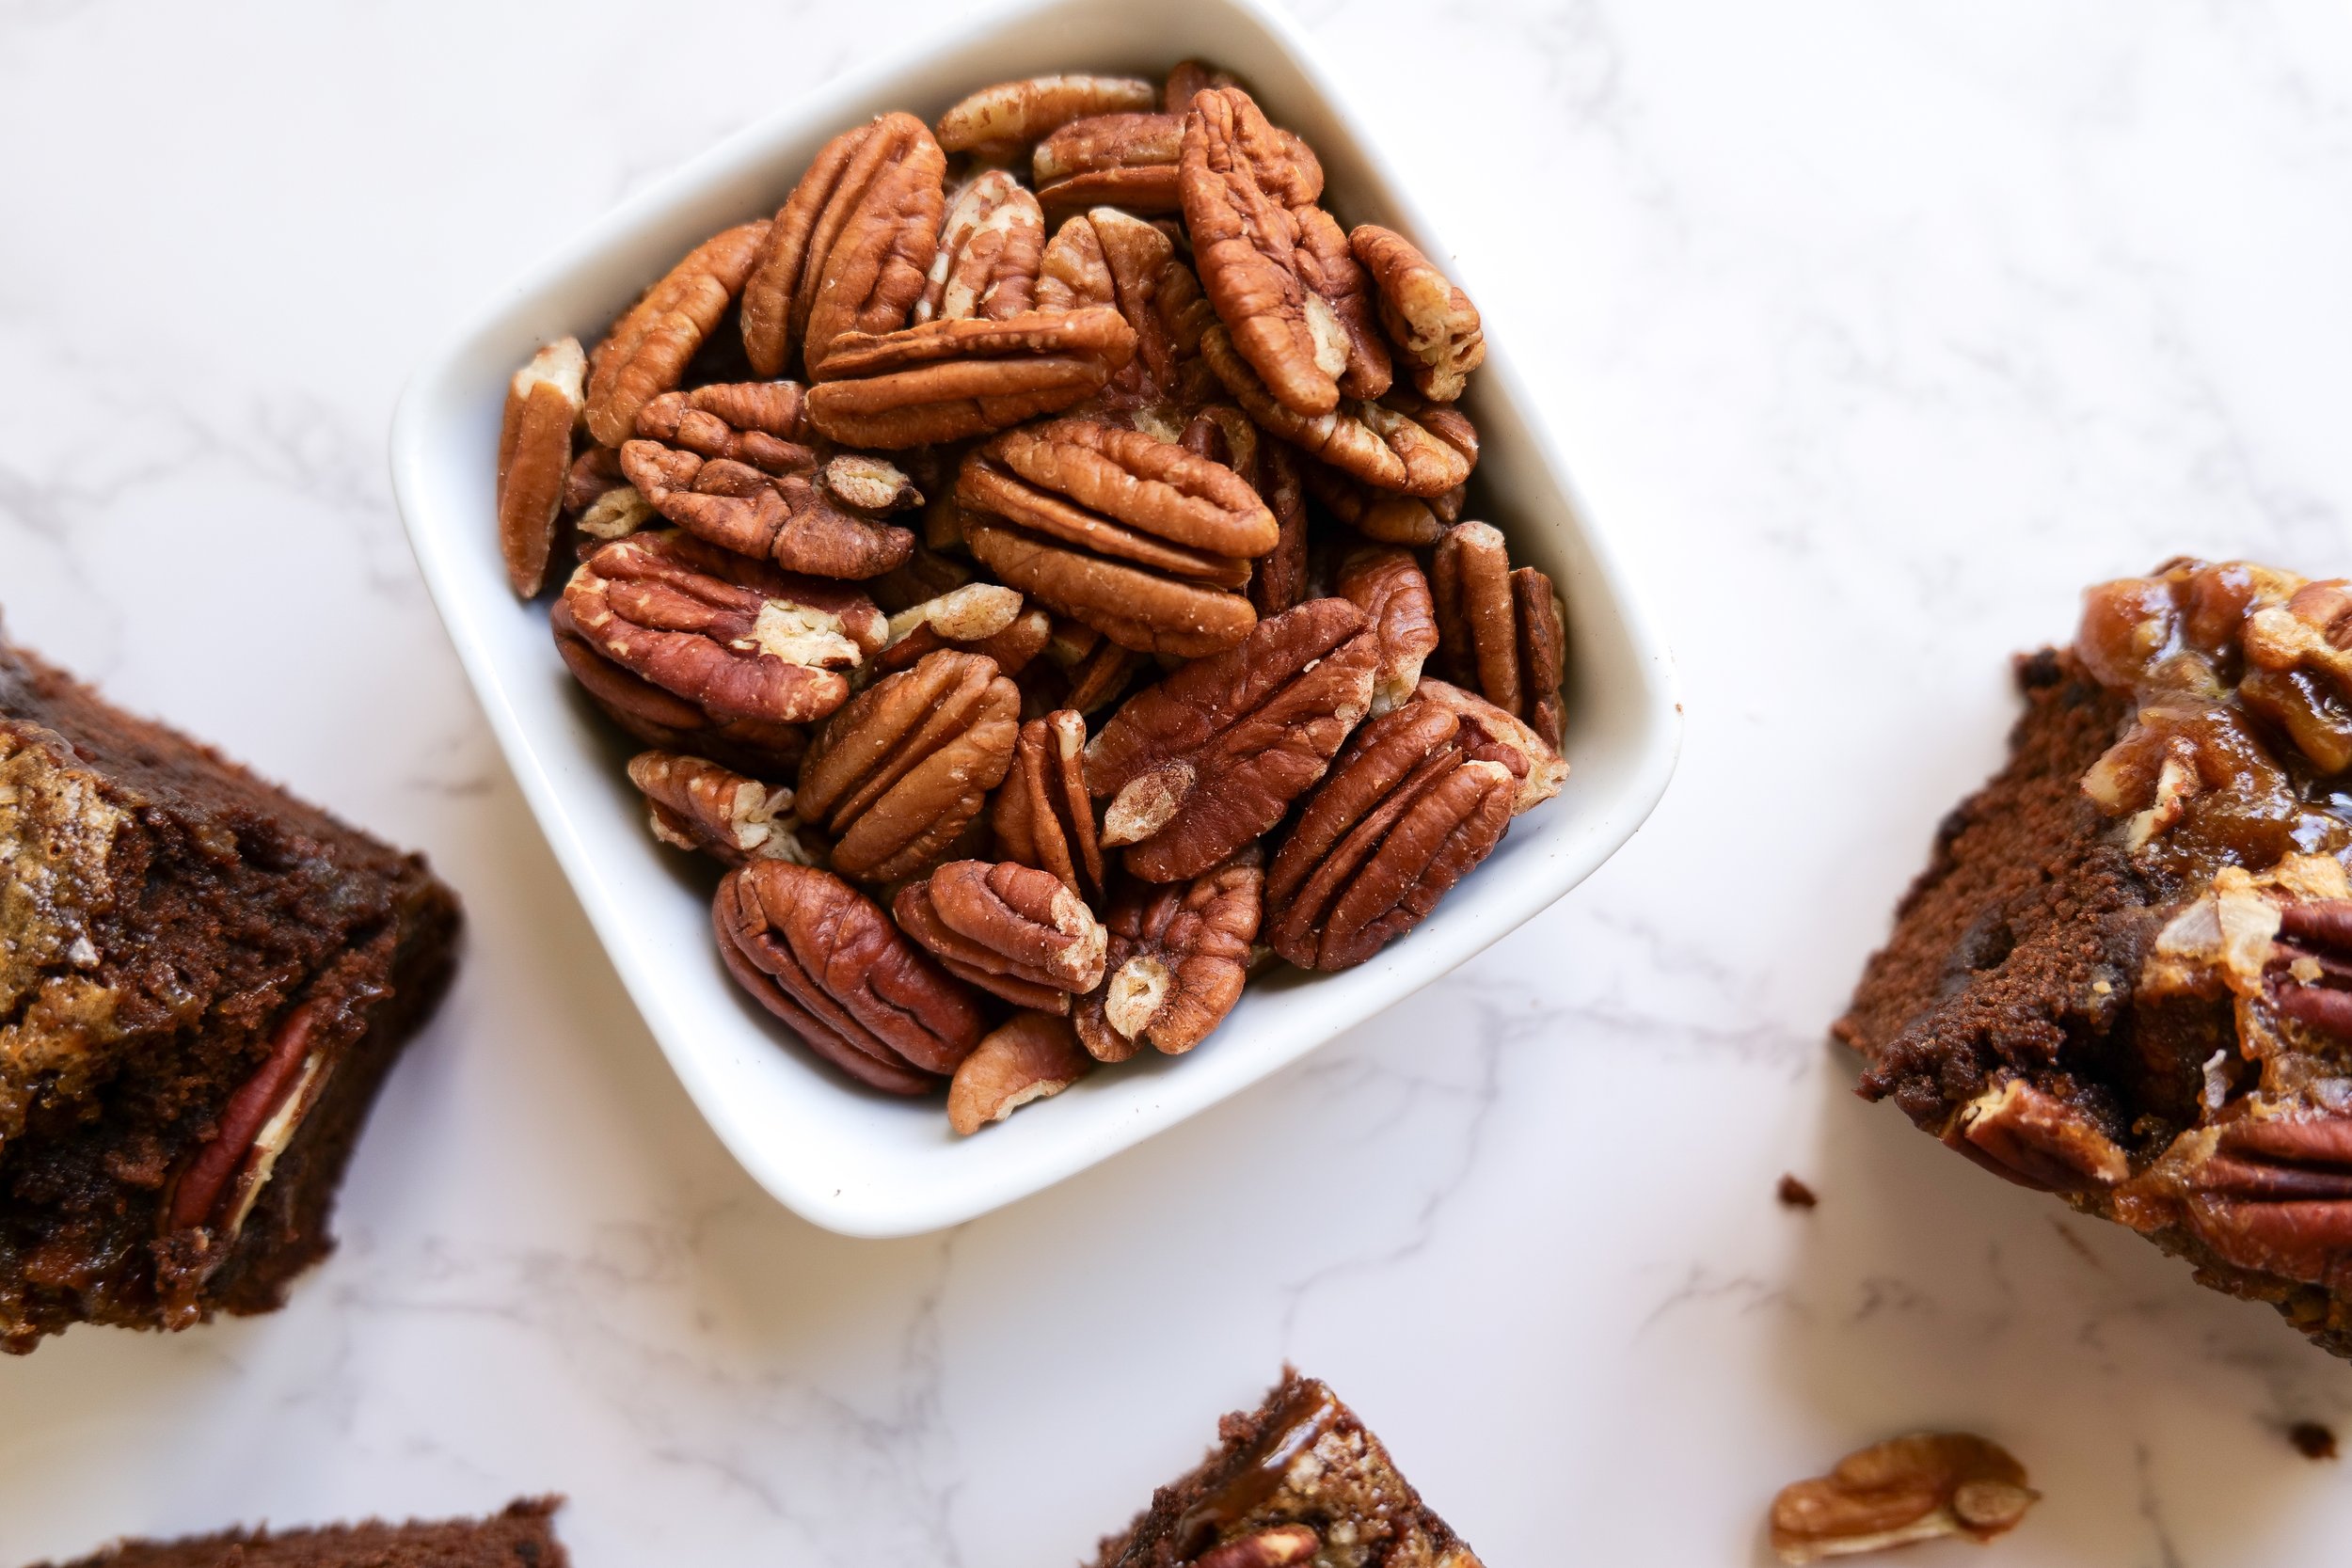
1 cup Chopped Pecans

1/2 cup whole pecans

1/2 tablespoon Sea Salt Flakes (sprinkled on before baking)

Instructions

  1. Preheat the oven to 350 degrees and oil and line an 8 x 8 pan with cooking spray and parchment paper. 

  2. In a large mixing bowl, whisk together the melted butter, dark brown sugar, and granulated sugar until light and fluffy. Add in eggs and vanilla and mix again. Set aside.

  3. In another medium bowl, whisk together the all-purpose flour, salt, baking powder and unsweetened cocoa powder. Gradually mix in wet ingredients into dry. Lastly, add in heavy whipping cream.

  4. Pour the batter into the prepared pan & smooth the top to an even level.

  5. Place into oven and bake for 20 minutes. While this is baking prepare the pecan topping.

  6. In a small stovetop saucepan, combine the sugar, dark brown sugar, flour, corn syrup, lightly whisked egg and vanilla. Stir constantly over medium heat until the sugar dissolves. This will be about 5 minutes. Stir in the pecans and butter until well combined.

  7. Once the brownies are done baking pull out of the oven and pour the pecan mixture over top. Add whole pecans on top of the pecan mixture evenly over top and sprinkle with sea salt. Bake for an additional 25-30 minutes or until the pecan layer is starting to set. It will still be slightly jiggly in the middle.

  8. Once baked remove from oven and let cool for 10-15 minutes. Remove brownies from the pan with parchment paper and place on a cookie sheet to let cool completely. Place in fridge for 30-45 minutes to let set and cool.

  9. Remove from refrigerator and cut into squares with a warm sharp knife. Enjoy!

These brownies are easy to make and are a guaranteed crowd-pleaser! With just a few simple ingredients, you can have this delicious treat in no time. Not only are they delicious, but they also make a great gift idea for any occasion. So, the next time you're looking for a special treat that will satisfy everyone, Salted Pecan Pie Brownies are the perfect choice.

Can I freeze the salted pecan brownies for later consumption?

Ever found yourself in a situation where you craved brownies so bad but you weren't going to be able to enjoy the whole batch over the next few days? Maybe it's because you are leaving town. Well, we have a solution for you! The rest of these Salted pecan brownies can be frozen for later consumption! To freeze the brownies, place them in an airtight container or wrap them in plastic wrap or aluminum foil. If you choose to wrap them in plastic wrap, make sure to remove as much air as possible before sealing. To thaw the brownies, place them in the refrigerator overnight or for several hours. Enjoy your delicious salted pecan brownies whenever you are ready! With this simple freezing and thawing hack, you can still have the rest of your delicious treat whenever you want!

Other Delicious Desserts You Will Love:

Deliciously Sweet: Pumpkin Coffee Cake with Pecan Crumbles

Tantalizingly Delicious Recipe For Lemon Cheesecake With An Amazing Glaze

Brown Butter Caramel Pretzel Cookies

Delicious & Easy Apple Pie

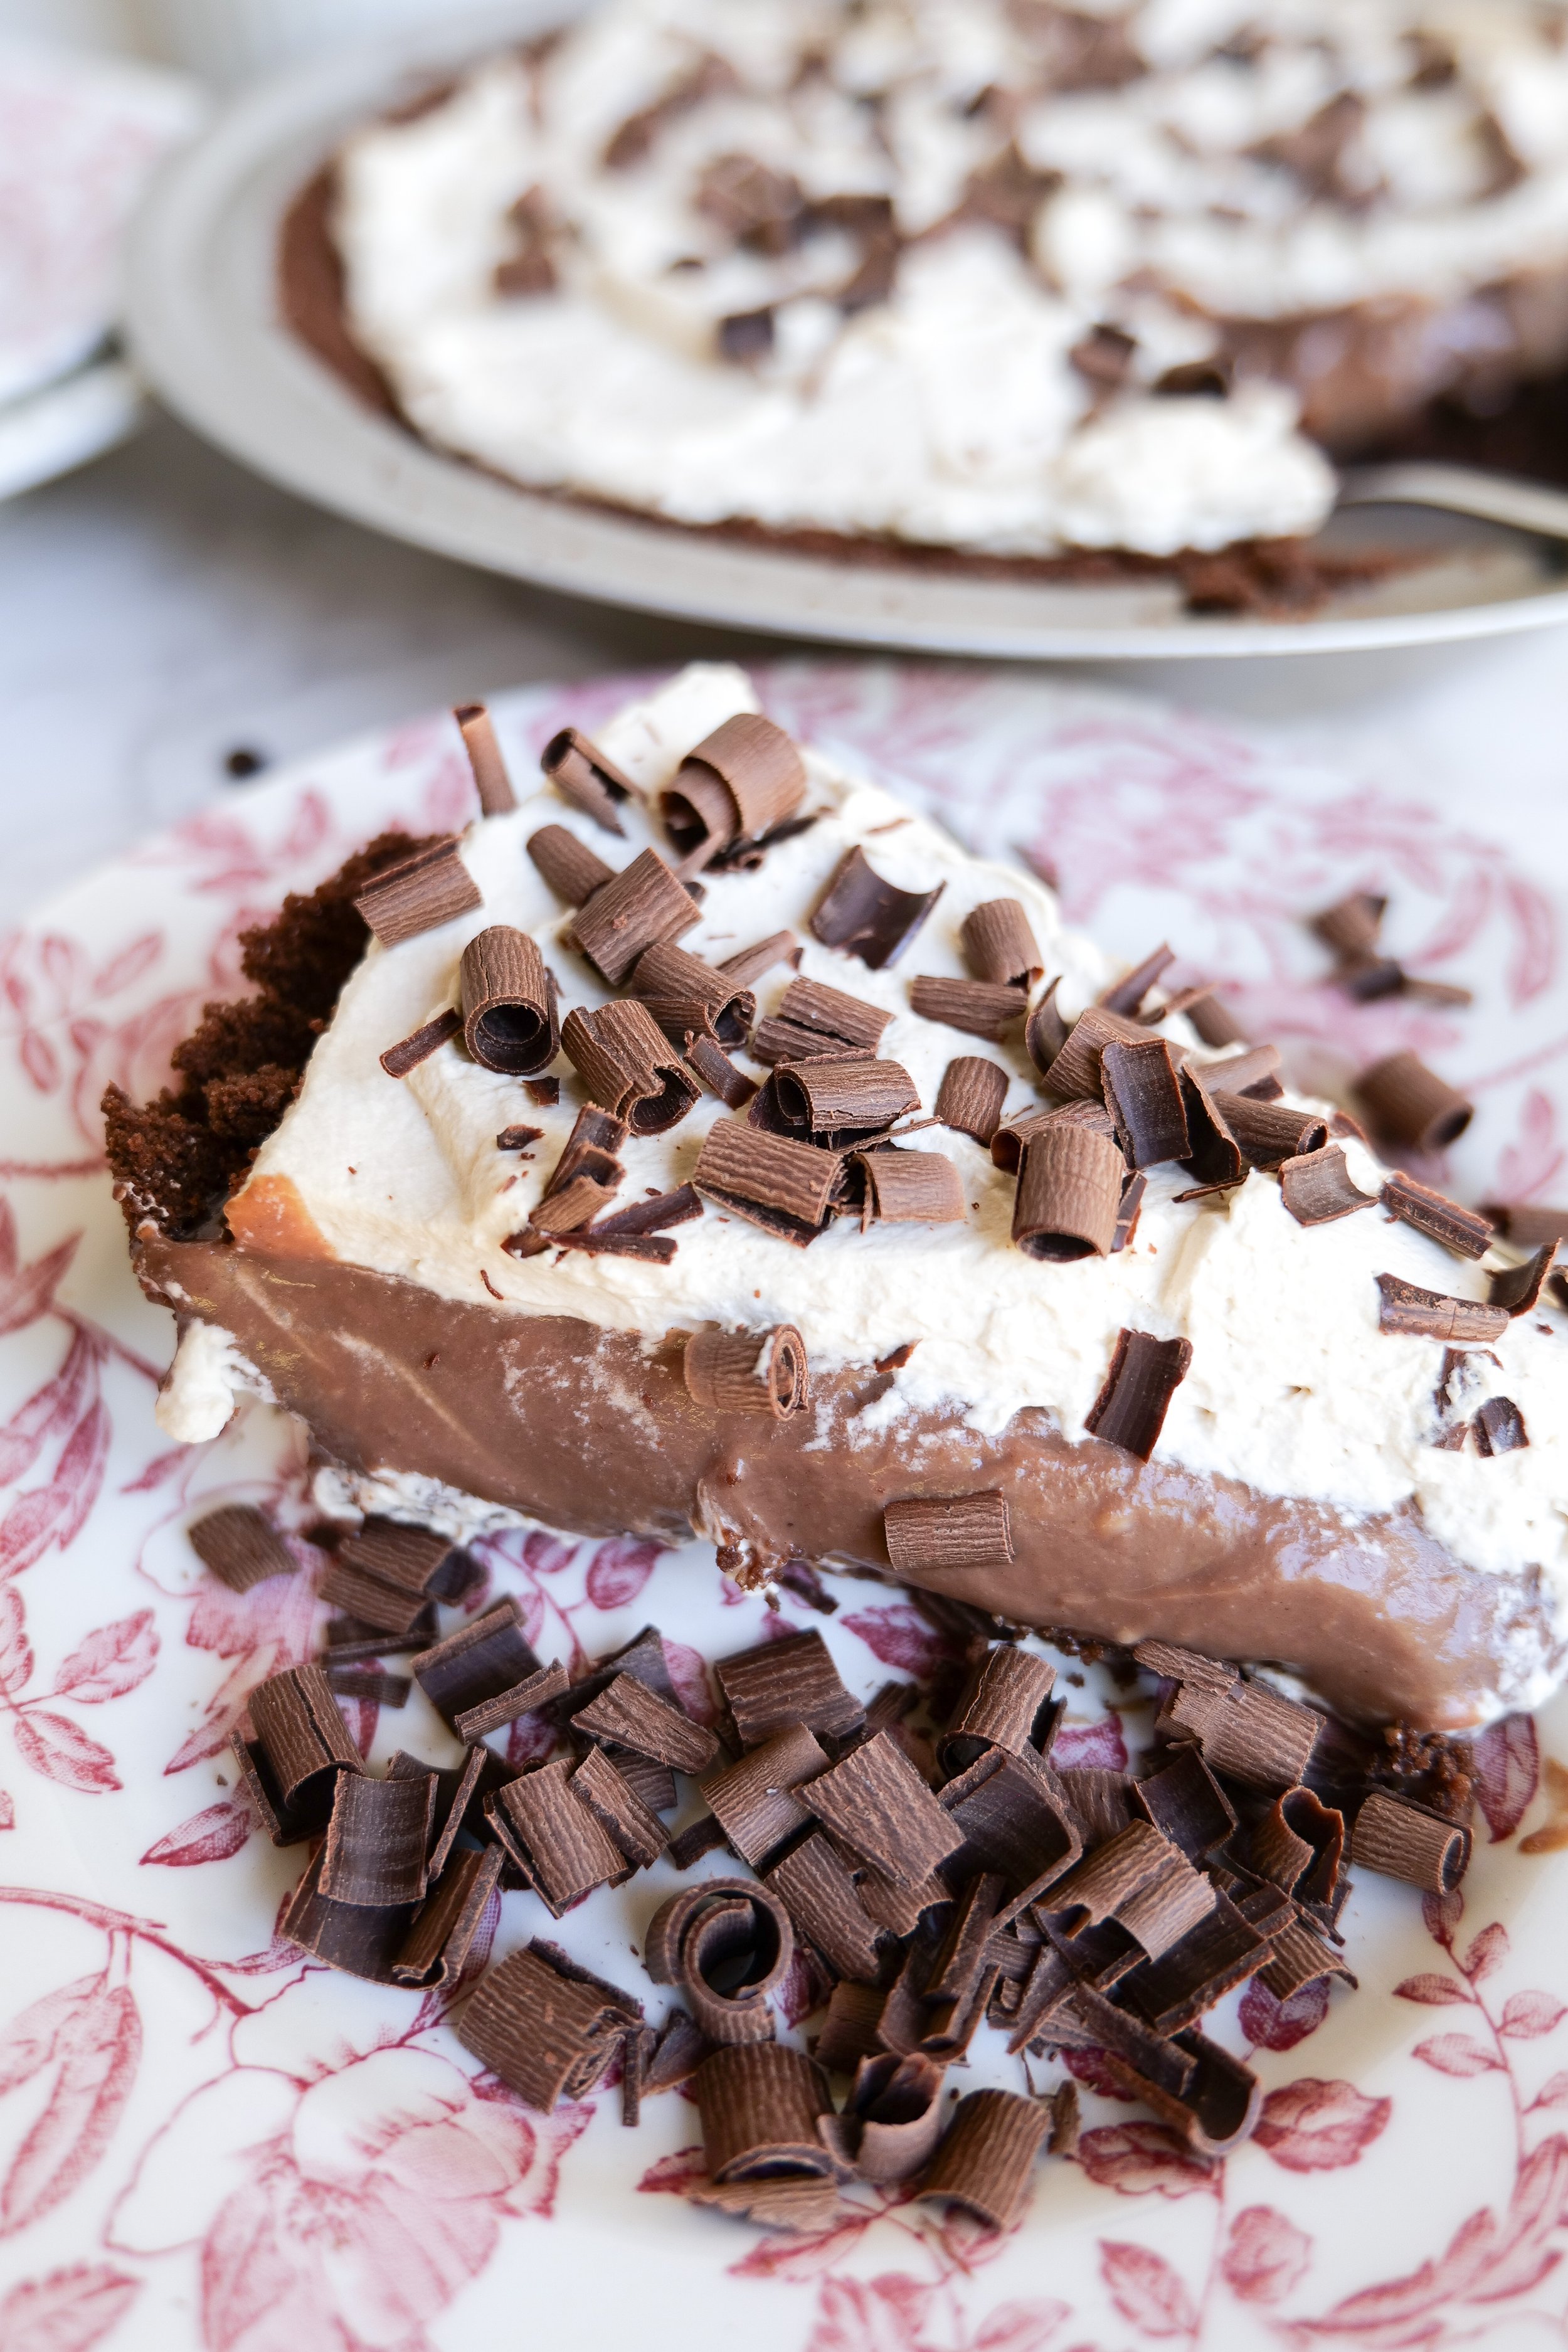
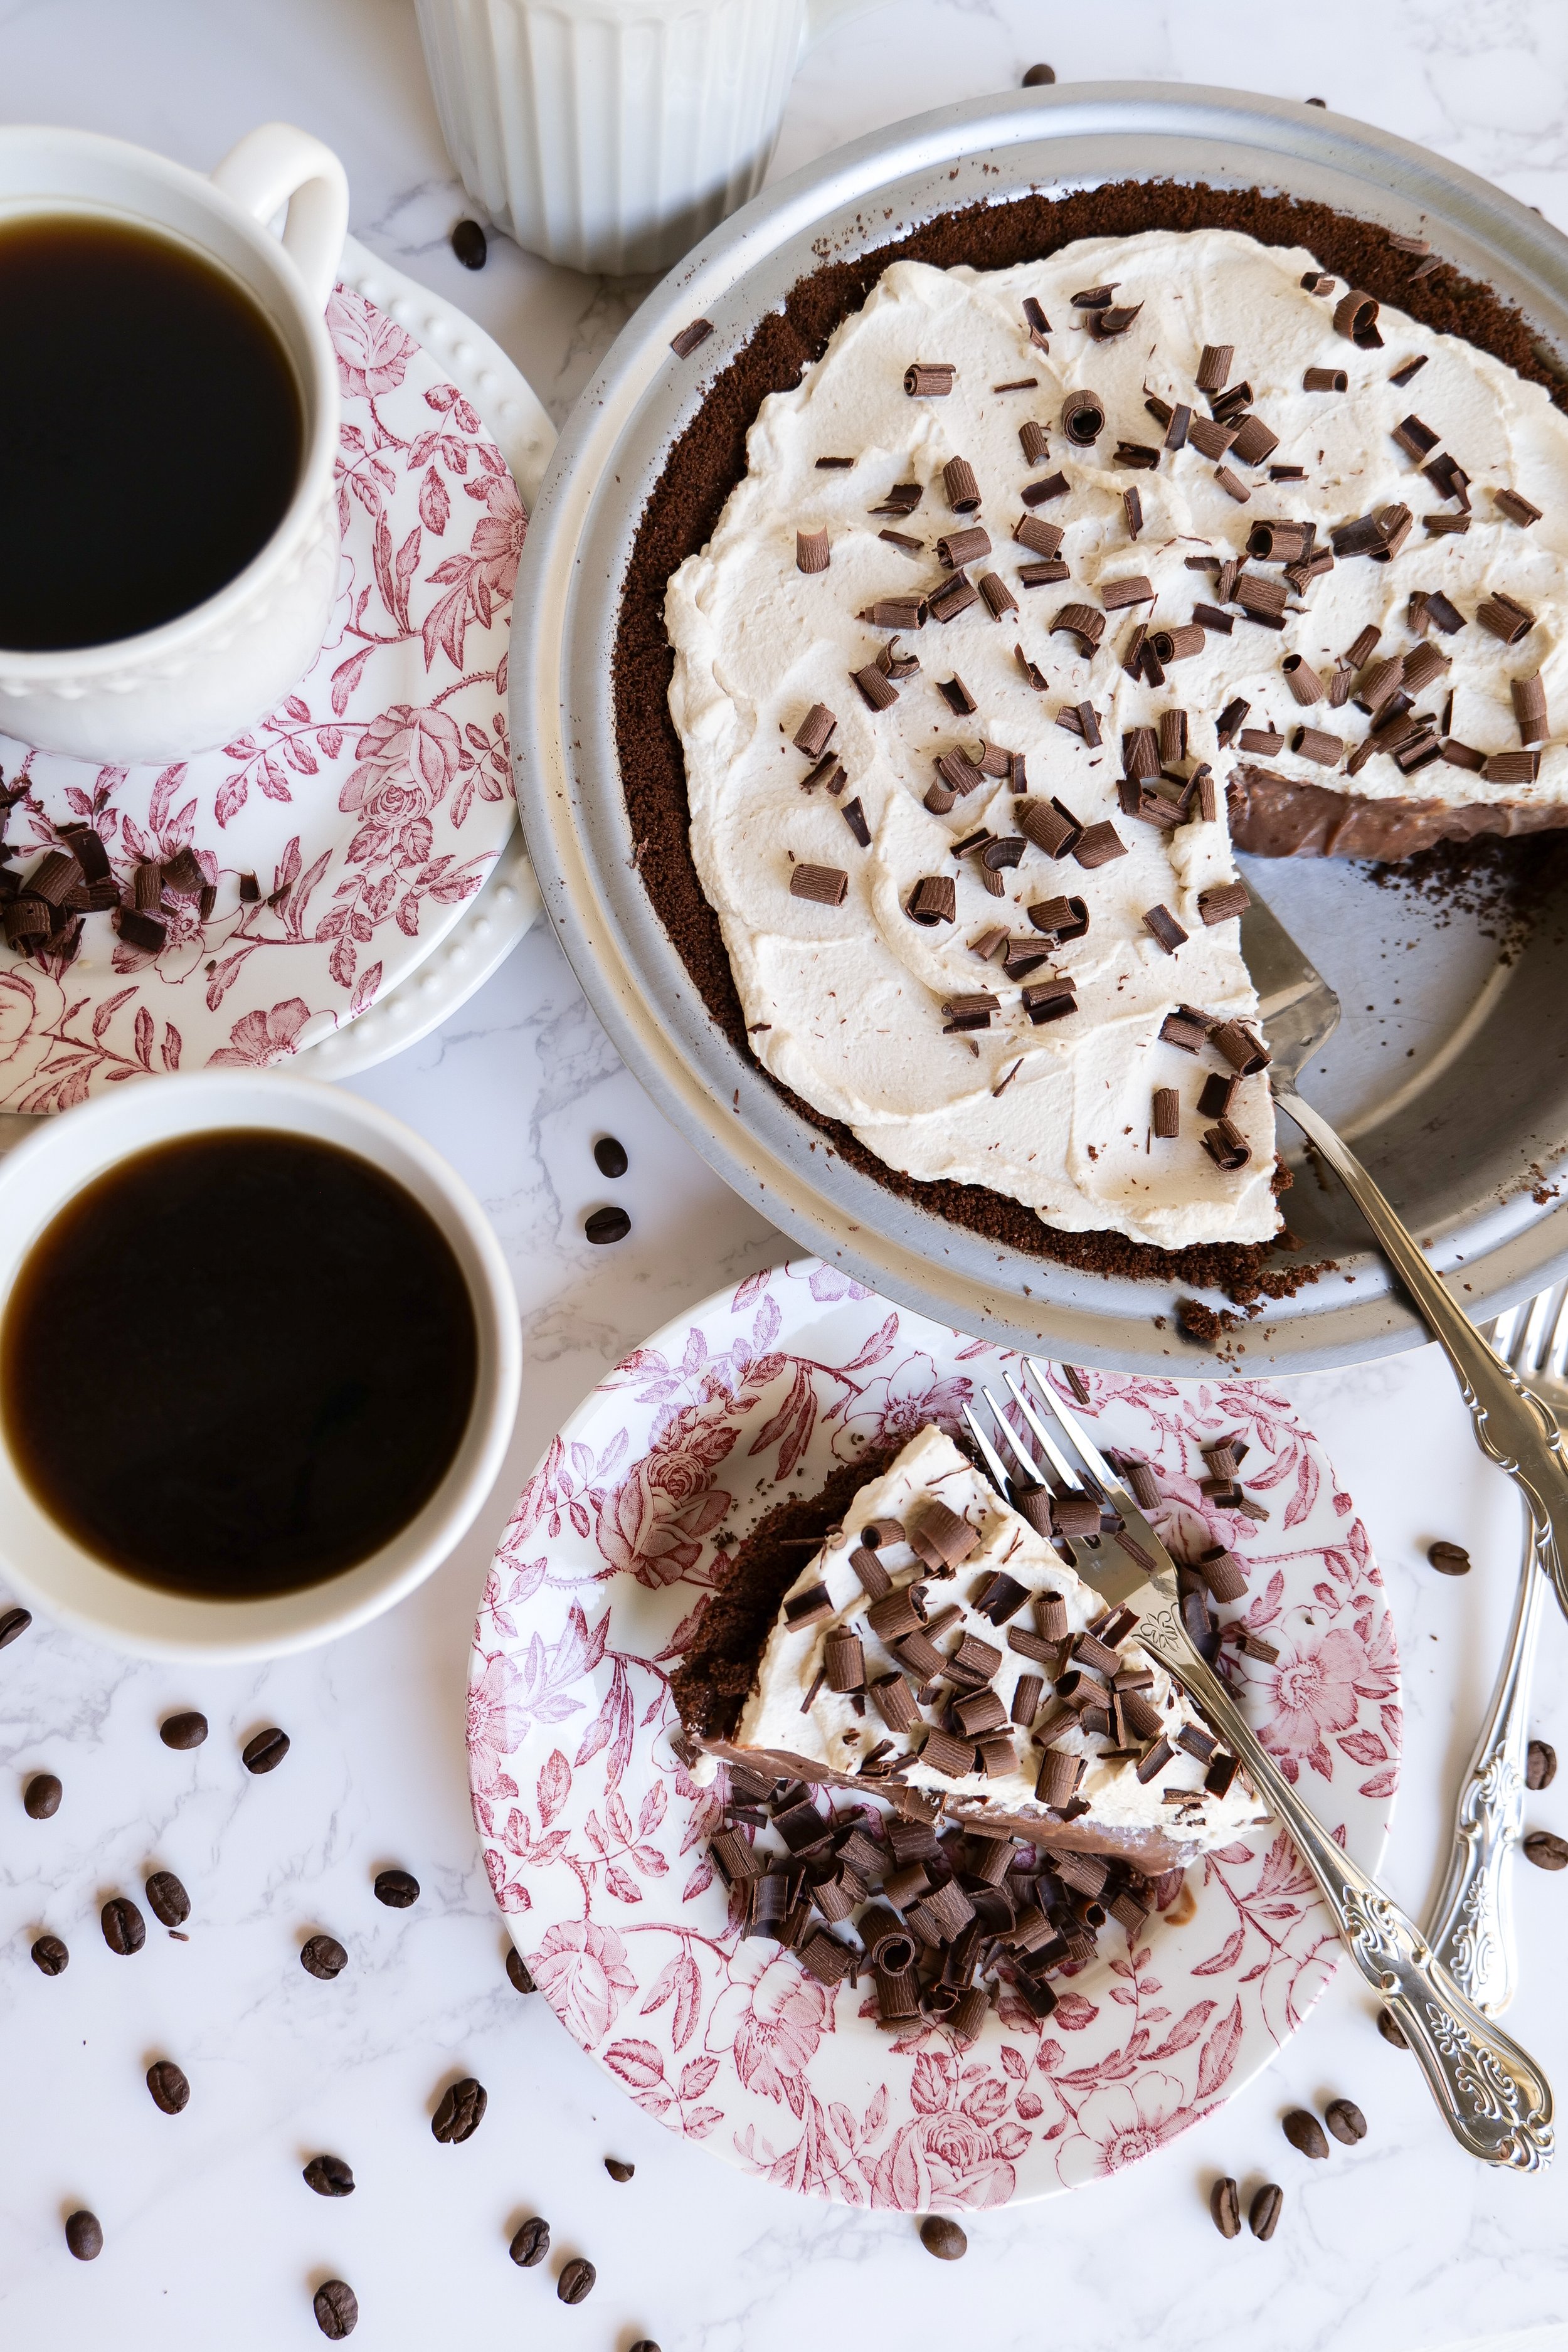
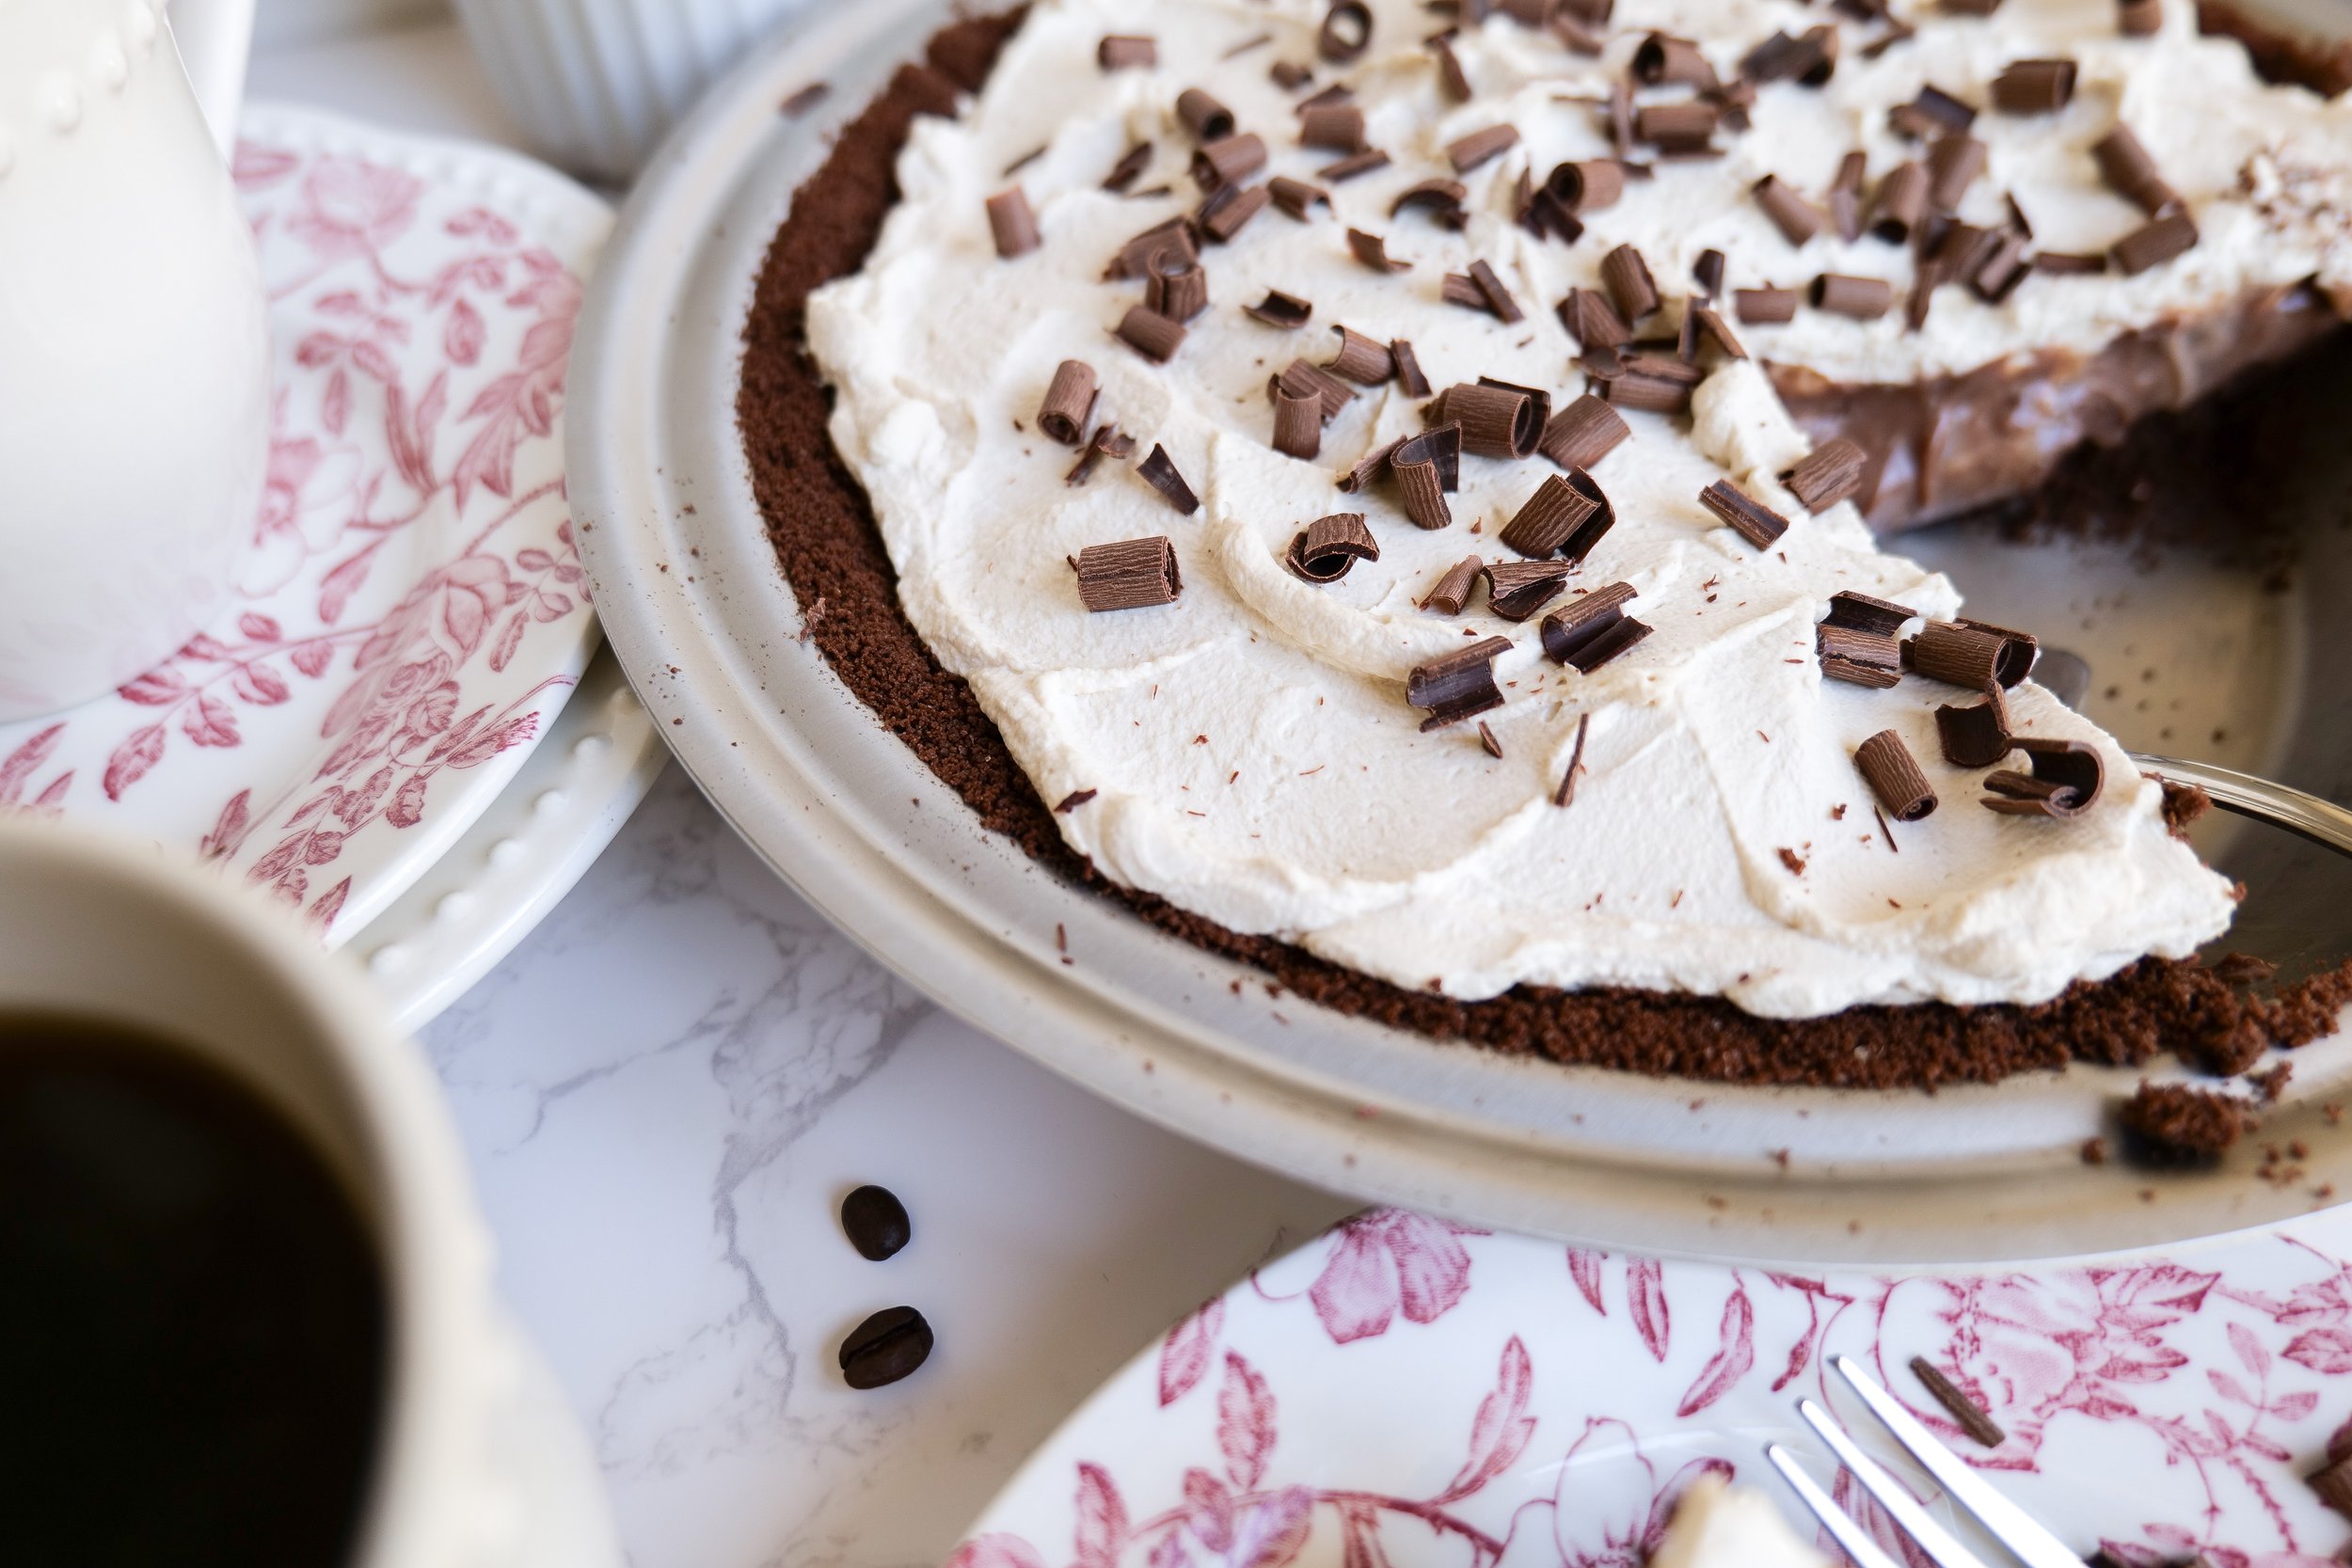
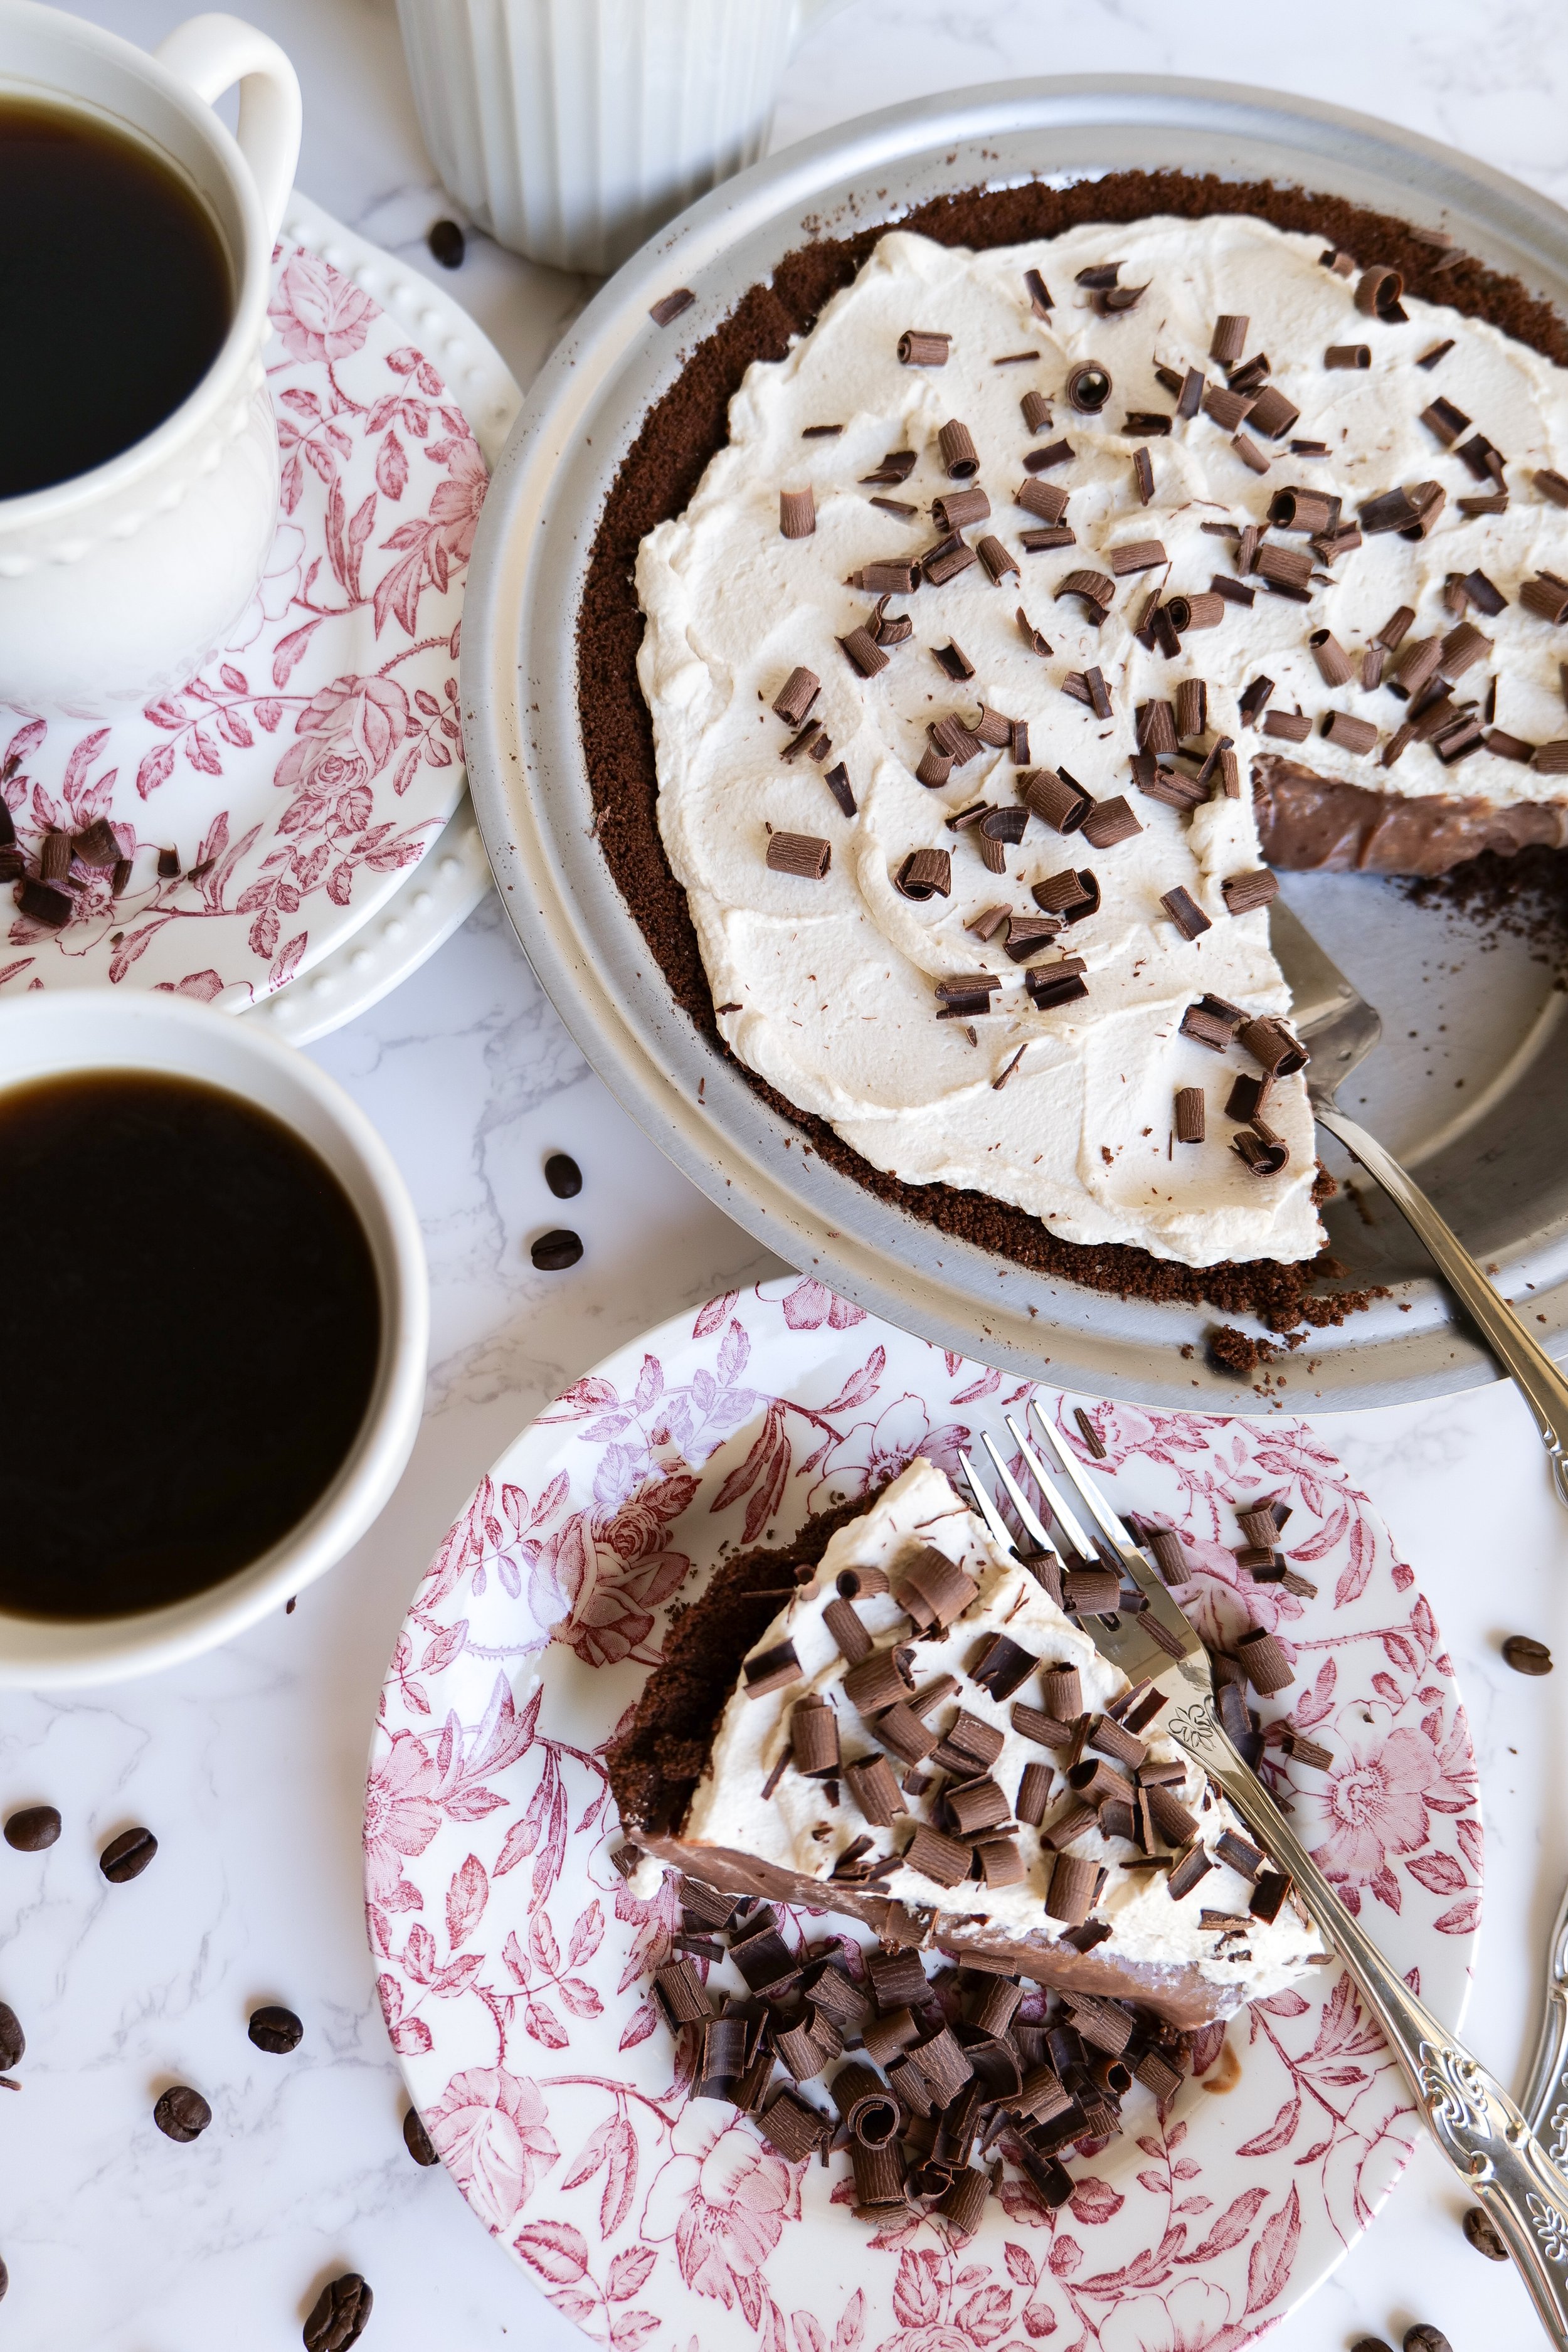
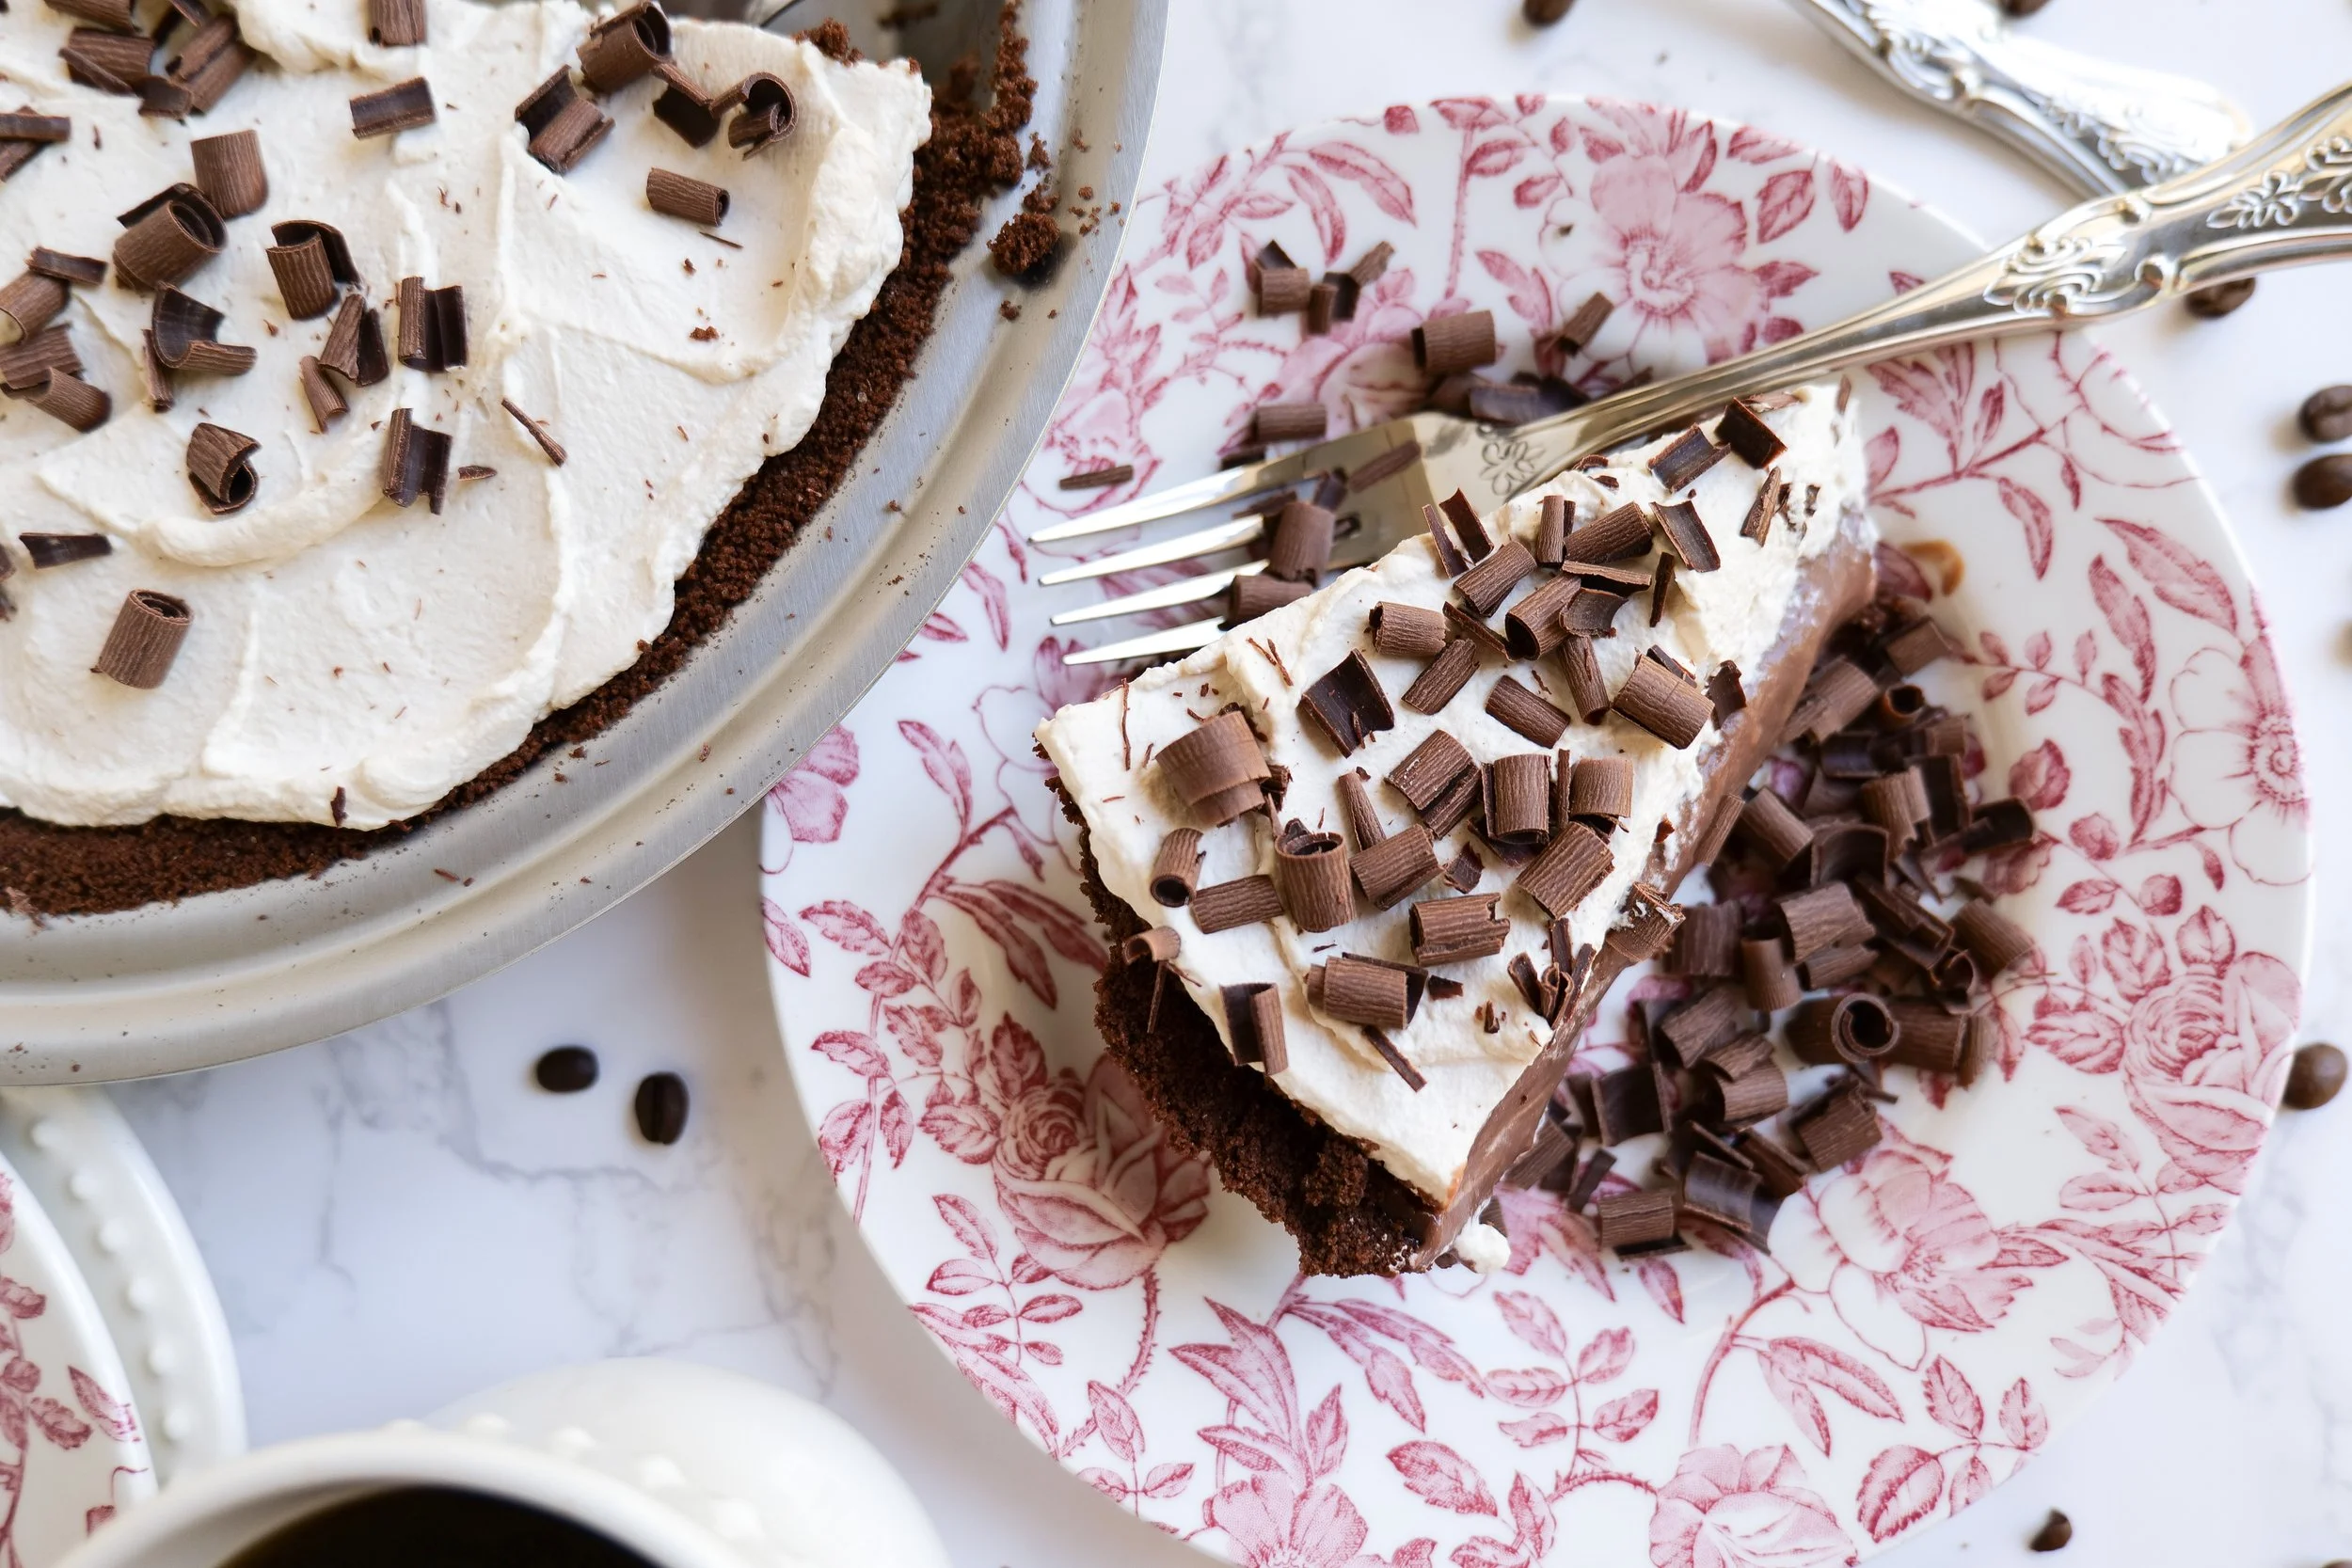
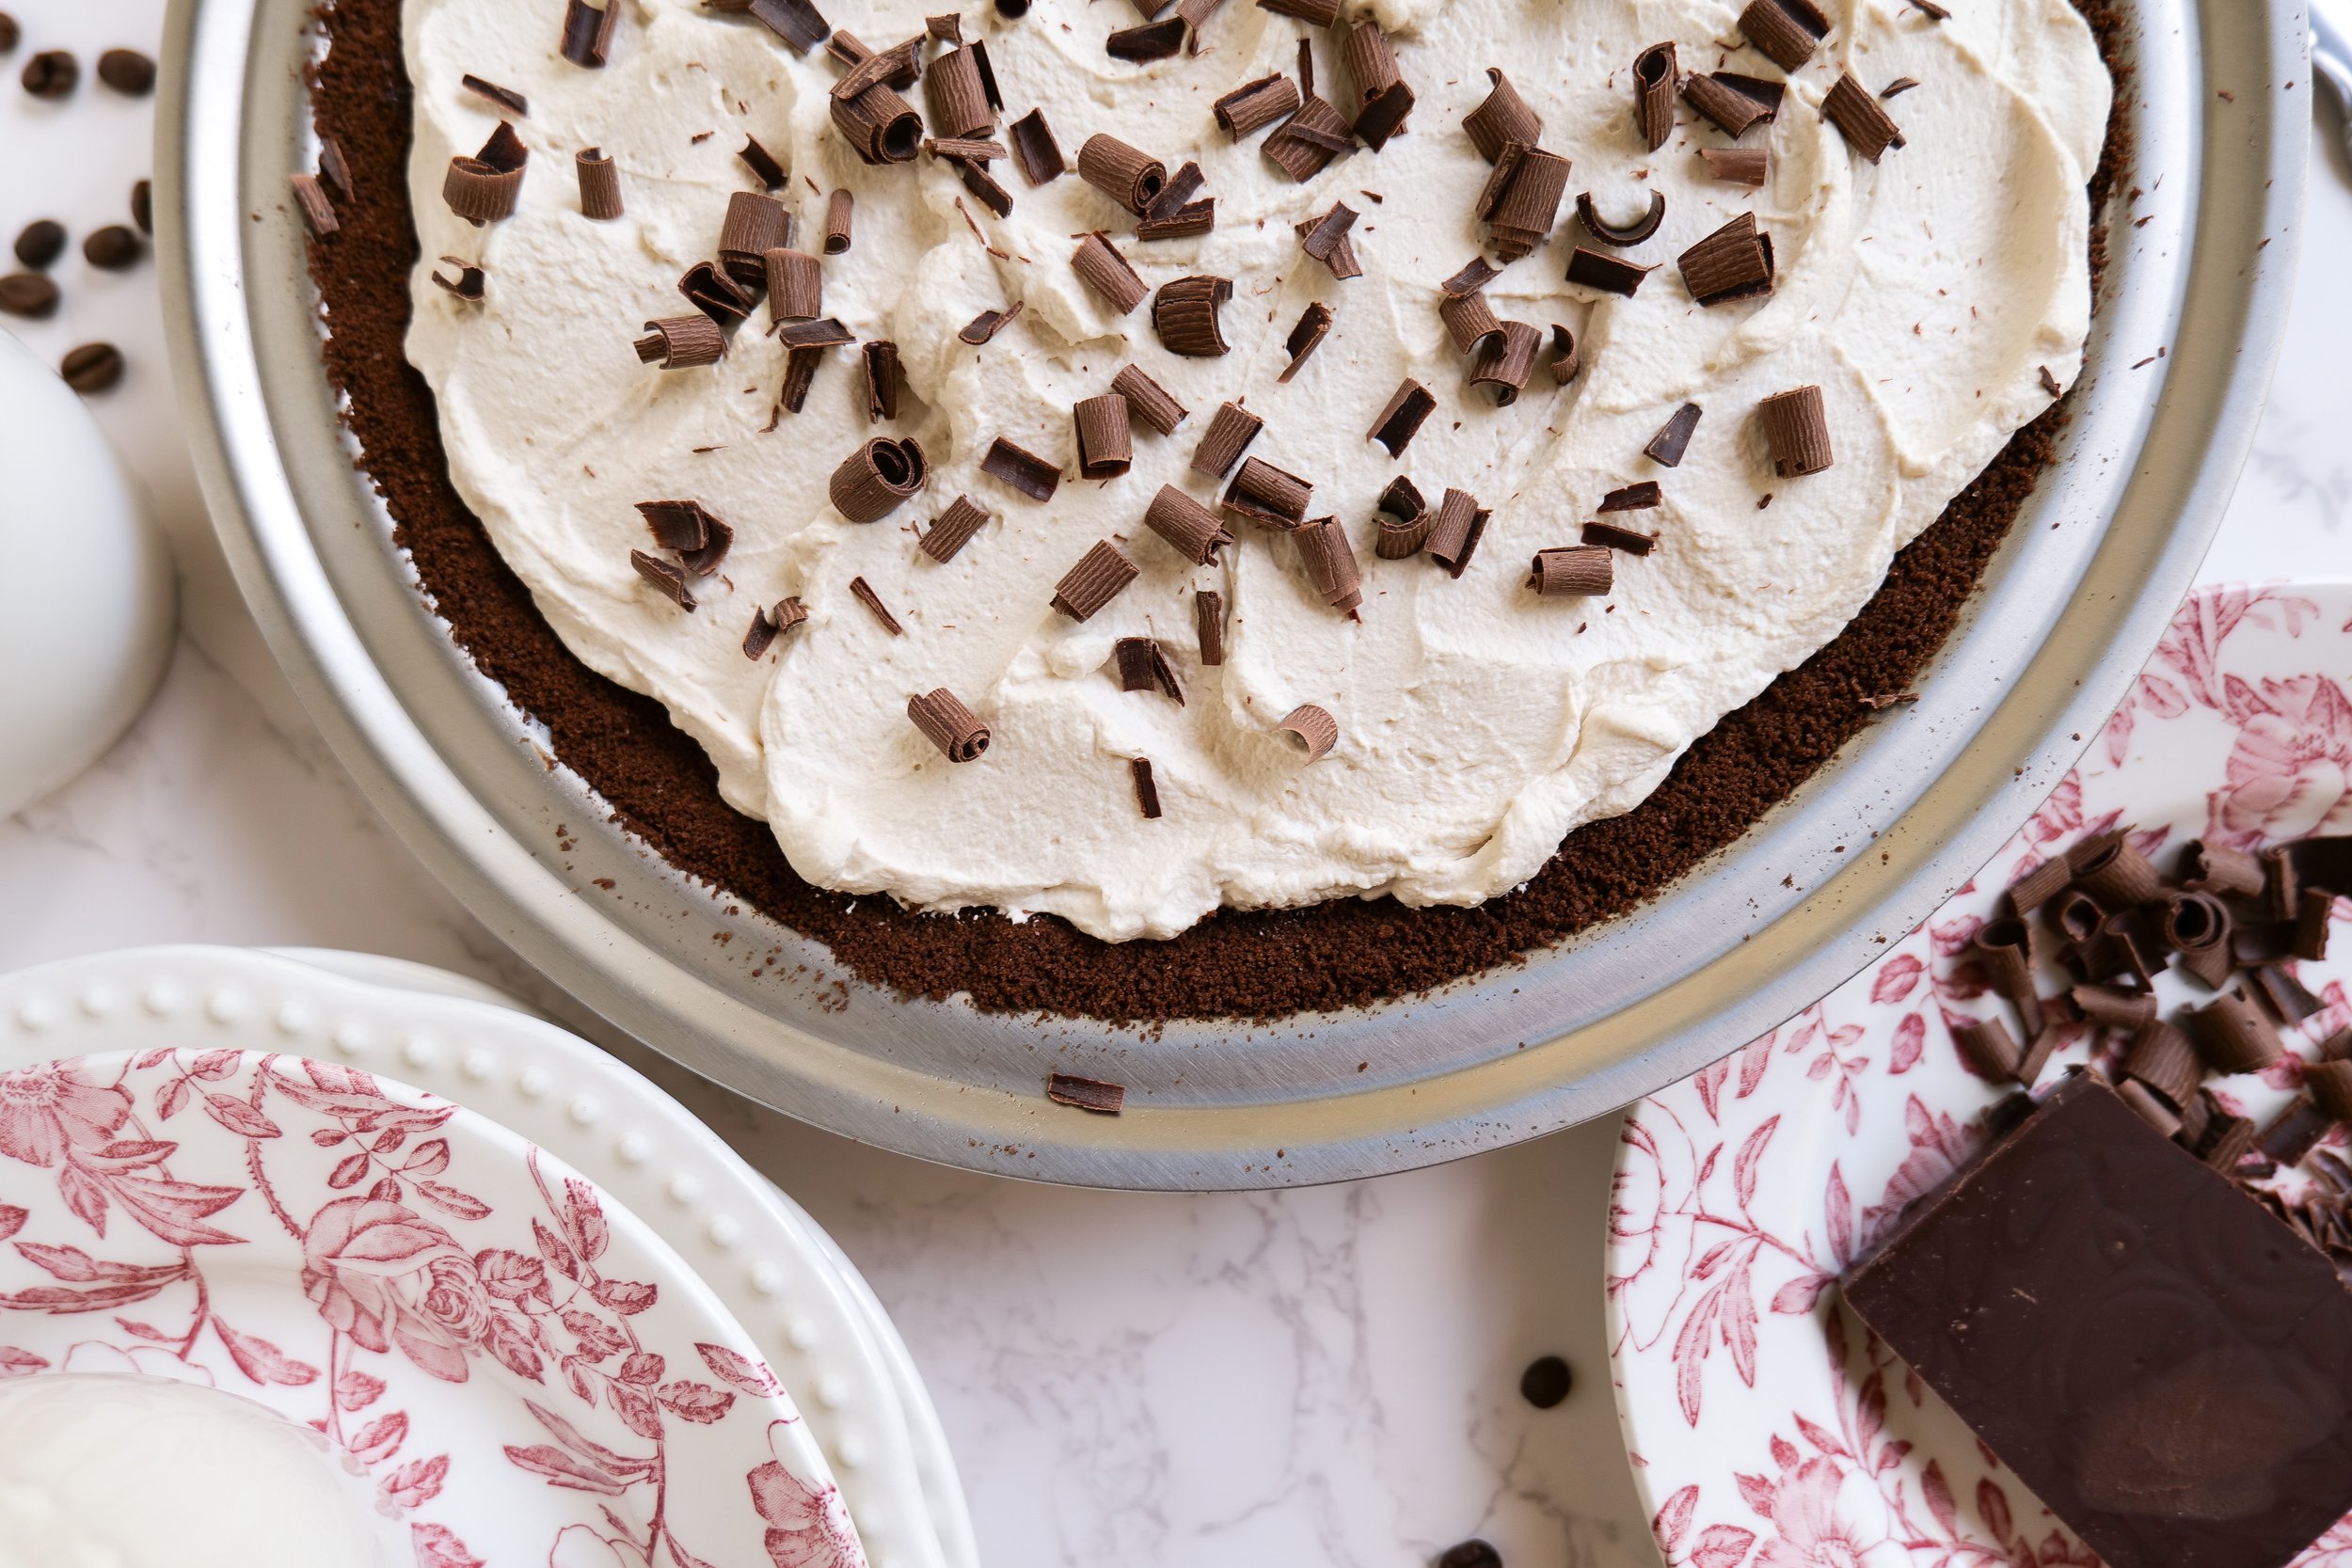
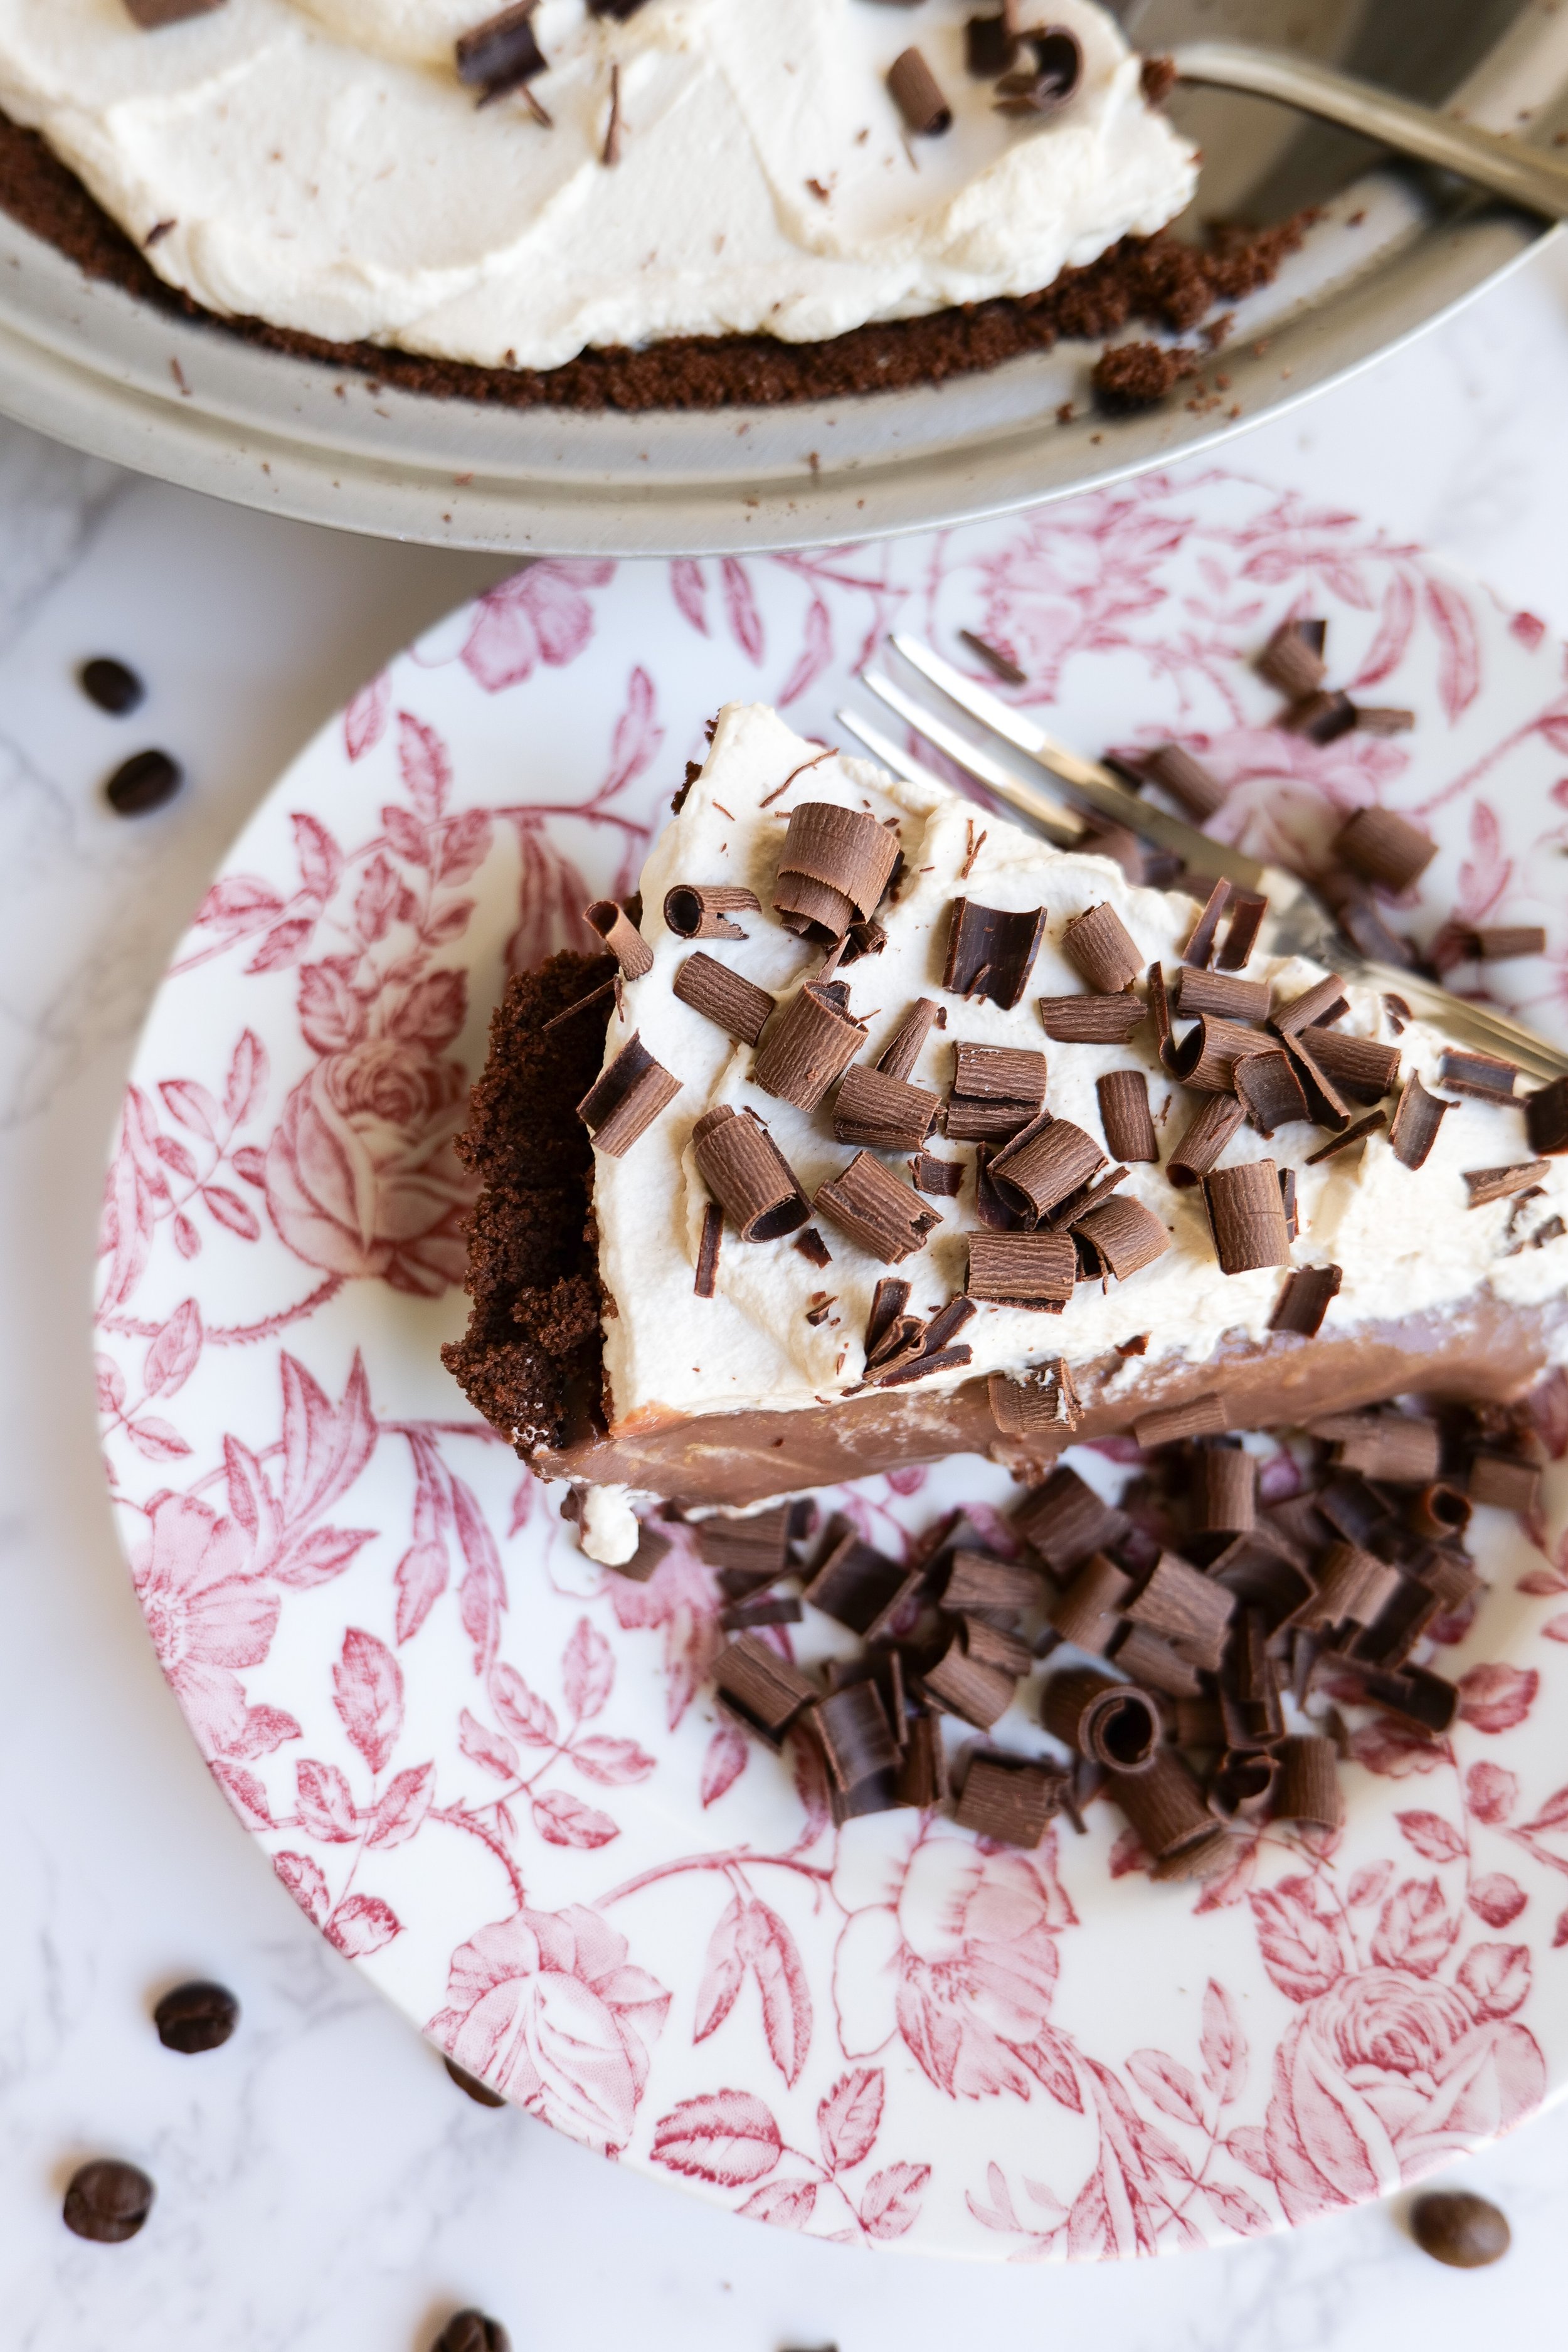
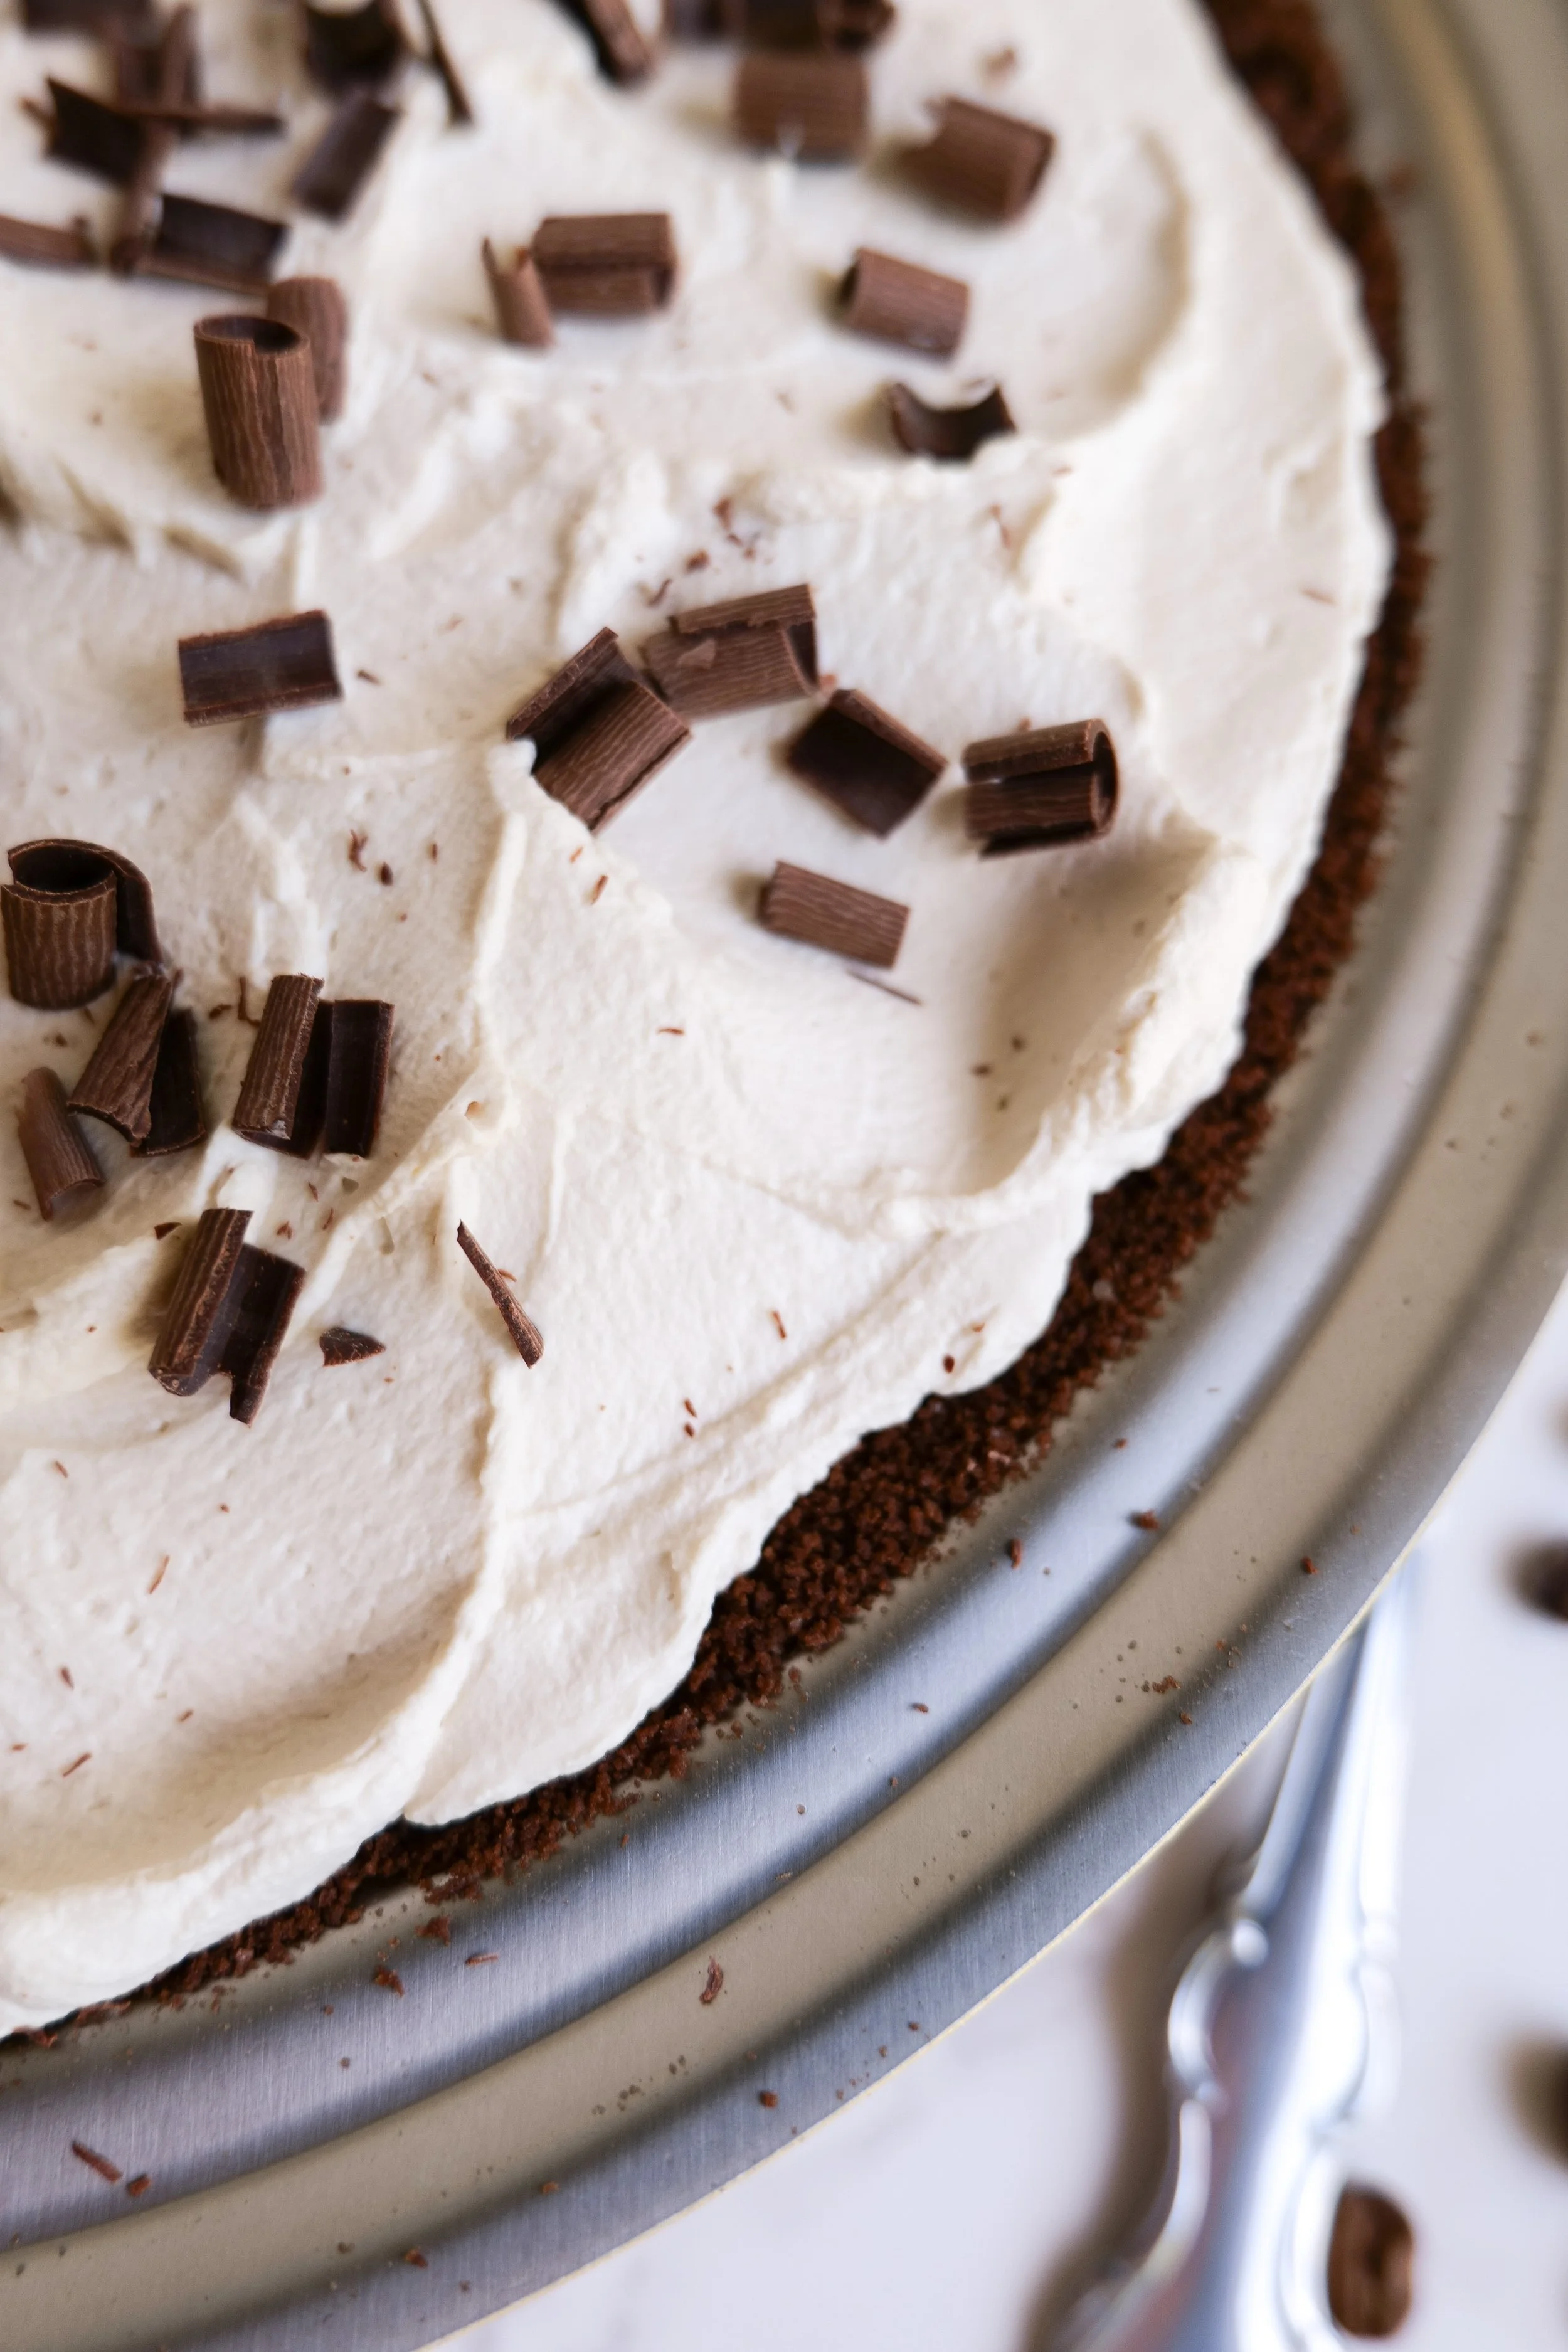
Indulge in This Deliciously Sweet Chocolate Espresso Cream Pie Recipe

If you're looking for an indulgent dessert that will satisfy your sweet tooth, look no further than this delicious Chocolate Espresso Cream Pie recipe! This decadent pie is made with a rich chocolate filling and a creamy espresso topping, making it perfect for special occasions, nightcaps, or for just a simple indulgence. Enjoy the perfect balance of the flavors of coffee and creamy chocolate all in one amazing dessert. If you’re looking for an easy and delicious dessert that everyone will love, try this Chocolate Espresso Cream Pie recipe. Your guests are sure to be asking for seconds!

Can I make this with regular whipped cream instead of espresso?

If you are looking for a recipe that doesn't involve espresso, you can easily make this pie with regular whipped cream instead. To begin, you can omit the espresso powder in the whipped topping. For even more flavor, add 1 teaspoon of vanilla extract to the cream filling and omit the coffee liquor. To give the pie a special touch, sprinkle some unsweetened cocoa powder over the top. Now you can enjoy your delicious Chocolate Espresso Cream Pie with regular whipped cream instead of espresso.

Is it possible to make this Chocolate Espresso Cream Pie ahead of time?

This pie has a decadent and delicious flavor, but it’s not too hard to make. If you plan to make the Chocolate Espresso Cream Pie ahead of time, it is possible to make most of the components in advance. You can prepare the crust the day before and store it in the fridge until you are ready to assemble the pie. The espresso cream can also be made a few days in advance and stored in the refrigerator until you are ready to assemble the pie. When you are ready to assemble your pie, all you have to do is assemble the components and you are ready to go! Feel free to also add some melted chocolate or chocolate chips to the top of the pie for an even more indulgent, rich chocolate dessert. Try this delicious Chocolate Espresso Cream Pie recipe today and enjoy a delicious treat you can make ahead of time and serve any time!

Do I need to refrigerate the Chocolate Espresso Cream Pie after baking?

Once you’ve finished baking the Chocolate Espresso Cream Pie, there are several ways you can store it. Refrigeration isn’t necessary, so you can keep it at room temperature for up to three days. It can also be covered in plastic wrap or aluminum foil and refrigerated for up to five days. Refrigerating will make the pie last longer. However, it can also affect the texture of the crust and the creaminess of the filling. If you’d like to keep the Chocolate Espresso Cream Pie even longer, you can freeze it for up to three months after following the directions below.

Ingredients

3/4 cup granulated sugar

1/4 cup cornstarch

1/2 teaspoon sea salt

2 cups whole milk

1/2 cup heavy cream

4 egg yolks

4 tablespoons butter, cut into 4

4 oz semi-sweet chocolate

1 teaspoon vanilla

2 tablespoons coffee liquor

Crust

12 oz chocolate graham cracker

8 tablespoons melted butter

Whipped Topping

1 1/4 teaspoons instant espresso powder

1 1/4 cups cold heavy cream

1 tablespoon powdered sugar

Instructions

1. Preheat oven to 375. Spray pie pan with olive oil spray and make Crust by adding graham cracker to blender and processing until fine. Add in melted butter and blend again. Press the crust mixture into the bottom of the pan until even all the way around. I use a flat-bottom cup or a metal spoon to help. Bake in the oven for 13-15 minutes. Once done remove and let cool before adding filling.

2. Combine sugar, cornstarch and sea salt in a medium saucepan. Whisk in milk and heavy cream and cook over medium heat stir continuously until bubbling and thick.

3. In a large bowl whisk yolks. Pour in the milk mixture slowly while whisking. Once fully incorporated return to saucepan and cook over medium heat until returns to boil.

4. Remove from heat. Add in vanilla, coffee liqueur and butter. Whisky until butter cubes are fully dissolved and incorporated. Pour into pie pan with crust and let cool on the counter for 45 minutes.

5. Press plastic wrap onto the top of the custard filling. Fully covering. Place in the fridge for 4 hours or overnight.

6. Once the pie is ready to serve make espresso whipped topping. In a large bowl whisk add together cream and espresso powder with a hand mixer on medium-high until peaks form. Spread onto pie and sprinkle with additional espresso powder or chocolate shavings.

Delicious and easy to make, this Homemade Chocolate Espresso Cream Pie Recipe is the perfect way to end your meal. Satisfy your sweet tooth with this classic dessert that everyone loves.

Other Delicious Desserts You Will Love:

Tantalizingly Delicious Recipe For Lemon Cheesecake With An Amazing Glaze

Taste the Deliciousness of Pistachio Cake: A Treat for Any Occasion

Indulge in Delicious Personal Pear Tarts

Deliciousness Cherry Chip Cake with chunks of dark chocolate recipe

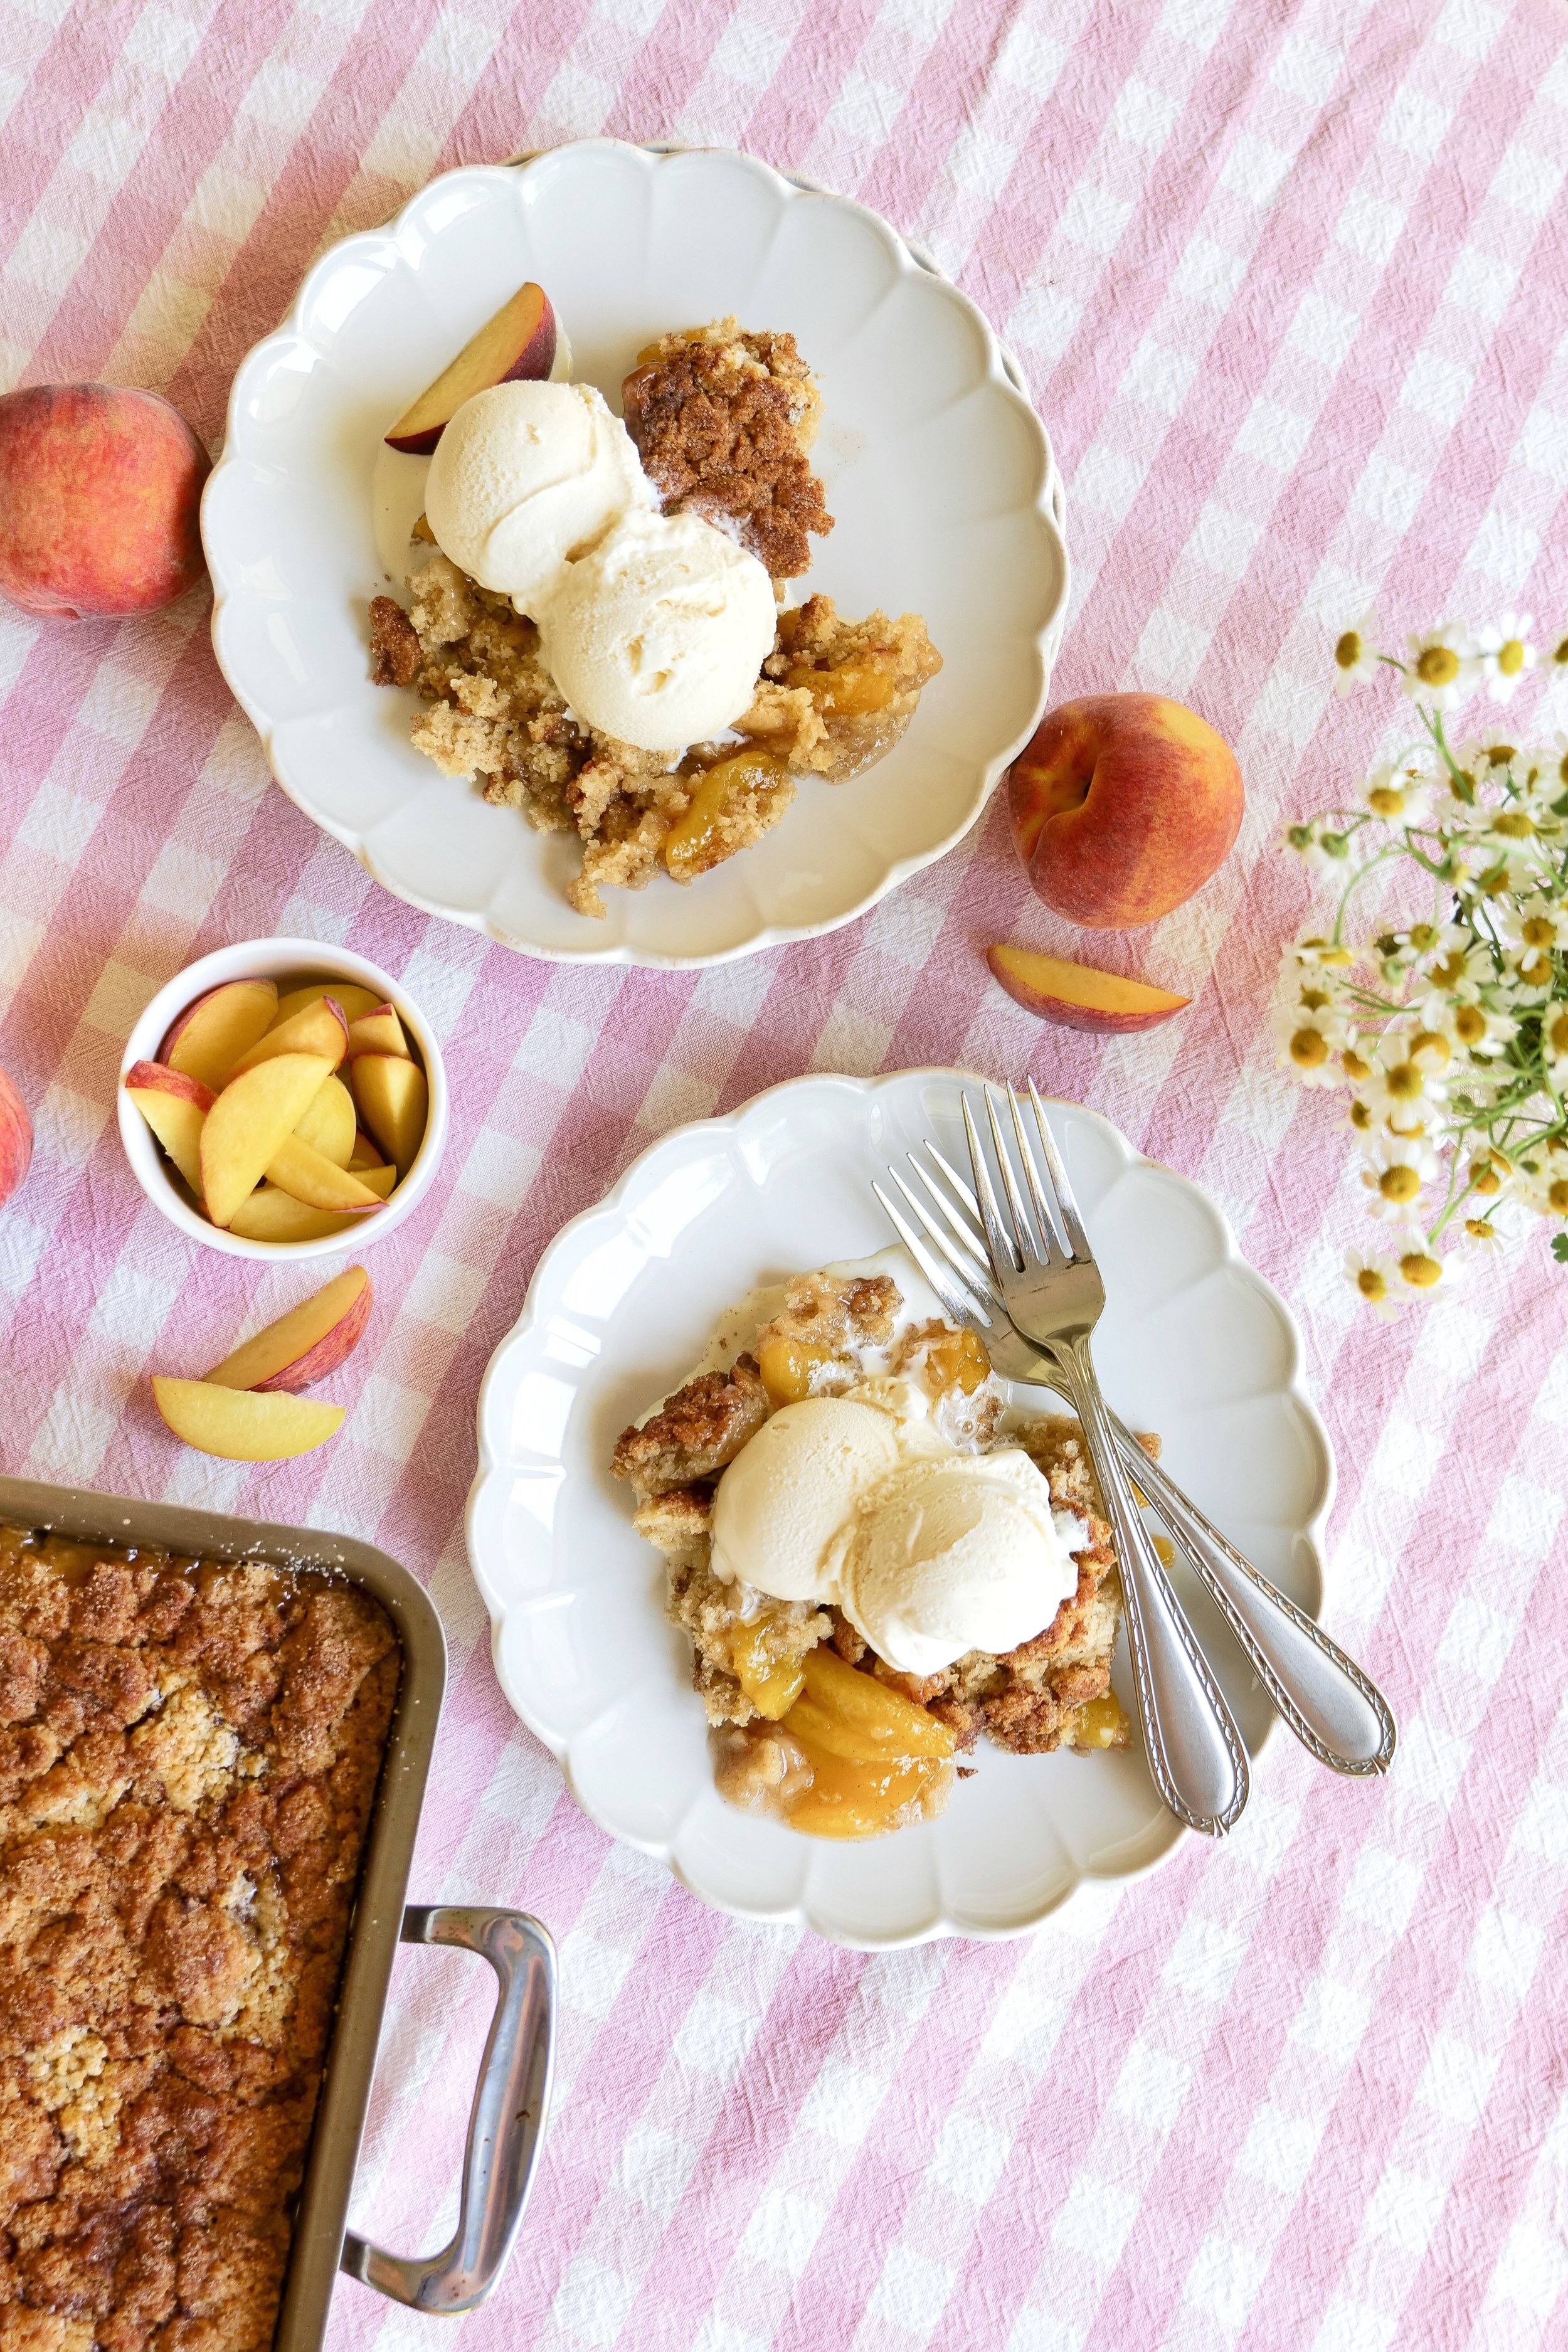
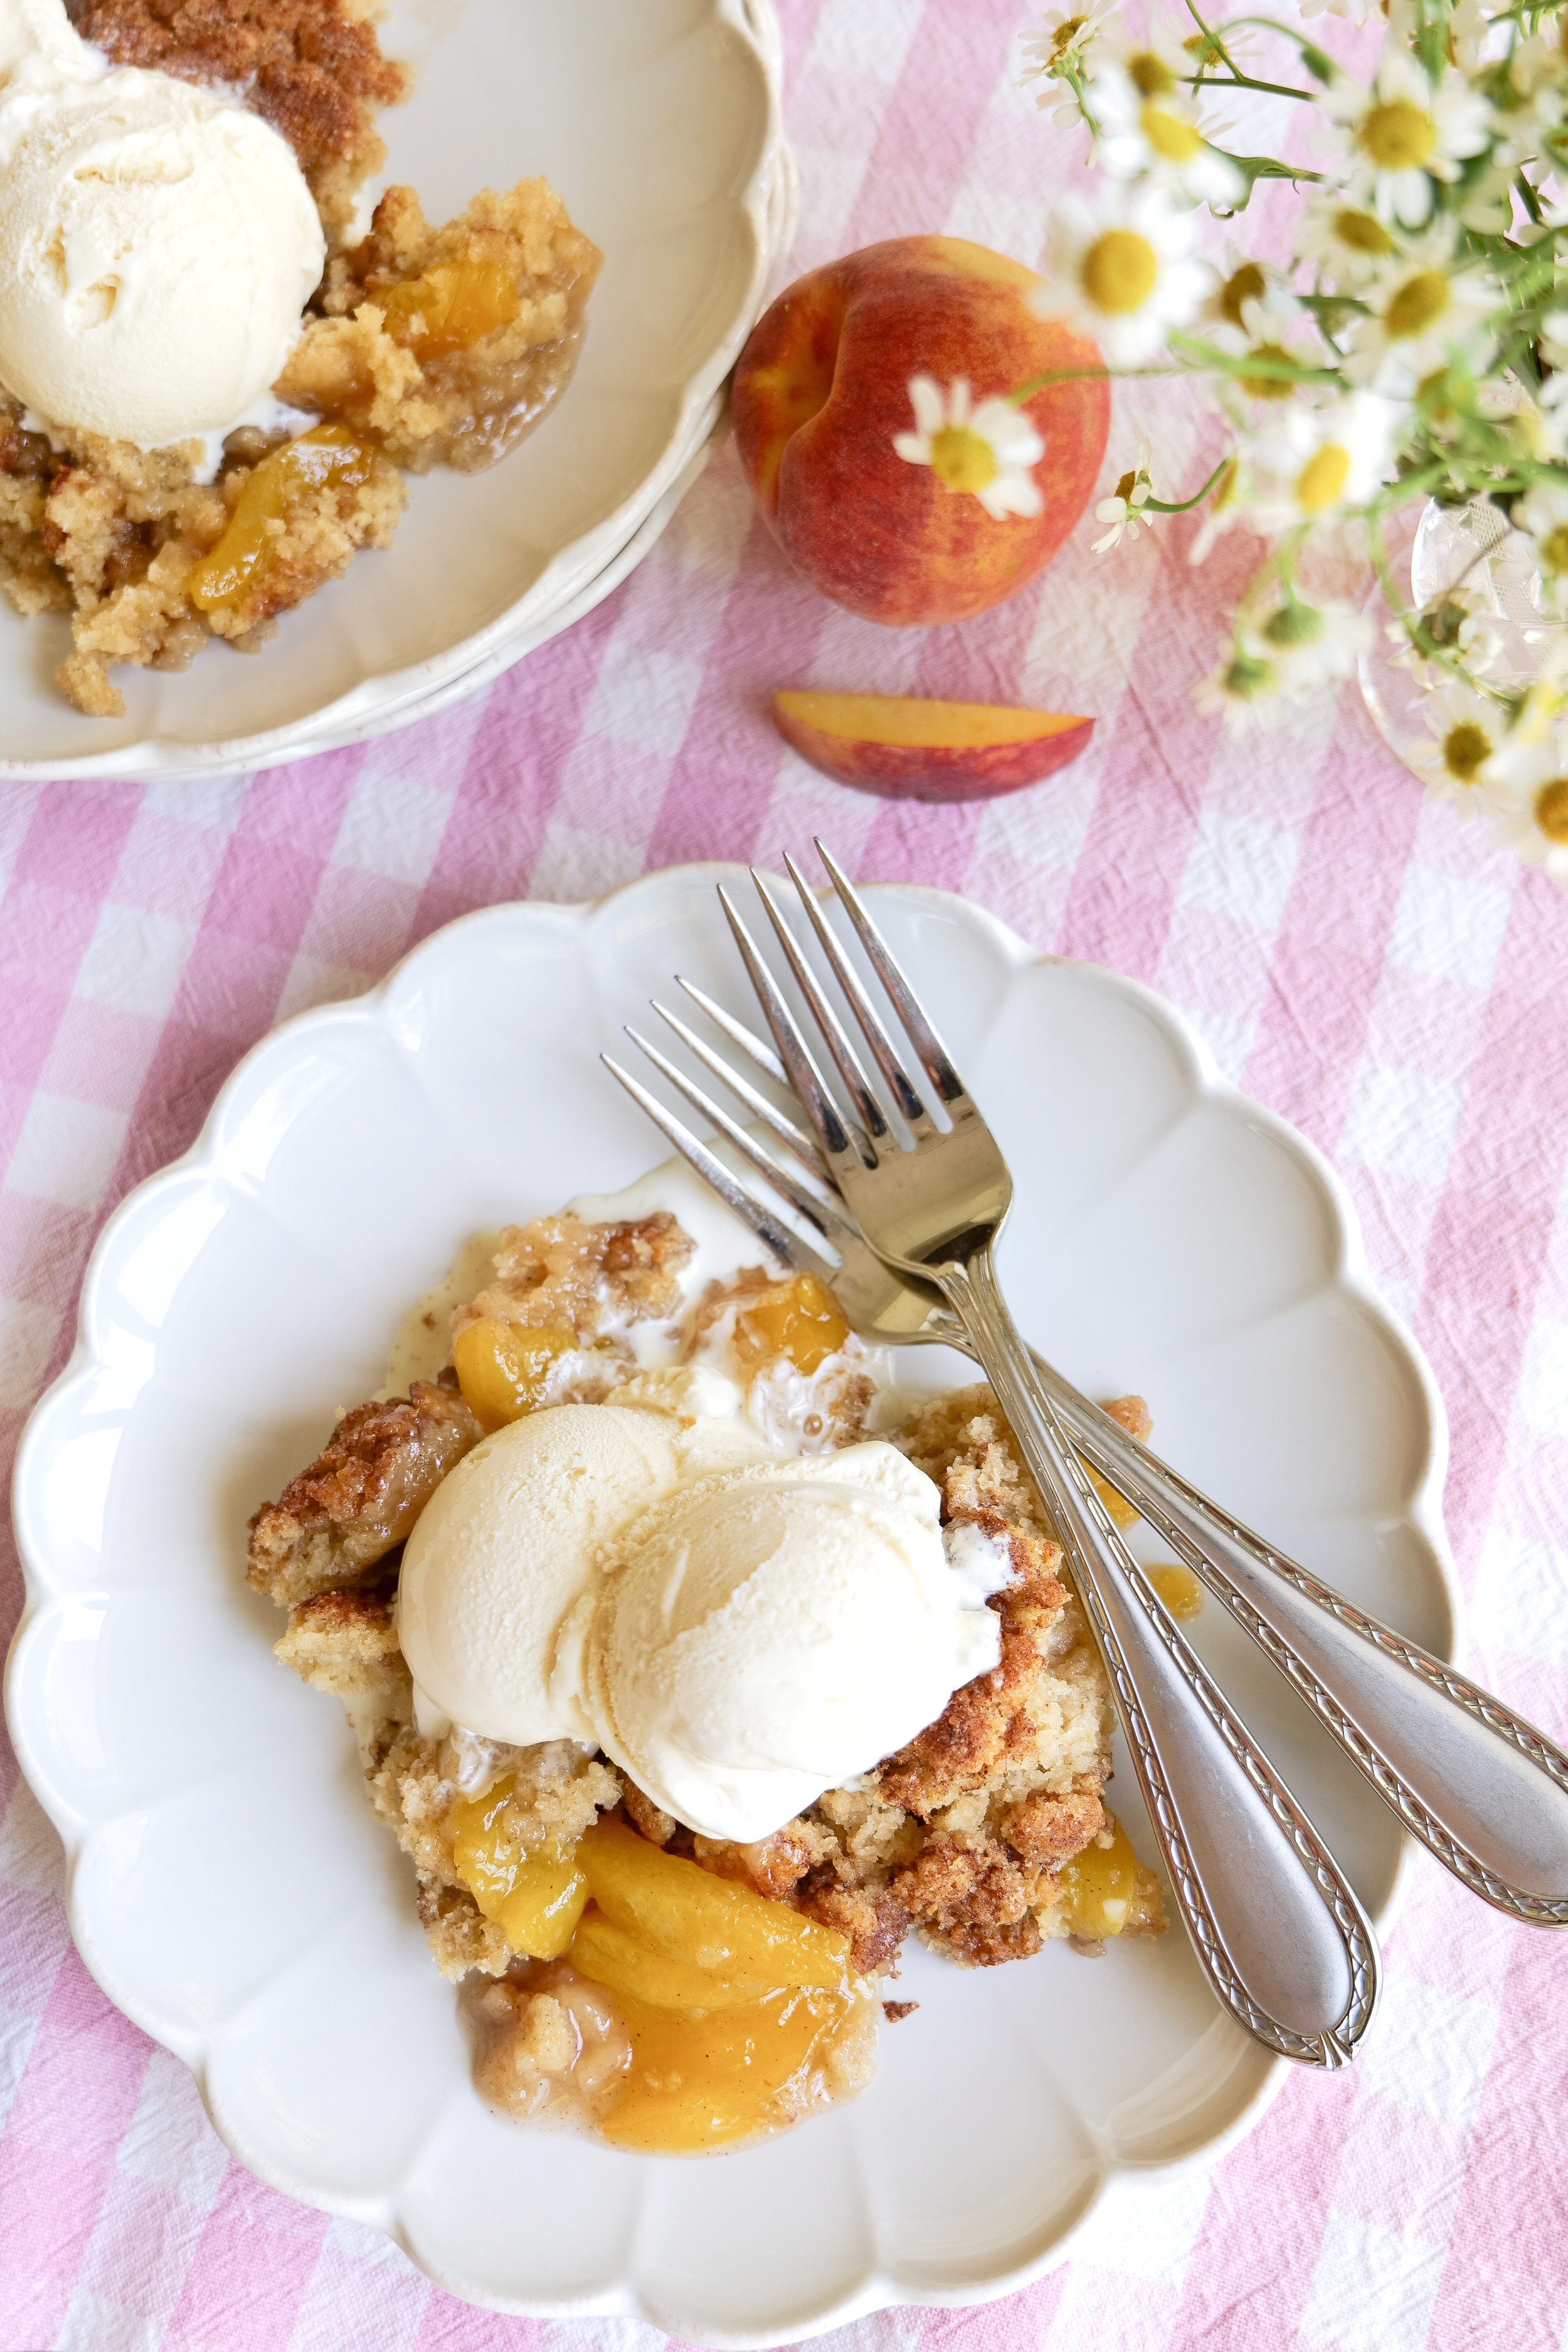
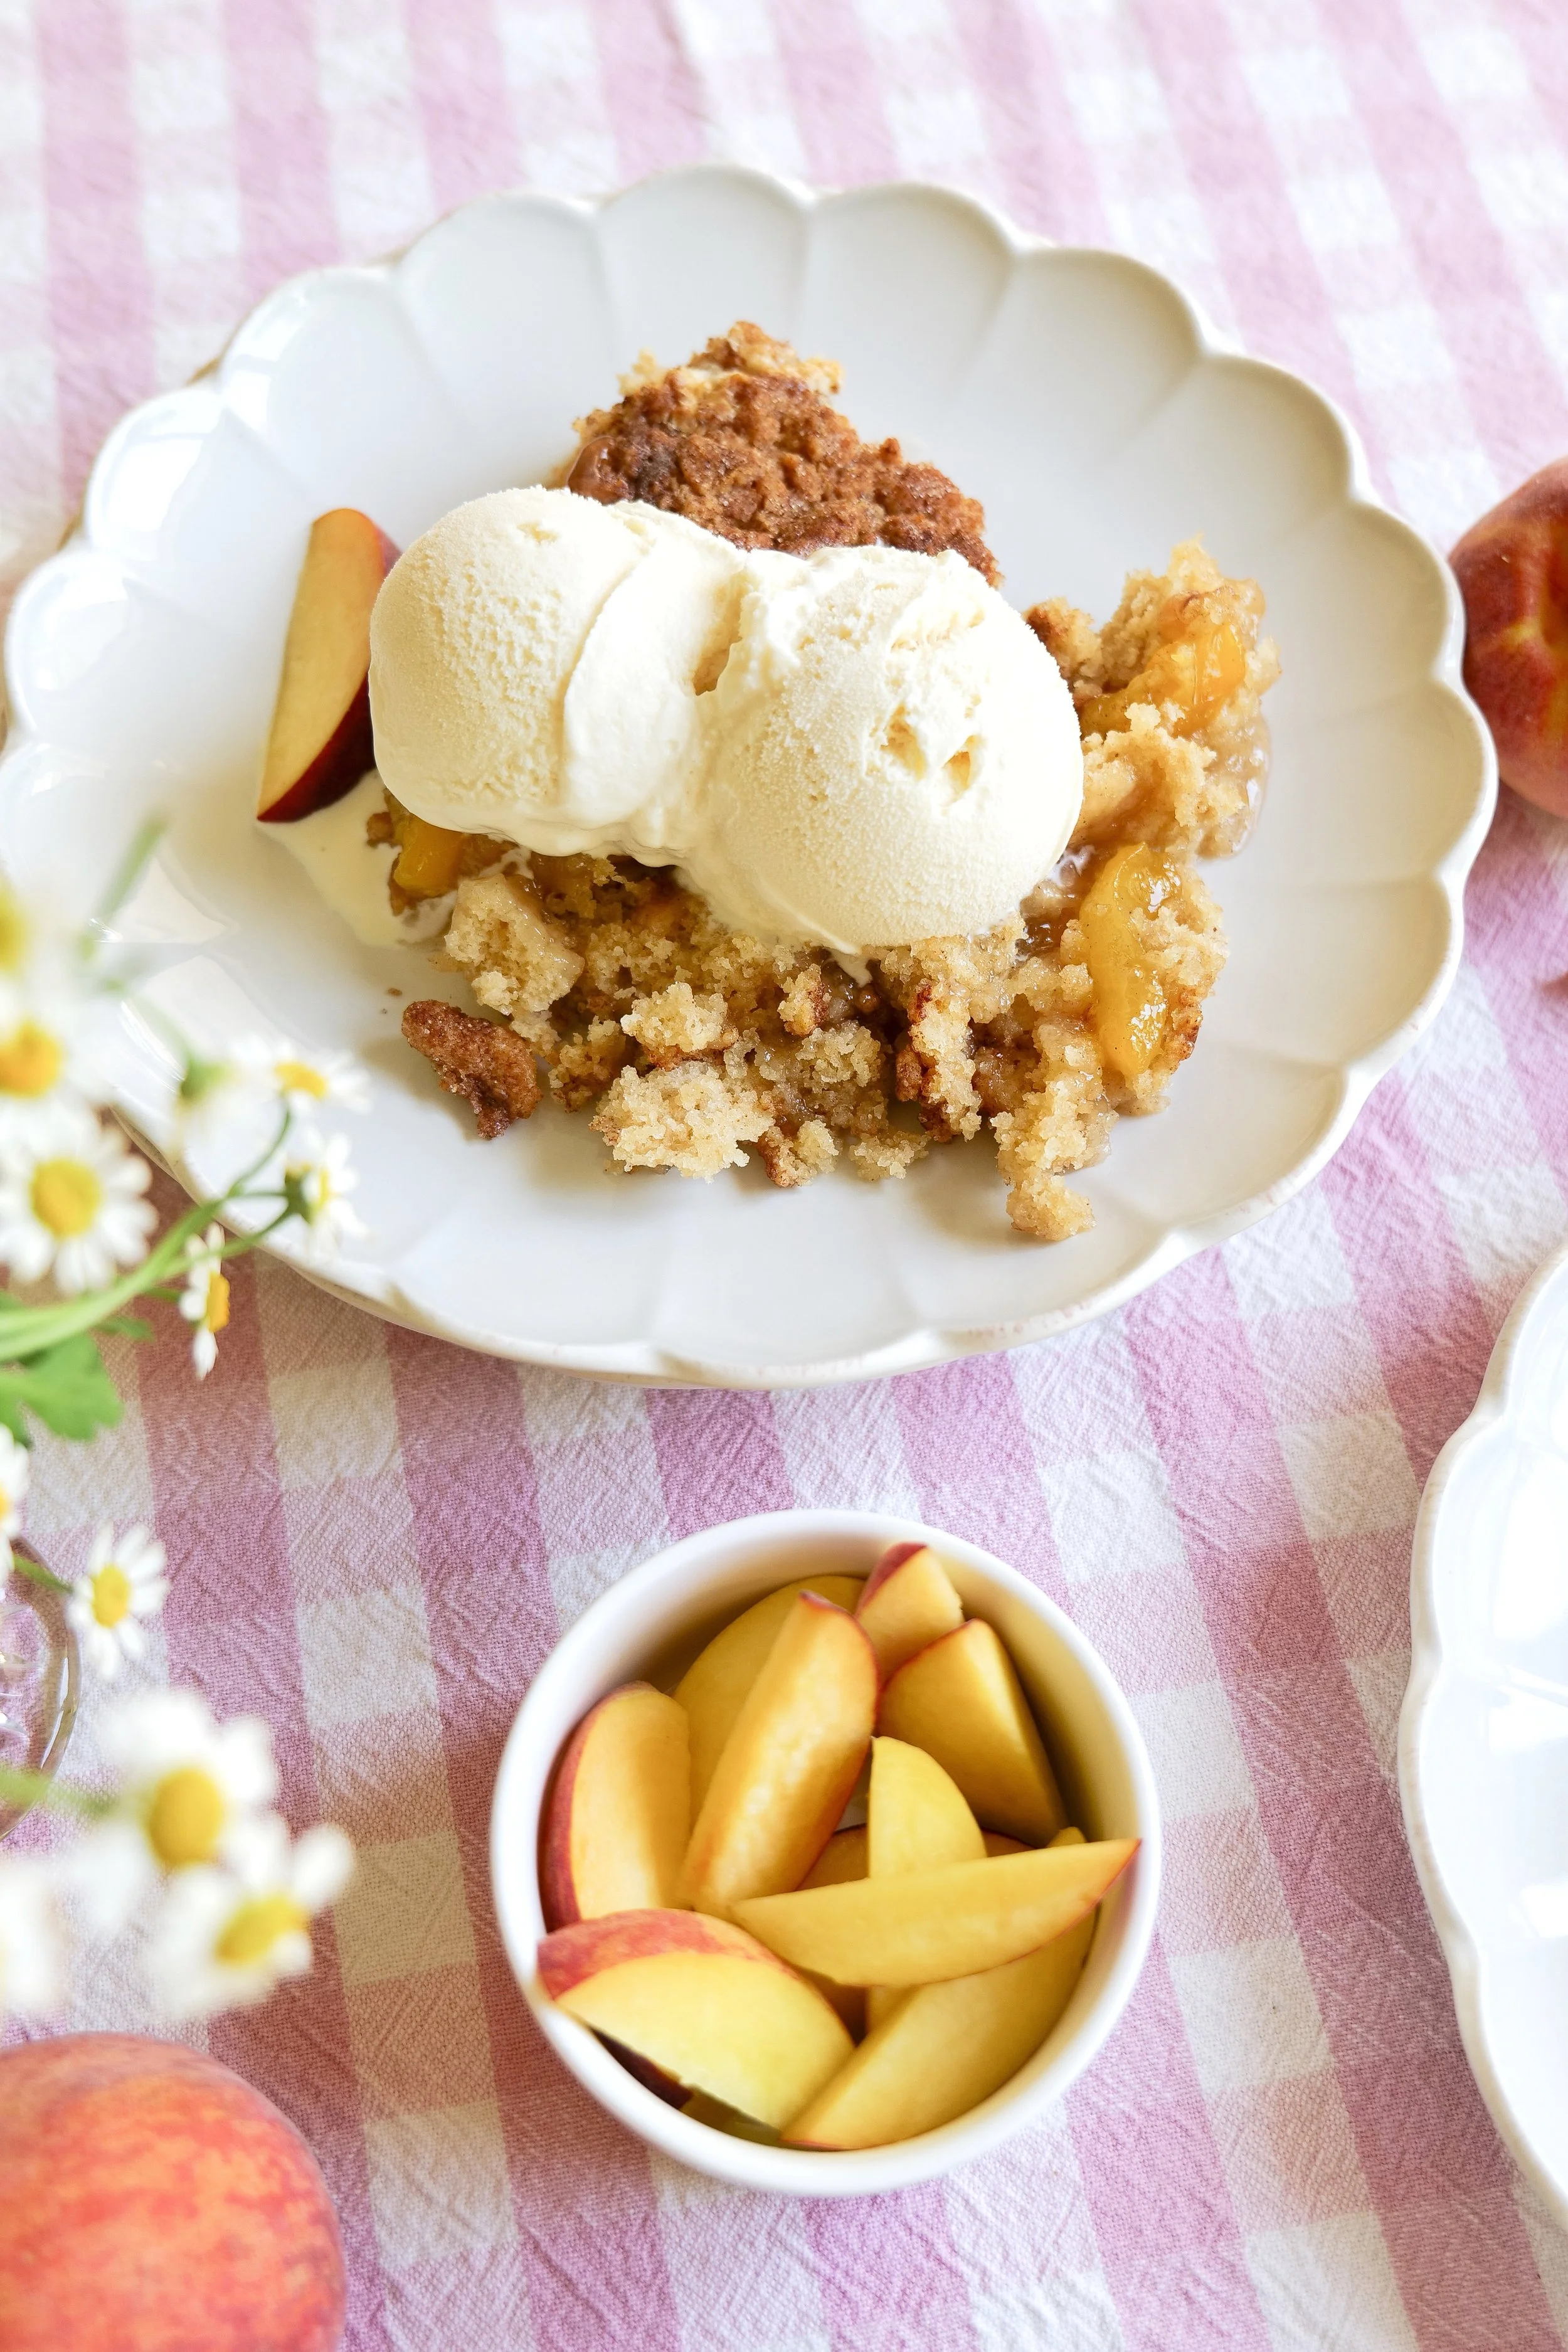
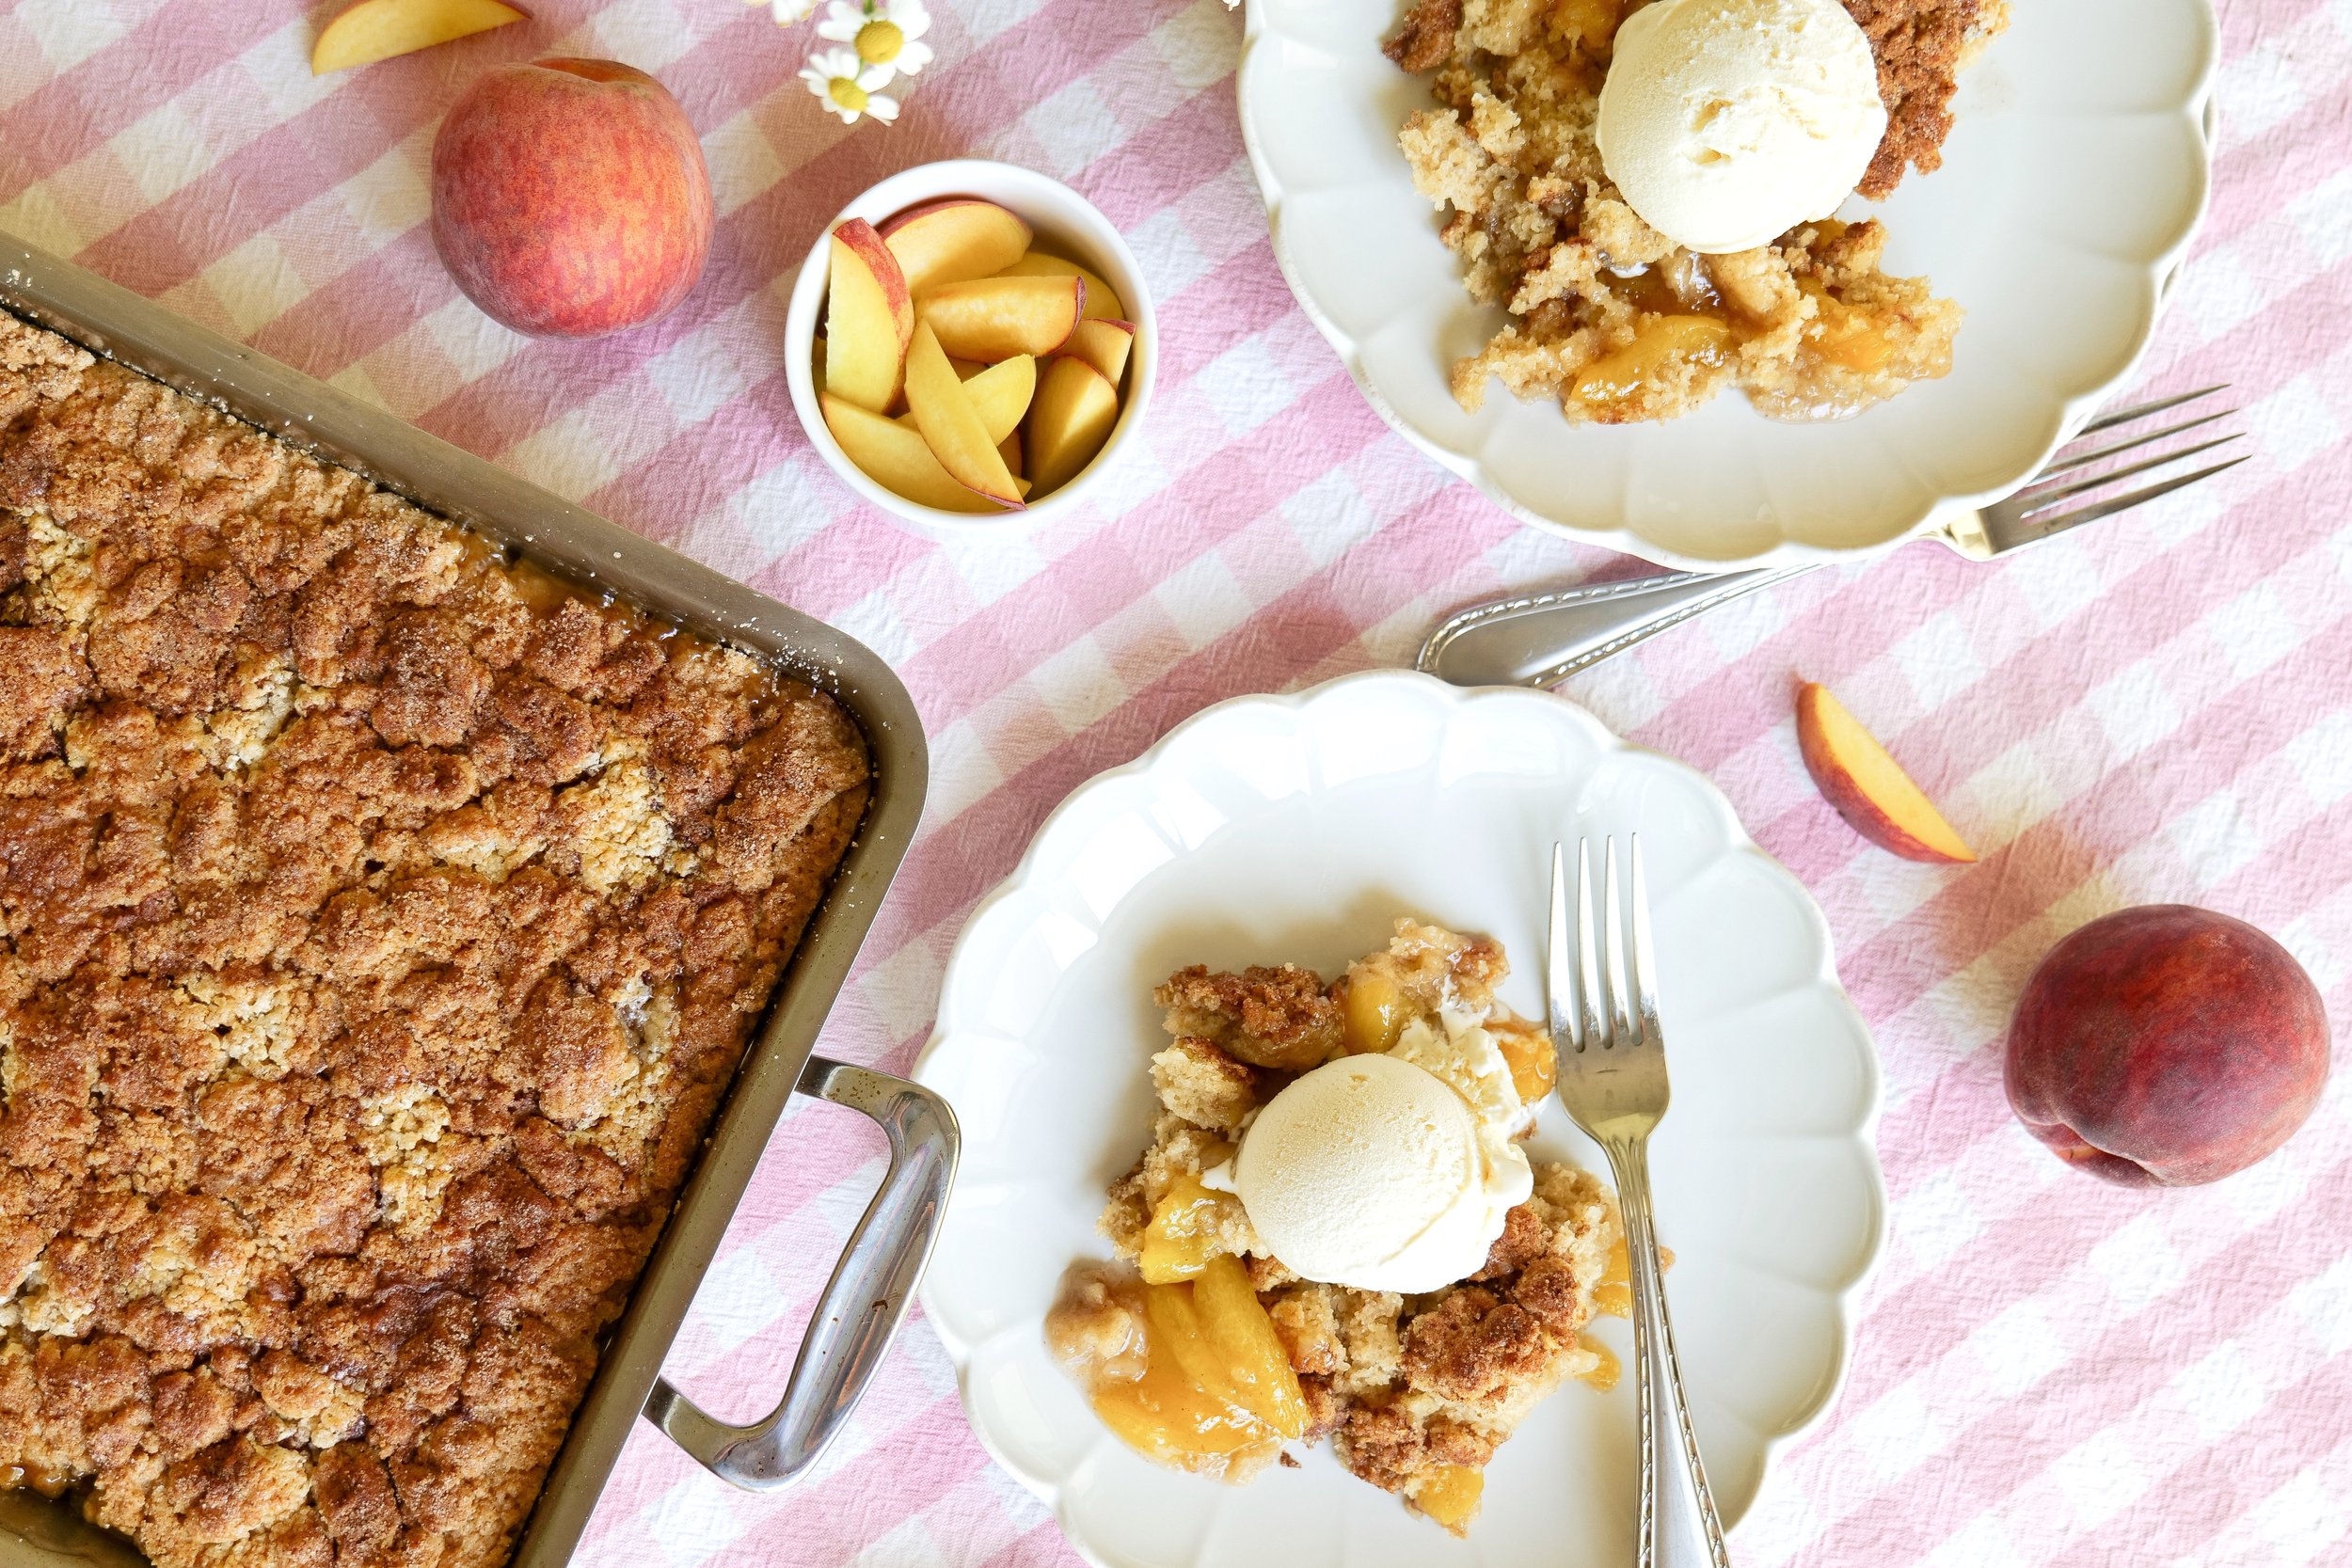
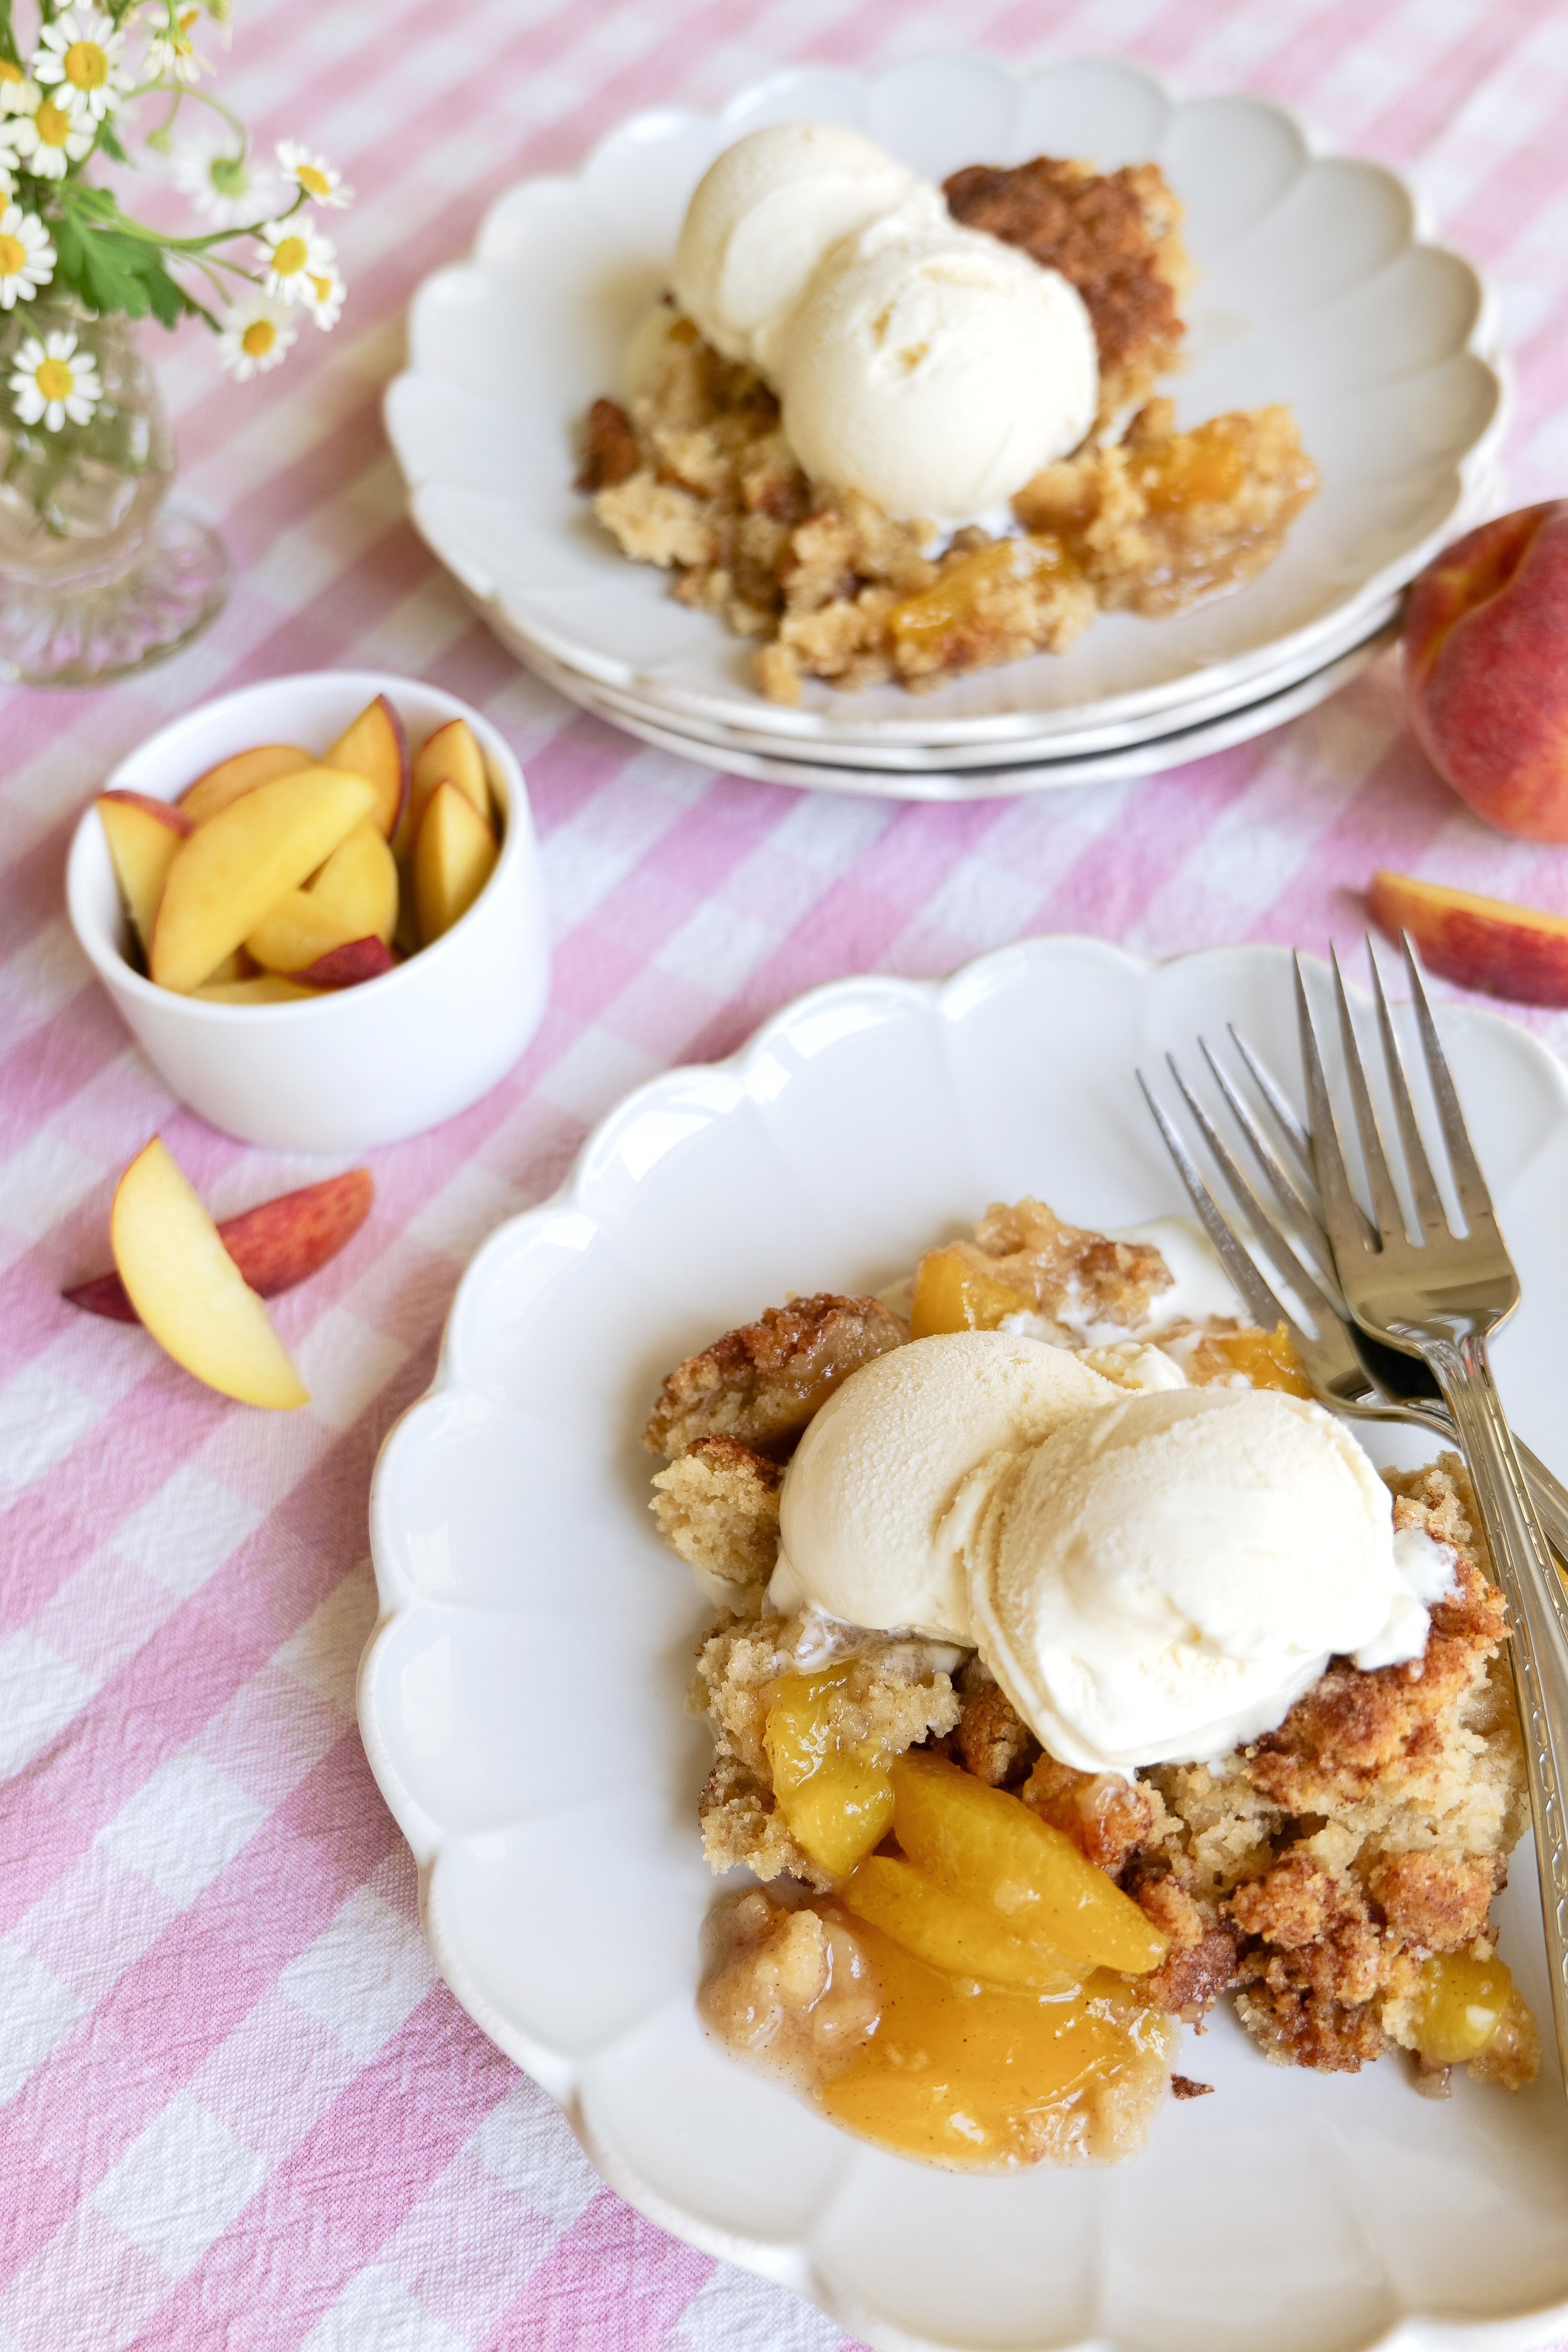
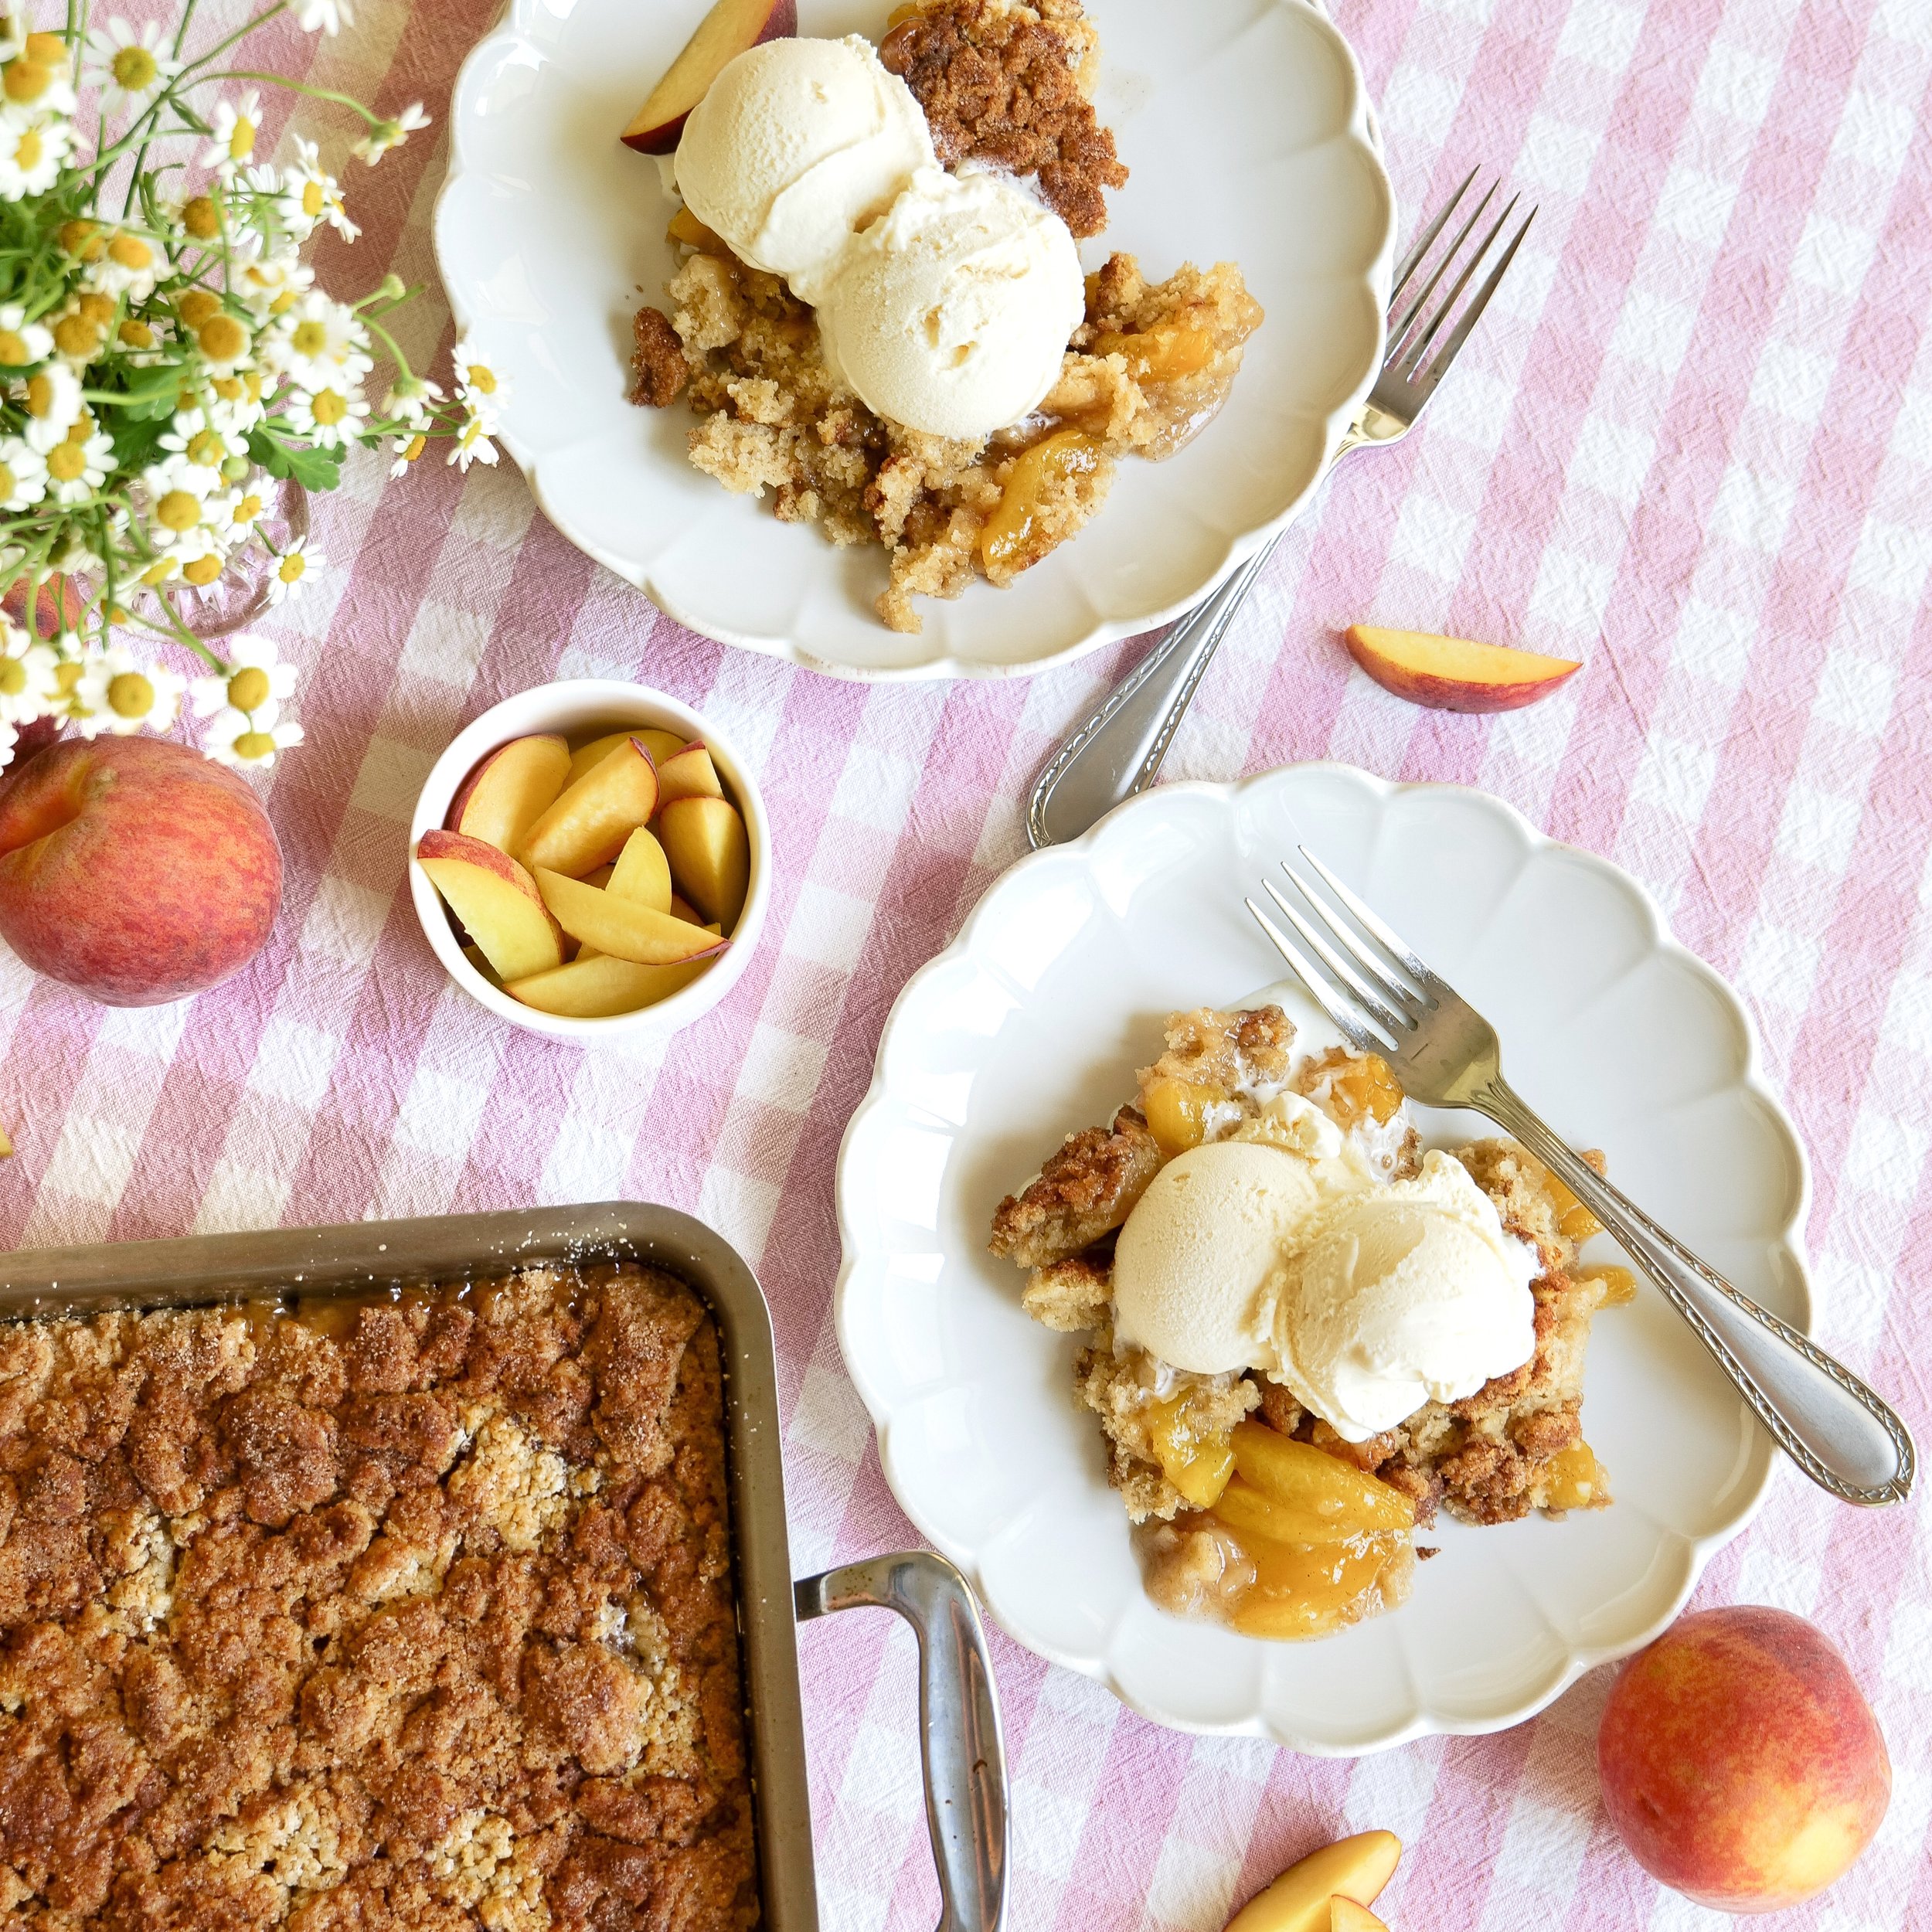
The Perfect Peach Cobbler Recipe

Who doesn't love a good peach cobbler? It really is the quintessential Summer dessert. A good peach cobbler is so perfectly sweet and deliciously crunchy and is sure to be a hit with your family and friends. Whether you’re using fresh or canned peaches, this recipe is sure to be a winner. Follow this simple step-by-step guide to make a delicious and easy peach cobbler that will have everyone begging for seconds.

Peach cobbler is a classic Southern dessert that is fairly easy to make and sure to please. This comforting dessert is a real fan favorite and is perfect for any occasion. The combination of fresh sweet peaches, a buttery biscuit-like topping, and a hint of cinnamon makes this cobbler truly irresistible.

To make this delicious cobbler, you will need fresh peaches, butter, sugar, and a biscuit-like topping. The peaches are the star of the show here, so be sure to use the freshest peaches you can find. Combine the peaches, butter, and sugar in a baking dish and spread the biscuit-like topping over the top. Bake in a preheated oven until the topping is golden and the peaches are bubbly and tender.

Once the cobbler is ready, it's best served warm with a scoop of vanilla ice cream. Enjoy the combination of sweet and buttery flavors and the hint of cinnamon. This cobbler is one of my most used recipes for guests. Every time I make it the crowd is so happy and it finishes off the meal perfectly. So, why not make this classic Southern dessert today?

Ingredients

10 Servings

6 cups fresh peaches

1 & 1/2 cups granulated sugar

1/4 teaspoon cinnamon

1/8 teaspoon nutmeg

2 teaspoons flour

Topping:

2 & 1/2 cups all-purpose flour

1 cup white sugar

1/2 cup dark brown sugar

2 teaspoons baking powder

1 teaspoon salt

1 cup heavy cream (can substitute for buttermilk)

1 egg

8 tbsp butter

Sugar Topping:

2 tablespoons granulated sugar

1/2 tablespoon cinnamon

Instructions

  1. Preheat oven to 375 degrees

  2. Remove skin from peaches by blanching. To do this you start by placing peaches in boiling water for 30-45 seconds. Immediately take out and place into a bowl of ice water. The peaches will peel perfectly.

  3. Once peaches are peeled slice and toss with sugar in a bowl. Once evenly coated add cinnamon, nutmeg and flour and toss again.

  4. Pour peaches into baking dish and place in oven for 10 min while making topping

  5. Begin Topping by mixing together dry ingredients; all-purpose flour, sugar, brown sugar, baking powder and salt. In another bowl whisk together heavy cream and egg gently pour into flour mixture and hand mix together to make a shaggy mixture that will crumble nicely on top of the peaches.

  6. Once the peaches have cooked for 10 min and the topping mixture is ready crumble evenly over the top of the peach mixture.

  7. Cut 8 tbsp of butter into even size cubes. Sprinkle over top of the crumble mixture so they are evenly spread over the pan. Lastly, Evenly sprinkle sugar topping of sugar and cinnamon over the entire pan.

  8. Place back in the oven and cook for 45-50 minutes, until topping is golden and peaches are tender. Top with fresh whipped cream or vanilla ice cream for a great dessert!

Canned Peaches Vs Fresh

When it comes to making a delicious peach cobbler, you have two main choices when deciding which type of peaches to use: fresh or canned. Canned peaches provide a pre-sweetened, convenient base for your cobbler that requires little to no additional preparation. However, fresh peaches provide a more vibrant flavor and texture that will really shine in your cobbler.

When it's not peach season and you may be forced to use canned peaches, don't worry! You can still enjoy this classic recipe year-round with the help of canned peaches. Canned peaches are a great way to make a delicious peach cobbler any time of year. Their soft texture makes them ideal for baking into a cobbler, and they can save you time and energy since they are already peeled and chopped. If you choose to use canned peaches for your cobbler, you have the option of using light or heavy syrup, while fresh peaches should be sweetened to taste. Canned peaches are usually slightly more firm than fresh peaches, so if you want a softer texture you’ll need to simmer the canned peaches a bit before adding them to the cobbler. Plus, you can even add a bit of extra sweetness to your cobbler by using canned peaches in syrup. Just be sure to drain the syrup from the canned peaches before adding them to your cobbler. So don't wait for peach season – you can make a delicious peach cobbler with canned peaches any time of year!

When using fresh peaches for your cobbler, you will need to do some extra preparation in the form of peeling, slicing, and sweetening. Canned peaches are a good option if you’re in a hurry, while fresh peaches require more time and effort to prepare. However, the taste and texture of fresh peaches will be worth the extra effort.

Is It Difficult to Make a Peach Cobbler?

No matter the season, nothing quite captures the flavors of Summer like a delicious homemade peach cobbler. Making a peach cobbler is surprisingly easy and requires only a few ingredients, so you don't need to be a professional chef to make a great-tasting cobbler. All you need is some fresh peaches, butter, sugar, flour, and spices. With just a few steps, you can whip up a delicious homemade peach cobbler in no time.

The combination of sweet peaches, buttery crust, and spices makes for a truly delicious dessert. The sweet and juicy peaches combined with the crunchy and buttery crust, create a flavor combination that is sure to please. The spices add a unique touch that complements the flavor of the peaches and gives the cobbler an extra layer of flavor.

Making a peach cobbler is a great way to enjoy the flavors of Summer all year round. Plus, it's such a simple recipe that even novice bakers can make a delicious cobbler with minimal effort. So, if you're looking for a delicious and easy dessert that captures the flavors of Summer, then why not try making a peach cobbler? With just a few ingredients and a few simple steps, you can have a delicious homemade cobbler ready to enjoy in no time.

Can I Freeze Leftover Peach Cobbler?

Freezing leftover peach cobbler is an easy way to enjoy this delicious dessert later on. To freeze the cobbler, simply place it in an airtight container or wrap it tightly in plastic wrap and aluminum foil. Be sure to label the container with the date it was frozen so you know how long it has been in the freezer. To reheat the cobbler, thaw it in the refrigerator overnight and then bake at 350°F (176°C) until it is heated through. You don’t have to wait until you warm up the cobbler to enjoy it. You can also enjoy it cold straight from the fridge or quickly microwave it to warm up. For extra indulgence, top your frozen cobbler with a scoop of creamy vanilla ice cream. Enjoy your frozen peach cobbler, even months later!

Other Summer Desserts You Will Love:

How to Make the Perfect Arnold Palmer Popsicle: A Delicious Summer Recipe

Indulge in Deliciousness: Cherry Chip Cake with Chunks of Dark Chocolate Recipe

Monster Cookie Recipe

Chocolate Peanut Butter Brownies