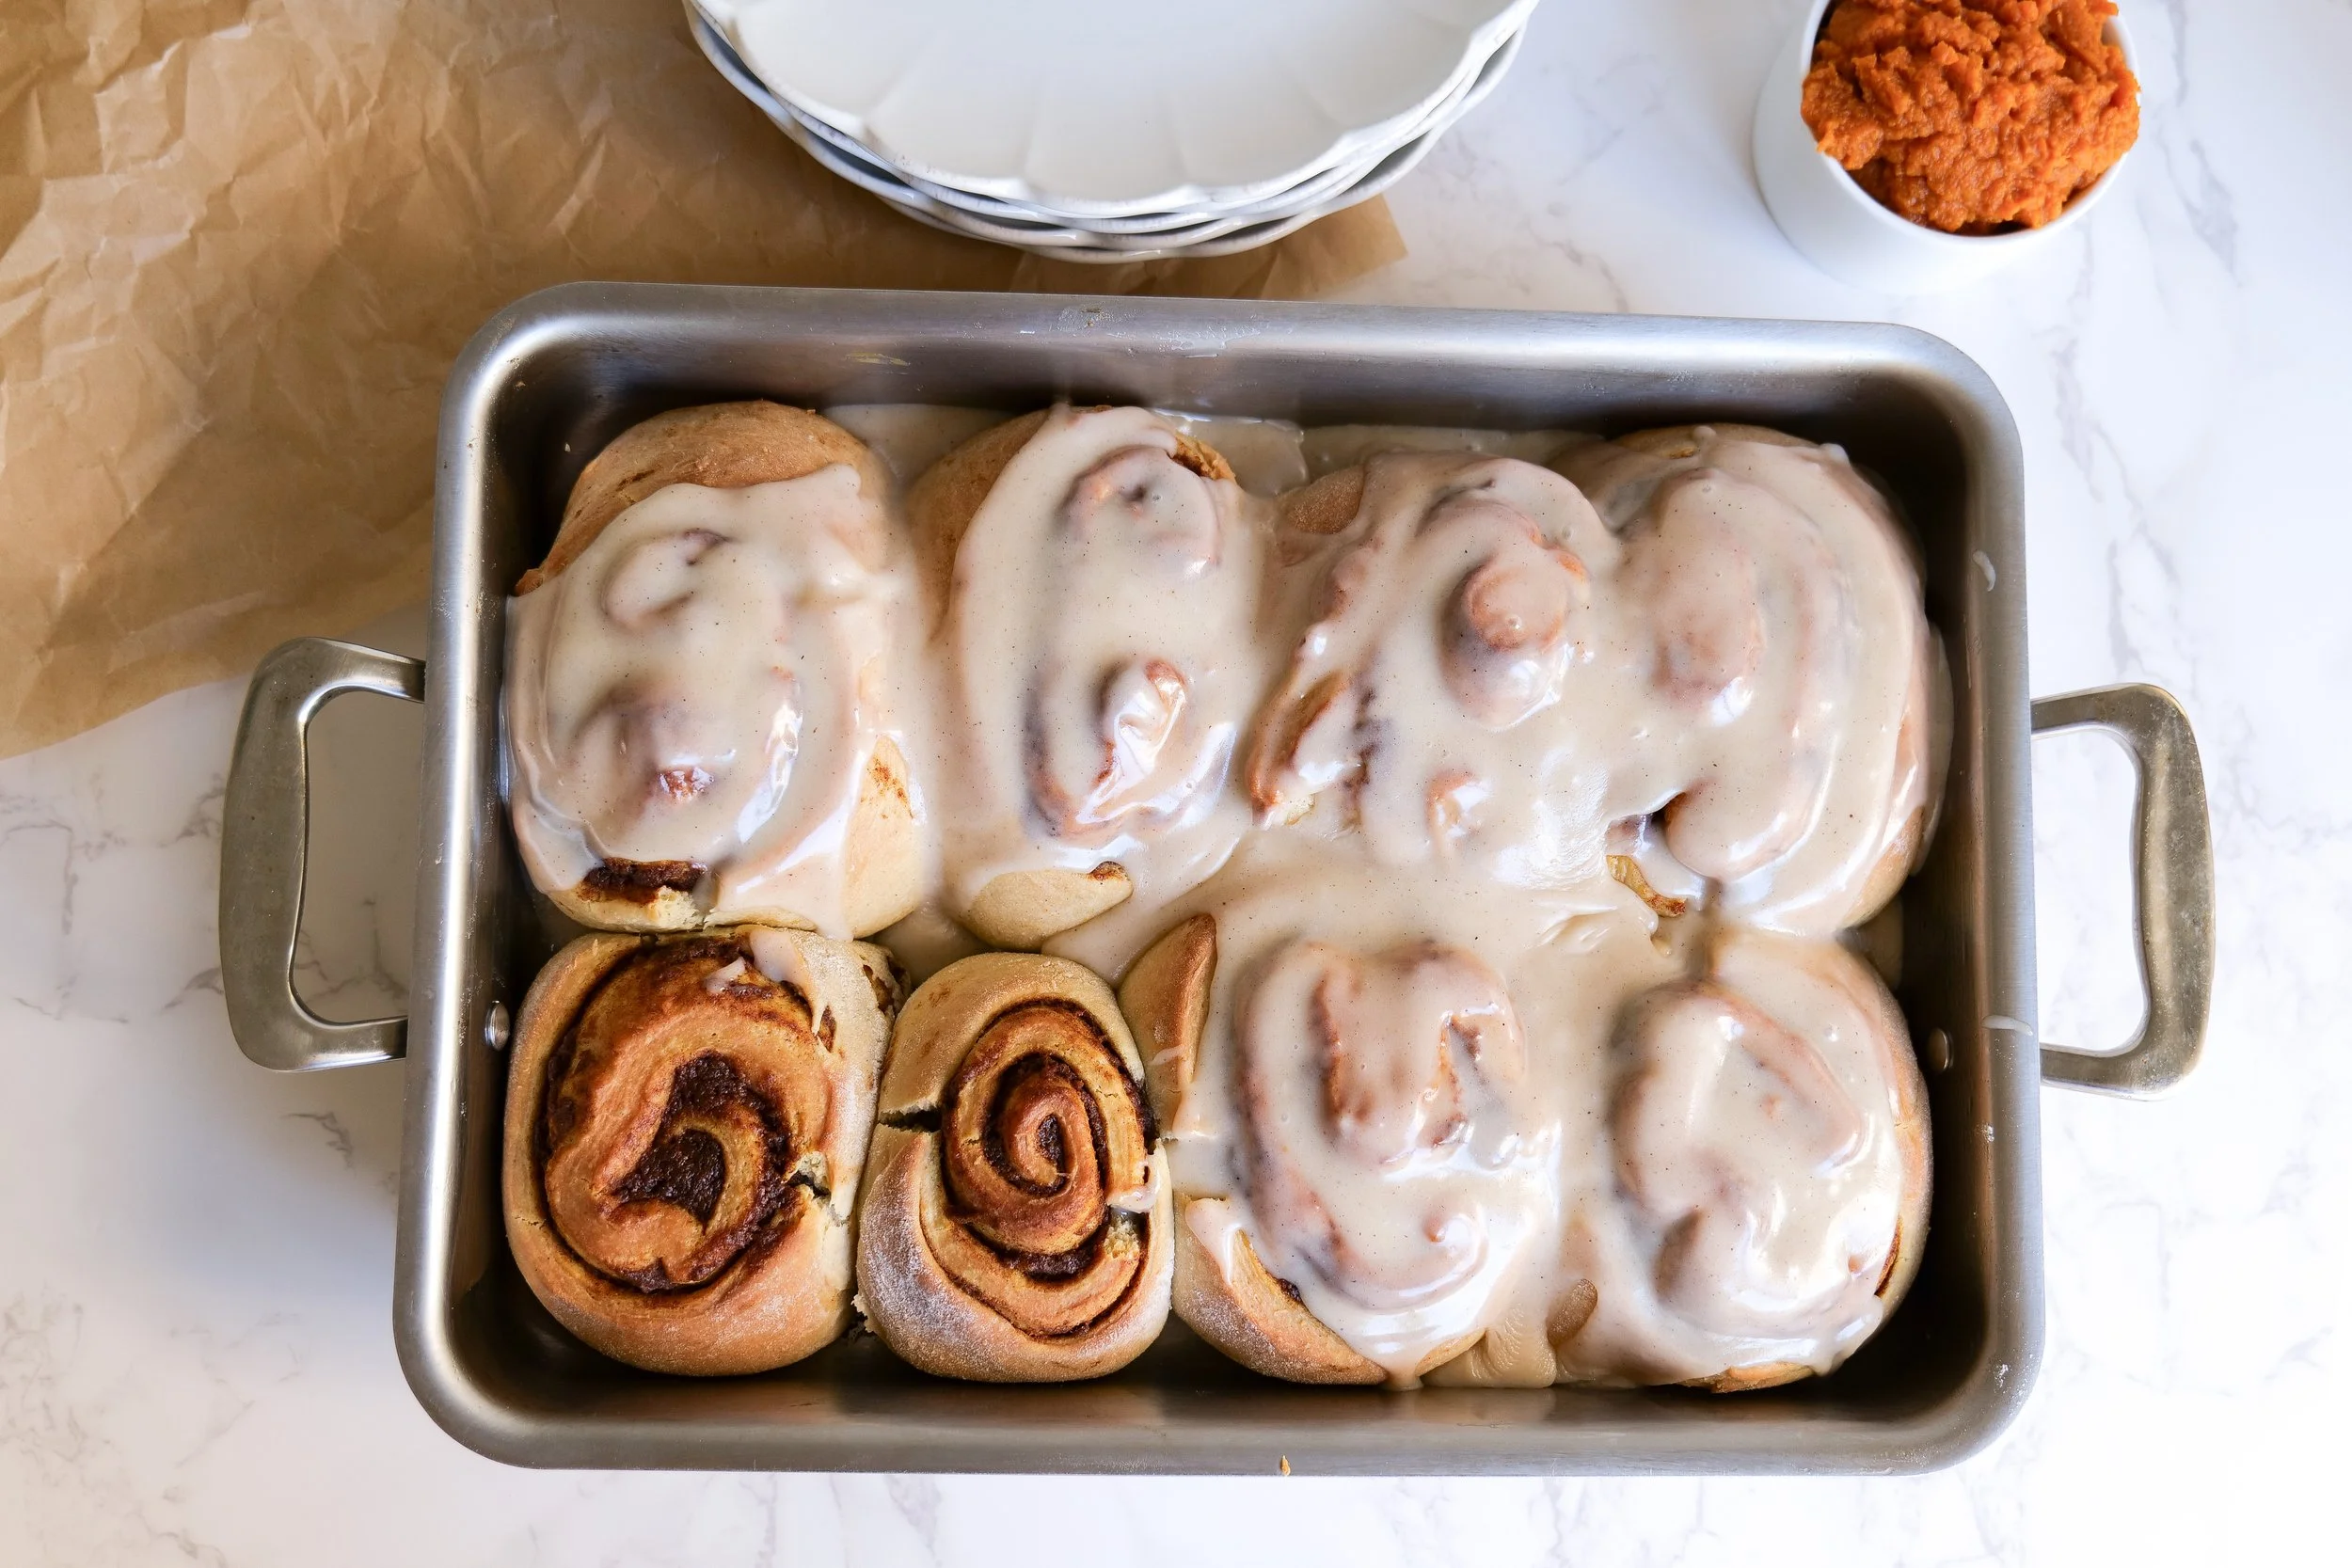
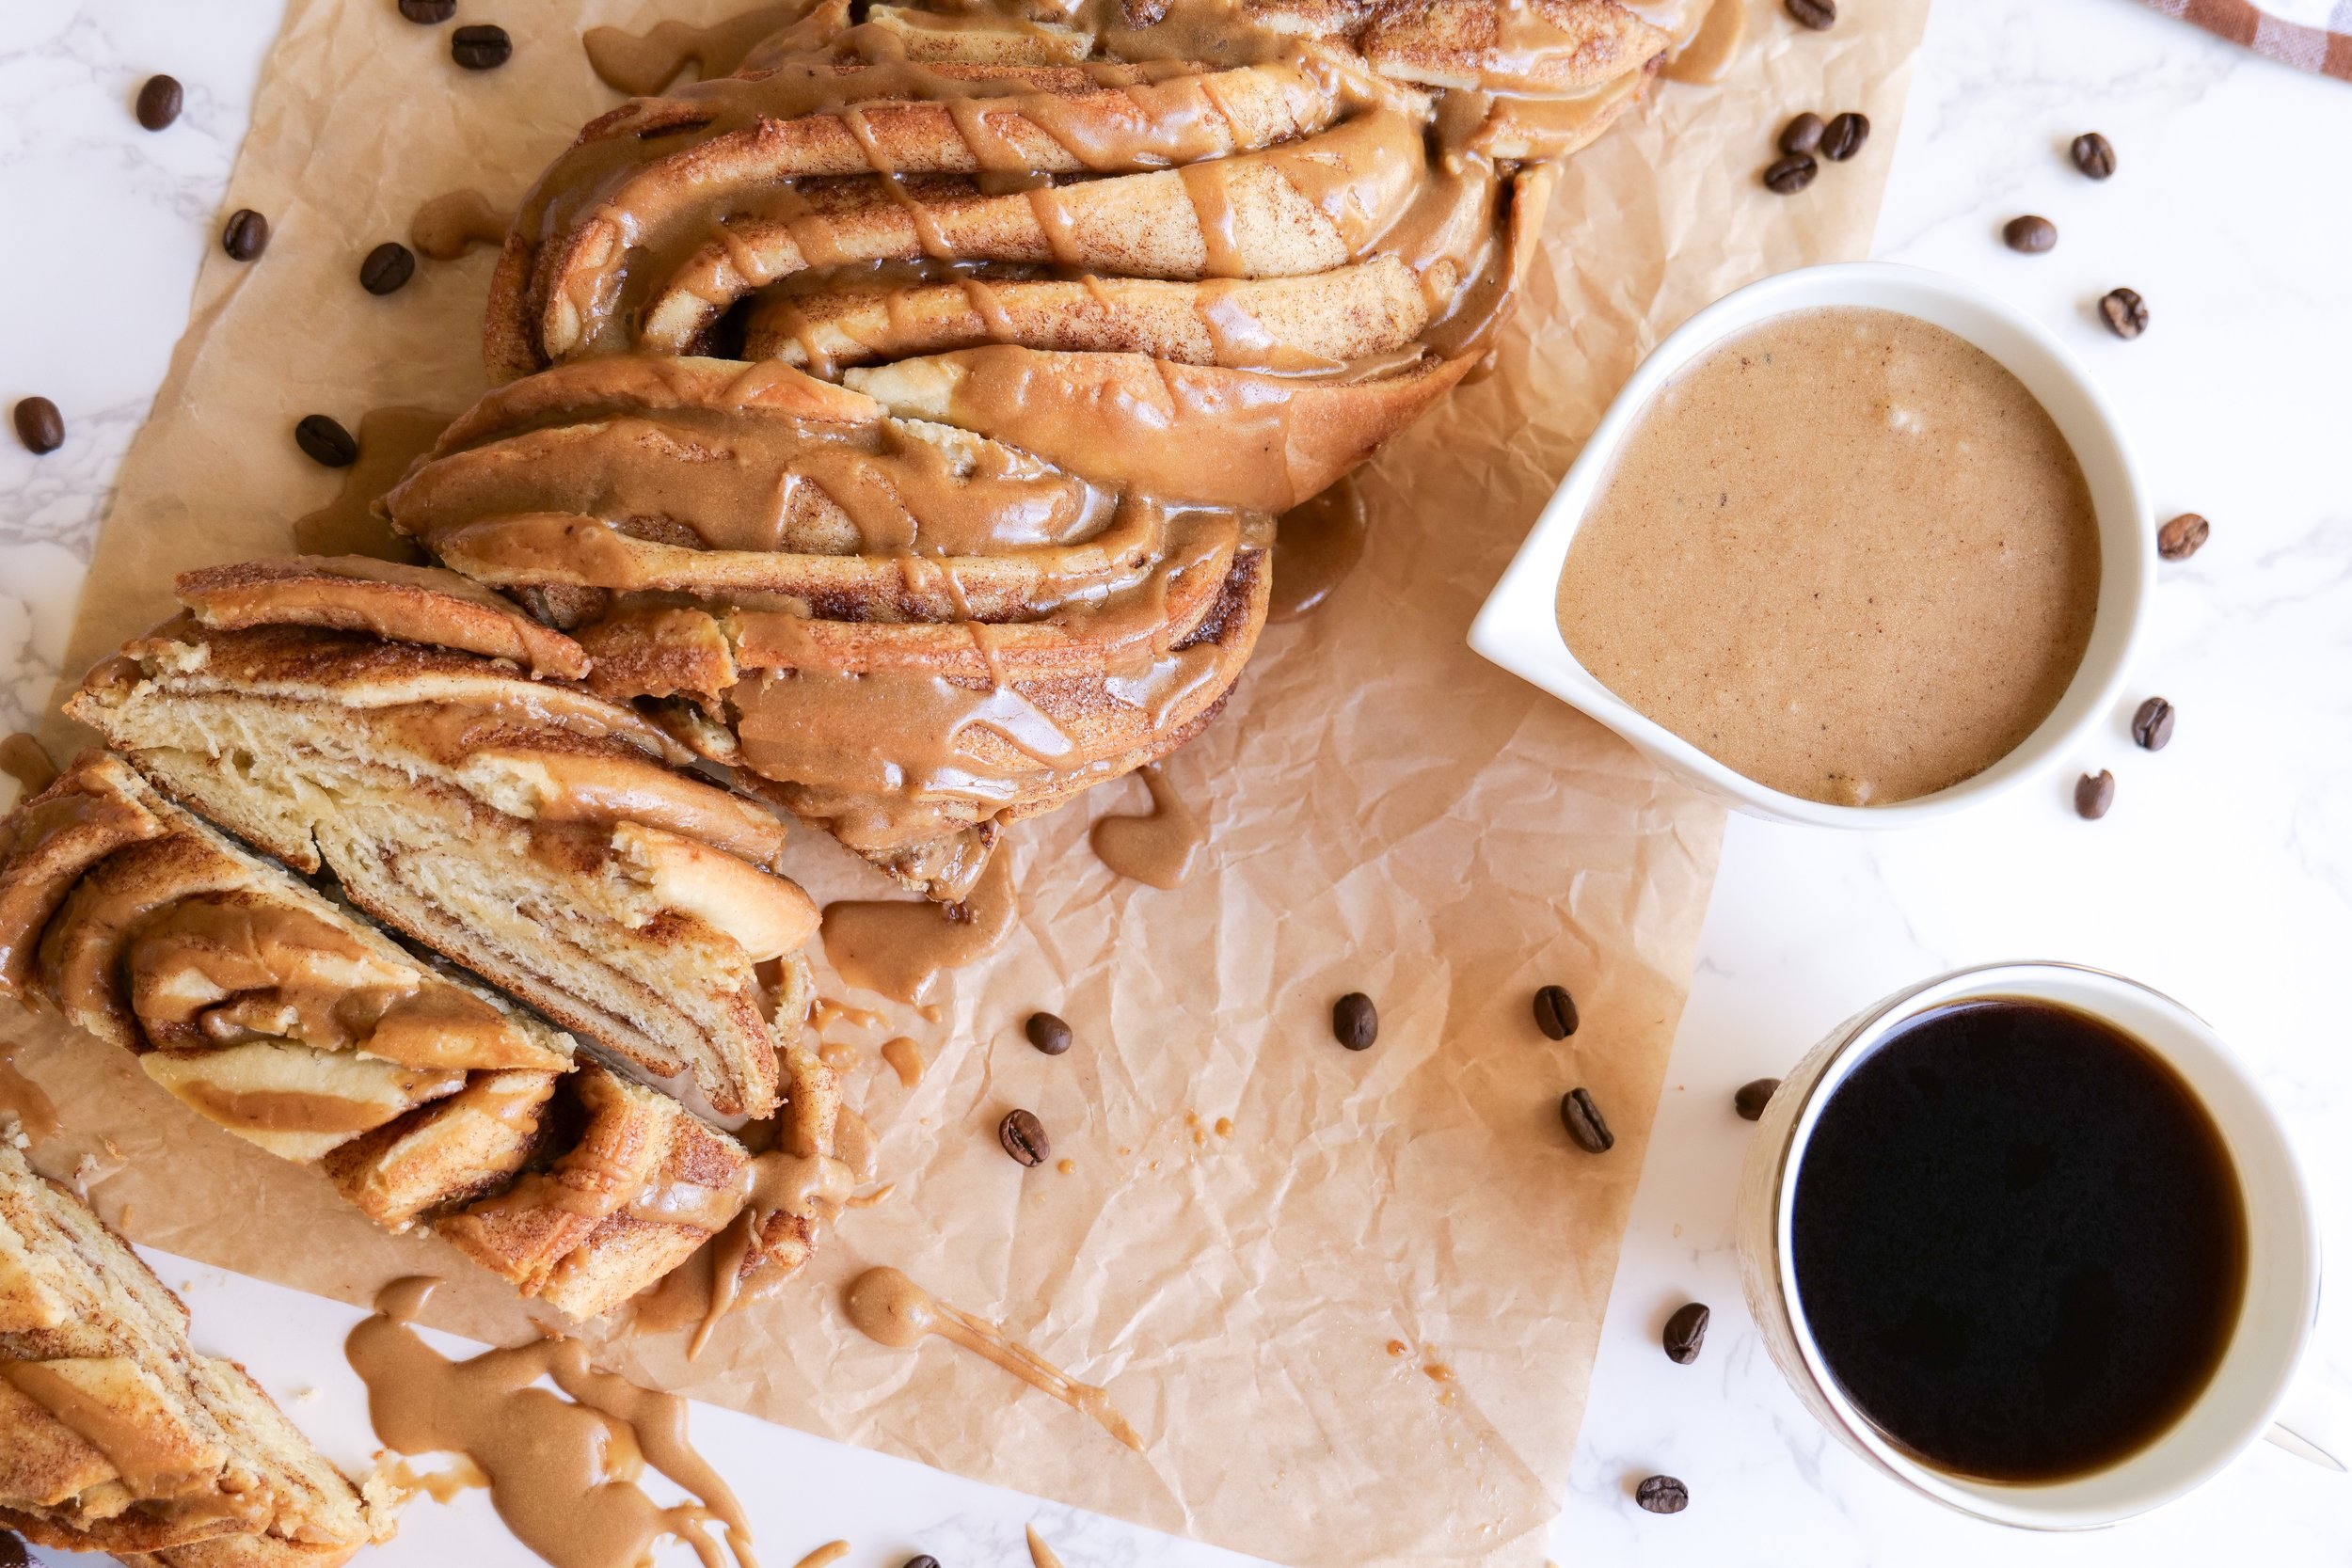
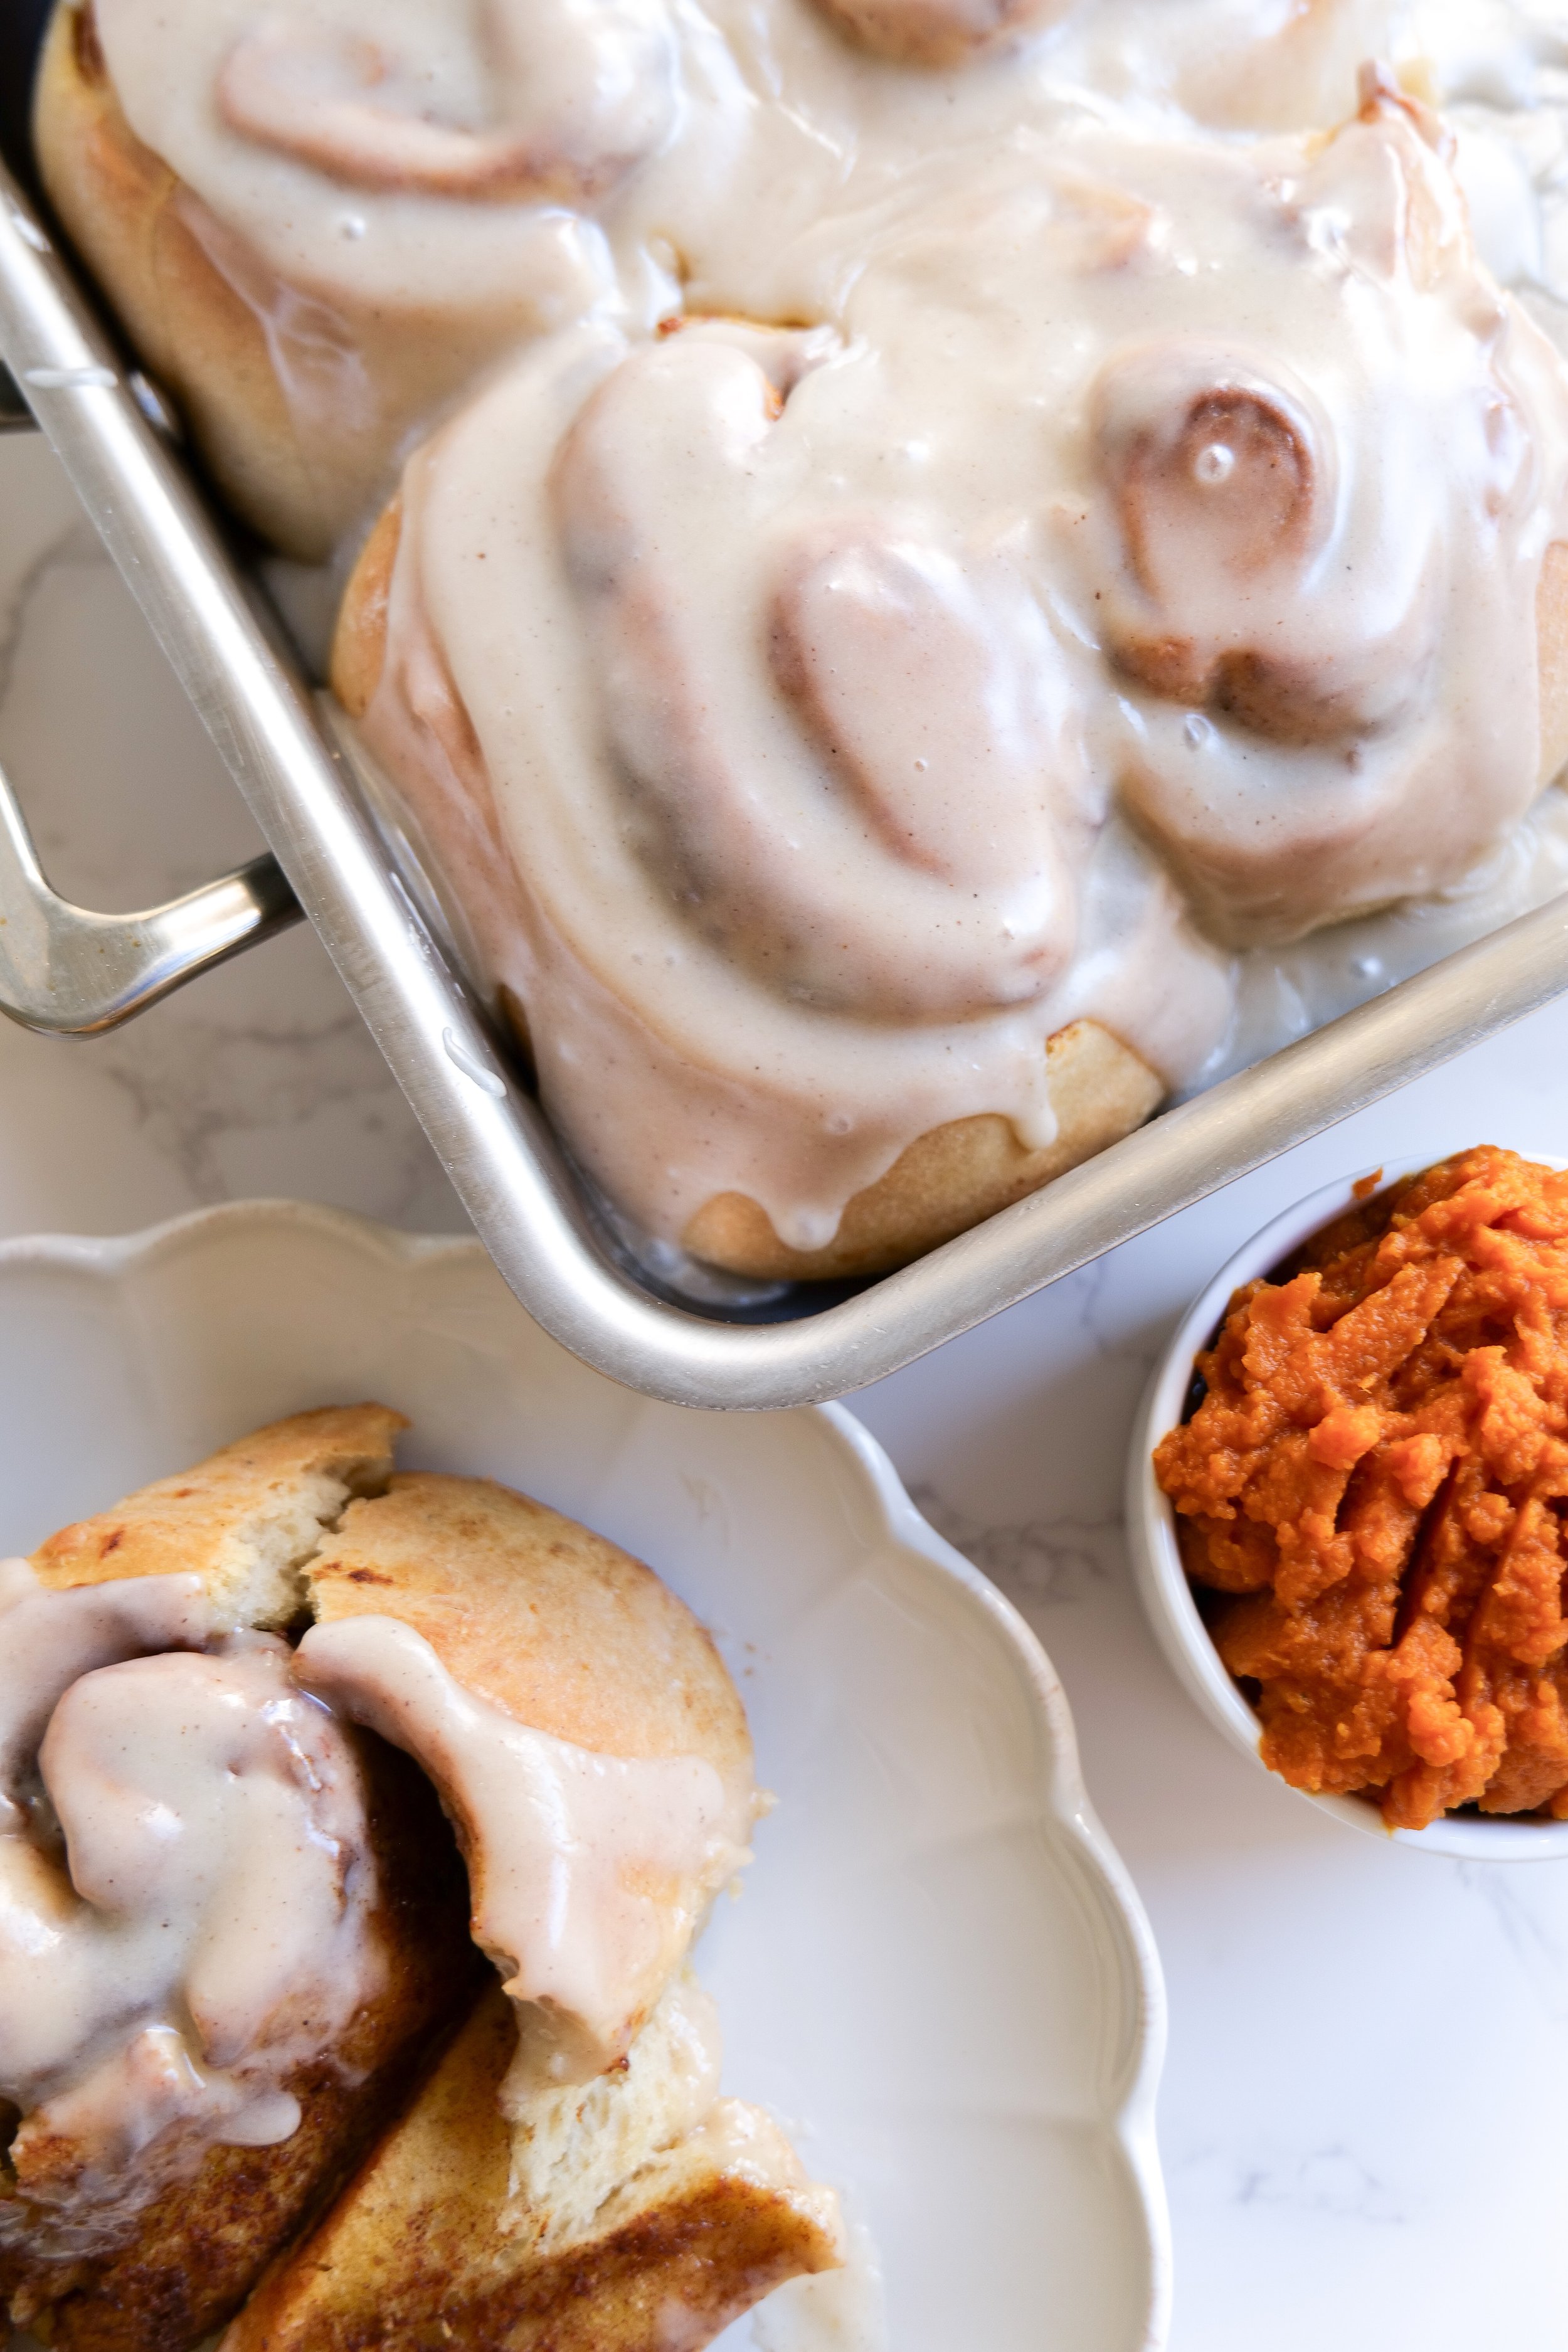
Sweet Serenity: Mastering the Art of Pumpkin Cinnamon Rolls with Cream Cheese Icing
/Welcome to another delicious recipe post! As the leaves start to crinkle and colors change, there's almost nothing more iconic of the coming Autumn season than pumpkin-flavored delicacies. Today, we are going to add a twist to one of your favorite traditional breakfast treats. We're going places where the savory pumpkin harmonically frolics with the spicy warmth of cinnamon, all under the creamy, velvety robe of cream cheese icing. So, buckle up for the ultimate guide to making heavenly Pumpkin Cinnamon Rolls with Cream Cheese Icing - a scrumptious indulgence that brings the best of fall flavors to your morning table!

Which yeast is best for cinnamon rolls + how to know when yeast is activated
The key to success is using the right type of yeast. Active dry yeast is the best choice for this recipe. To ensure that the yeast is activated, look for bubbles forming on the surface of the mixture. You will pre-check this after adding the yeast to water in this recipe. Once the yeast is activated, the mixture will expand and become foamy. If your mixture does not foam, the yeast may be old or not activated properly. To avoid disappointment, always check the expiration date on your yeast package before using it. With the right yeast and a few simple steps, you can enjoy delicious pumpkin cinnamon rolls with cream cheese icing in no time.
Making Ahead, Storing, and Freezing Pumpkin Cinnamon Rolls:
These pumpkin cinnamon rolls with cream cheese icing are the perfect treat for any chilly Autumn morning. Plus, with the make-ahead and storing options, you can enjoy these sweet treats any day of the week. To make these pumpkin cinnamon rolls easy, you can prepare them up to a day ahead of time. Simply assemble the rolls and refrigerate them in their pan overnight. The next morning, bake them as directed and enjoy. If you have any leftovers, store the rolls in an airtight container for up to 2 days. For those who like to plan ahead, you can also freeze these pumpkin cinnamon rolls for up to 3 months. Allow the rolls to cool completely before freezing. Wrap each one individually in plastic wrap and place them in a freezer bag. When you’re ready to enjoy them, thaw the rolls overnight in the refrigerator. To reheat, place the rolls in the microwave for 15-20 seconds or in the oven at 350°F for 5-10 minutes. If you want to freeze the rolls for later, wrap them tightly in plastic wrap and aluminum foil, then place them in a freezer-safe container or bag.


Are there any variations available for Pumpkin Cinnamon Rolls with Cream Cheese Icing recipe?
Pumpkin cinnamon rolls with cream cheese icing are a delicious way to enjoy the flavors of Fall. This sweet treat is packed with all the flavors of Autumn. With a few variations, you can take these pumpkin cinnamon rolls to the next level.
Variation 1: Add your favorite spices such as nutmeg, allspice, and cinnamon to the dough for a more spicy flavor. This will amp up the flavor of the rolls and give them a unique twist.
Variation 2: Use pumpkin puree instead of regular milk for a richer and denser texture. The pumpkin puree will add a subtle sweetness and depth of flavor to the rolls.
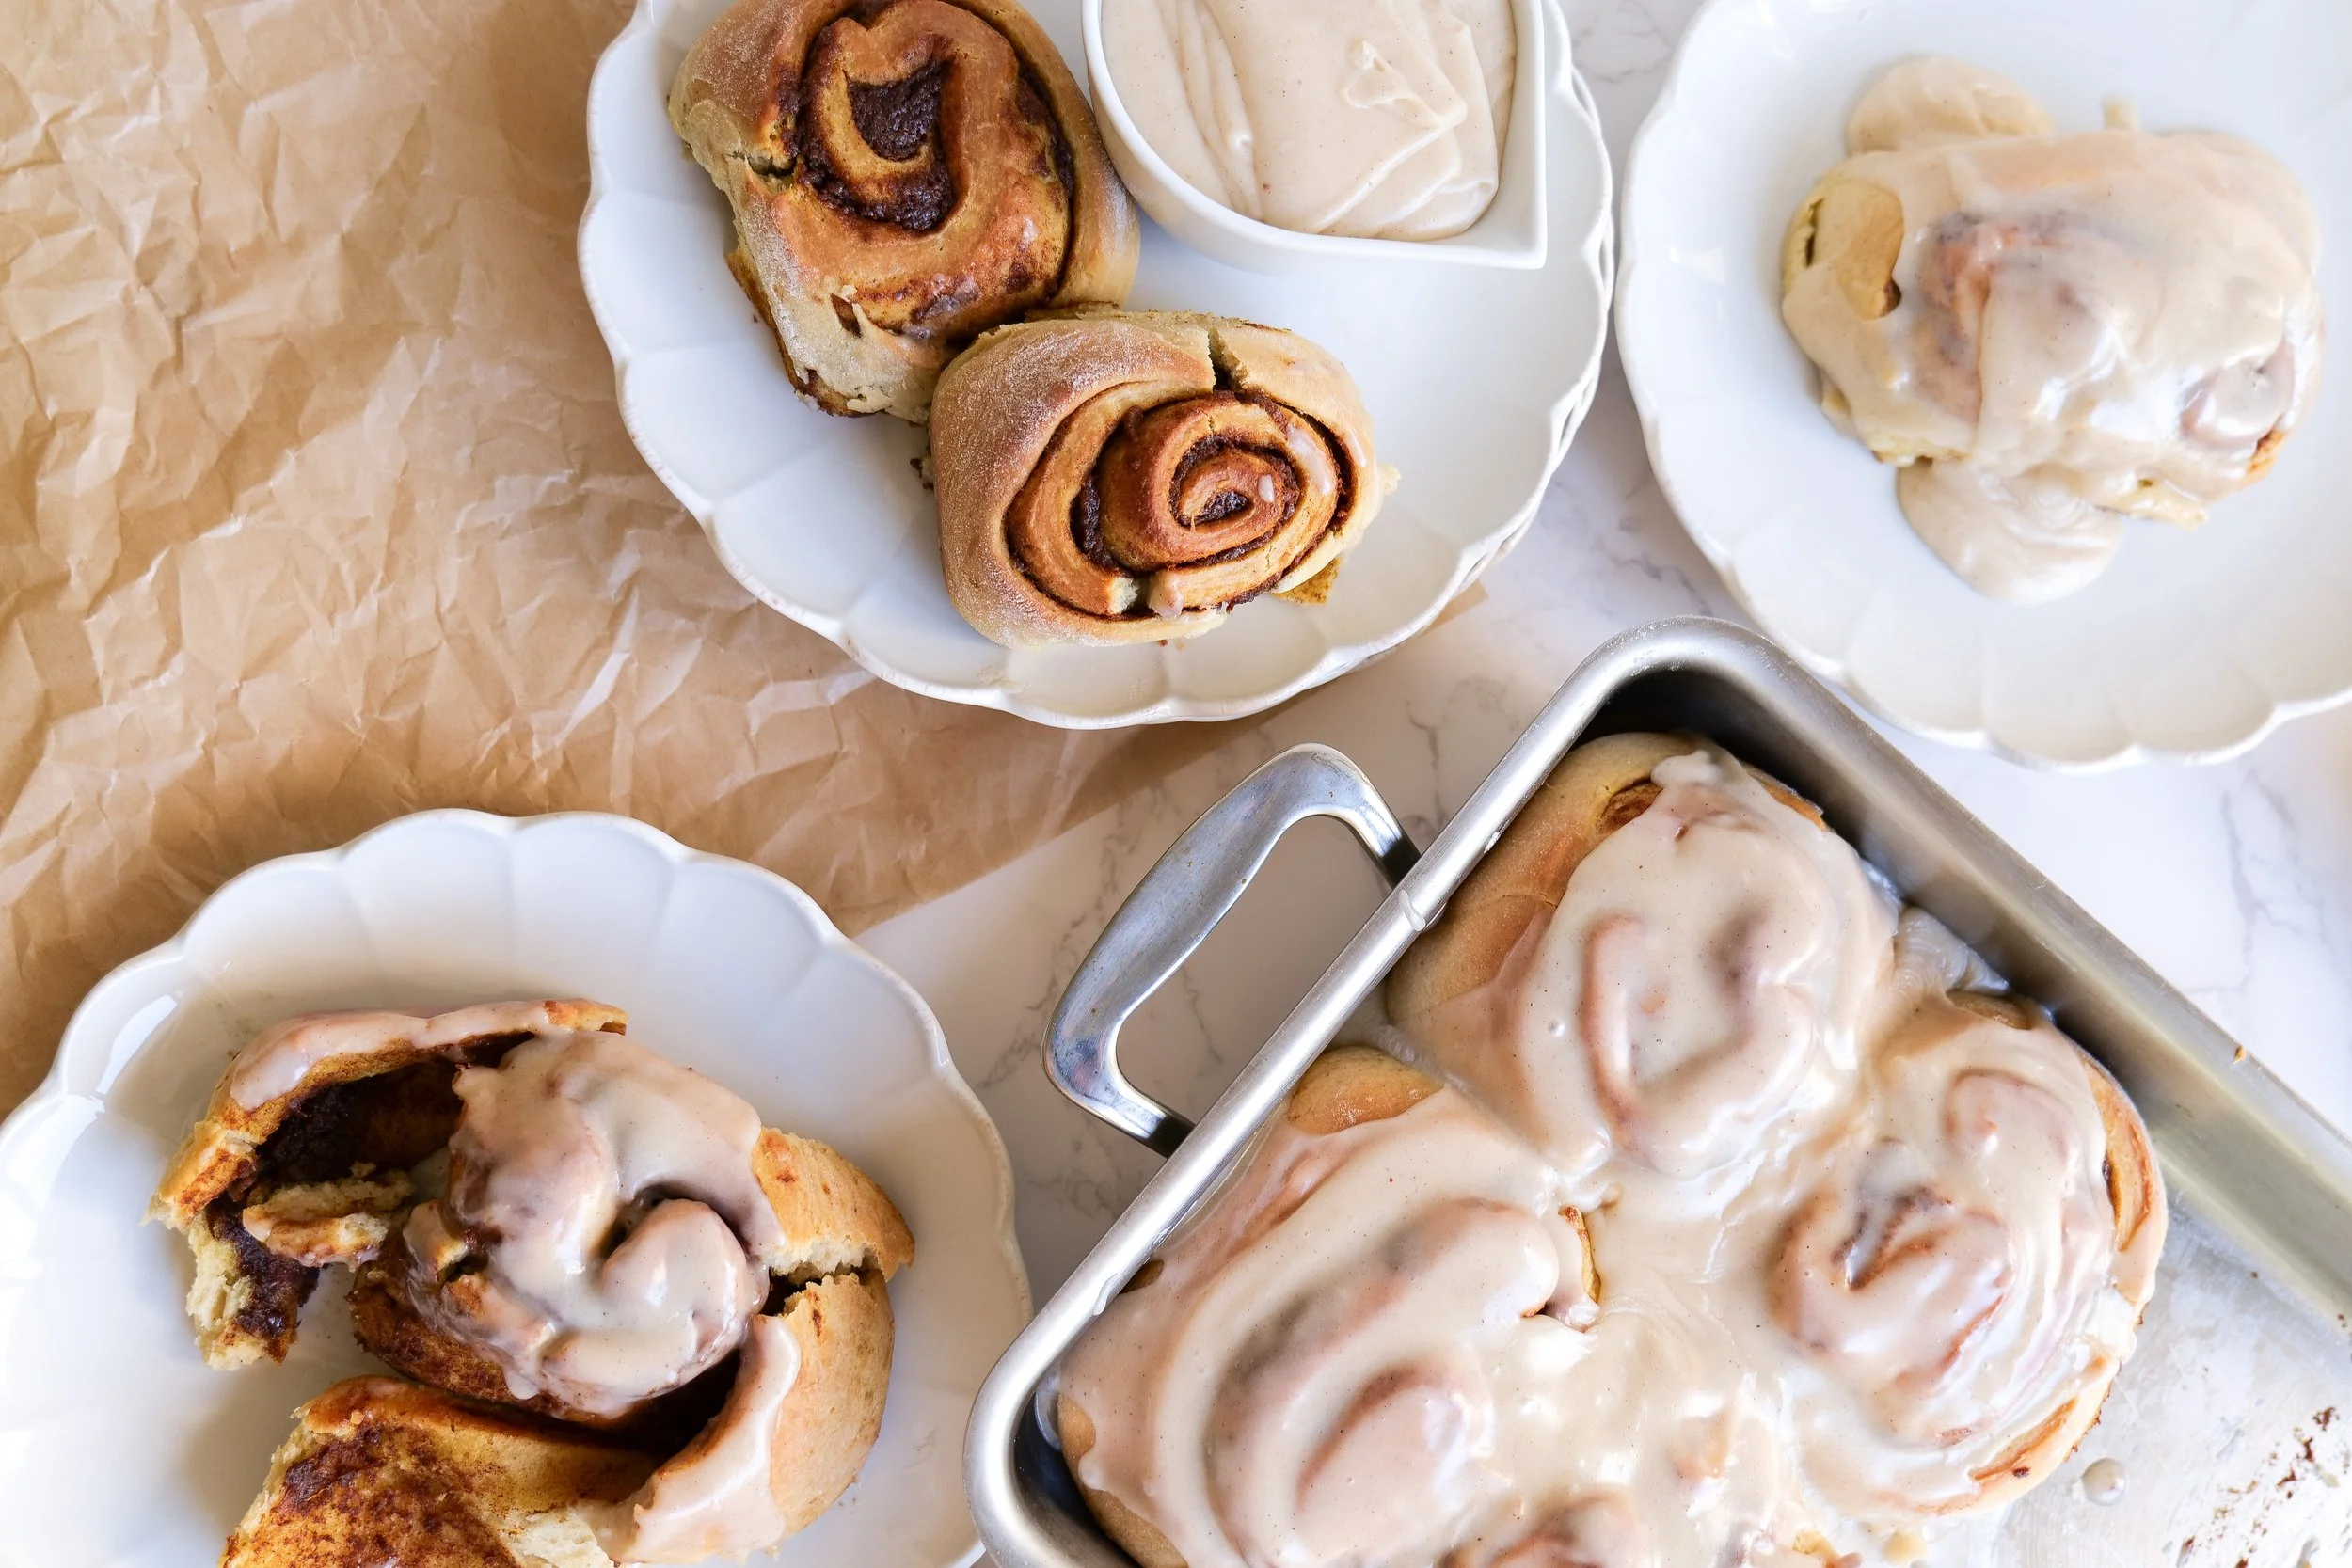
Variation 3: Swap out the cream cheese icing for pumpkin cream cheese icing for an extra-special treat by adding in pumpkin puree again. The pumpkin cream cheese icing adds a unique flavor and pairs perfectly with the pumpkin cinnamon rolls. You can also add maple to the cream cheese frosting to make a maple cream cheese for an even more unique flavor.
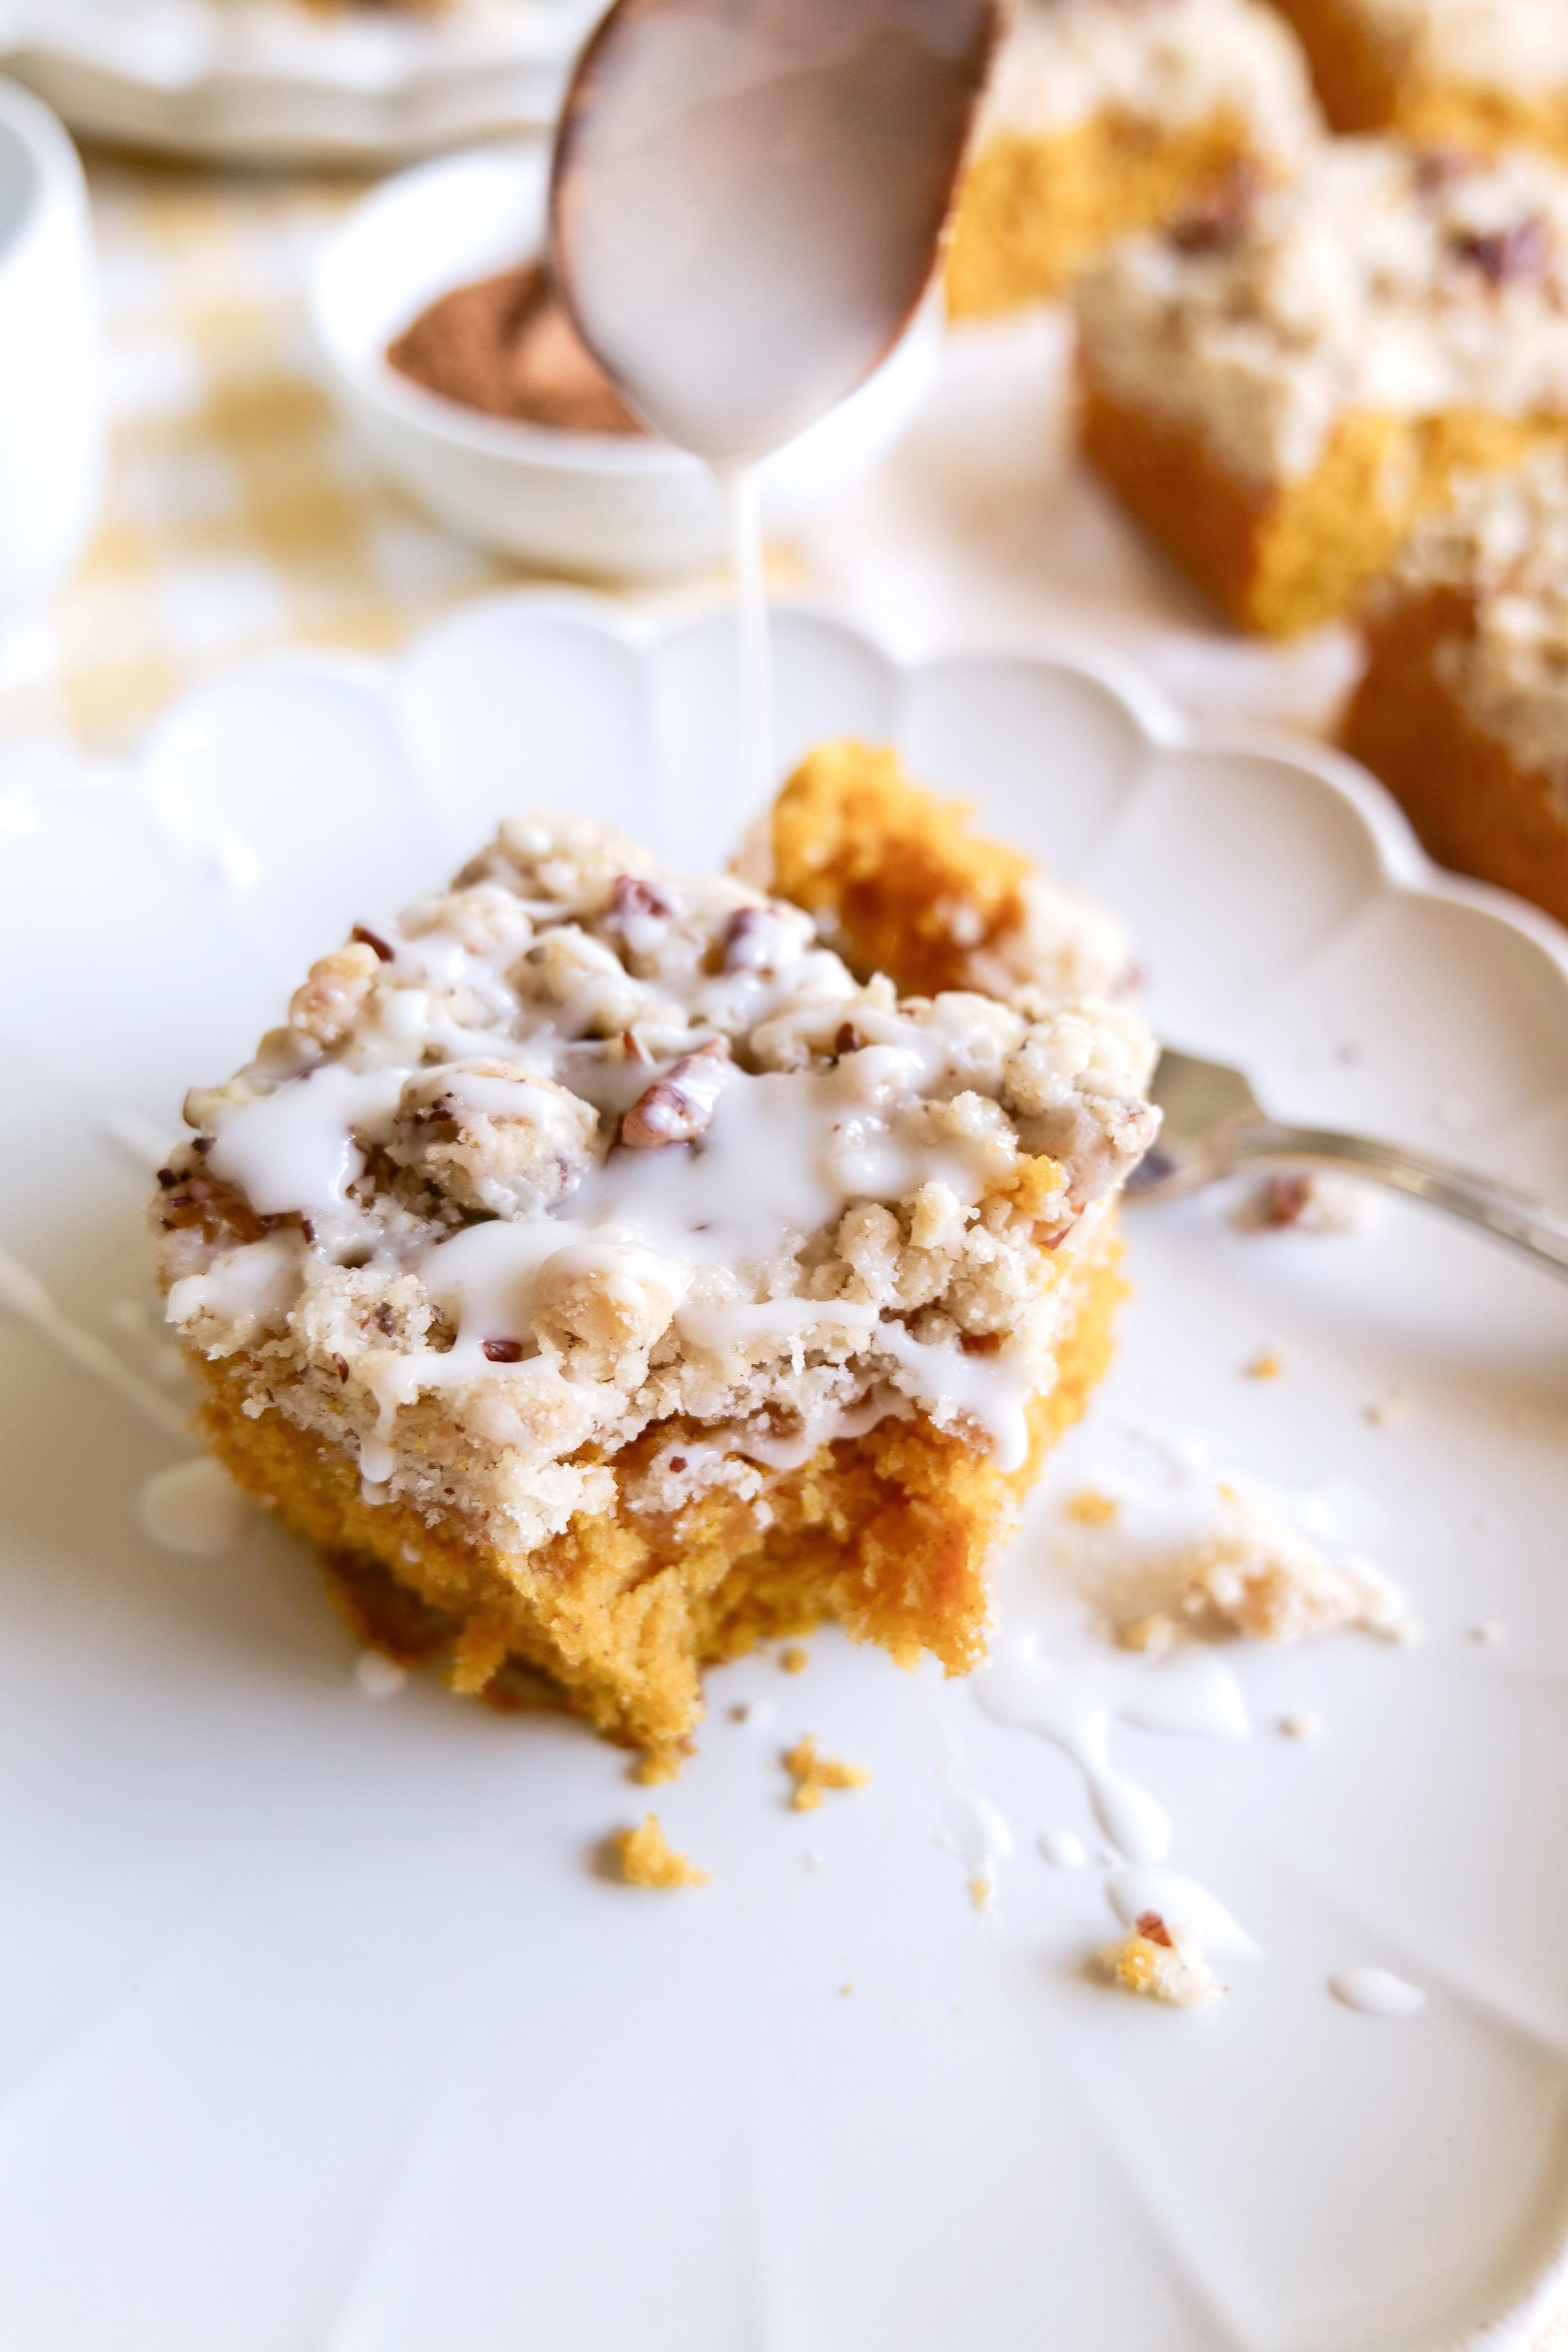
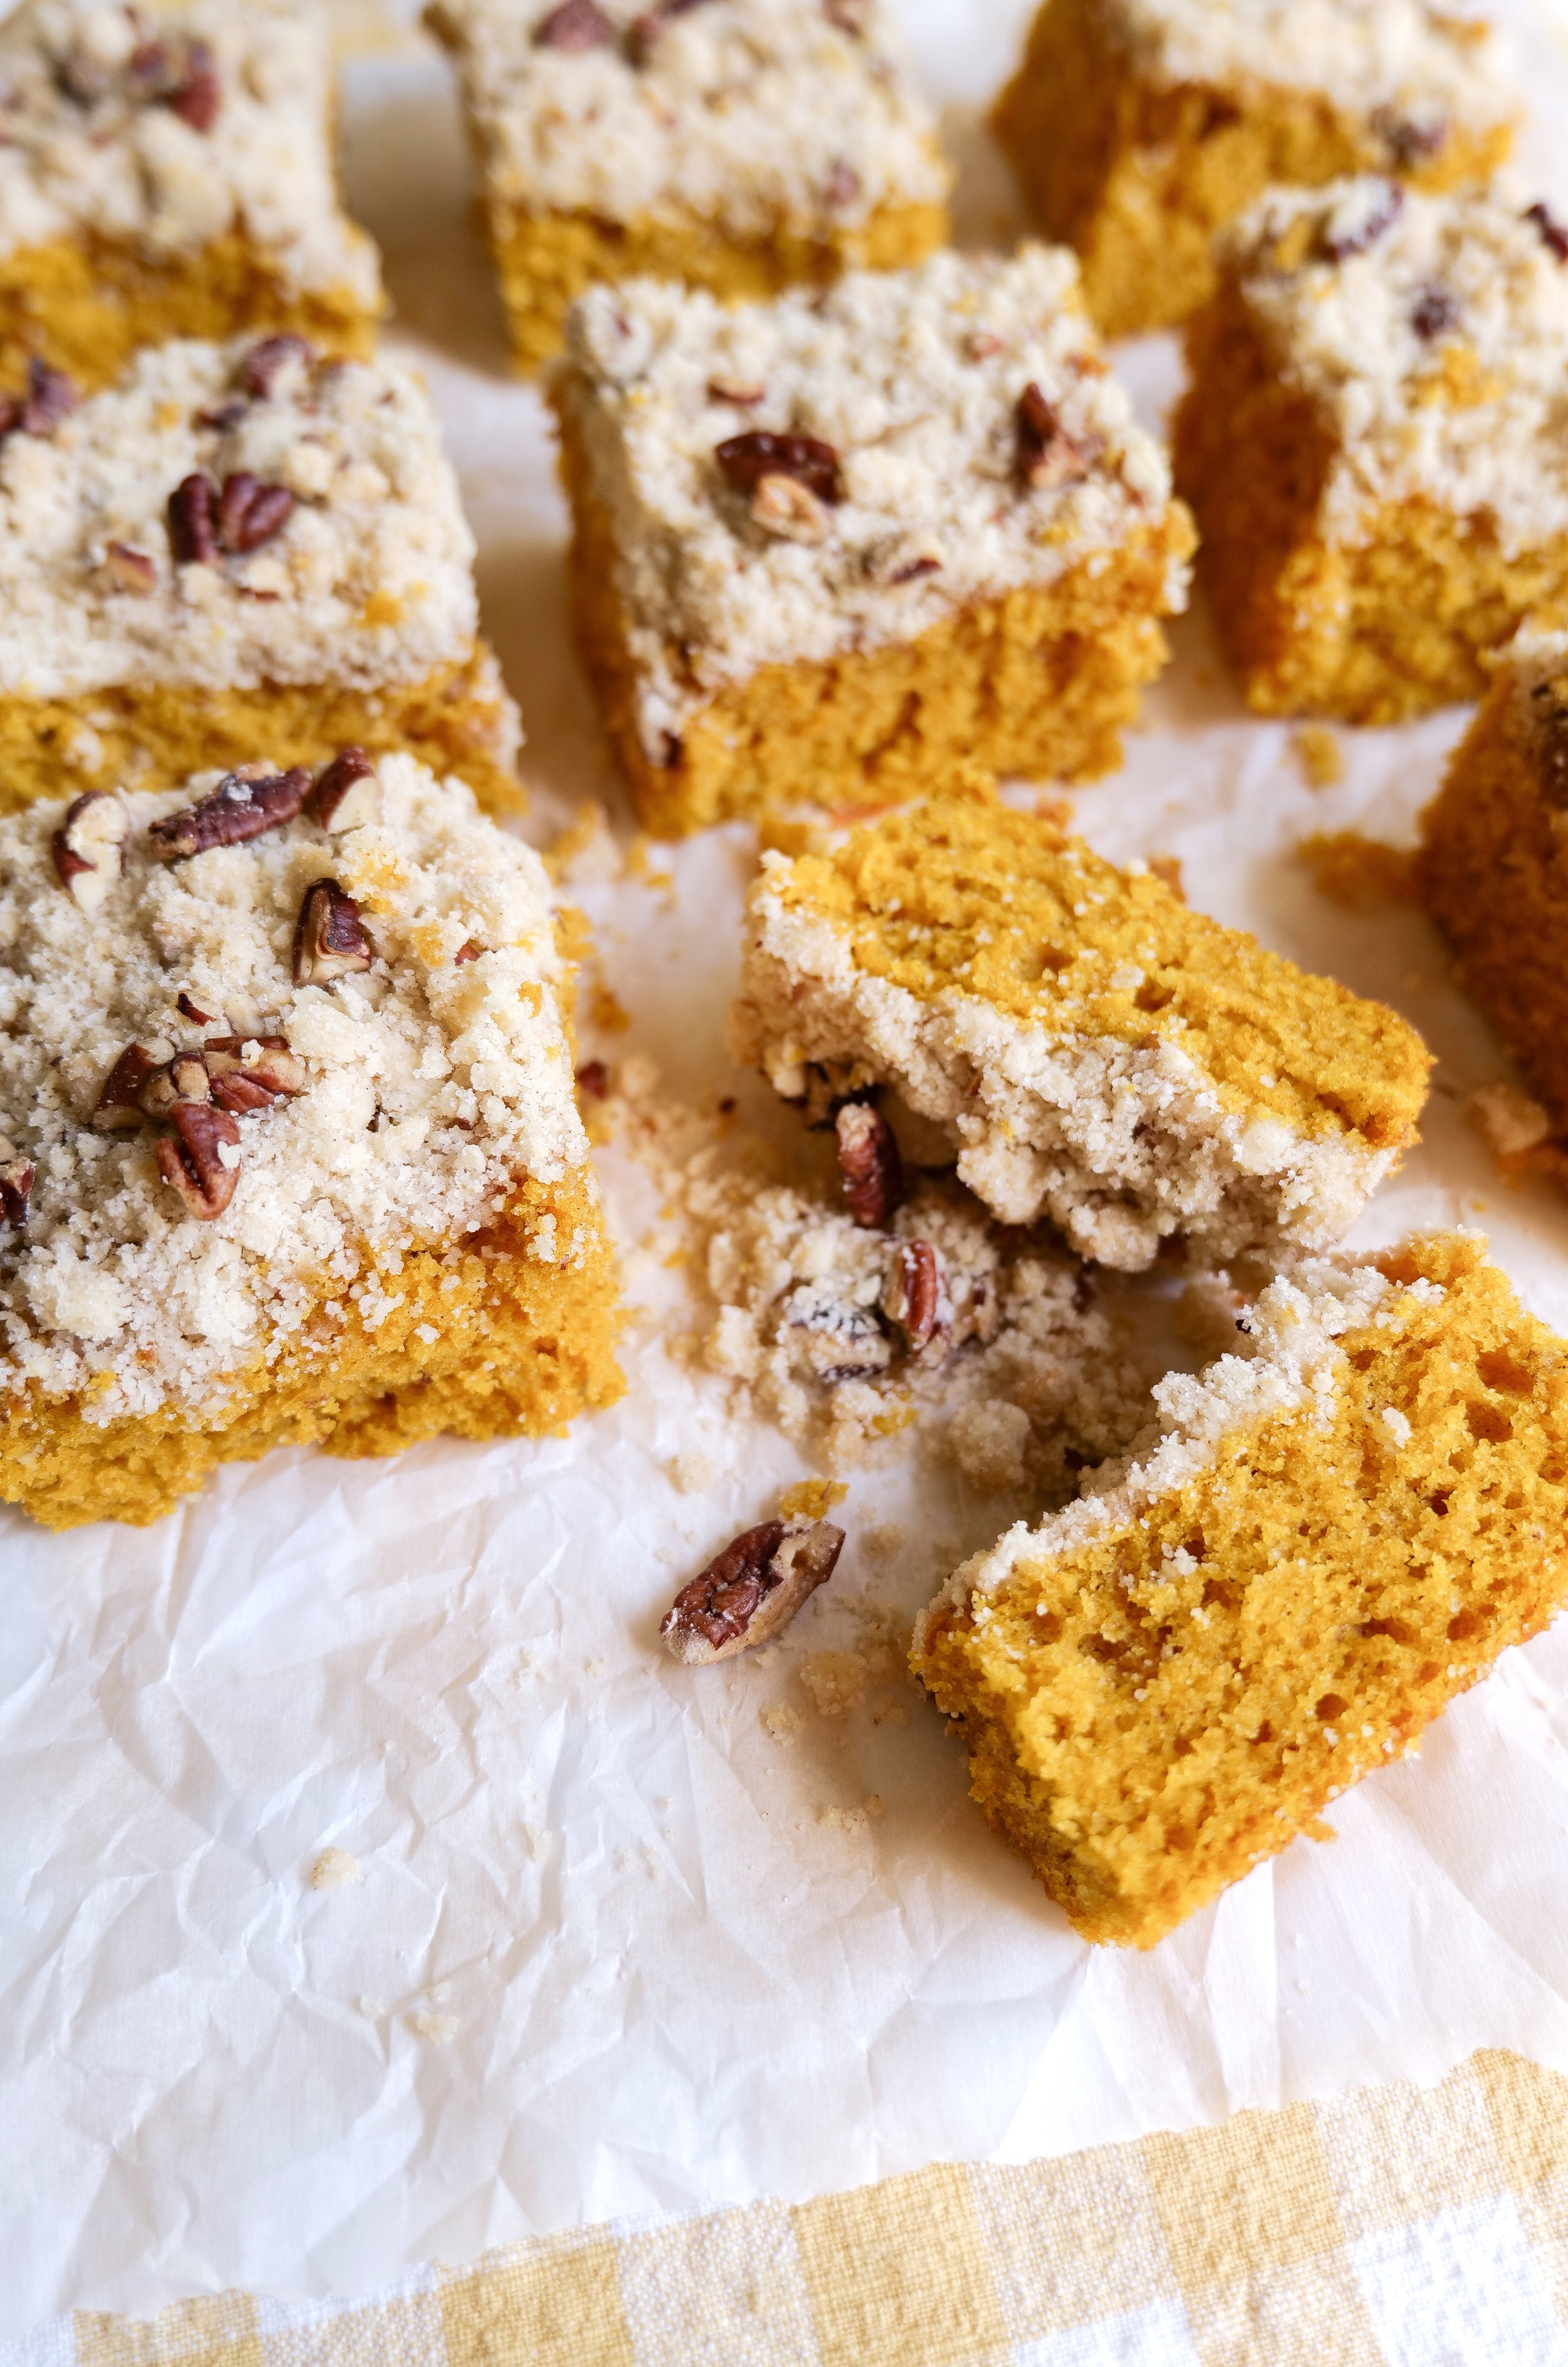
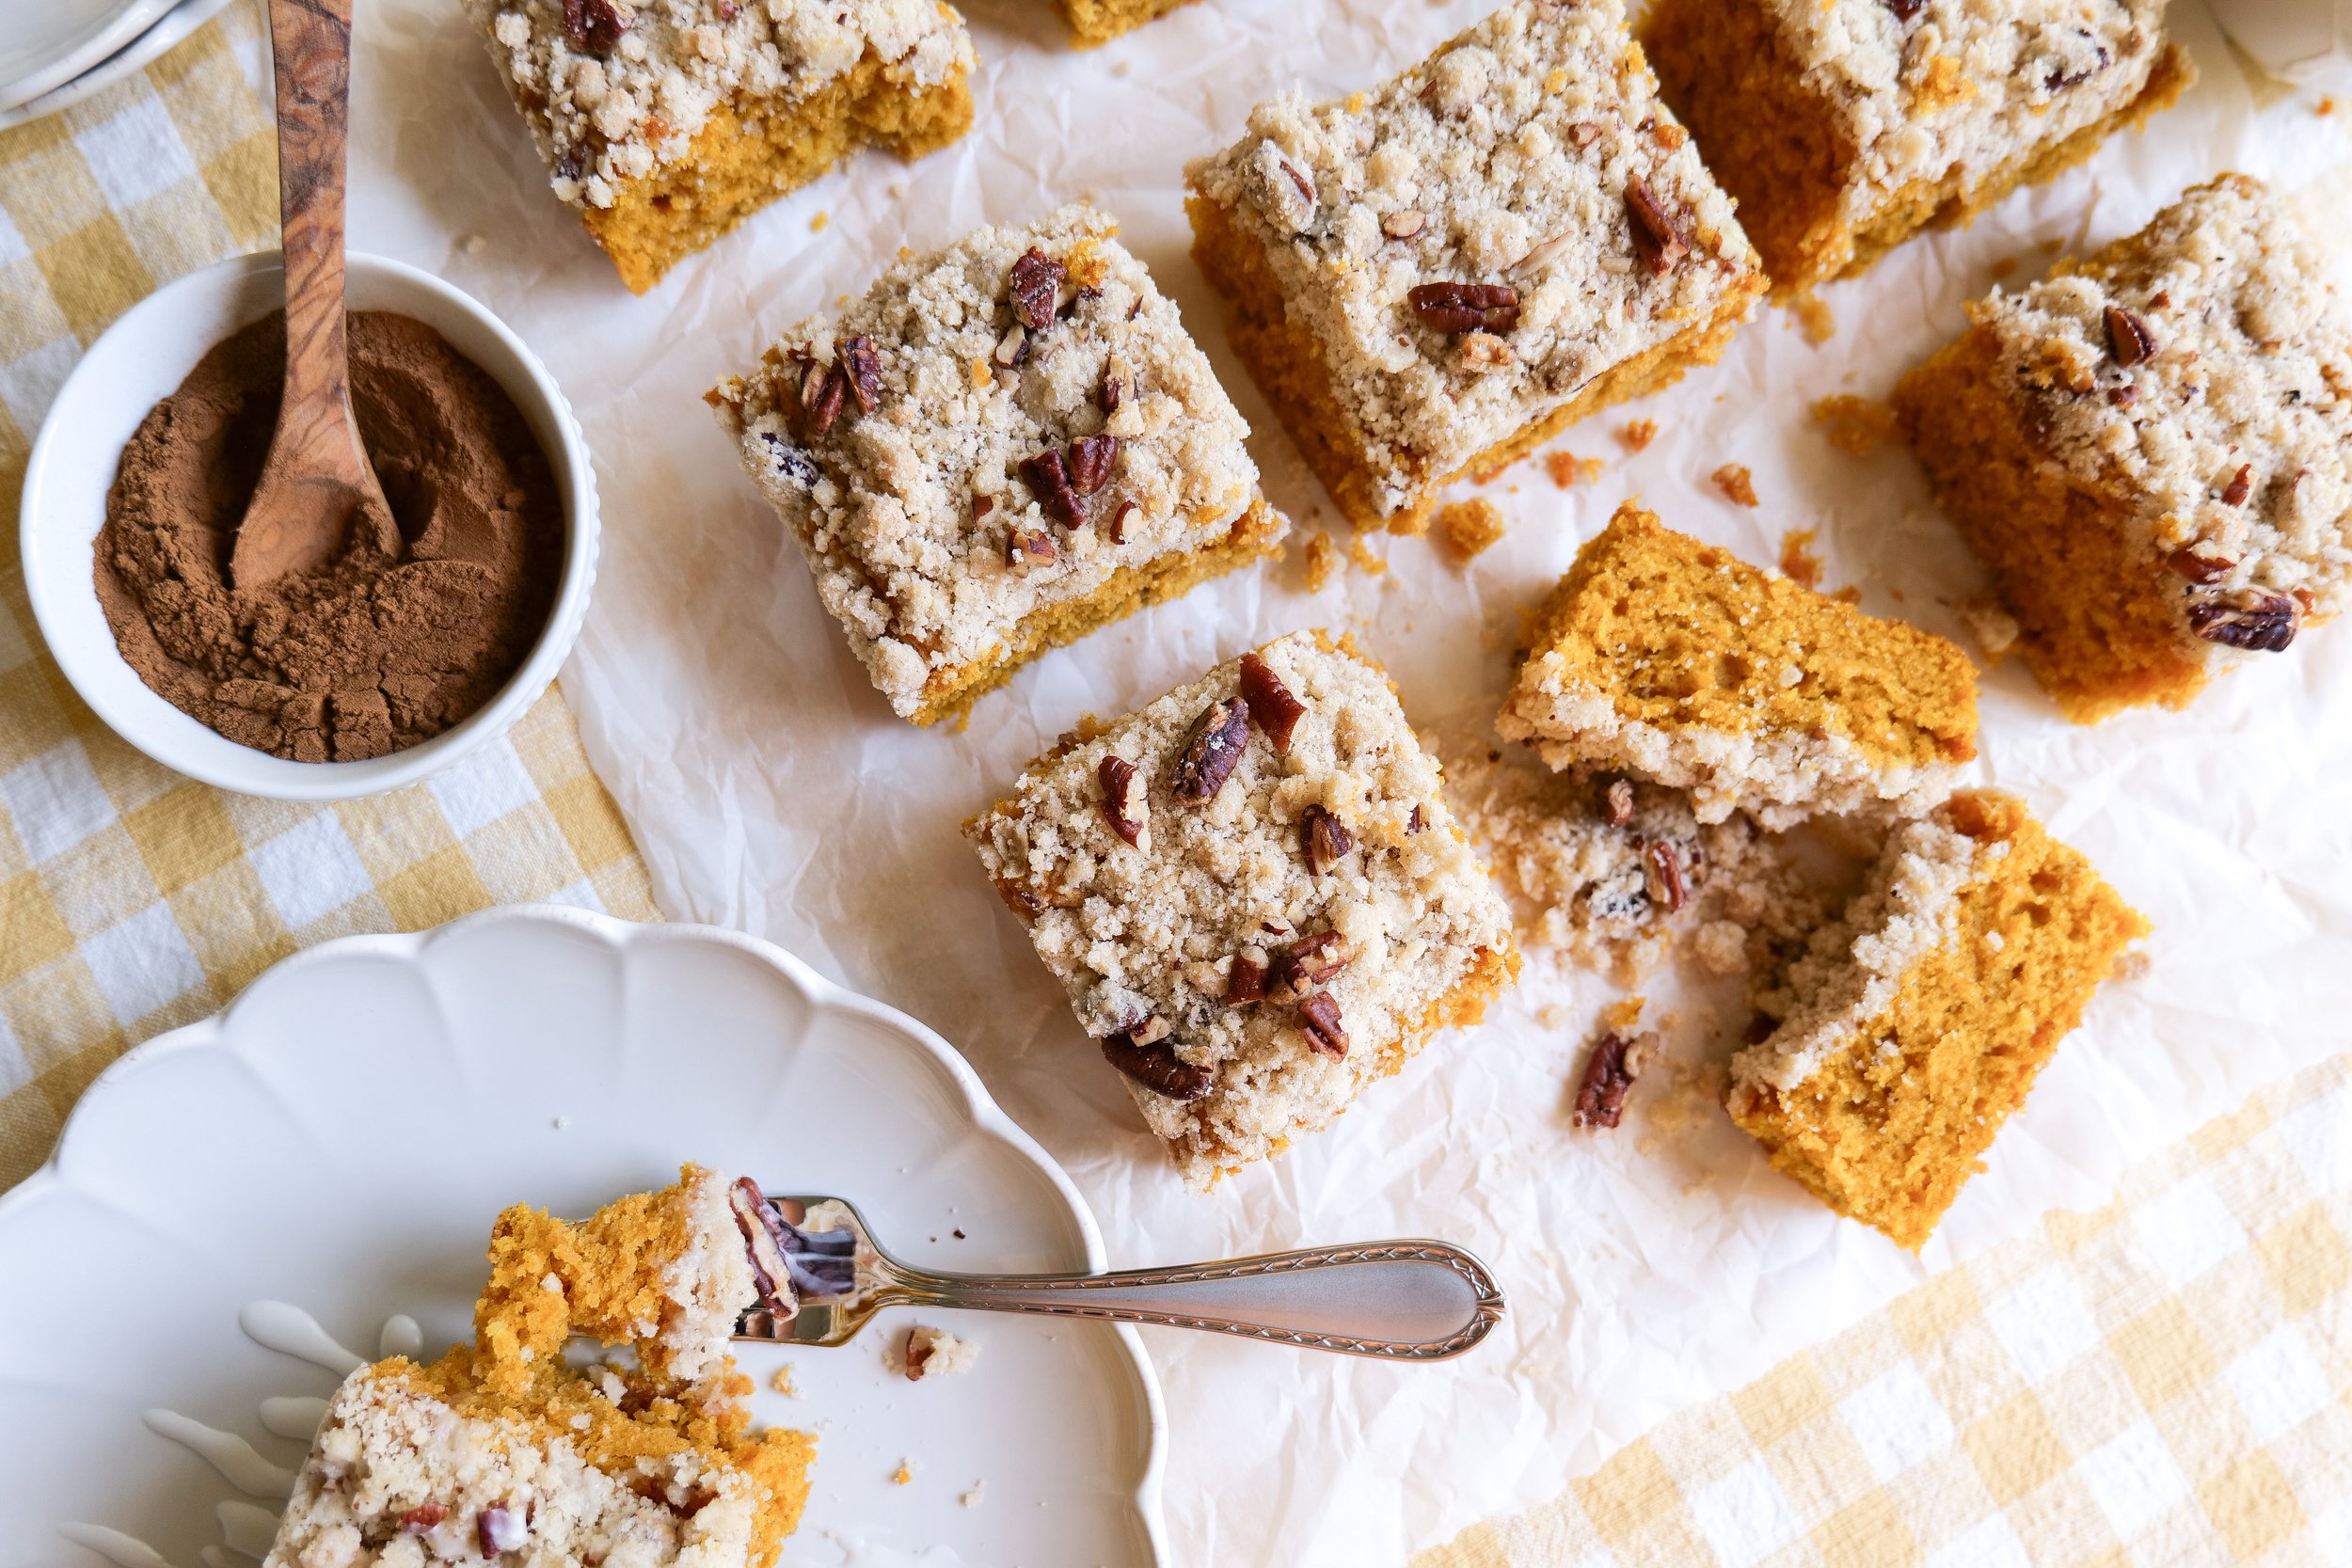
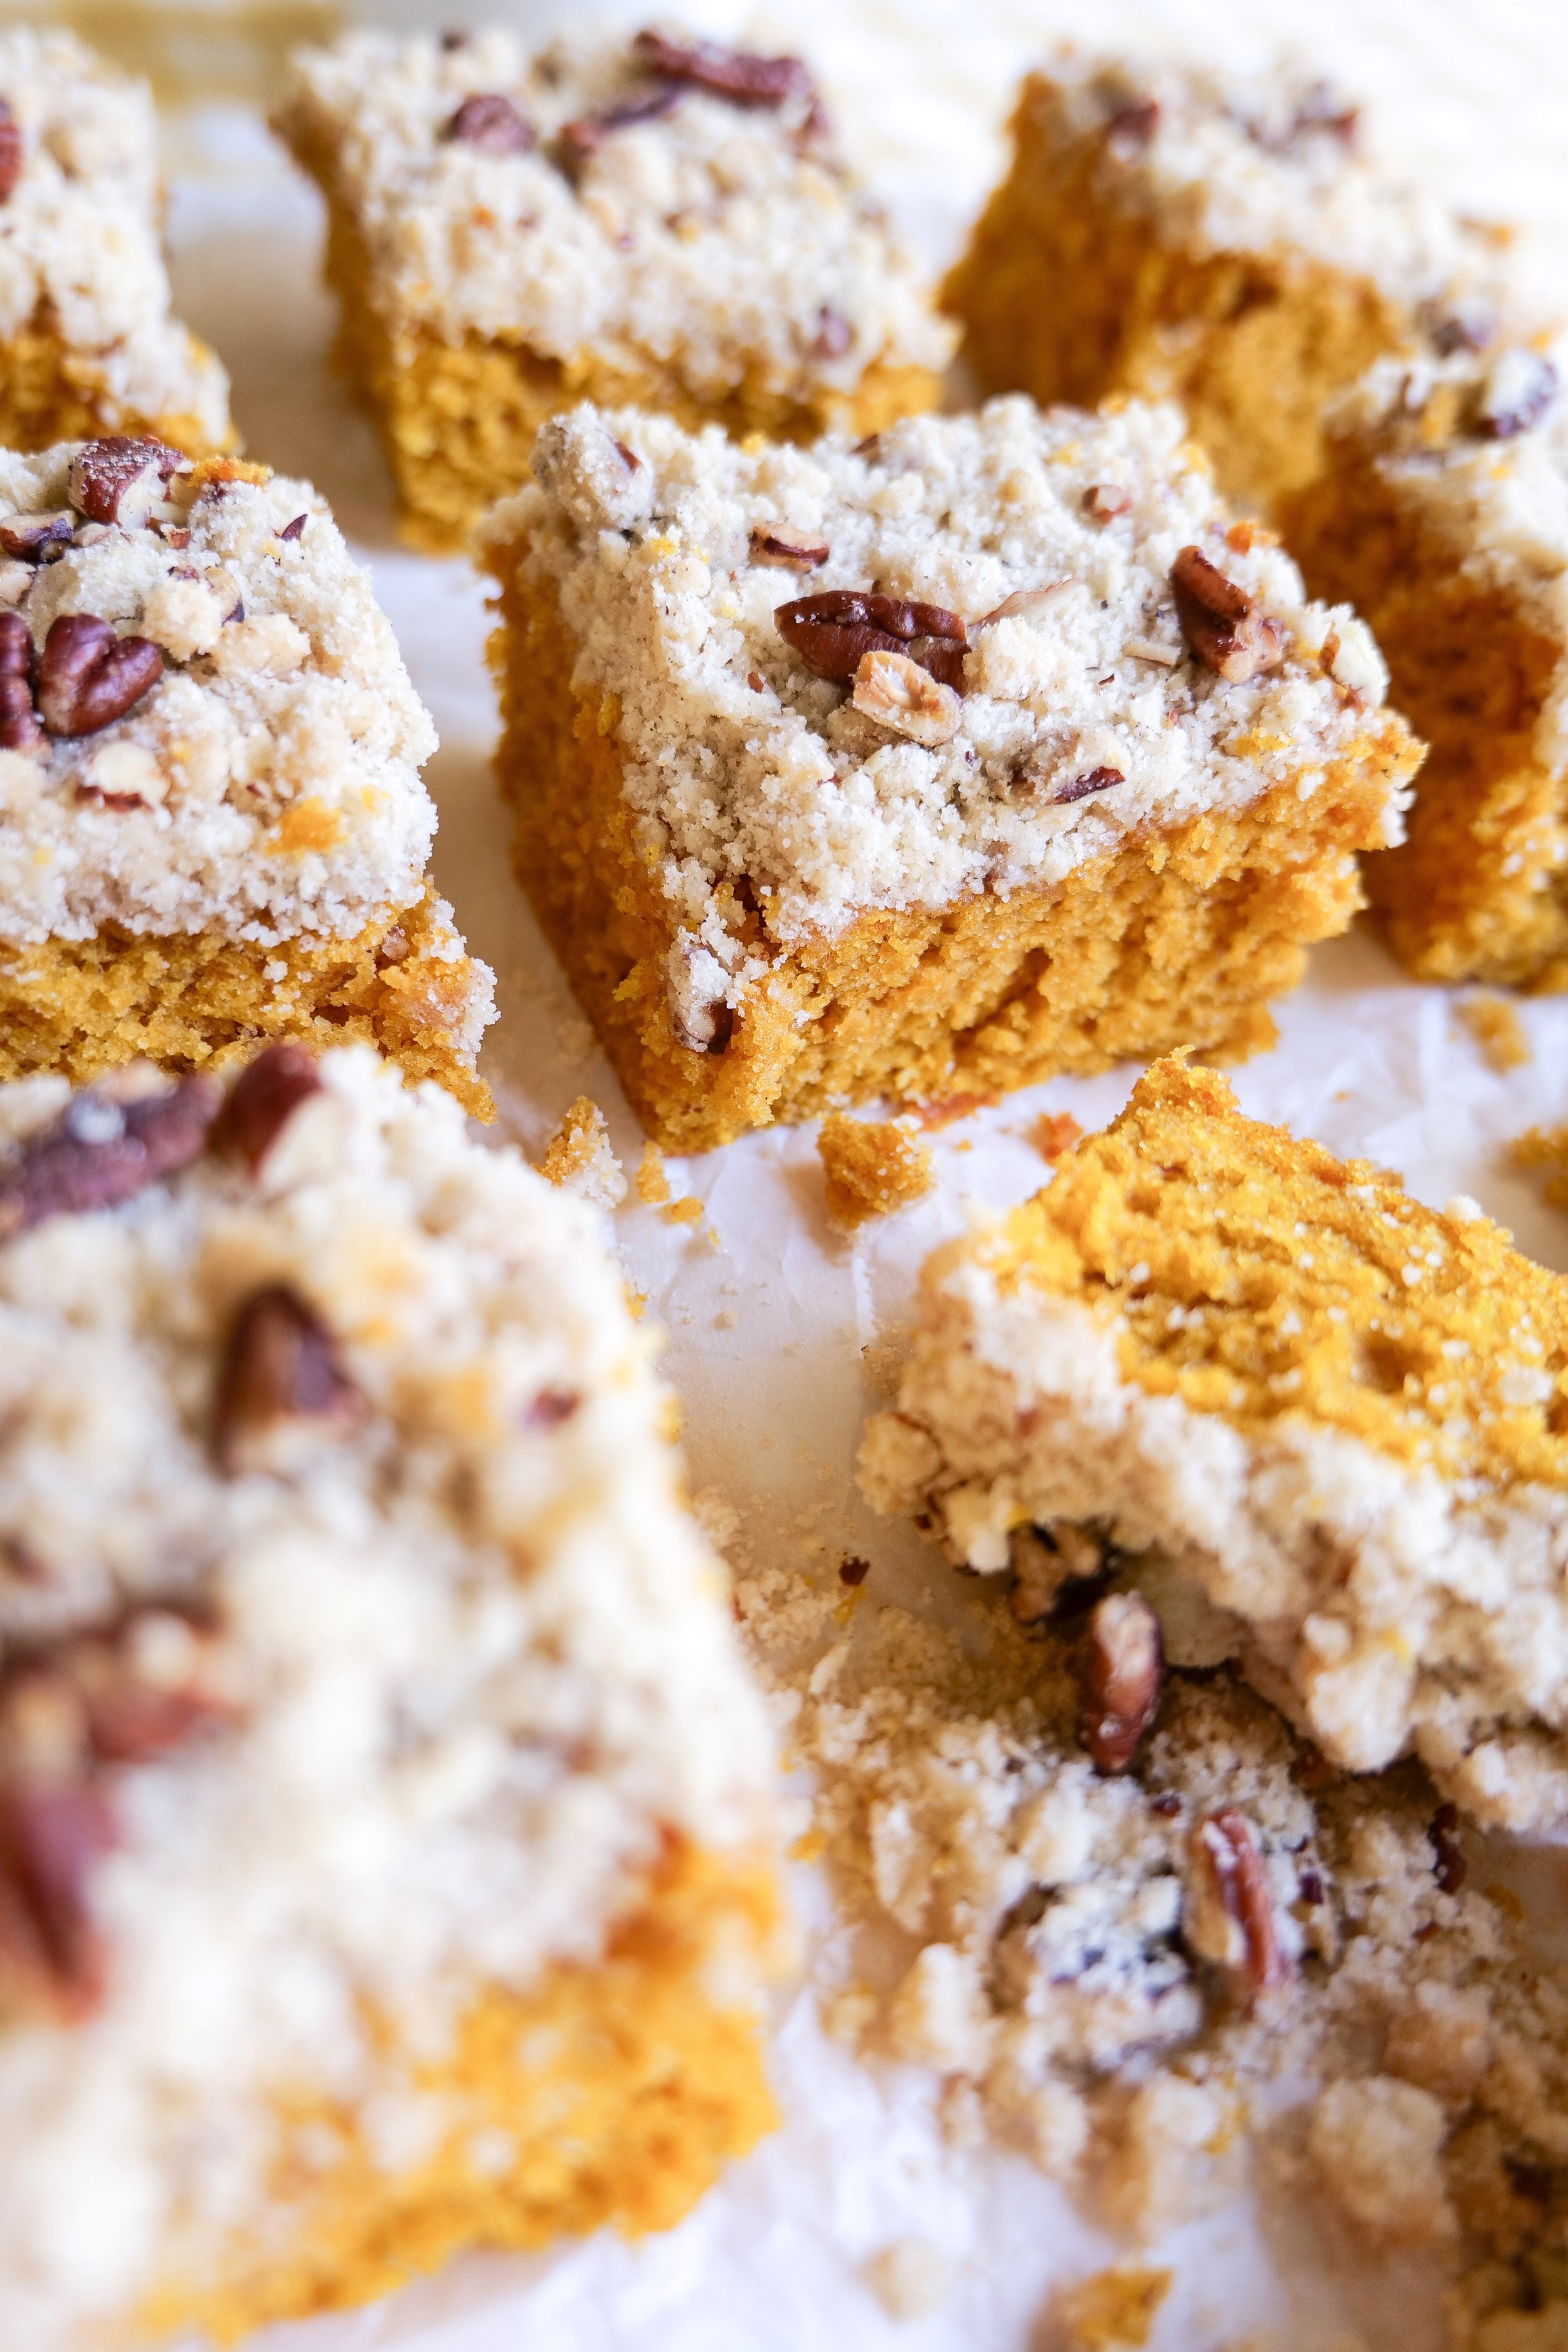
Variation 4: Top the rolls with a streusel topping for a crunchy addition. The streusel topping adds texture and a slight sweetness to the rolls.
Variation 5: Add dried cranberries or chunks of chocolate chips for a sweet surprise. The dried cranberries or raisins add a hint of sweetness and texture to the rolls.
Variation 6: Substitute the granulated sugar for light brown or dark bown sugar for a deeper flavor. The light brown sugar adds a deep molasses flavor to the rolls and makes them even more delicious.
These variations make pumpkin cinnamon rolls with cream cheese icing a delicious and unique treat. With these variations, you can enjoy the flavors of Fall deliciously and uniquely.

Can the Pumpkin Cinnamon Rolls be made without Cream Cheese Icing?
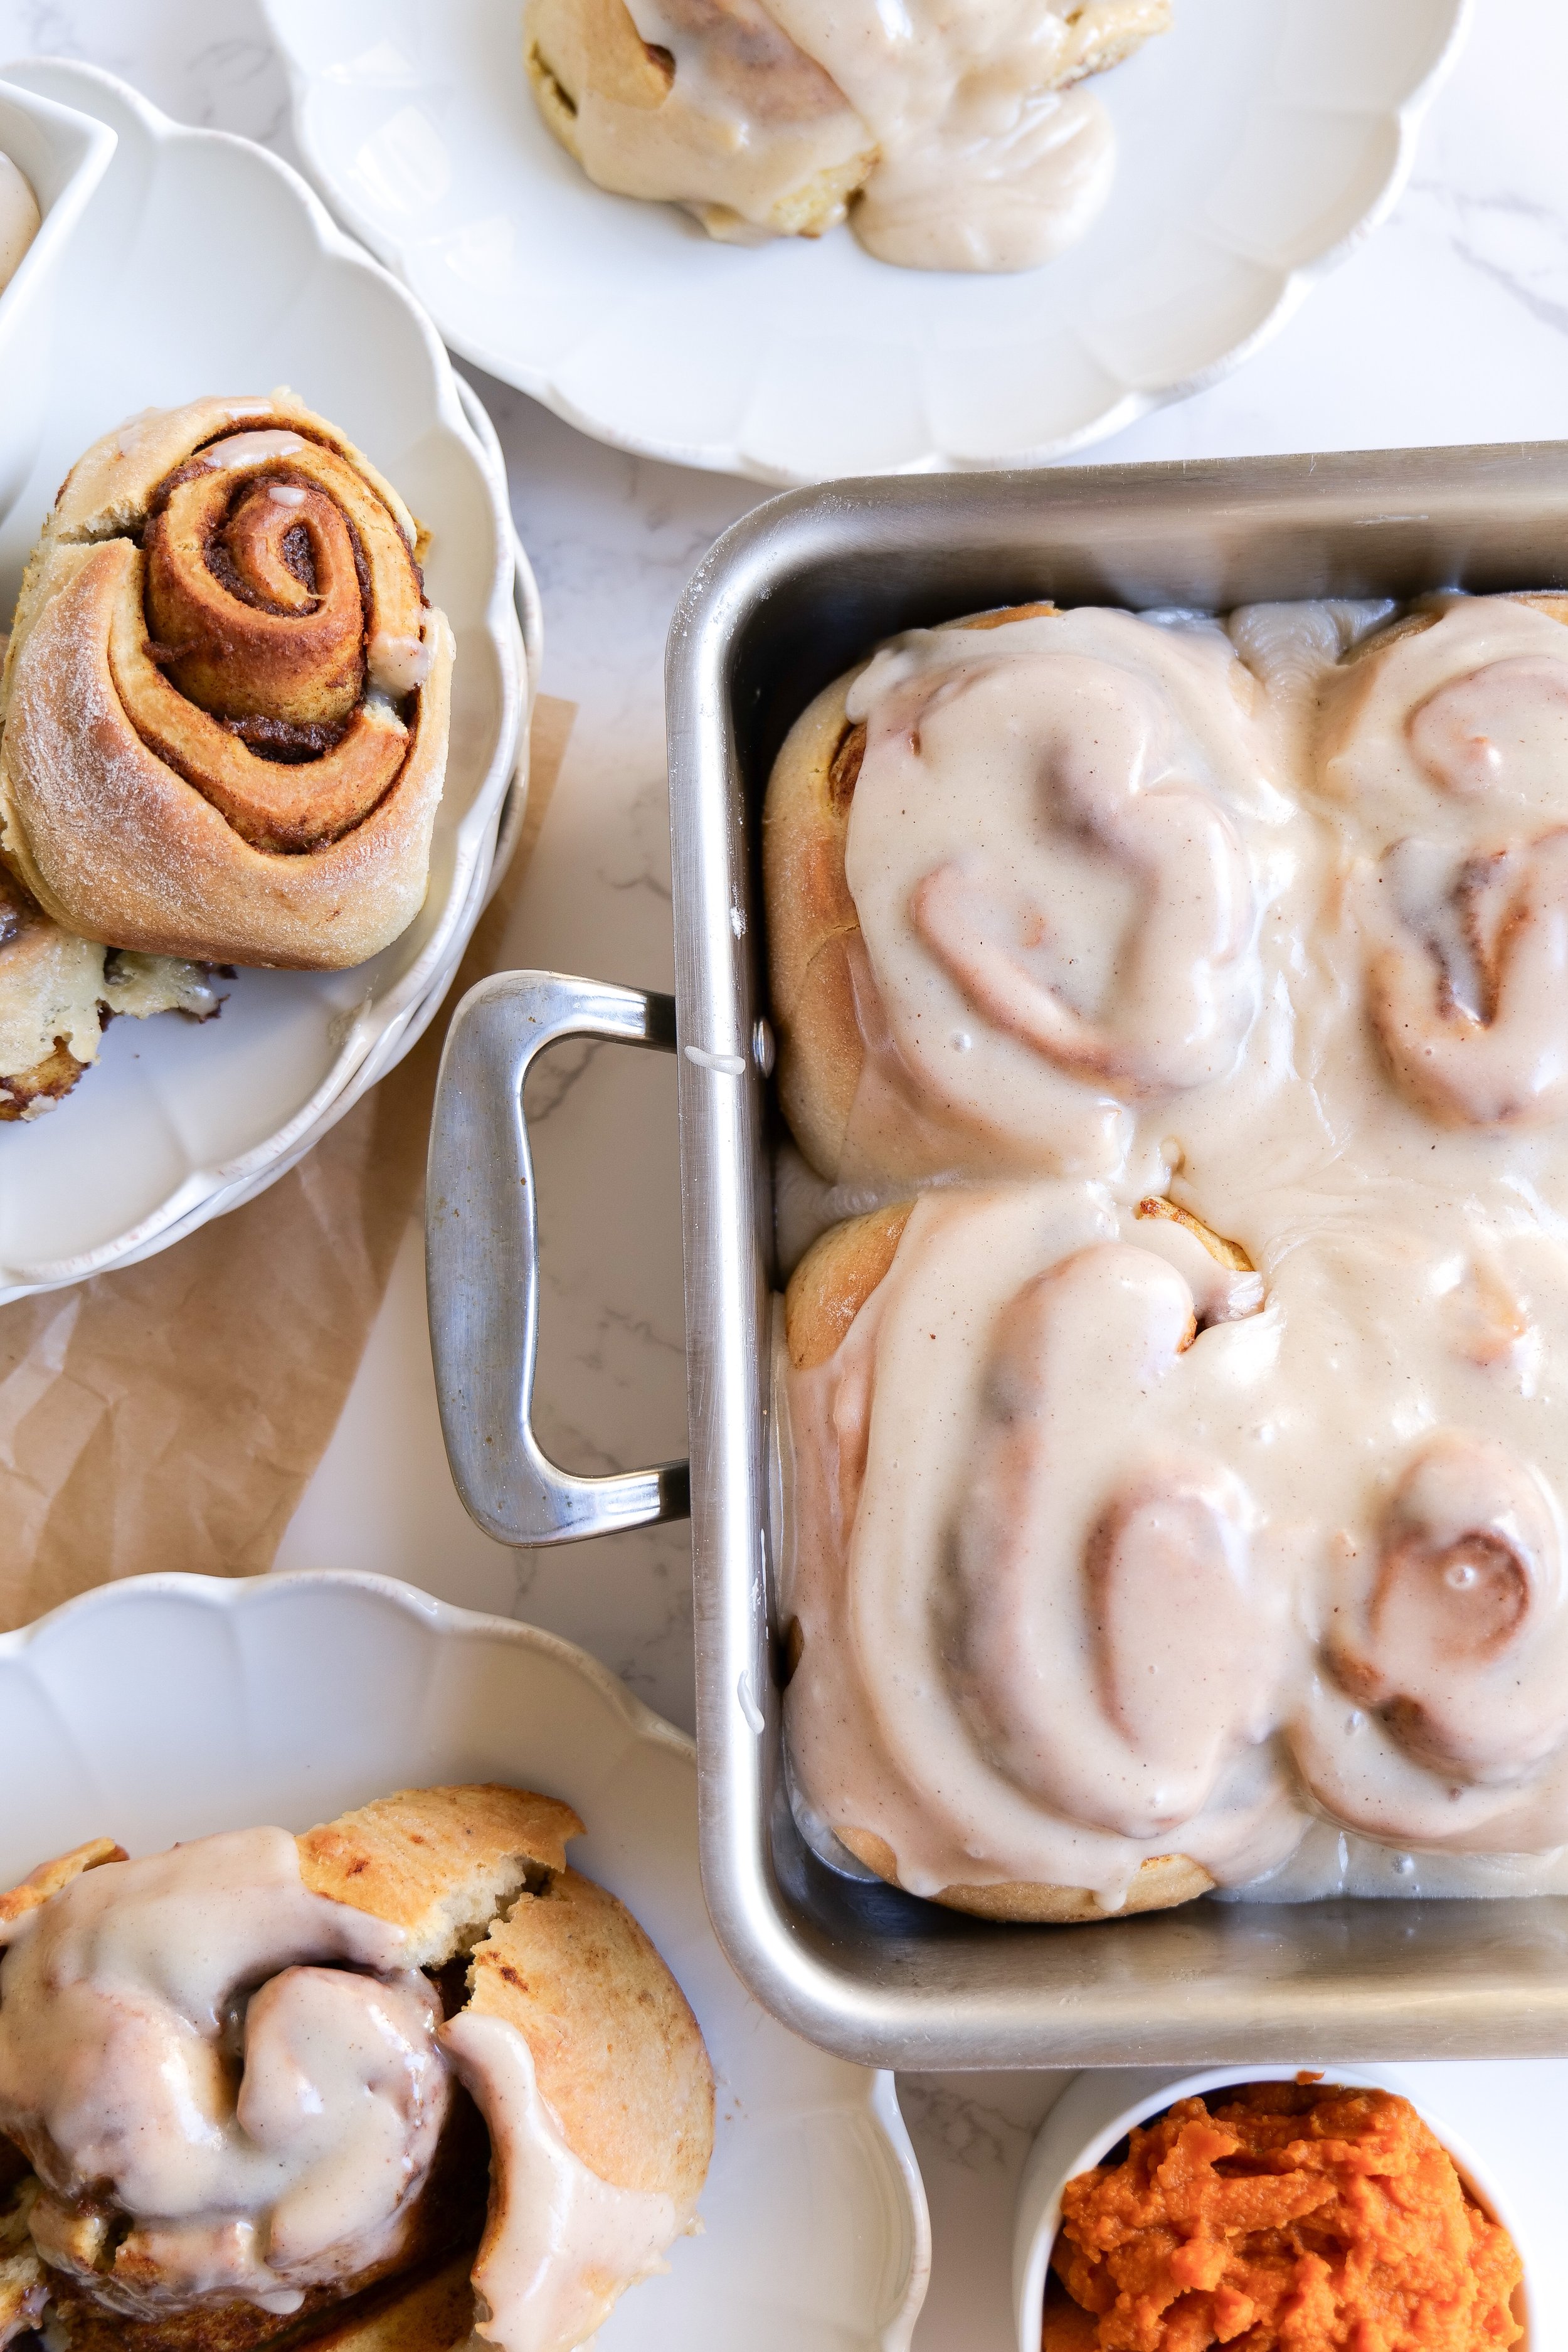
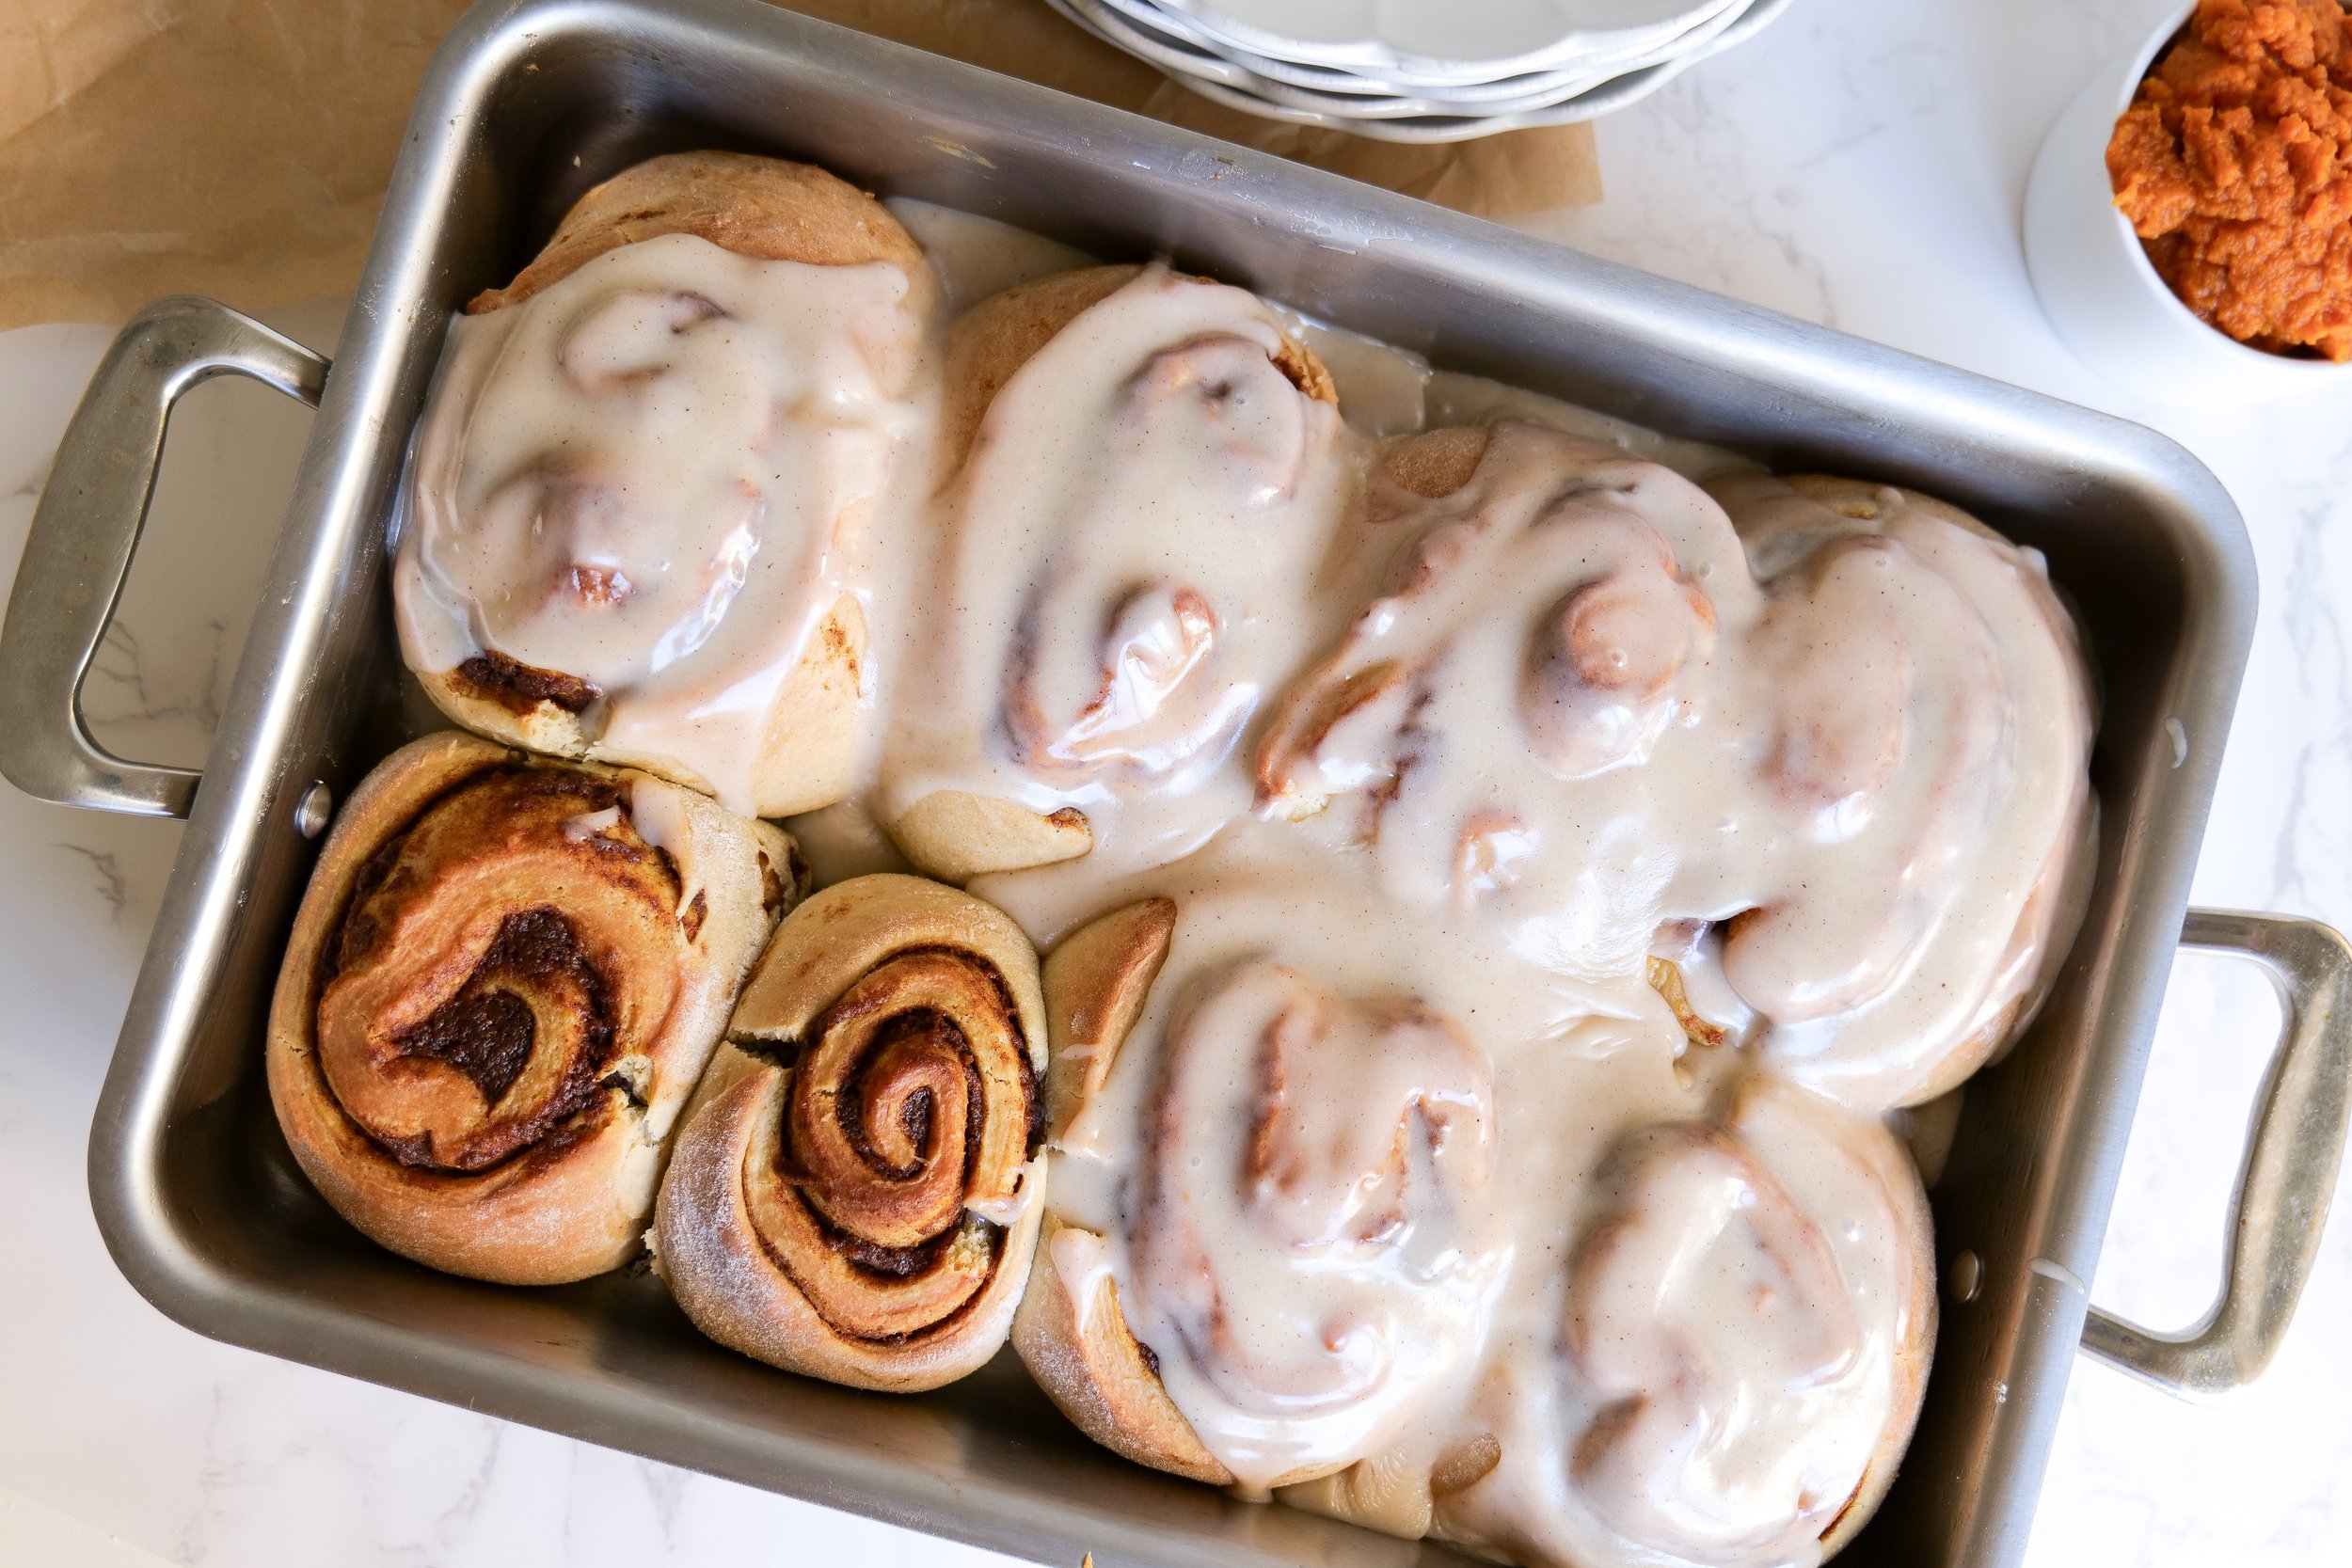
If you're looking for a delicious Fall treat, look no further than these Pumpkin Cinnamon Rolls! These delicious rolls are made with pumpkin puree and are spiced with cinnamon, making them the perfect way to enjoy the flavors of the season. But what if you don't want to use cream cheese icing? Can these rolls still be made without the icing? The answer is yes! To make the rolls without the cream cheese icing, simply omit the cream cheese and icing ingredients from the recipe. You can still enjoy a delicious treat without the cream cheese icing by adding a bit of cinnamon and sugar to the top of the rolls or even some melted butter for a delicious glaze. You can also serve the cream cheese frosting on the side for an option to guests. These Pumpkin Cinnamon Rolls are a great way to enjoy the flavors of the season. With or without the cream cheese icing, these delicious rolls are sure to be a hit with your family and friends.

Ingredients
Dough
4 1/2 tsp fact-acting dry yeast
1/2 cup sugar
1/2 cup butter
1 egg
1 tsp salt
4 cups flour
1/4 cup warm water
1 cup milk
1 tsp pumpkin spice
Filling
1/2 cup melted butter
1/2 cup pumpkin puree
1/2 cup sugar
2 tbsp cinnamon
Icing
8 oz cream cheese
1/2 cup butter
4 cups powdered sugar
4 tbsp milk
2 tsp vanilla extract
1 tsp pumpkin spice
Step-by-step Instructions
Mix lukewarm water and yeast, and let sit for around 10 minutes to make sure the yeast is still active. You will notice the yeast growing in size.
While the yeast is growing whisk together in another bowl sugar, butter (softened for 15-20 sec on microwave) egg, milk and salt. Add into yeast mixture.
Slowly add in flour and pumpkin spice, once you have added in all 4 cups make sure the dough is slightly sticky and looks like dough. Once you see this mix for another few minutes. If you still don’t see the dough looking proper, add in more flour, 1/4 cup at a time, until you do.
Once you have tipped the bowl over and poured out the dough lightly flour the top and cover with a clean kitchen towel. Form into a ball in your bowl, cover, and let rise in a warm place for 2 hours.
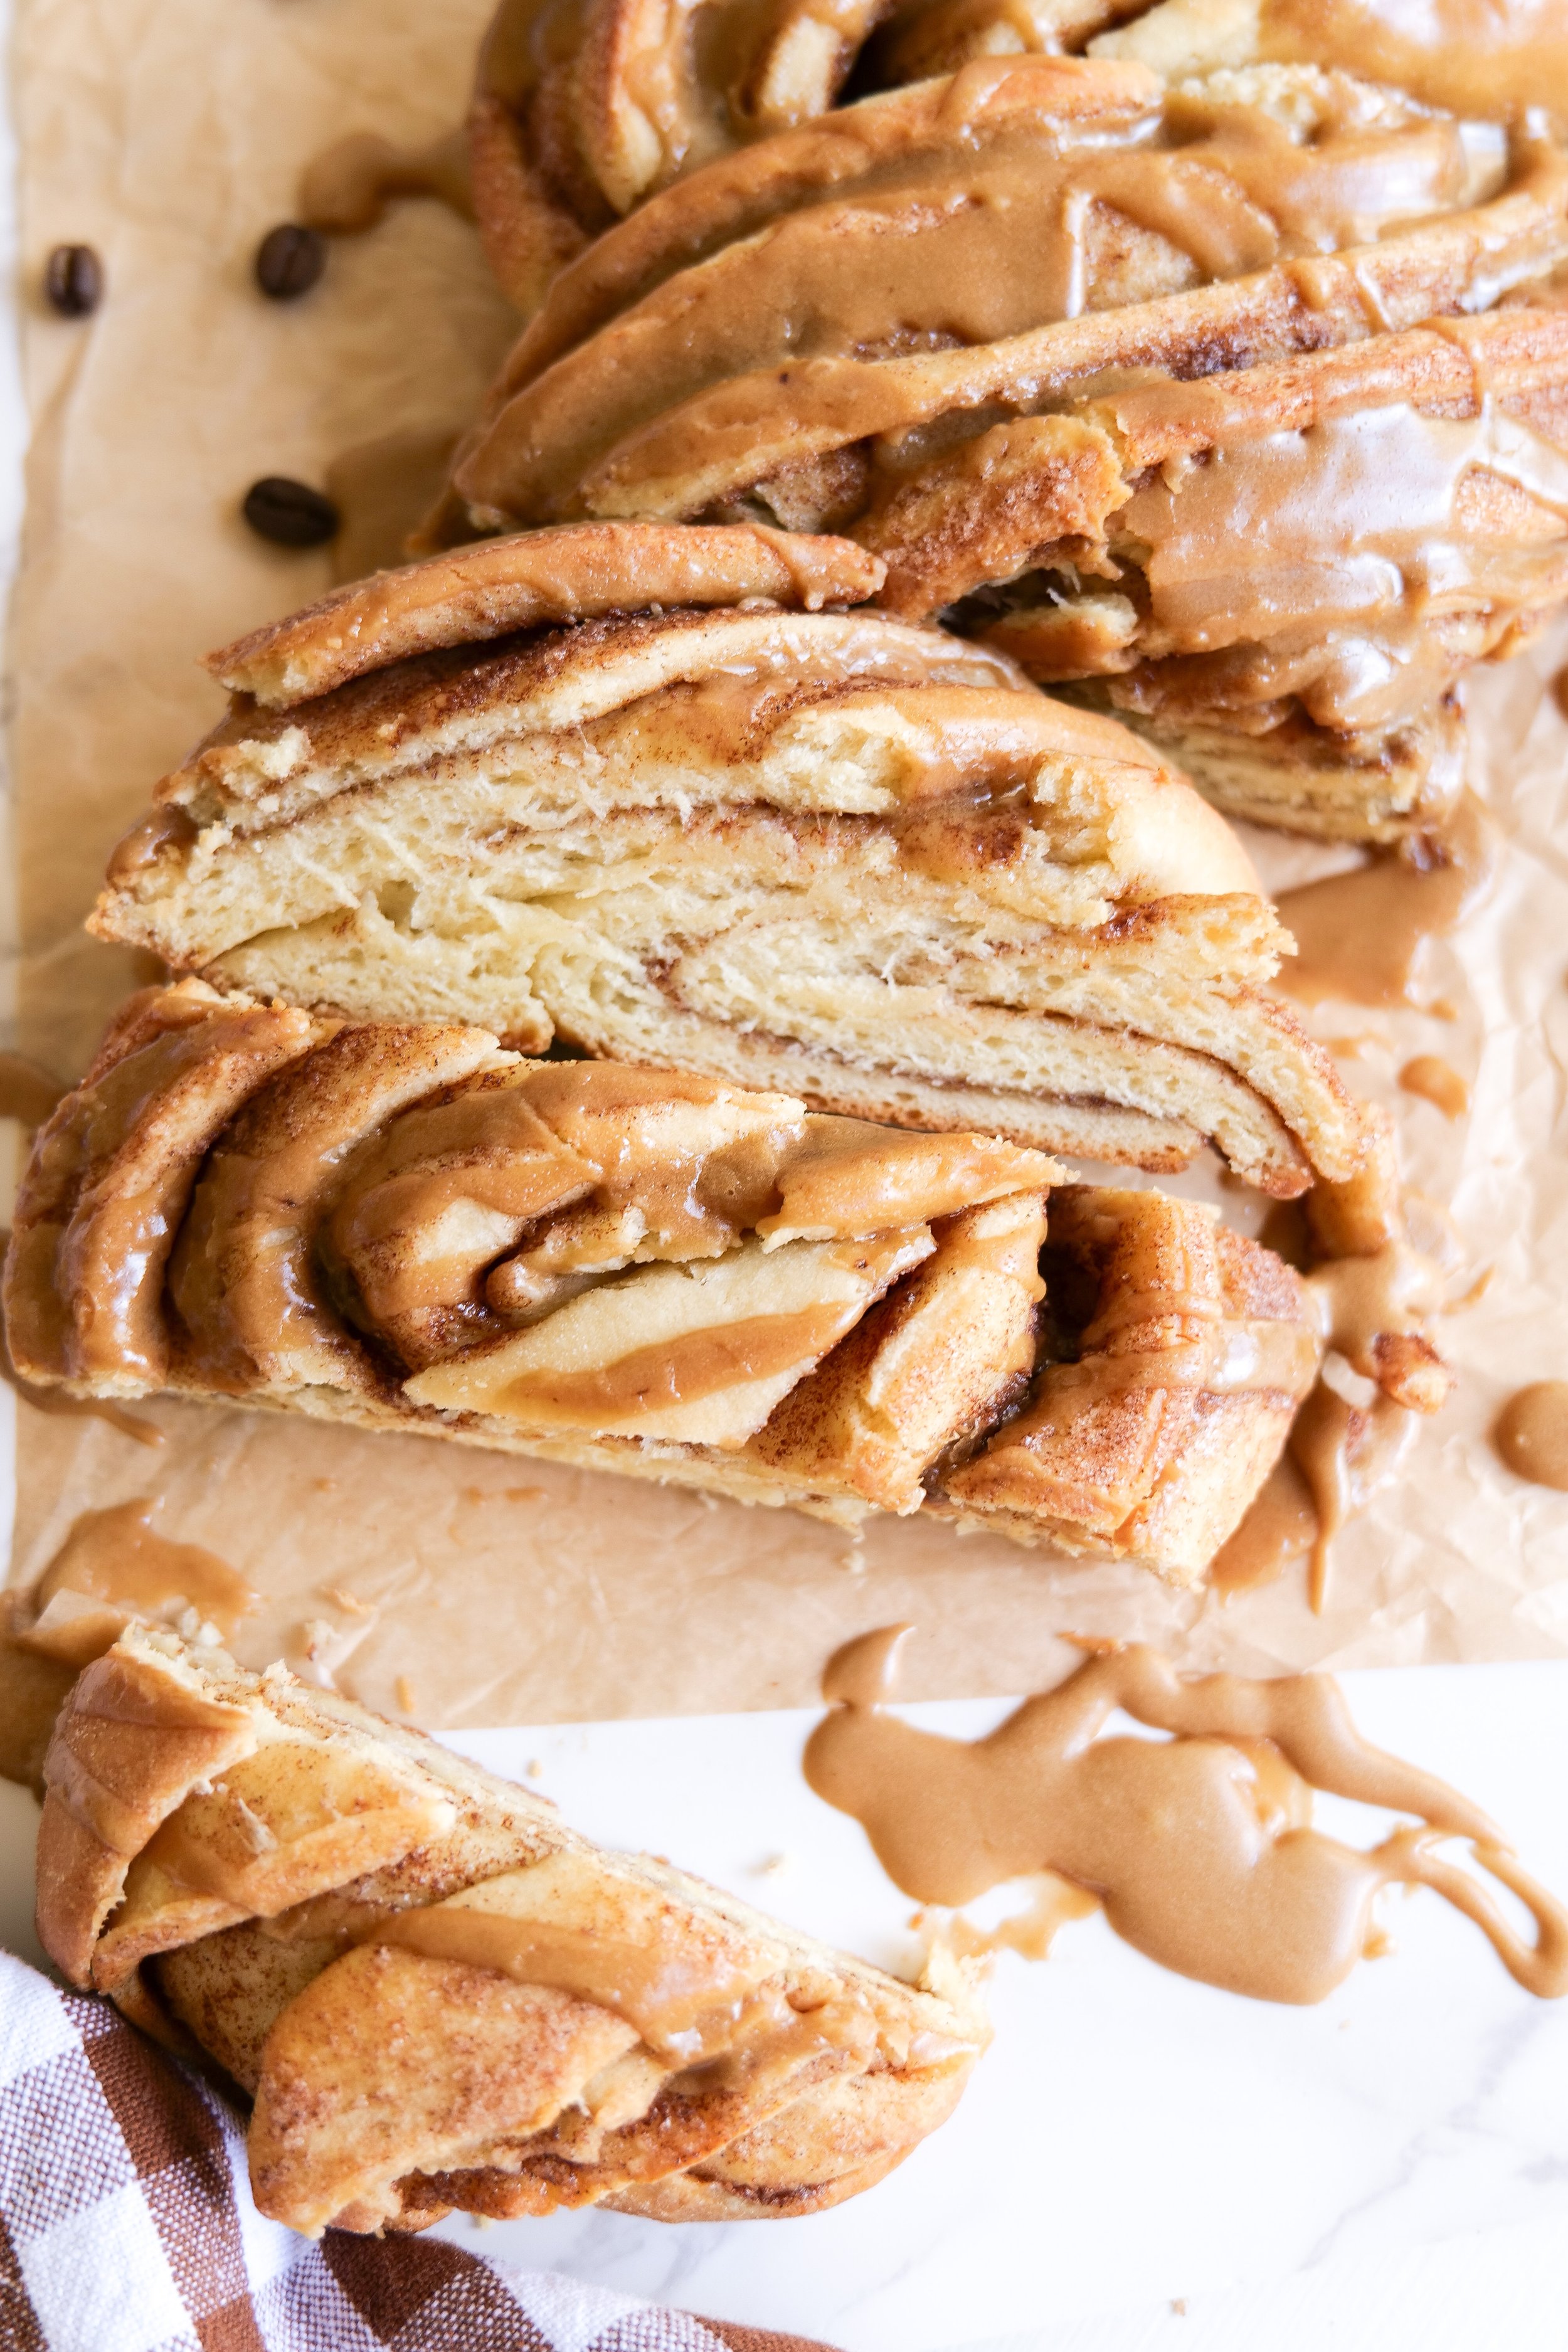
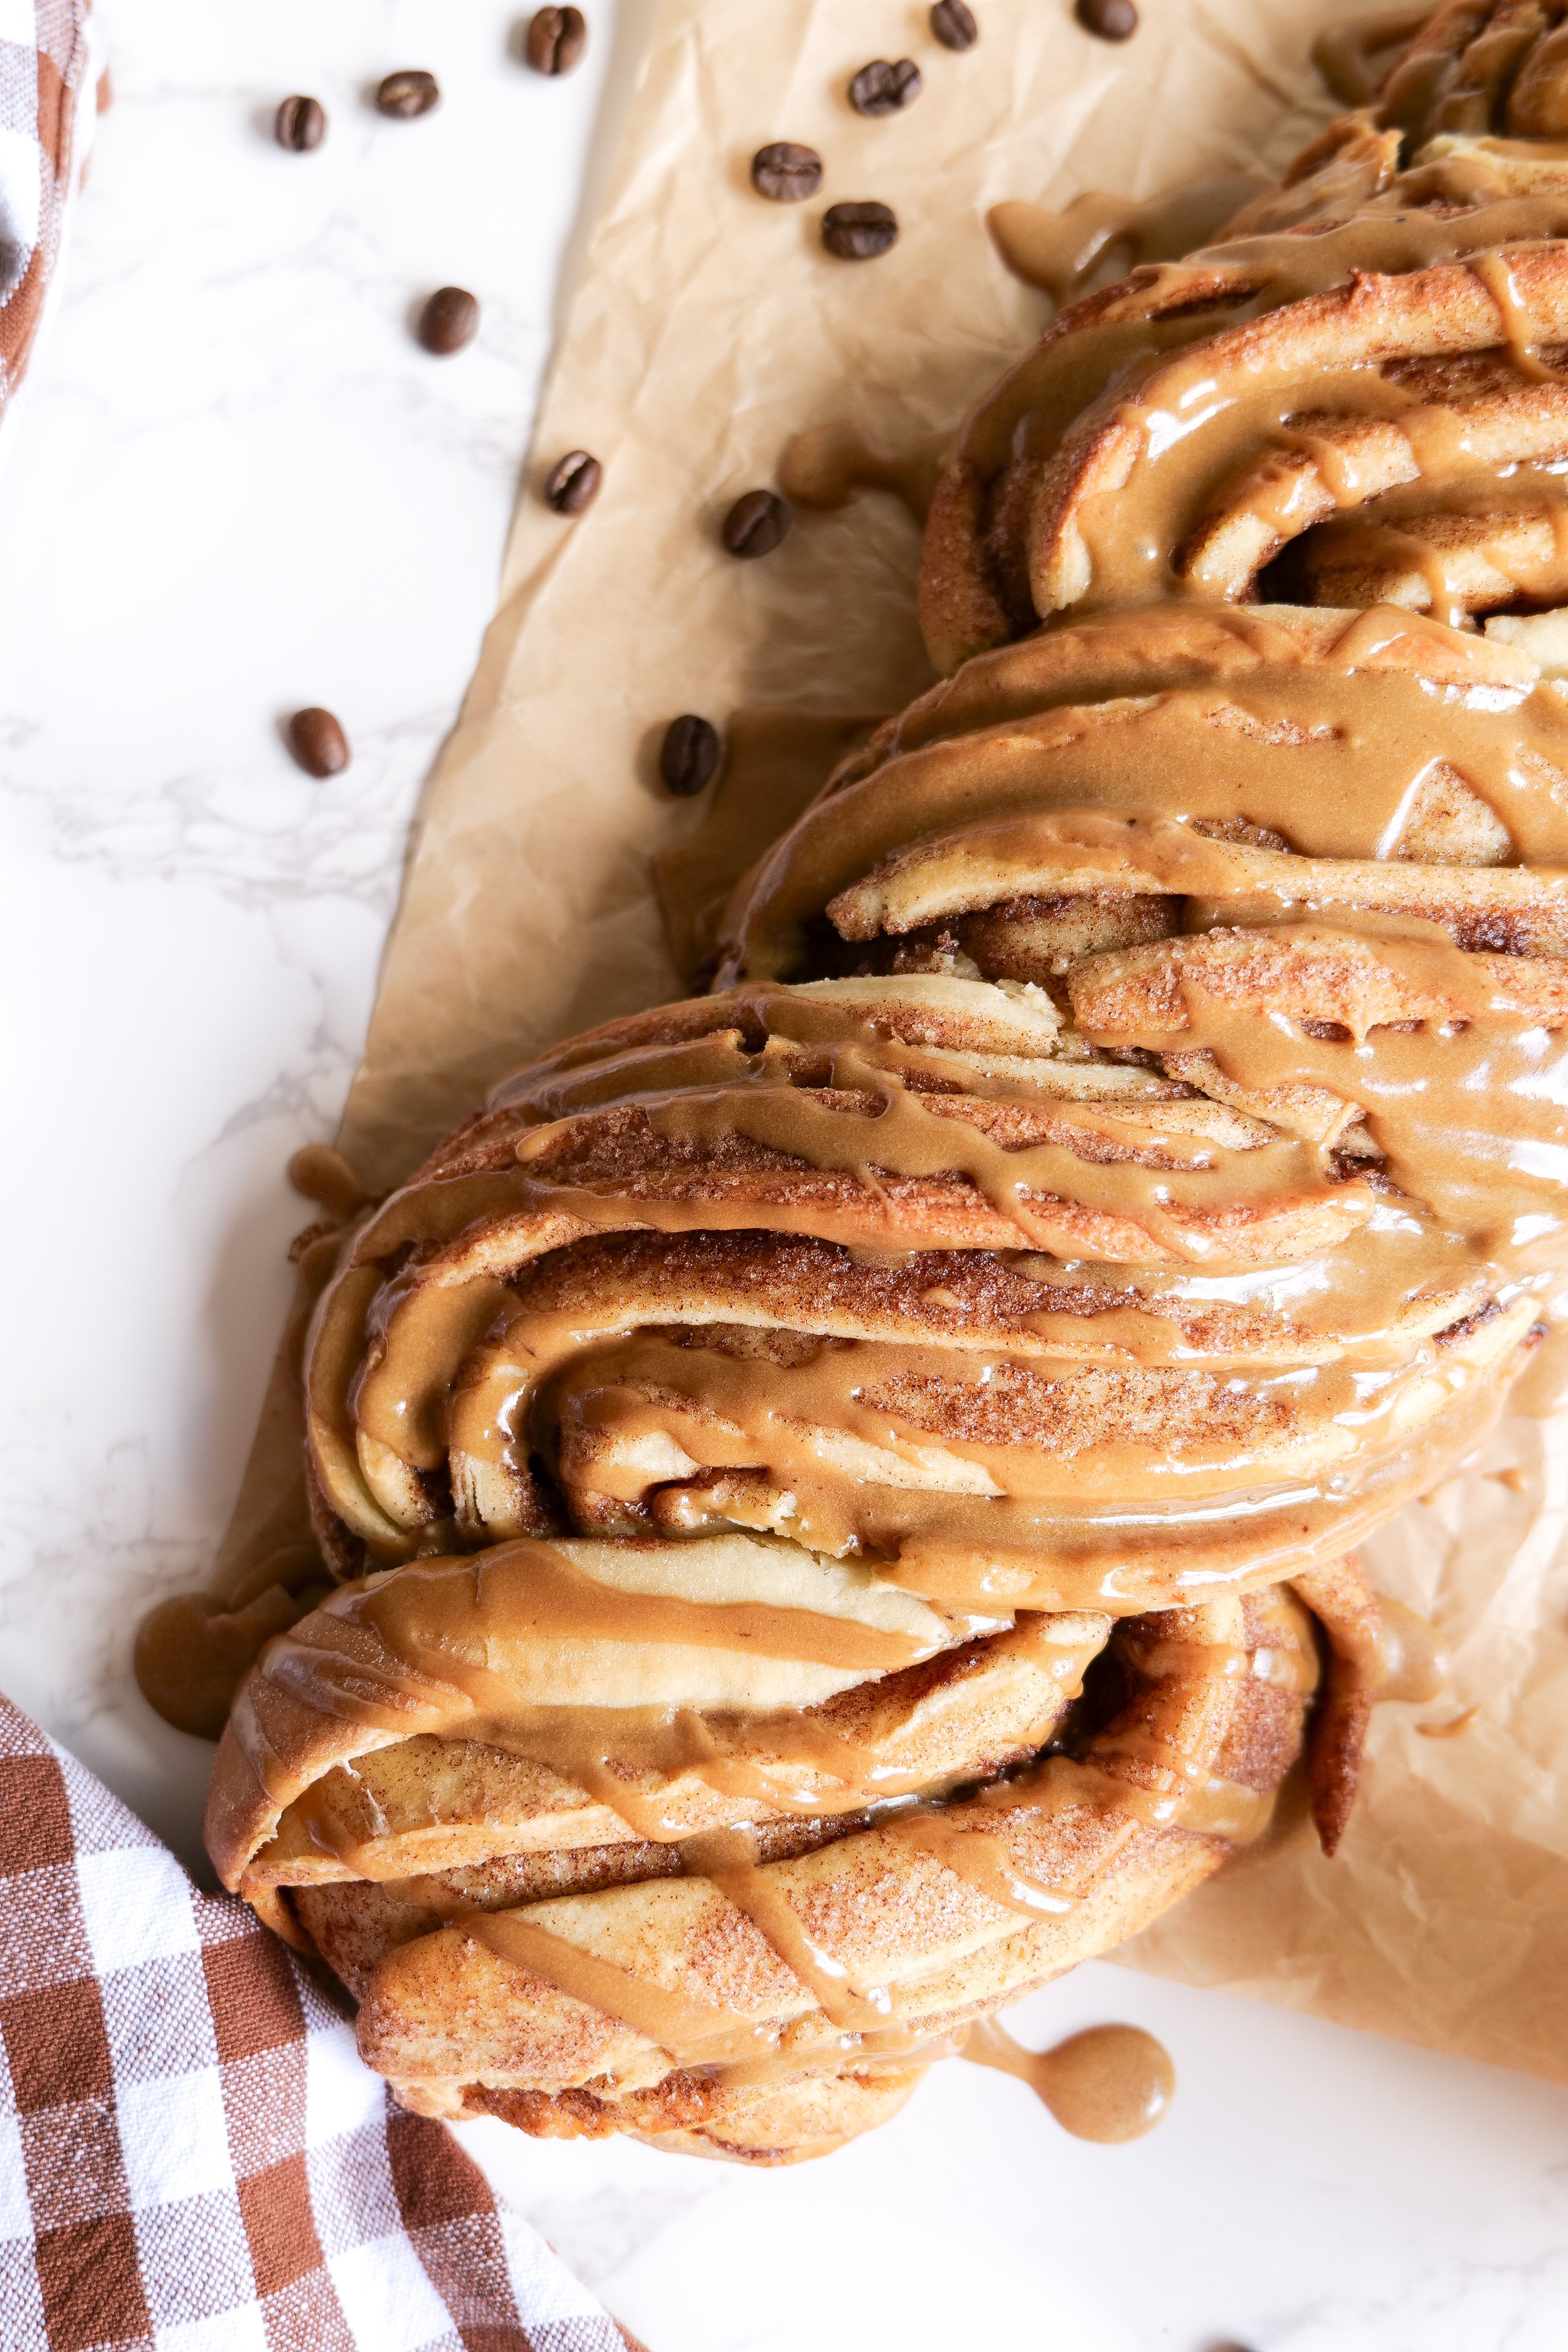
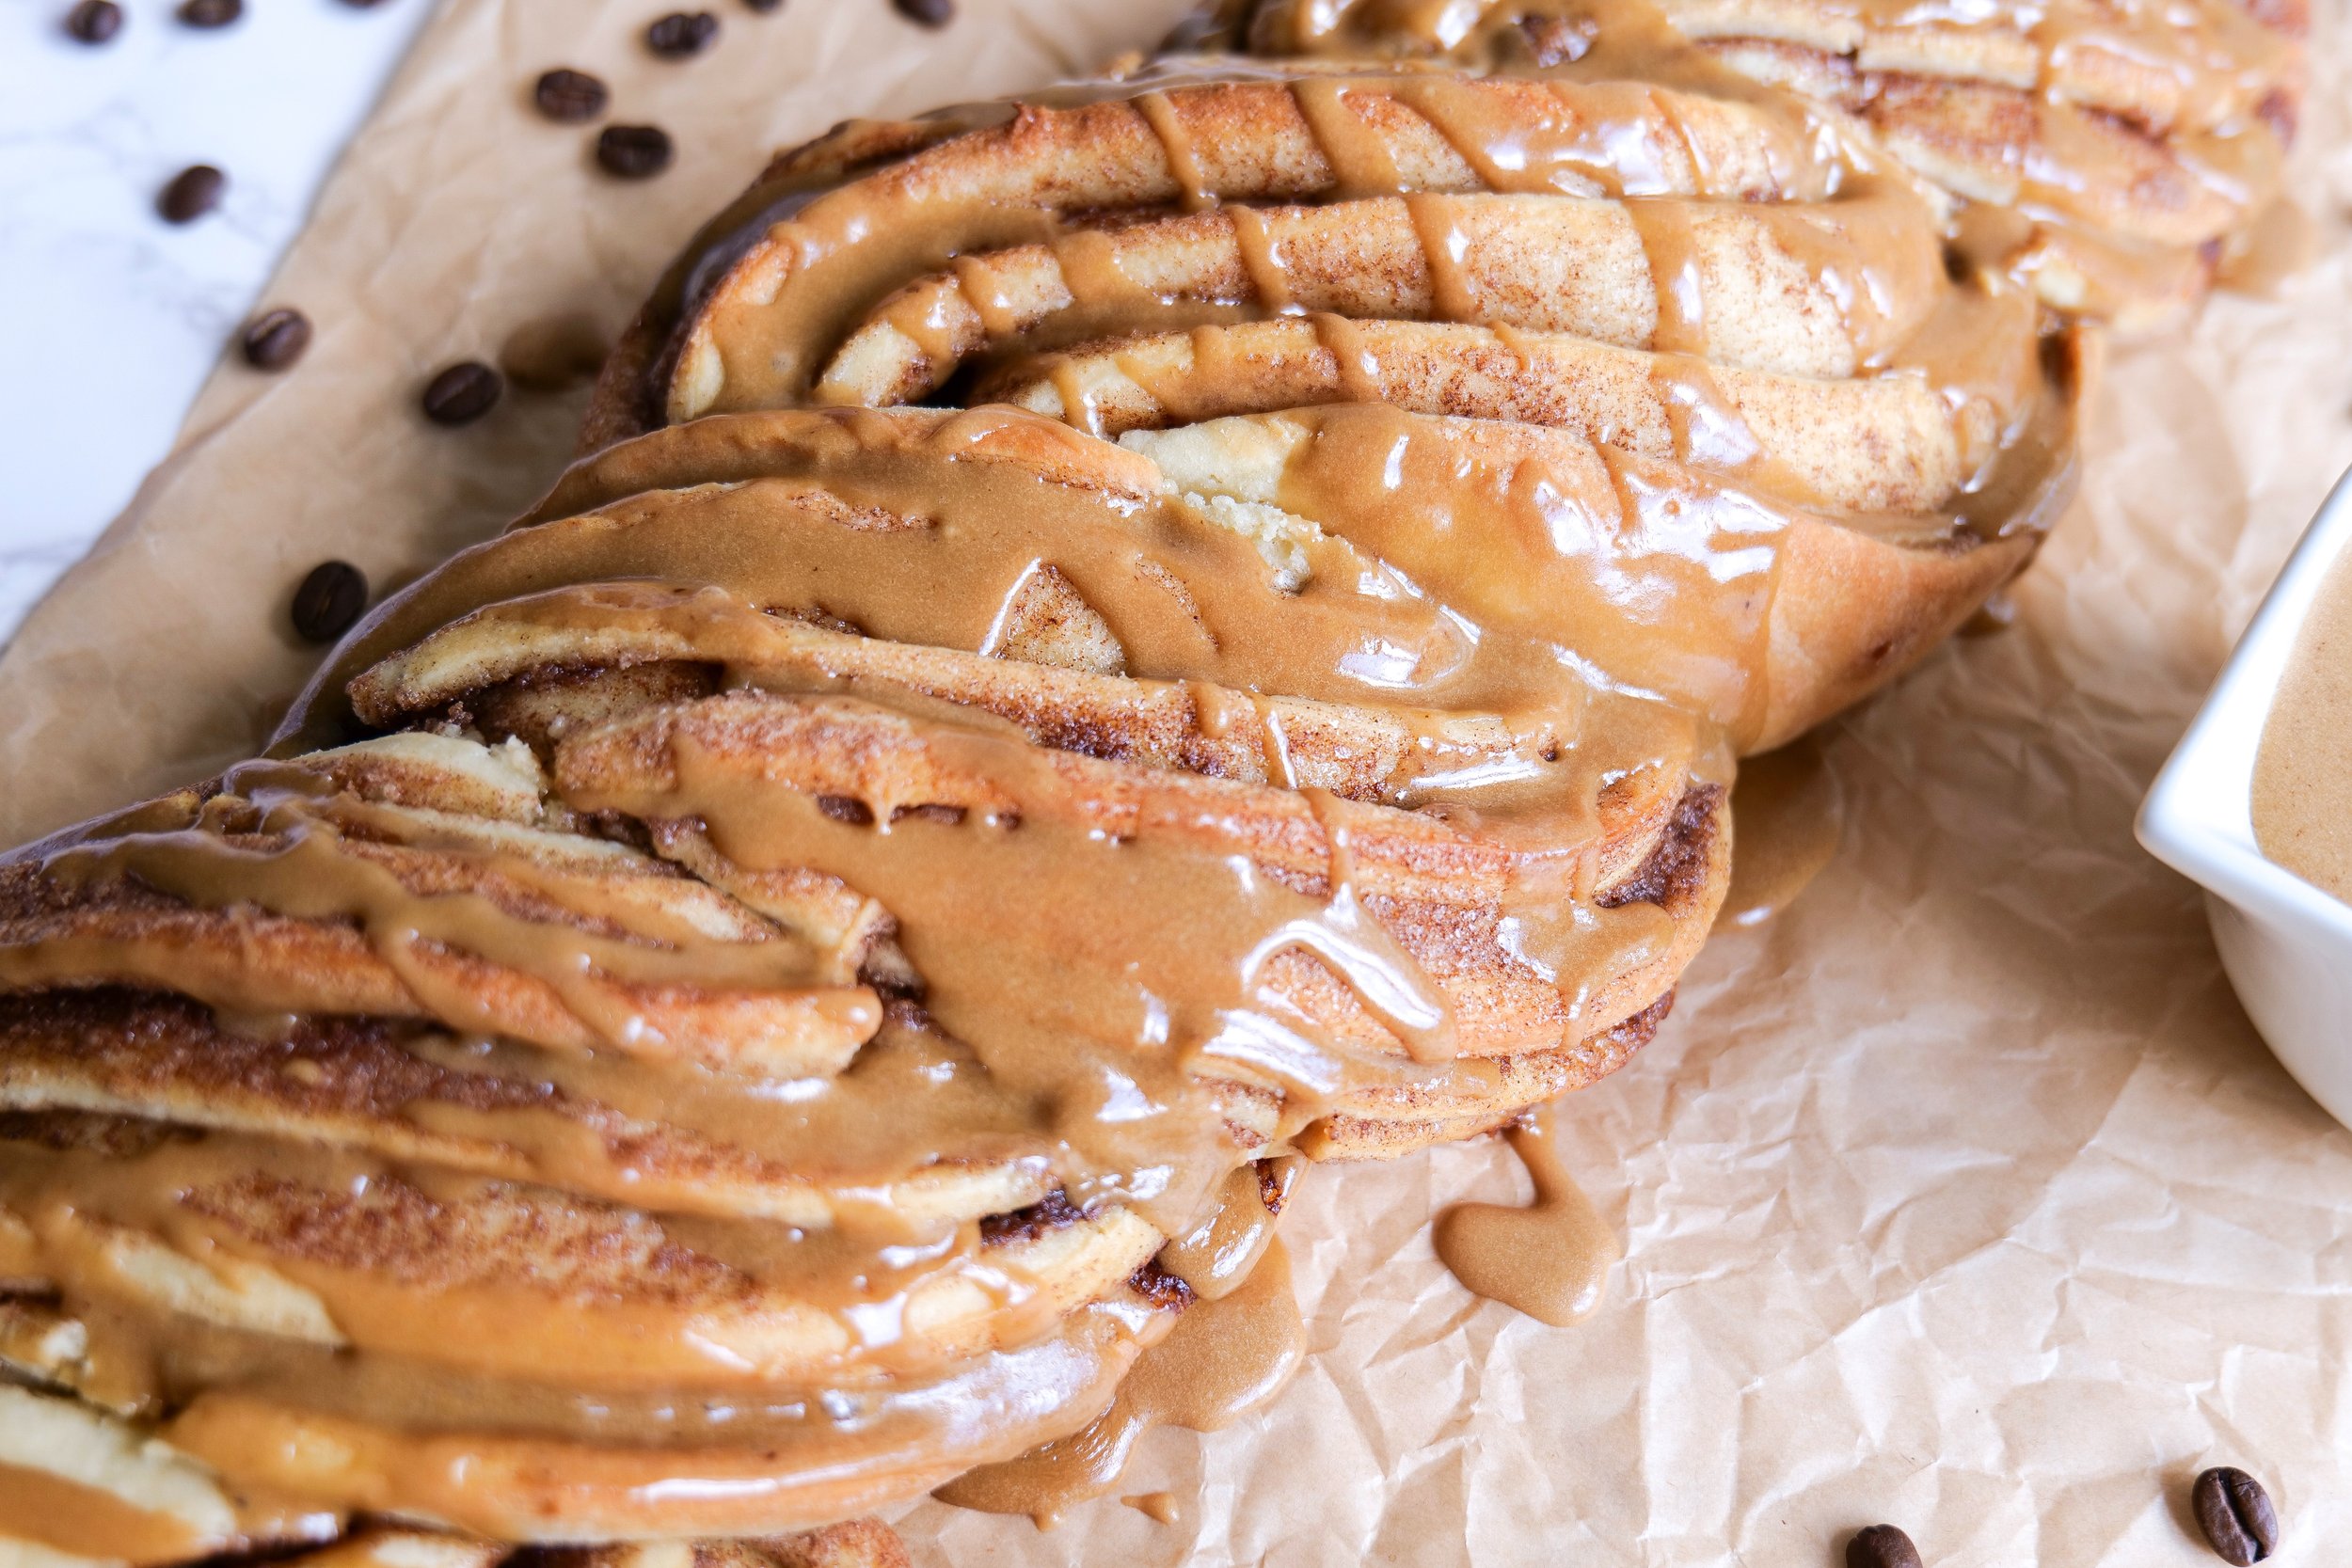
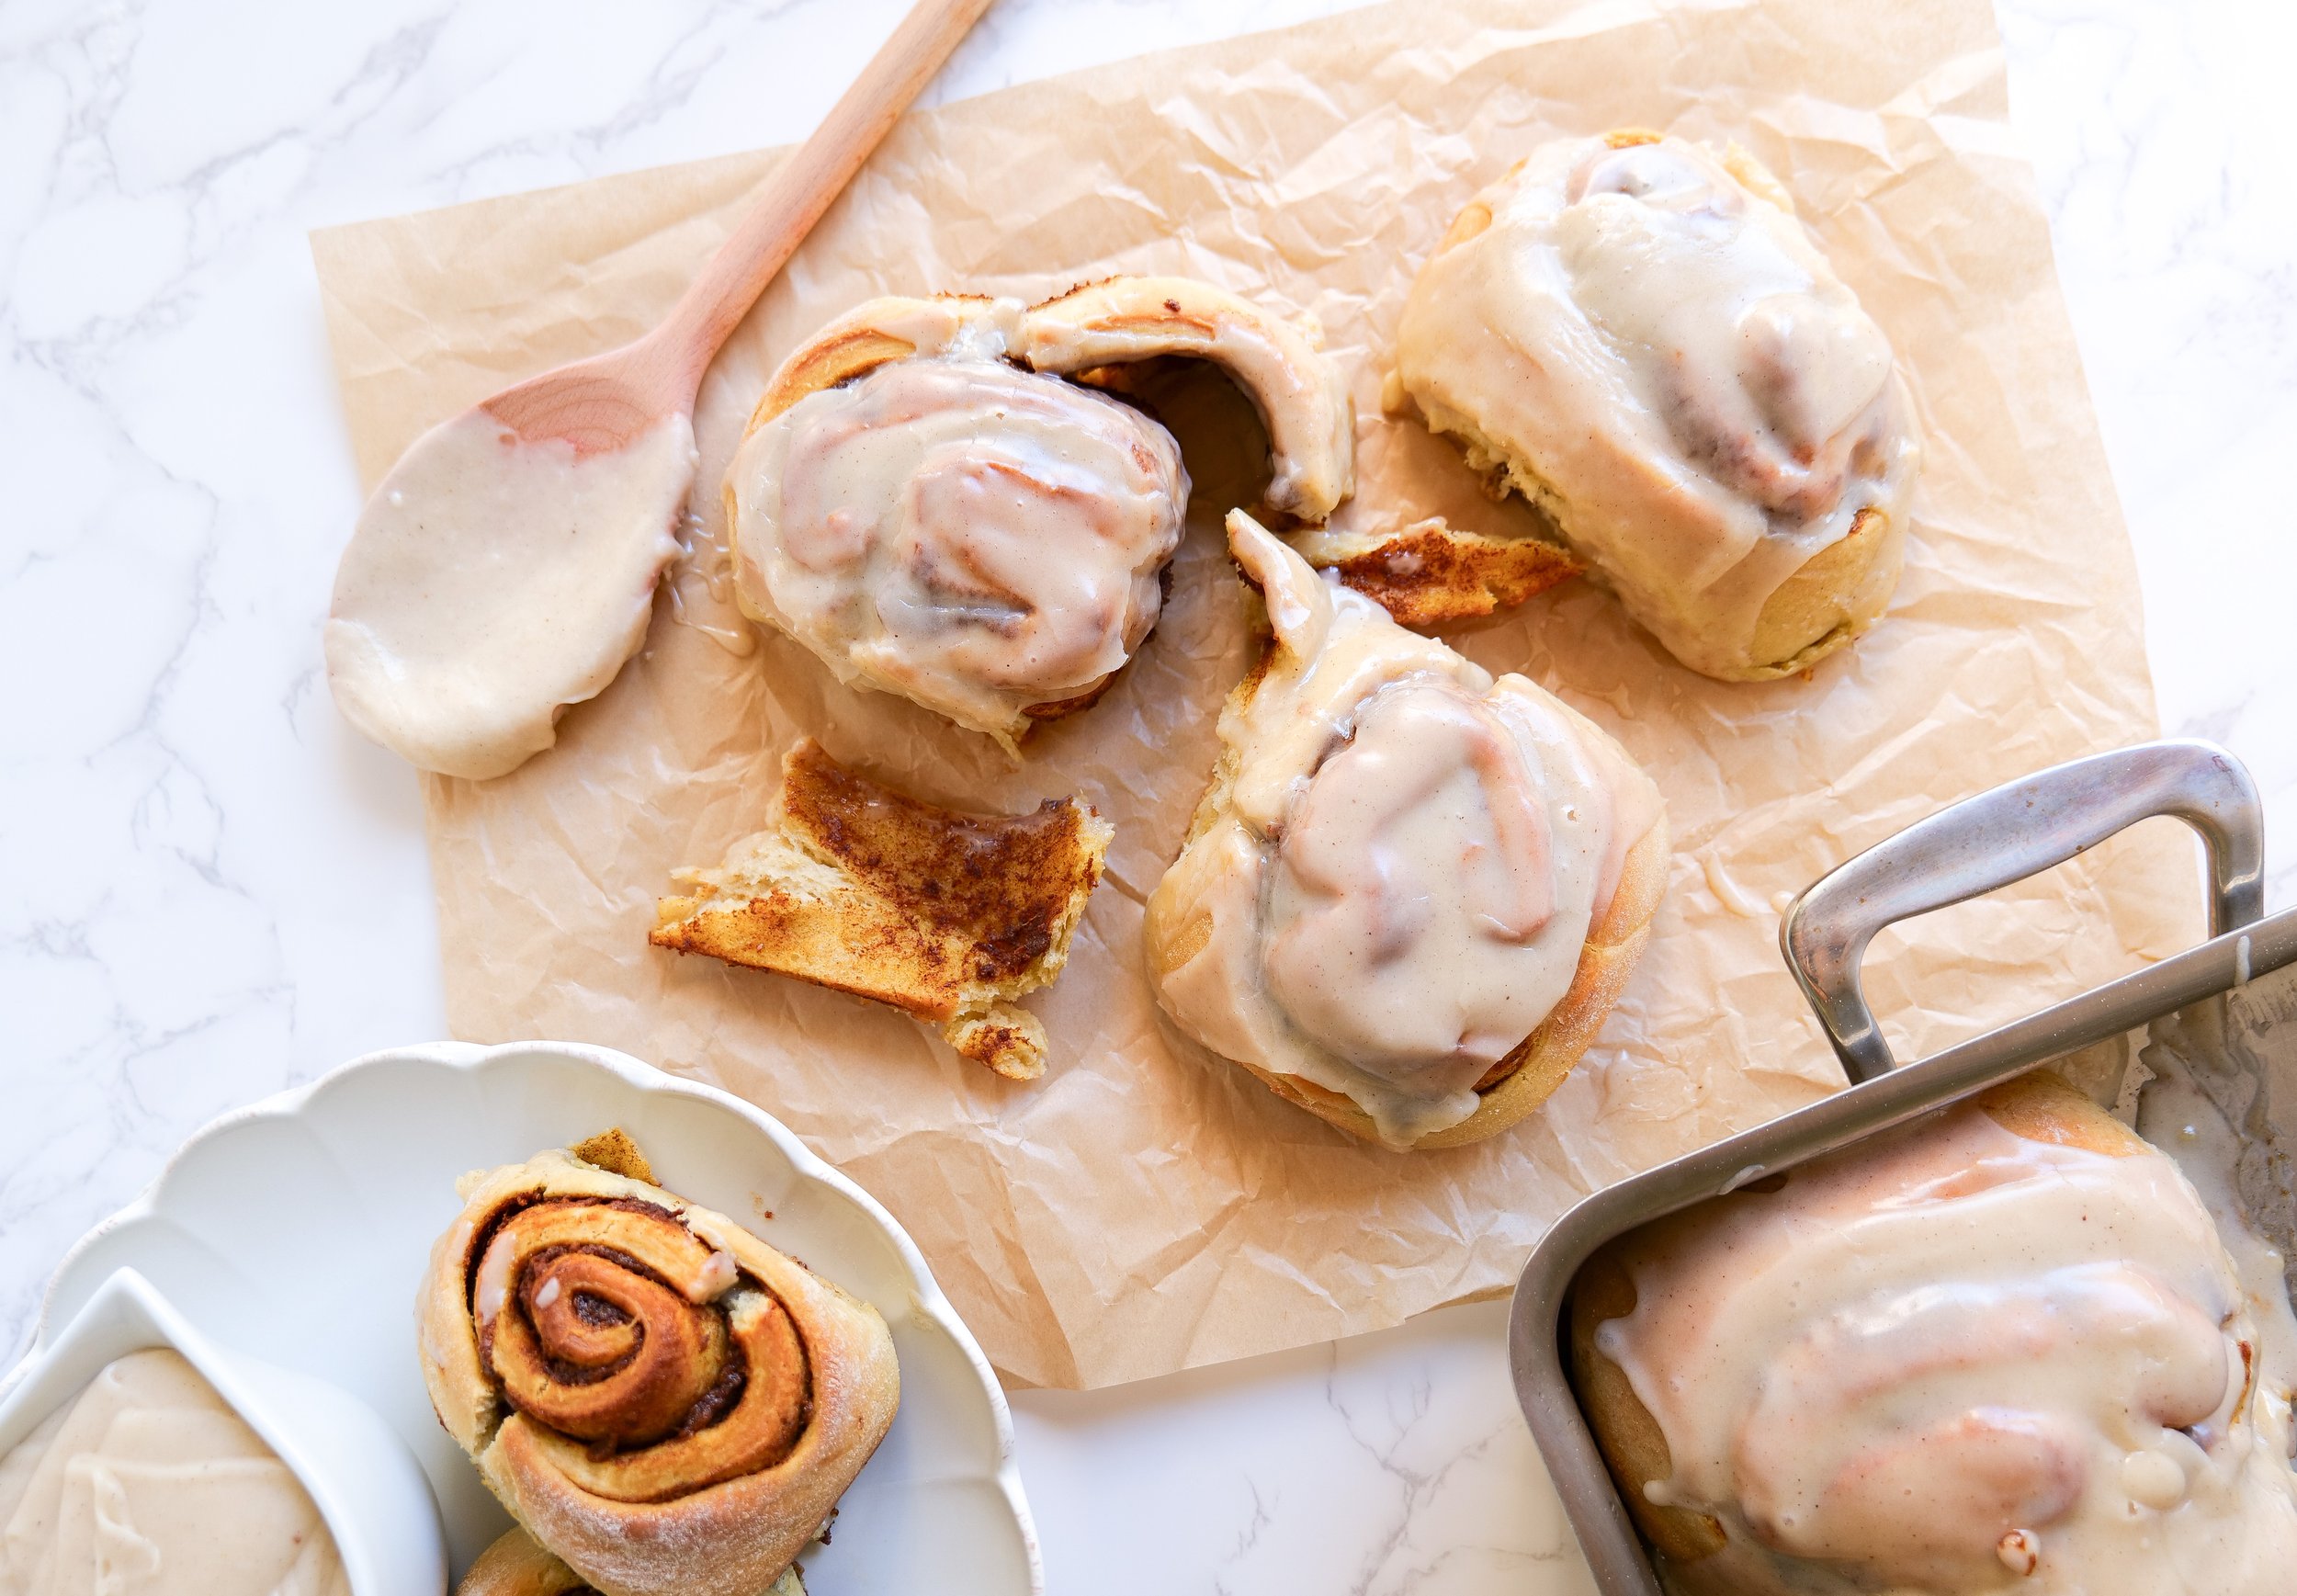
Once you are about ready to roll dough, soften butter and mix in cinnamon and sugar for filling. When the dough is ready roll out to about 1/4 inch thick rectangular shape. Add filling to the middle making sure to cover all of the dough
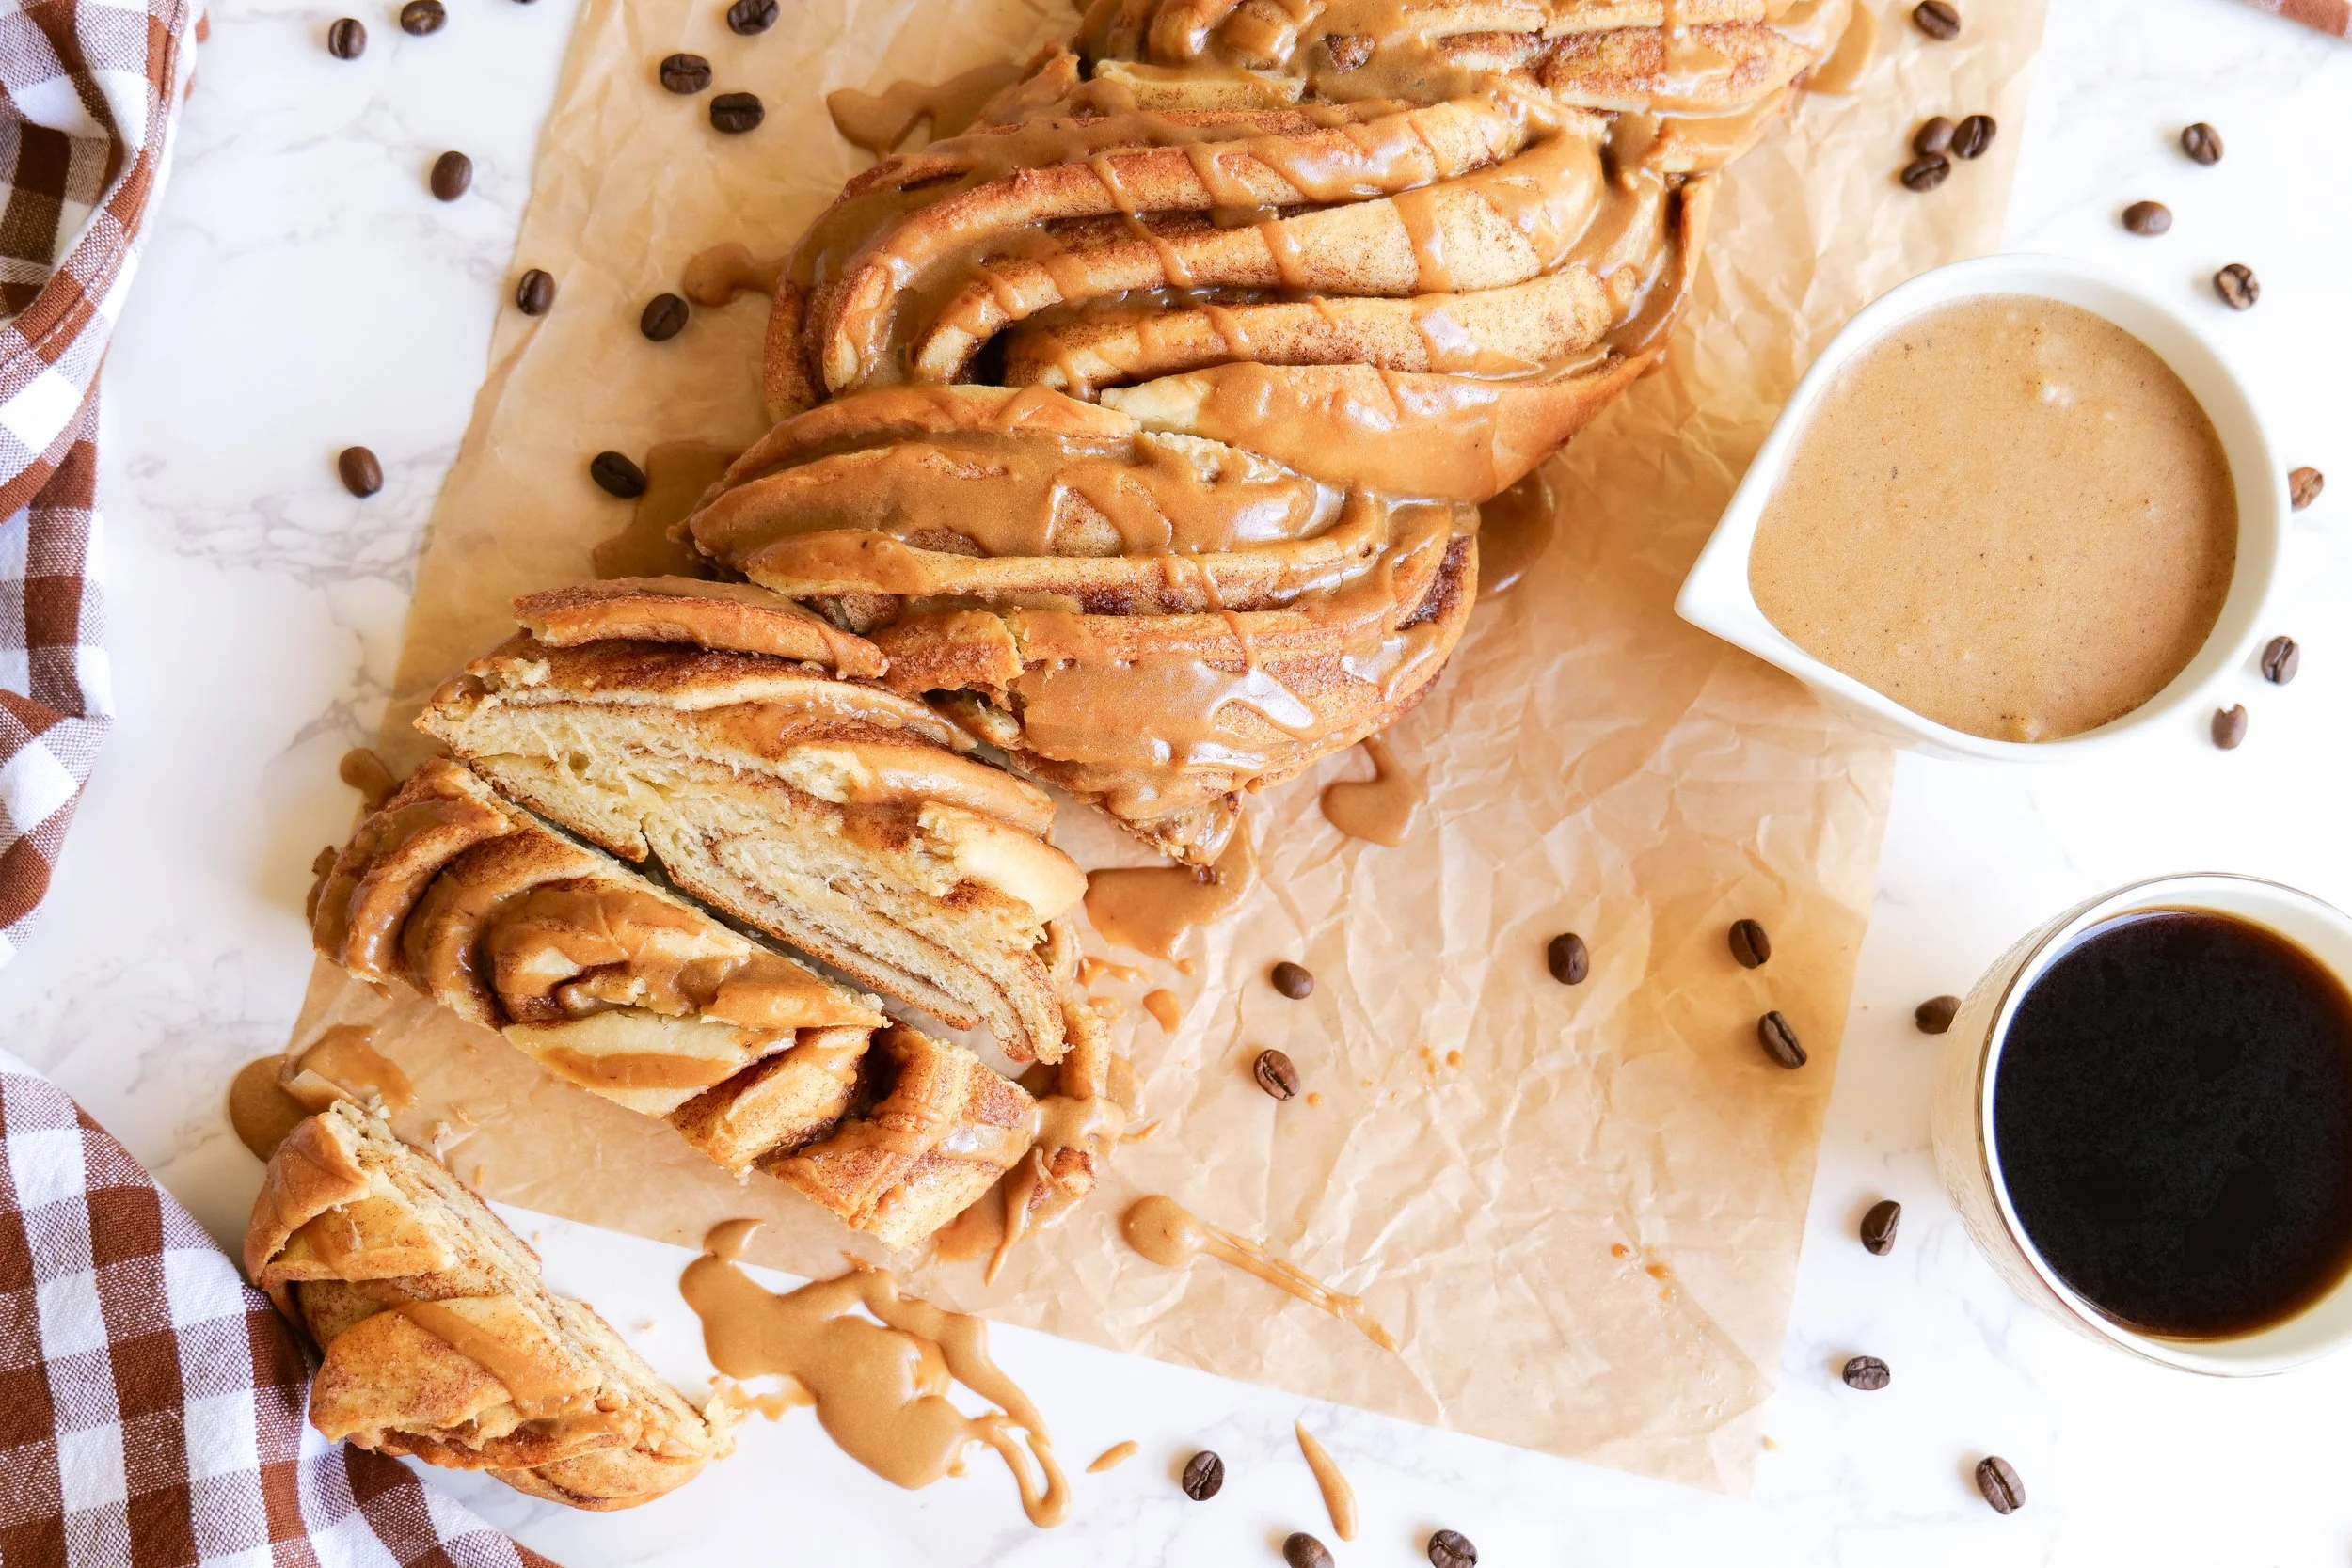
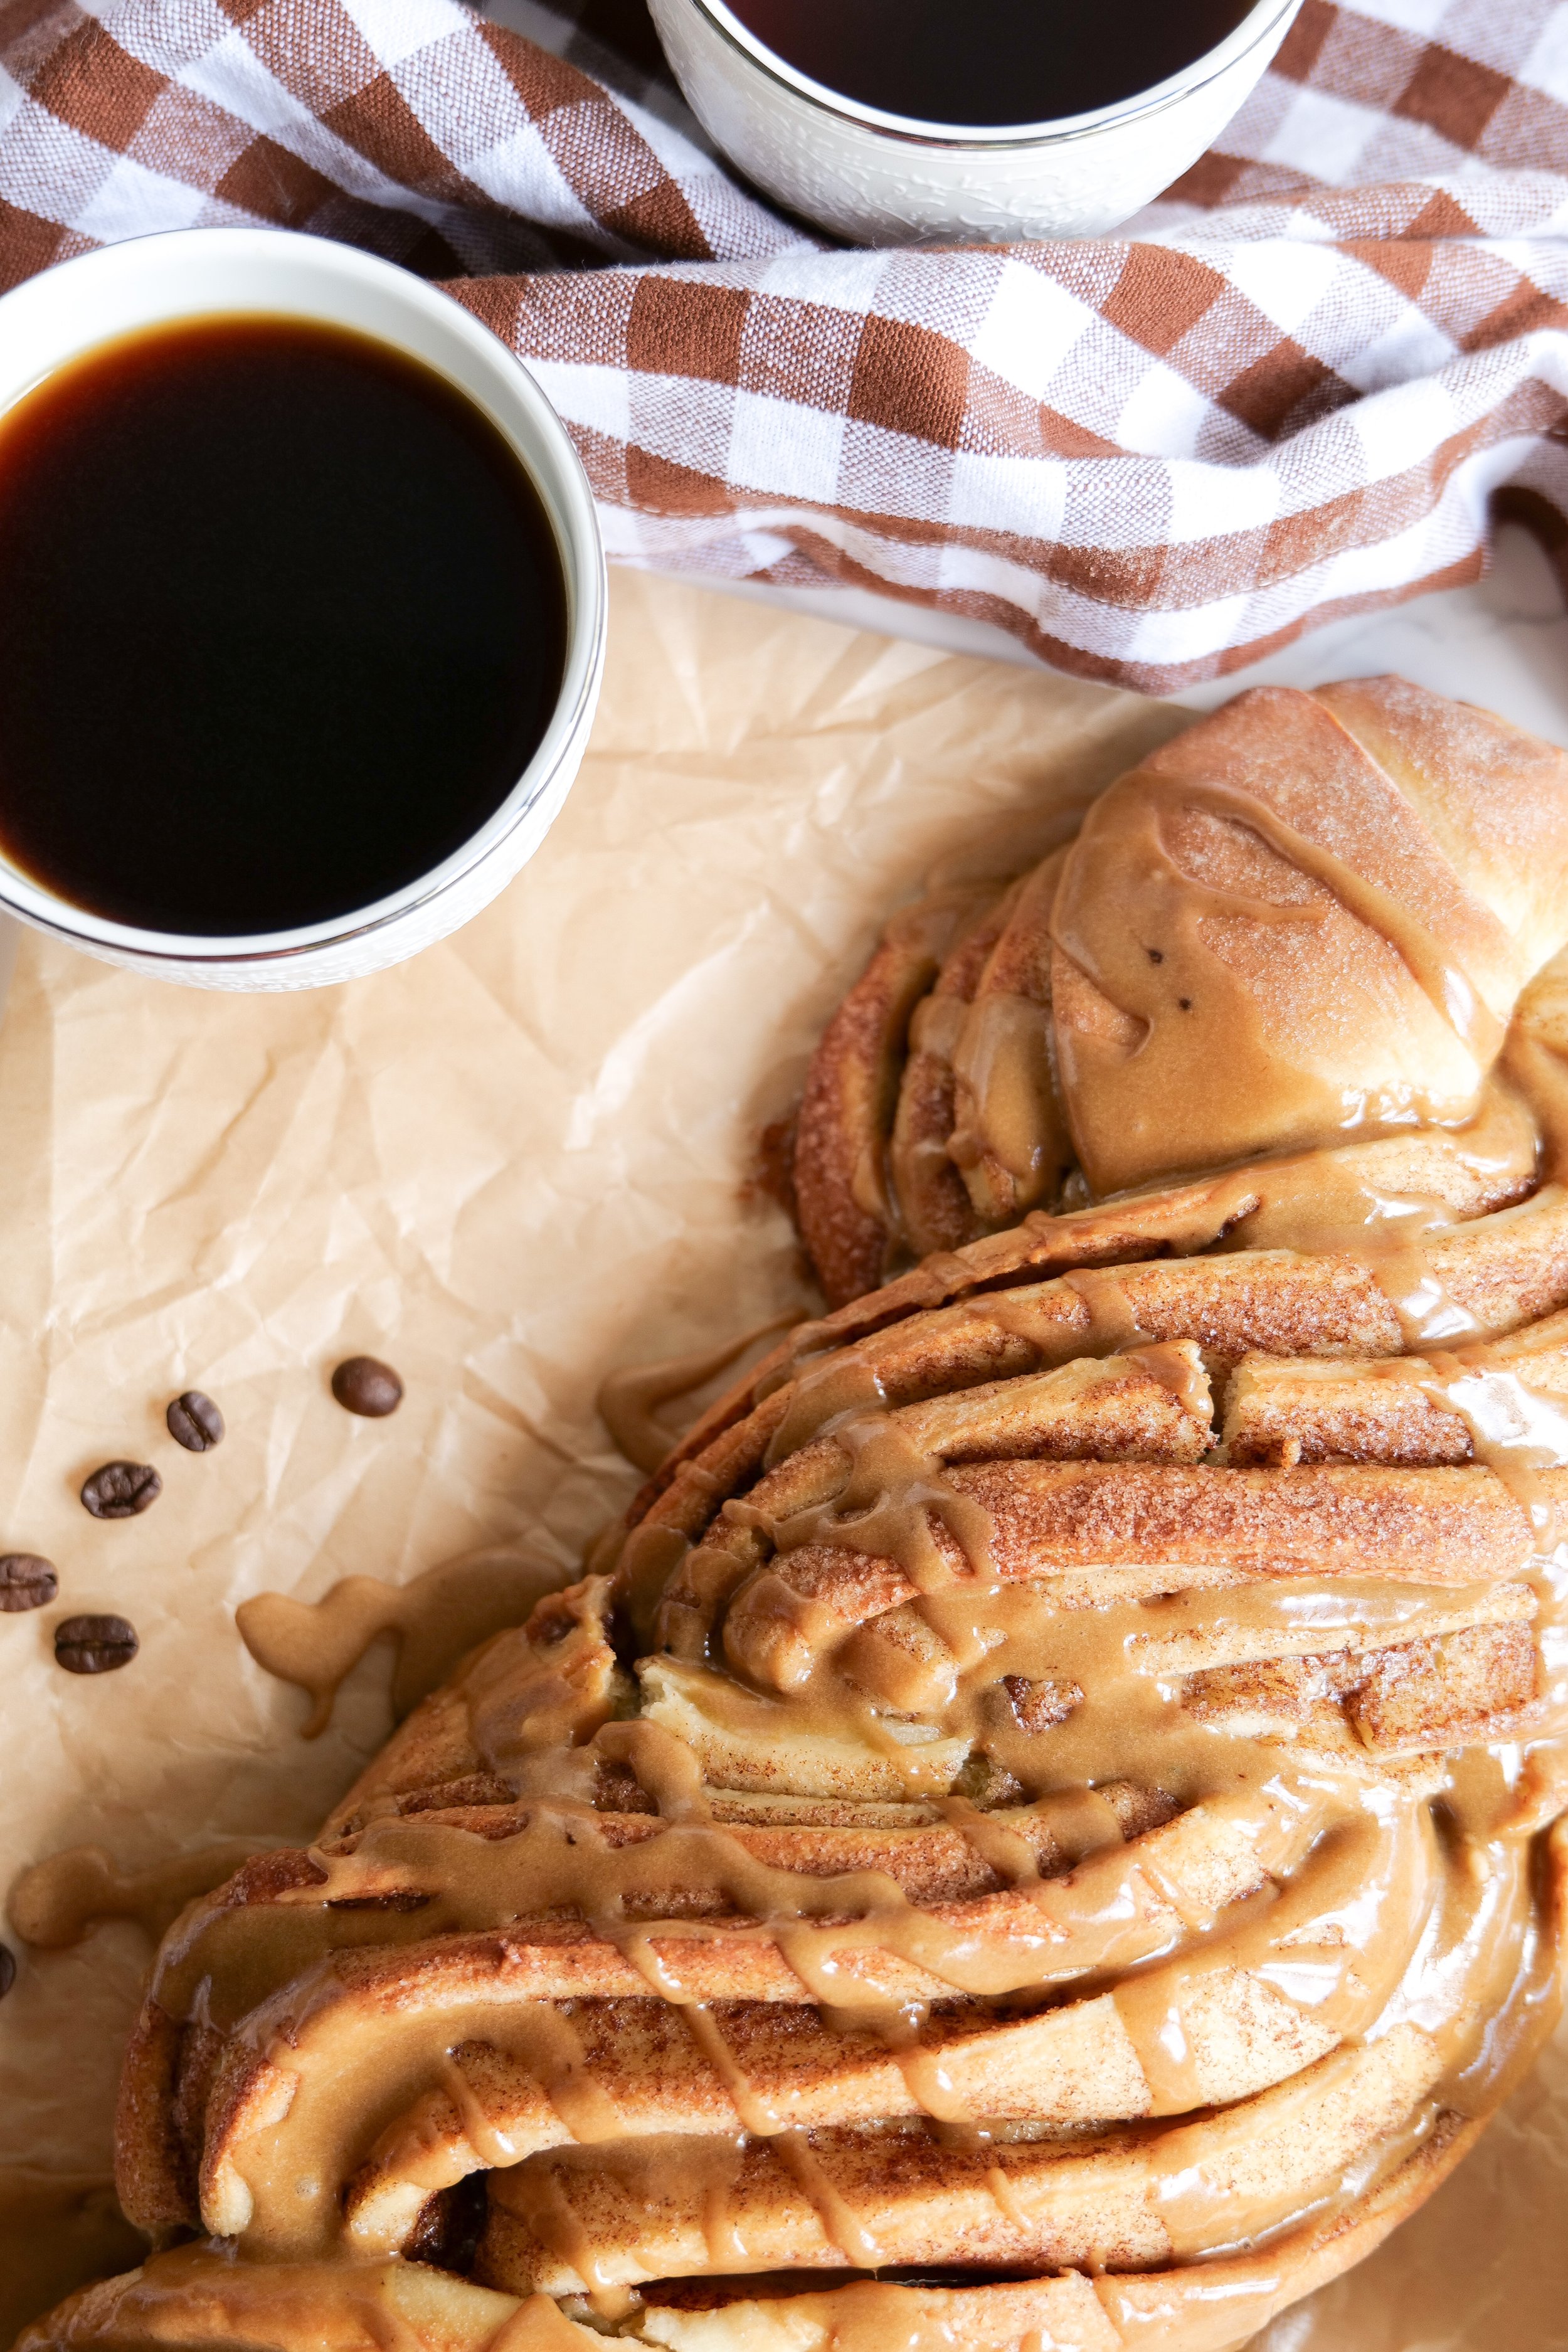
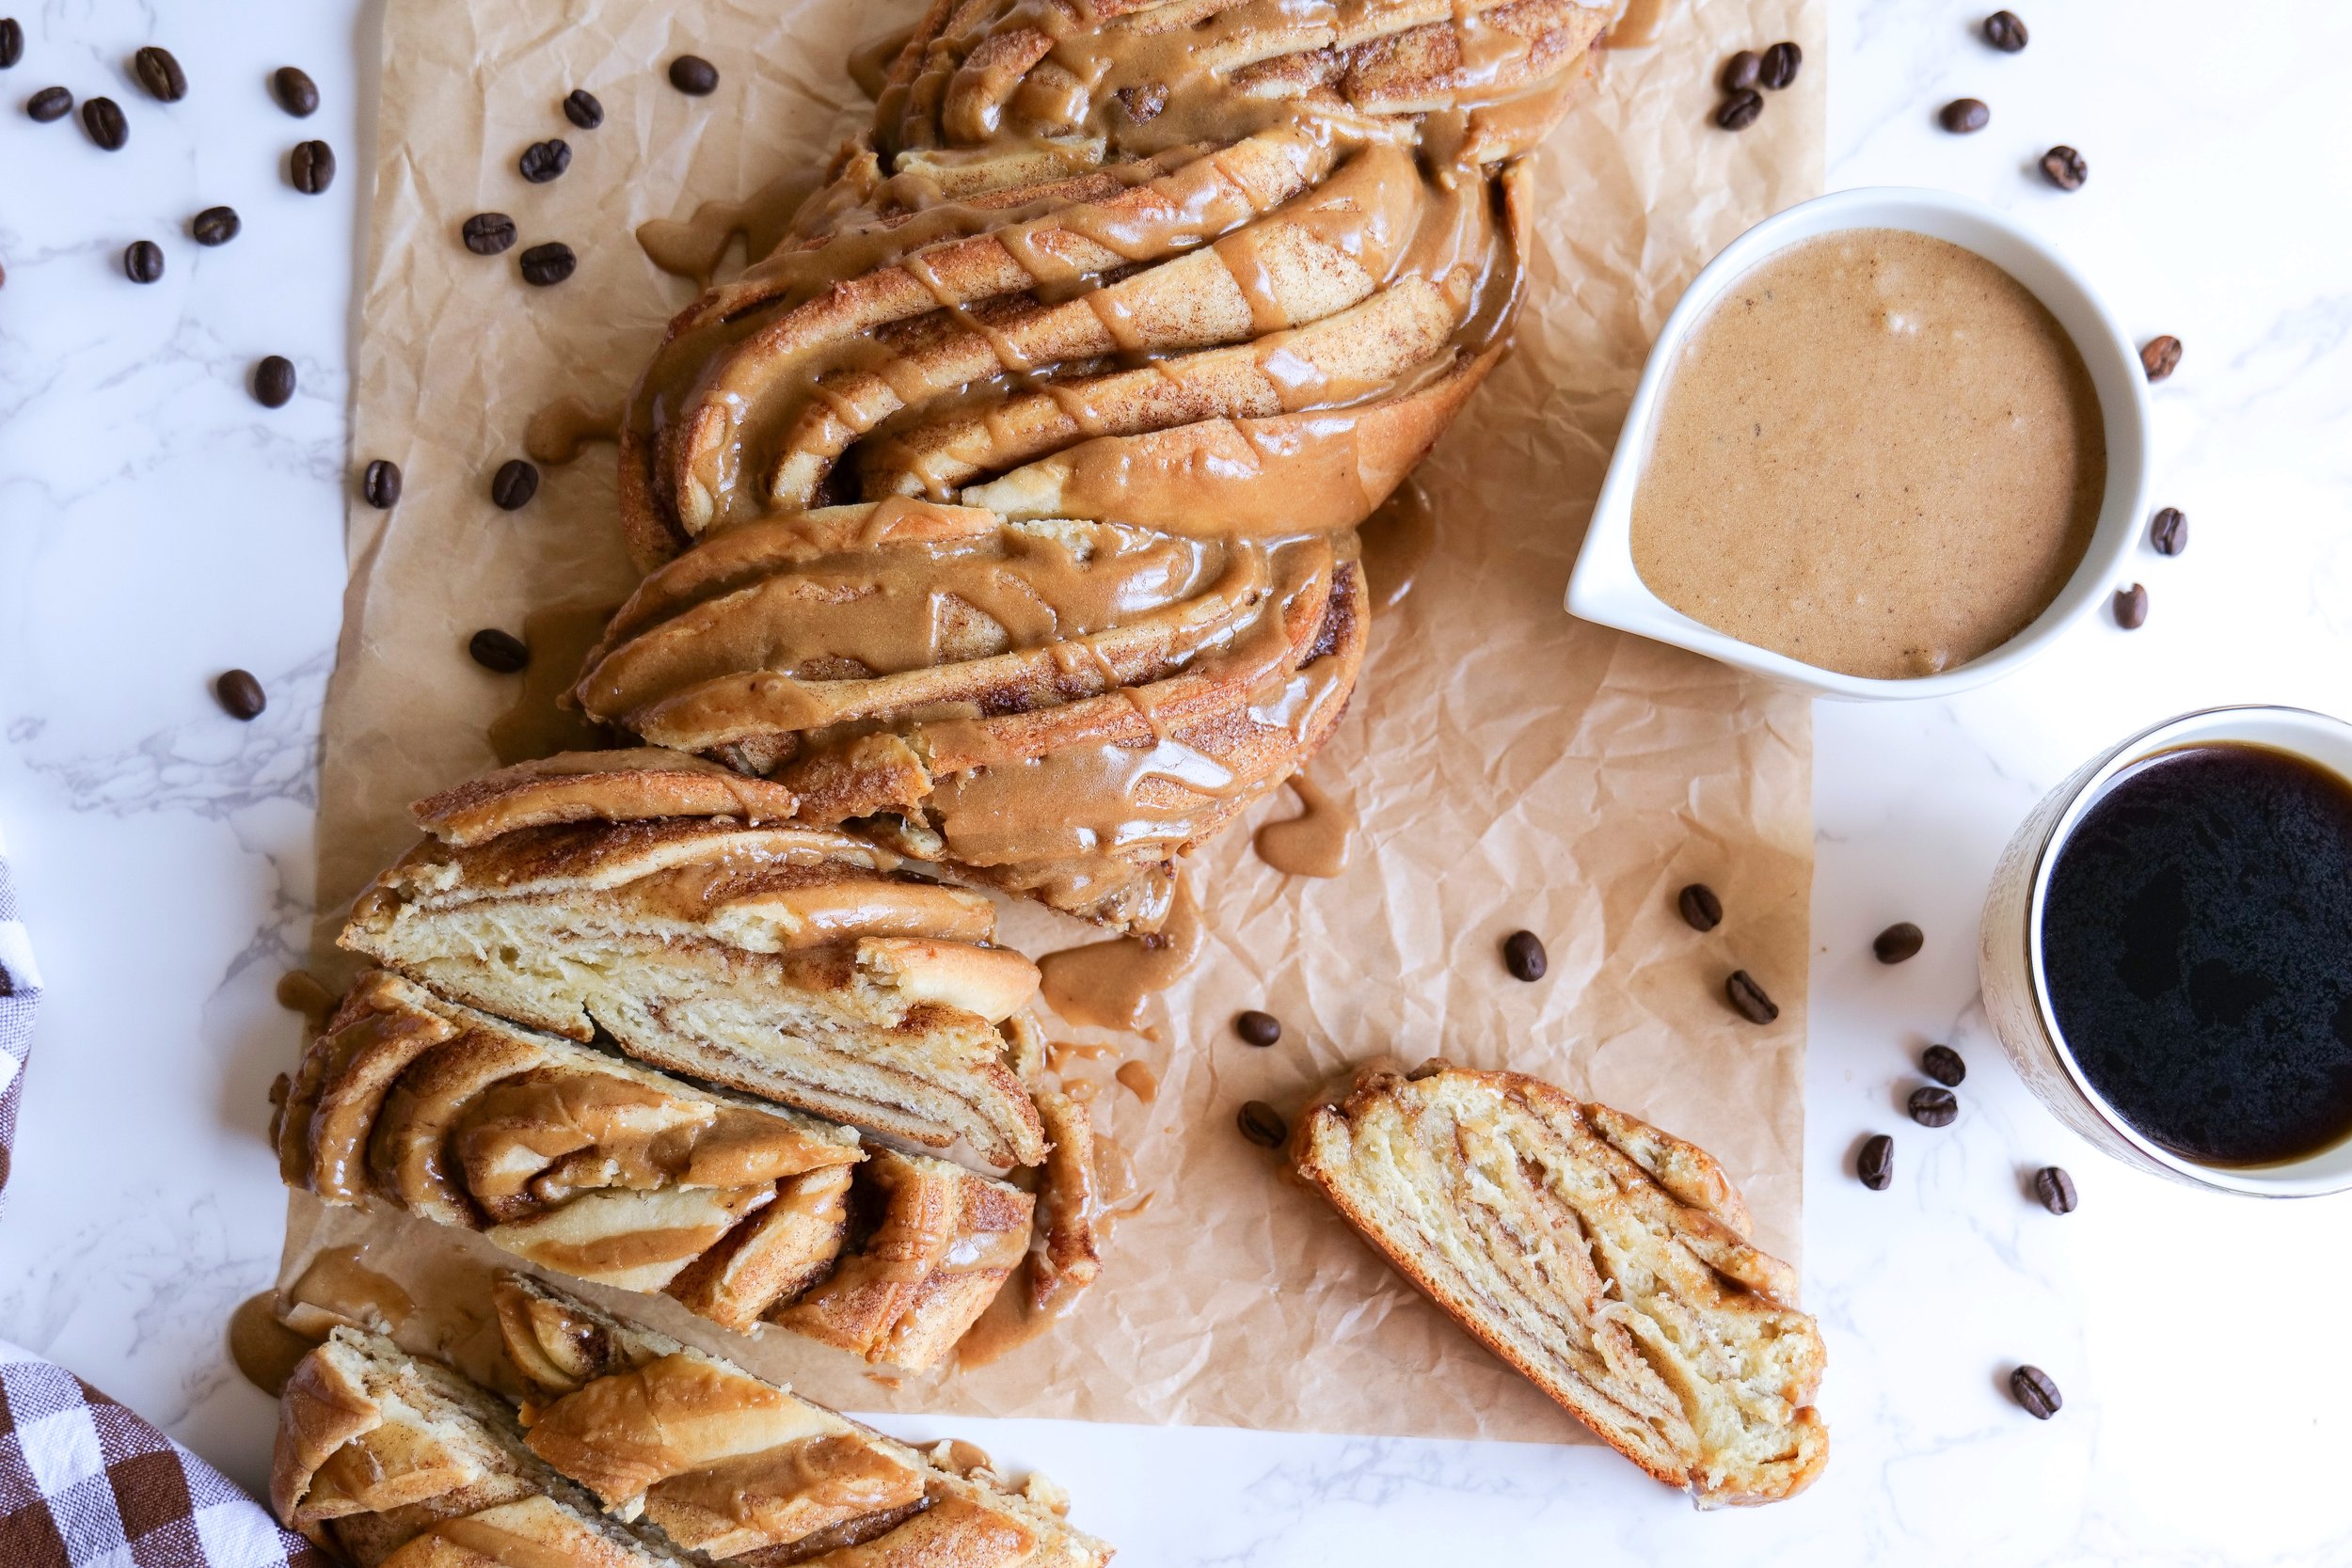
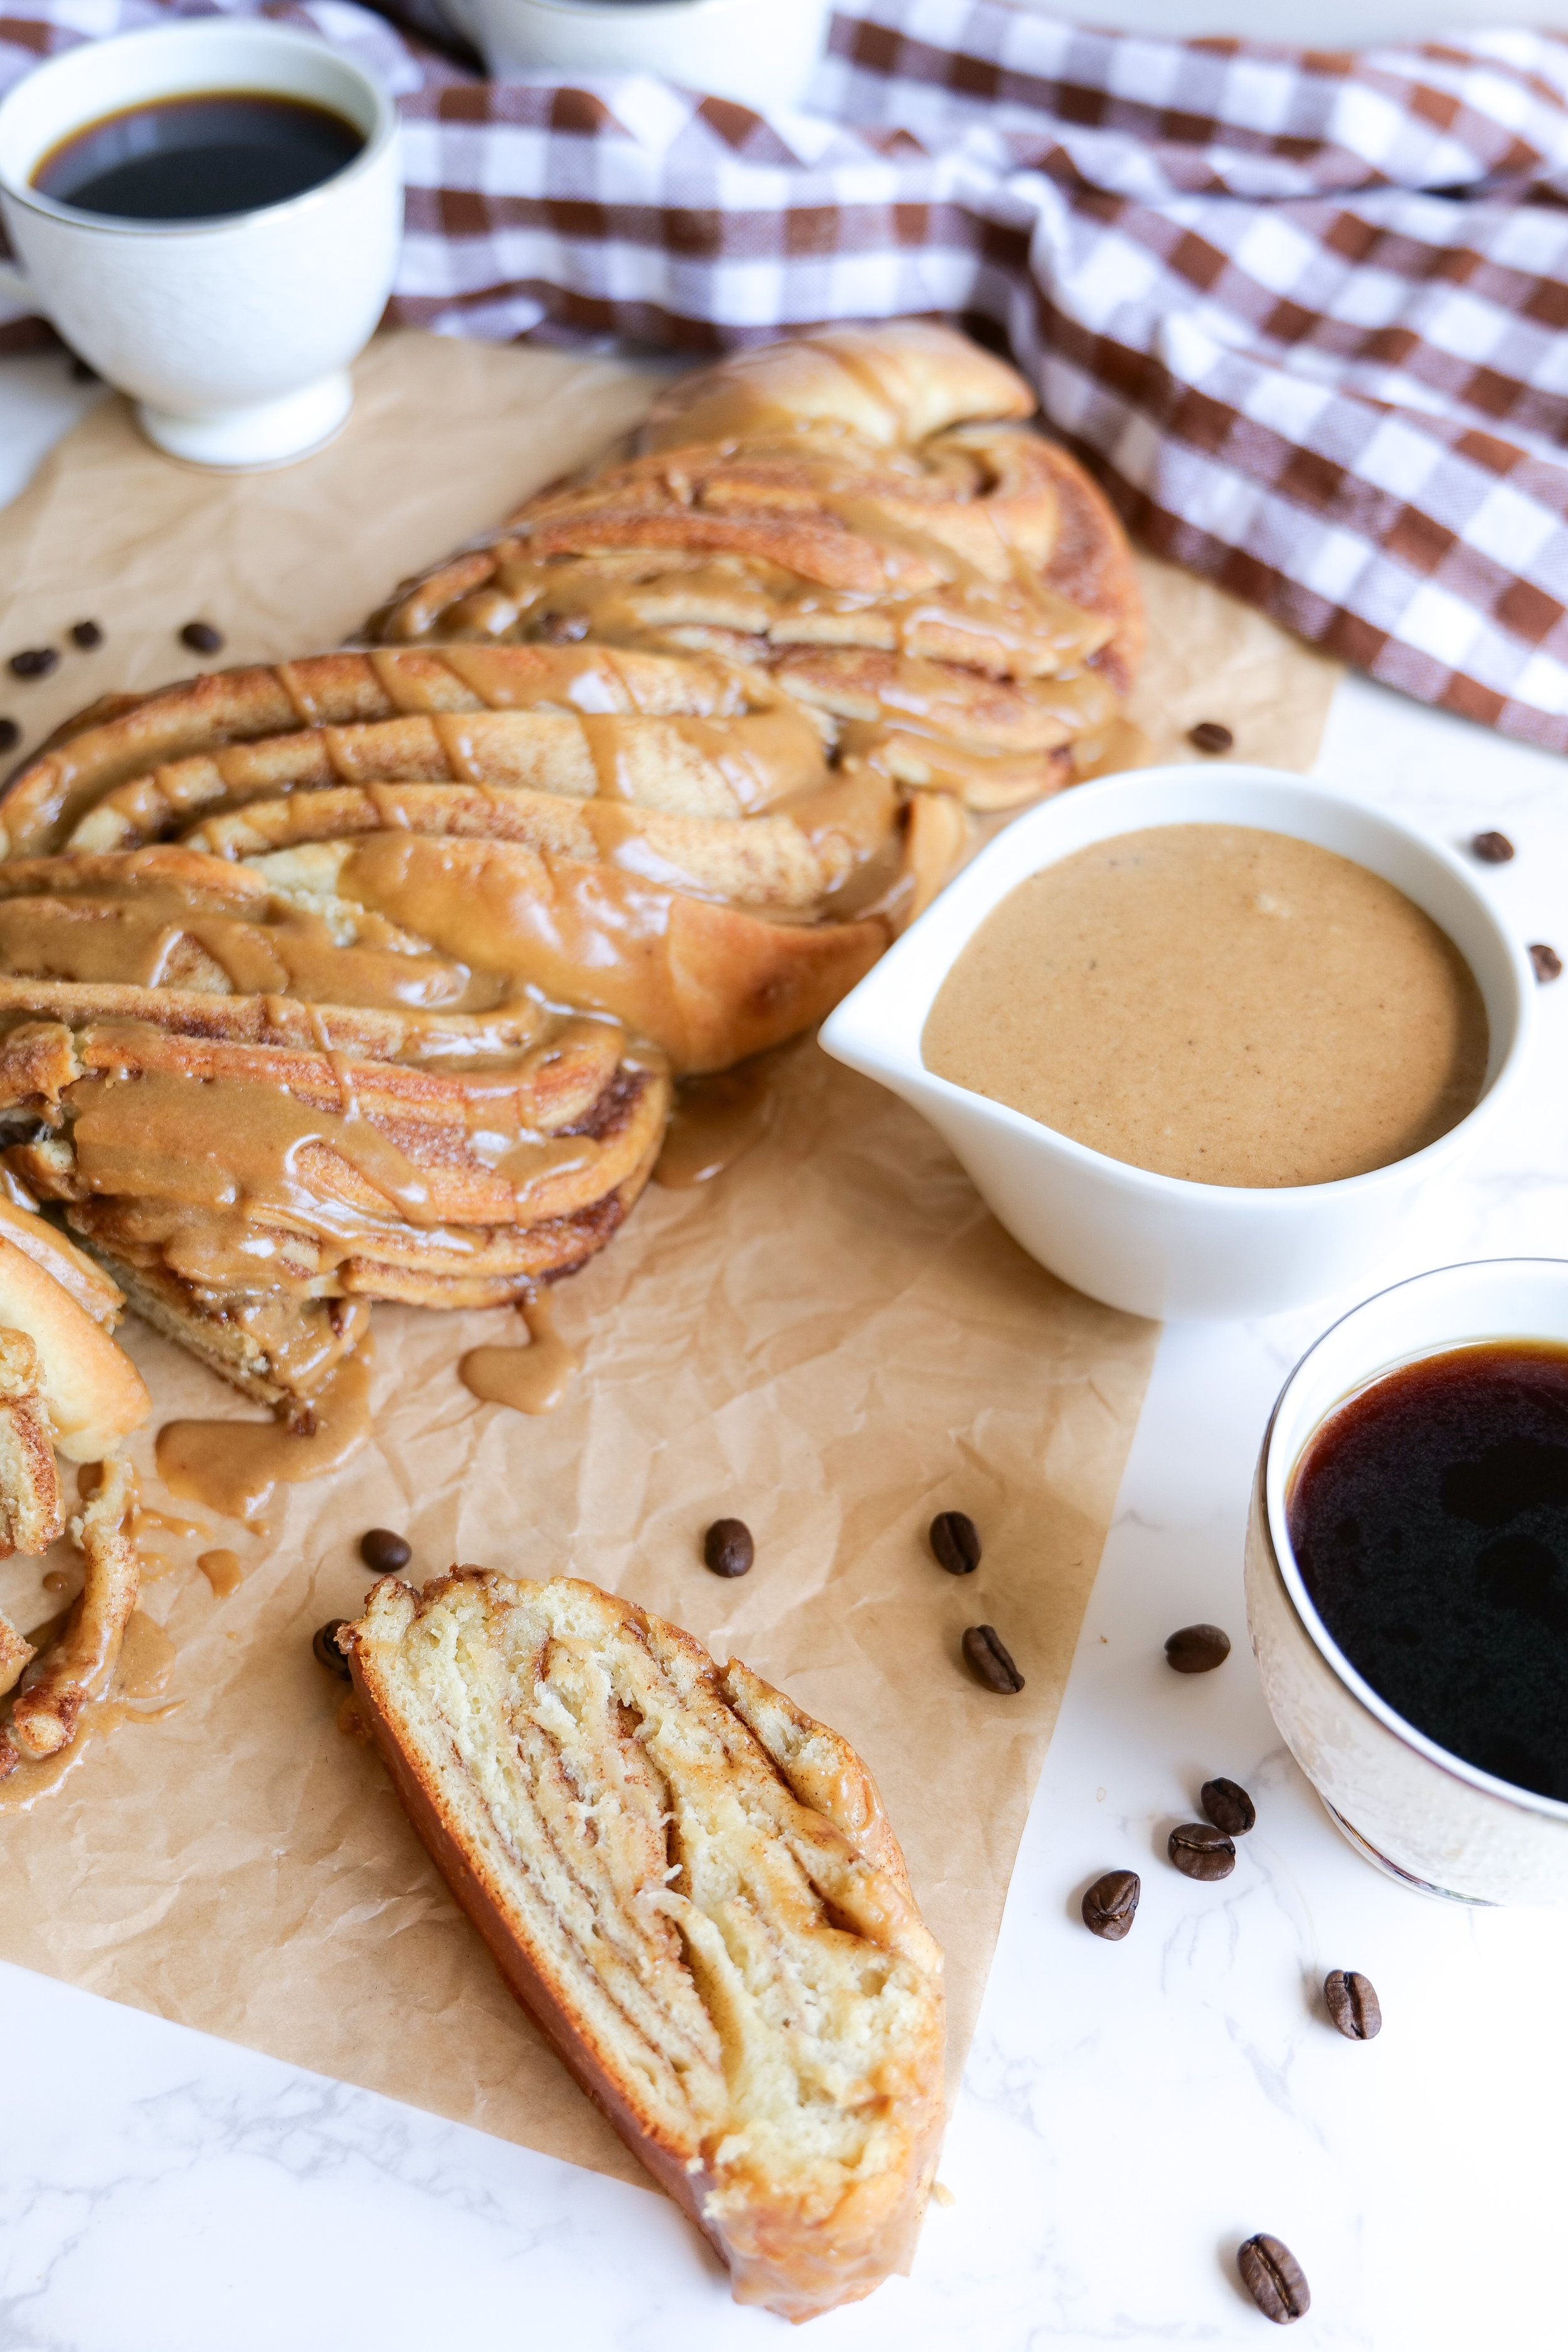
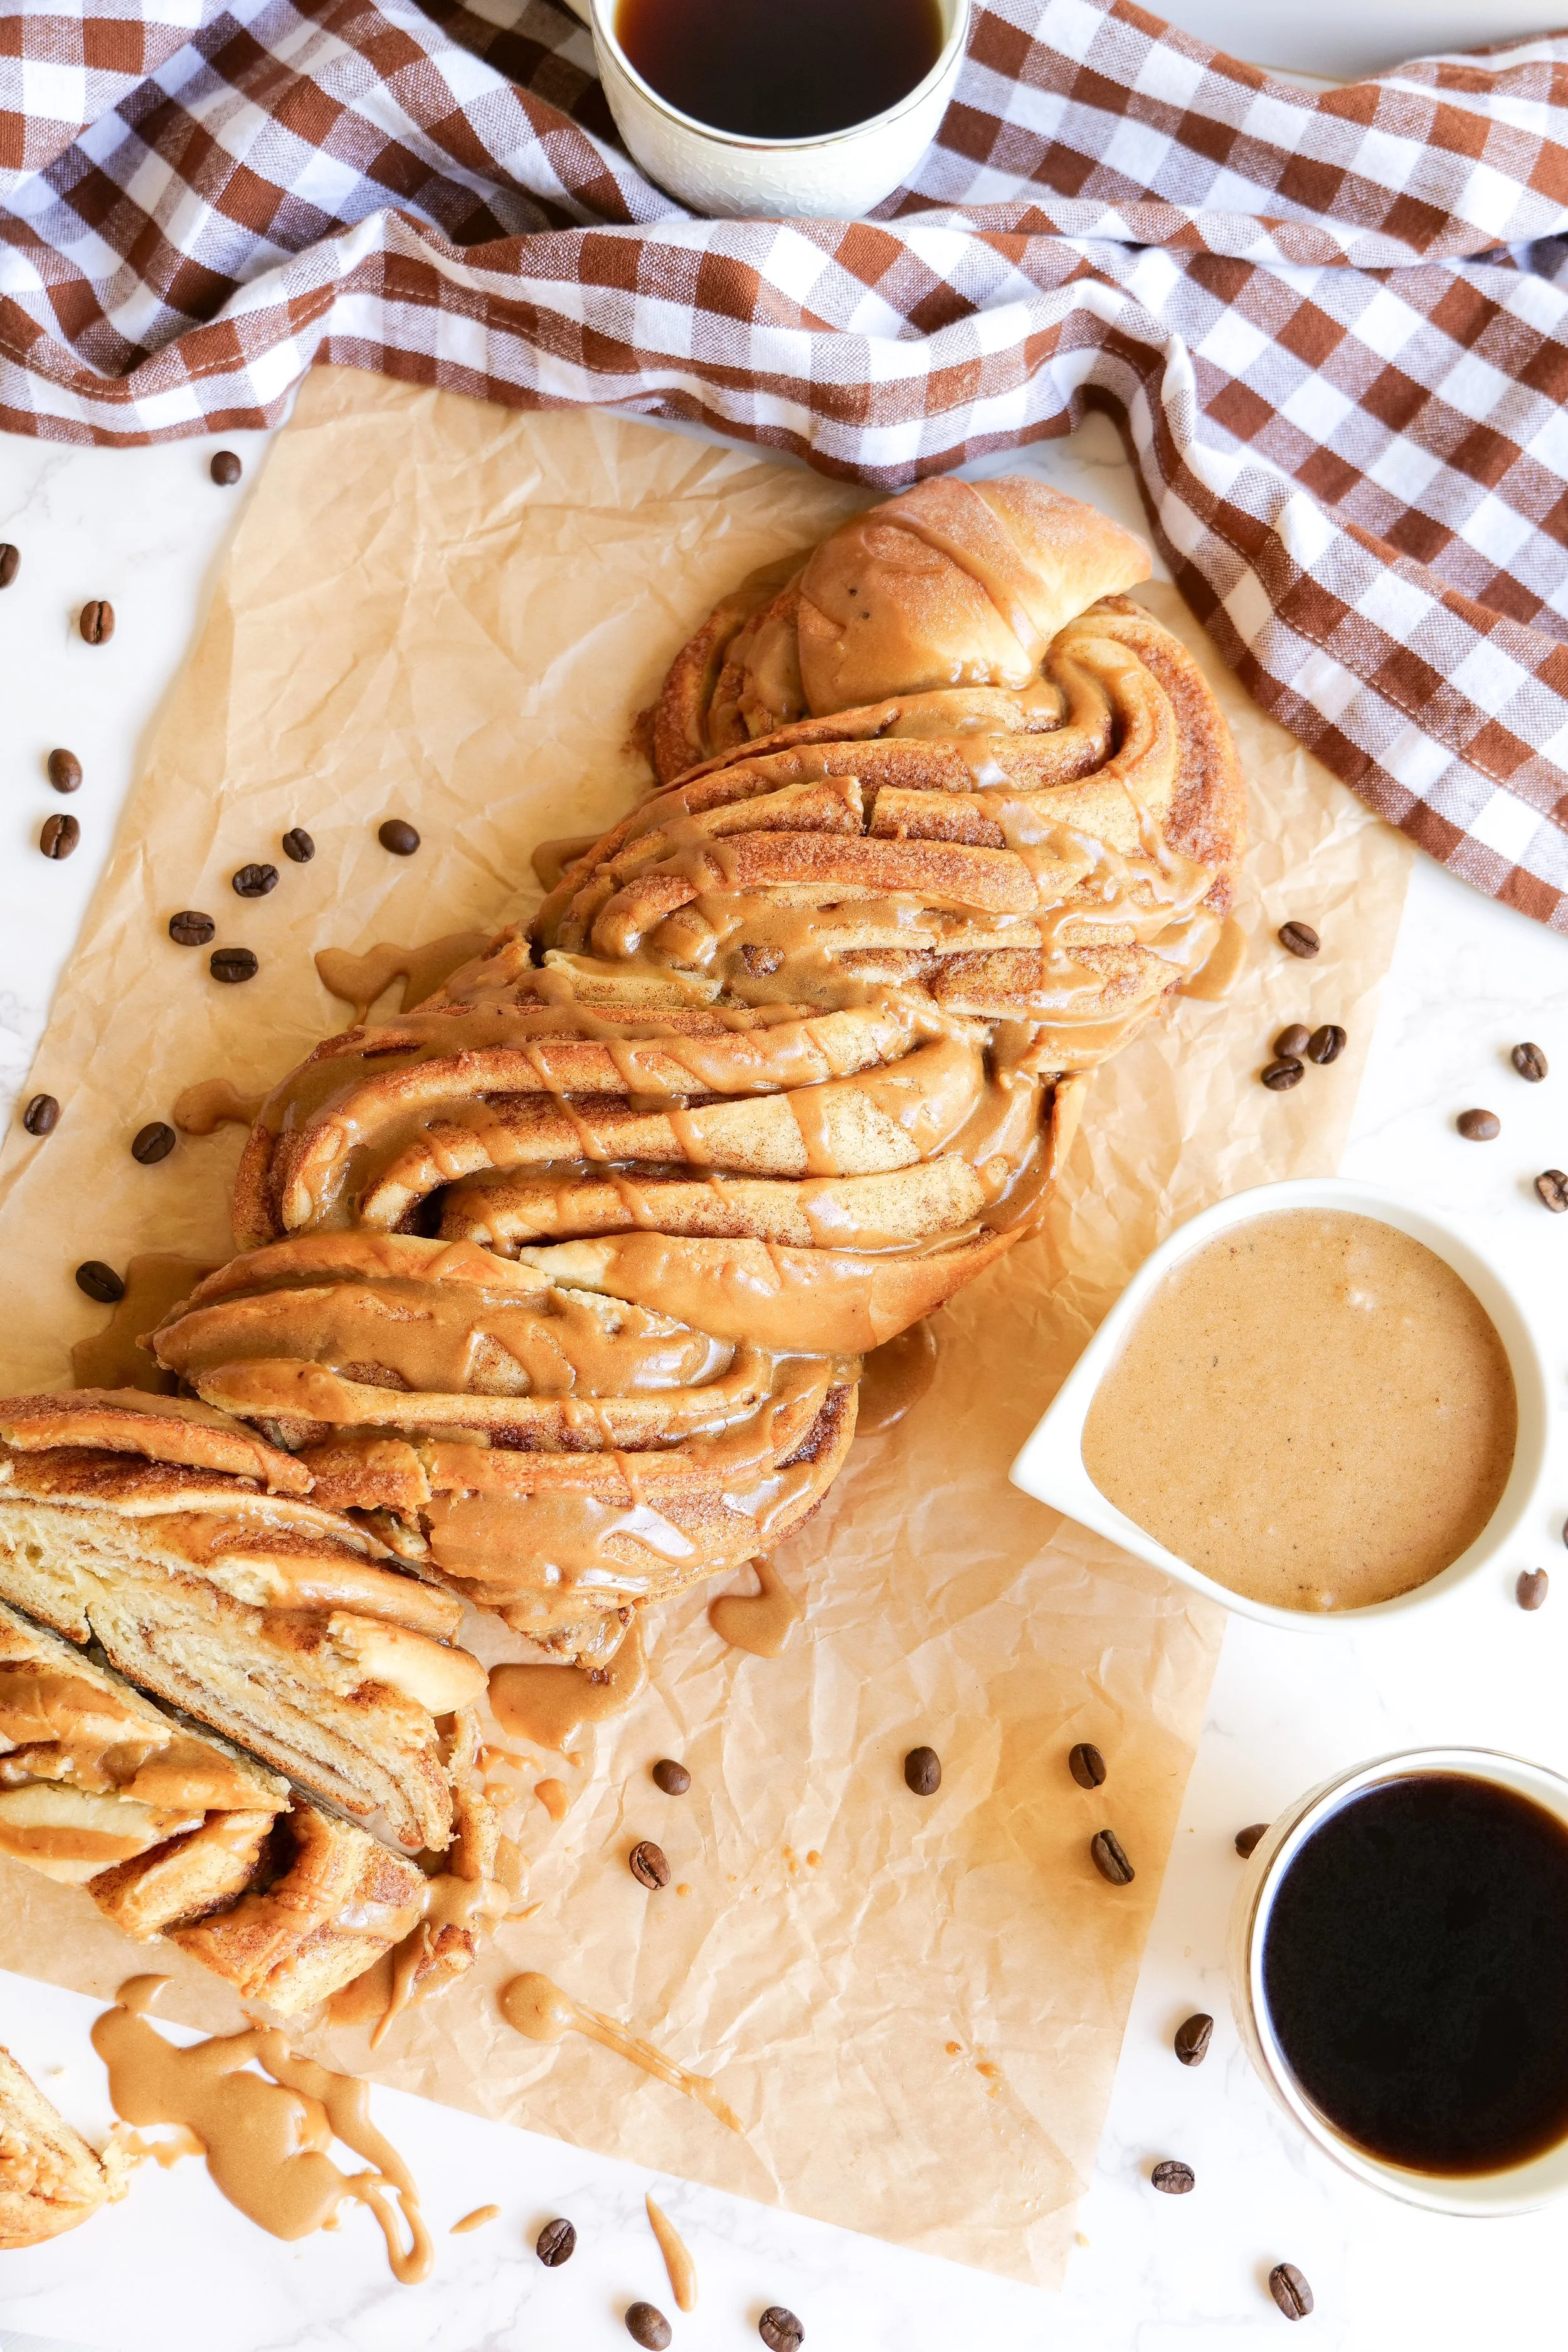
Roll dough from one side of the rectangle to the other and place it on a baking sheet lined with parchment paper. Cut along the middle and crisscross the dough from one side to the other. Tuck both ends under.
Bake at 350 for 20-25 minutes or until golden brown on the top.
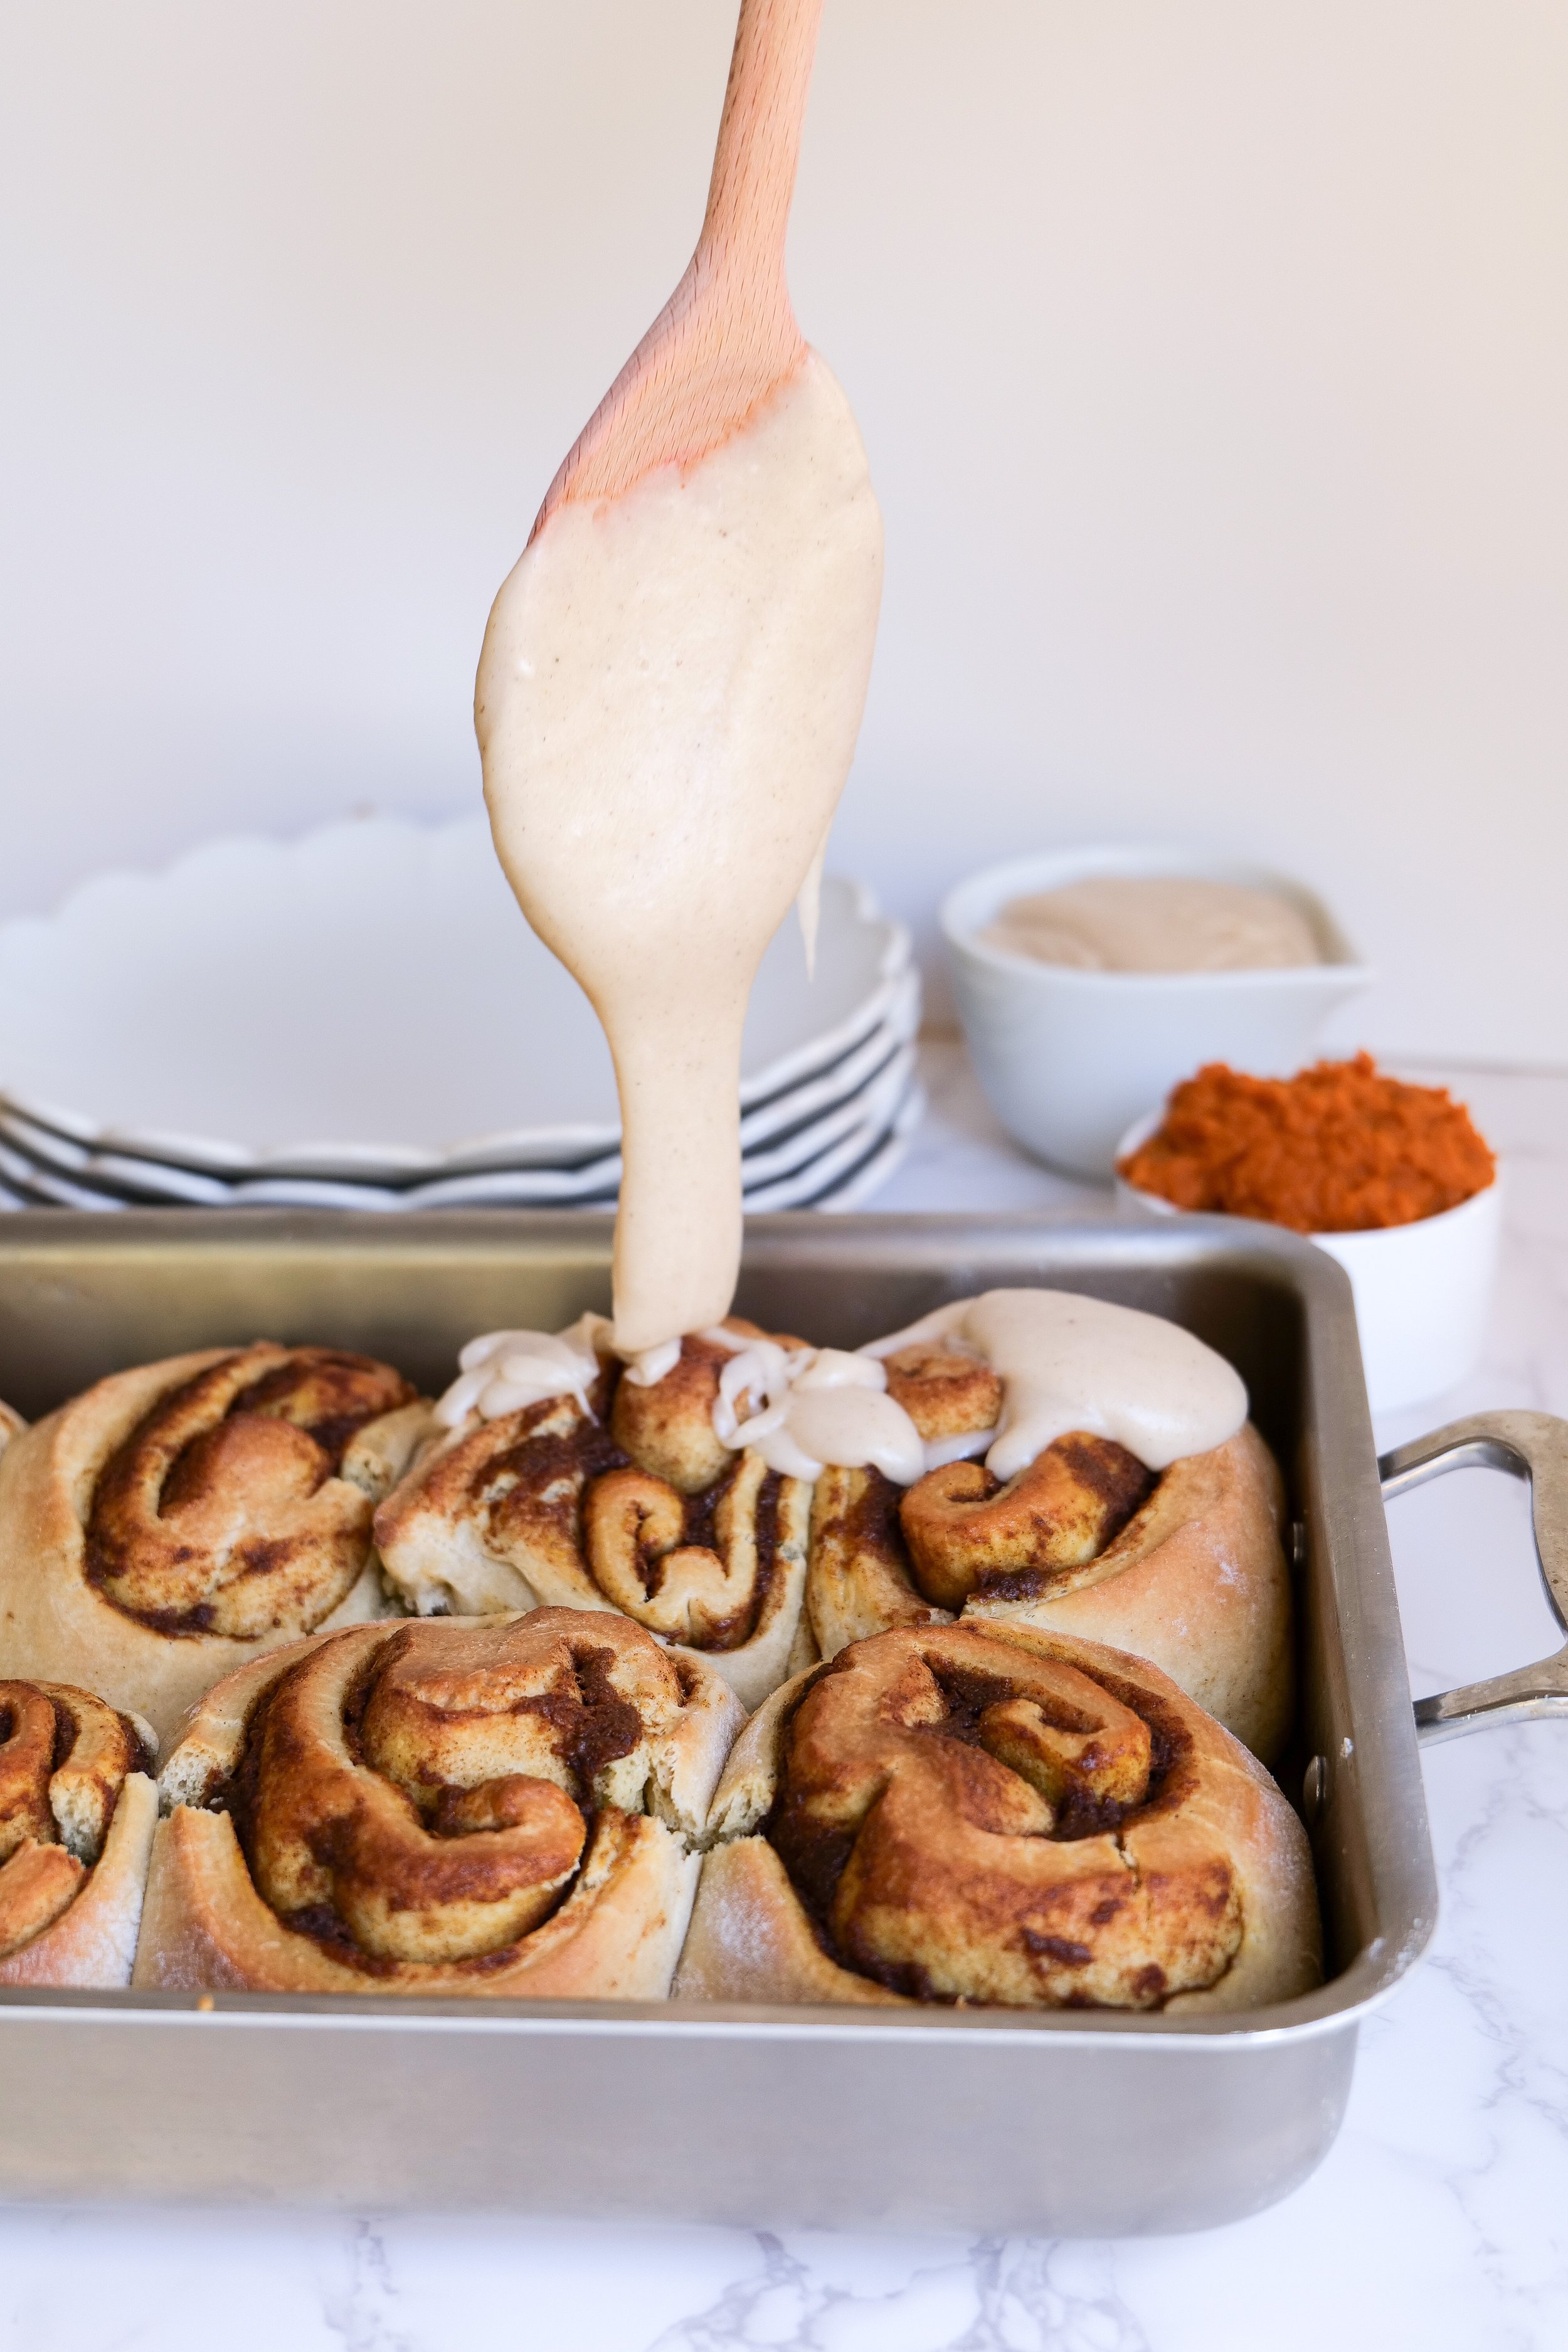
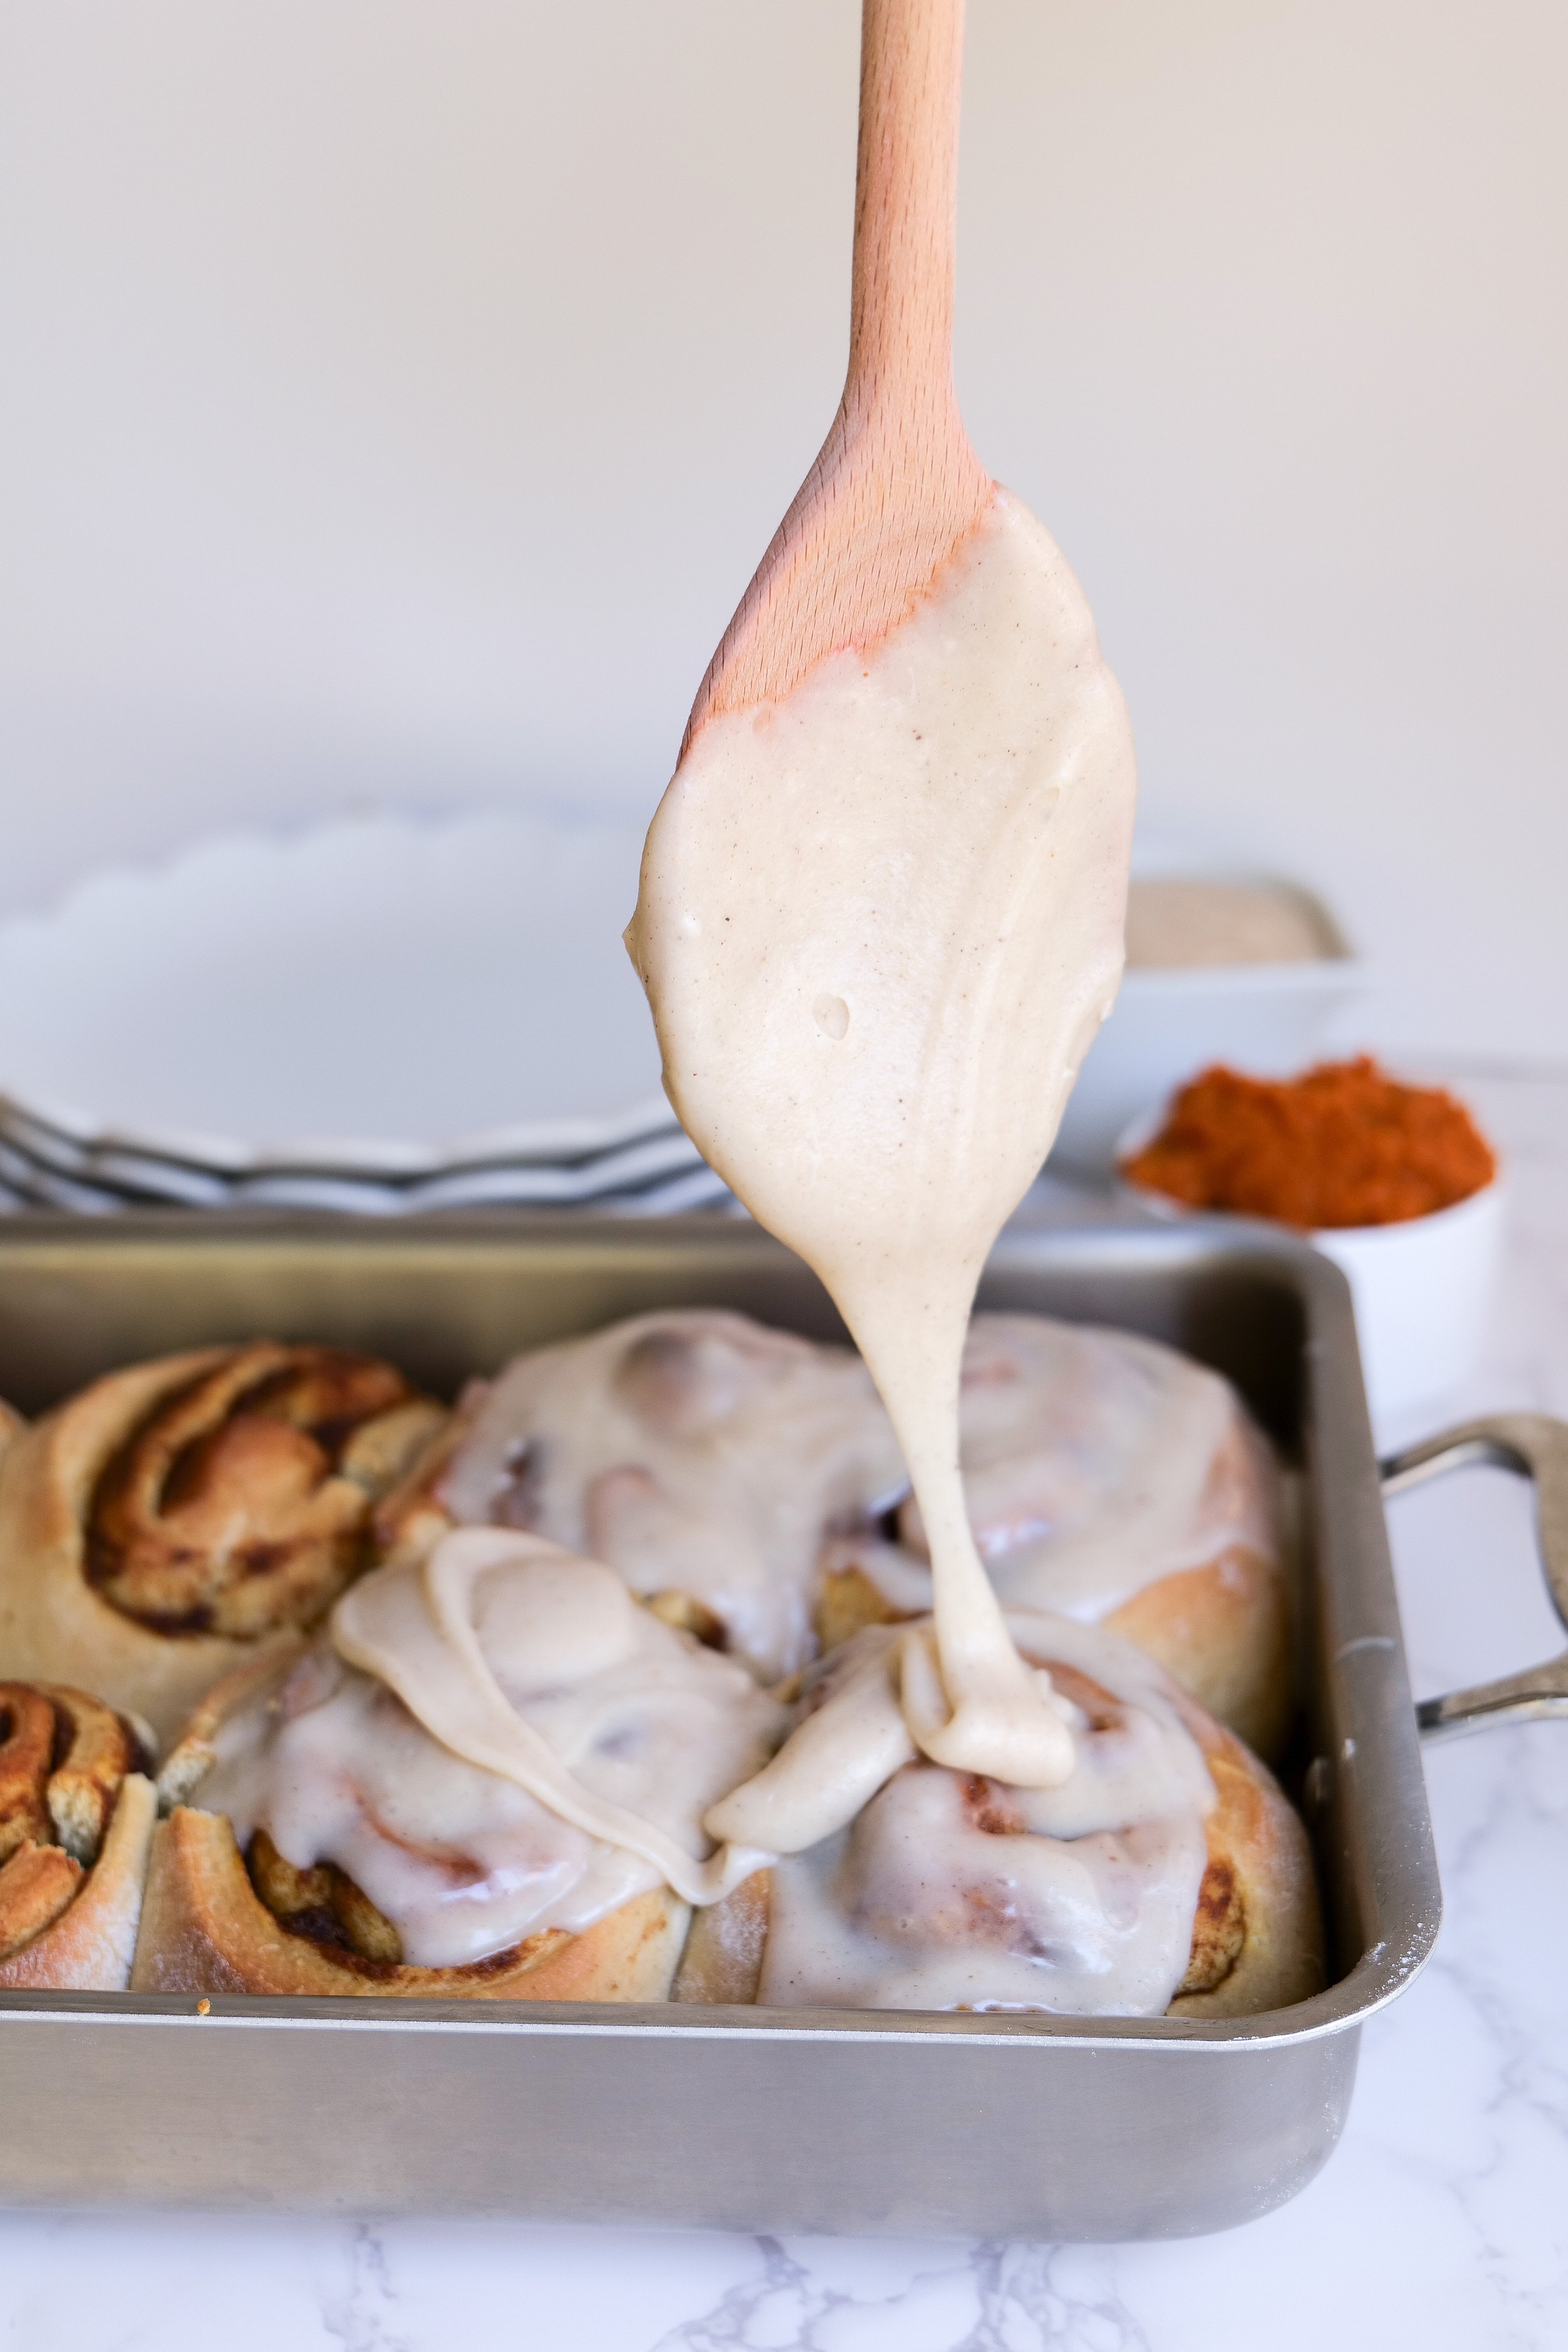
Frosting:
Mix softened cream cheese and butter until smooth. (If not in the room temp warm it for 30 seconds in the microwave before)
Add powdered sugar, milk, and vanilla extract.