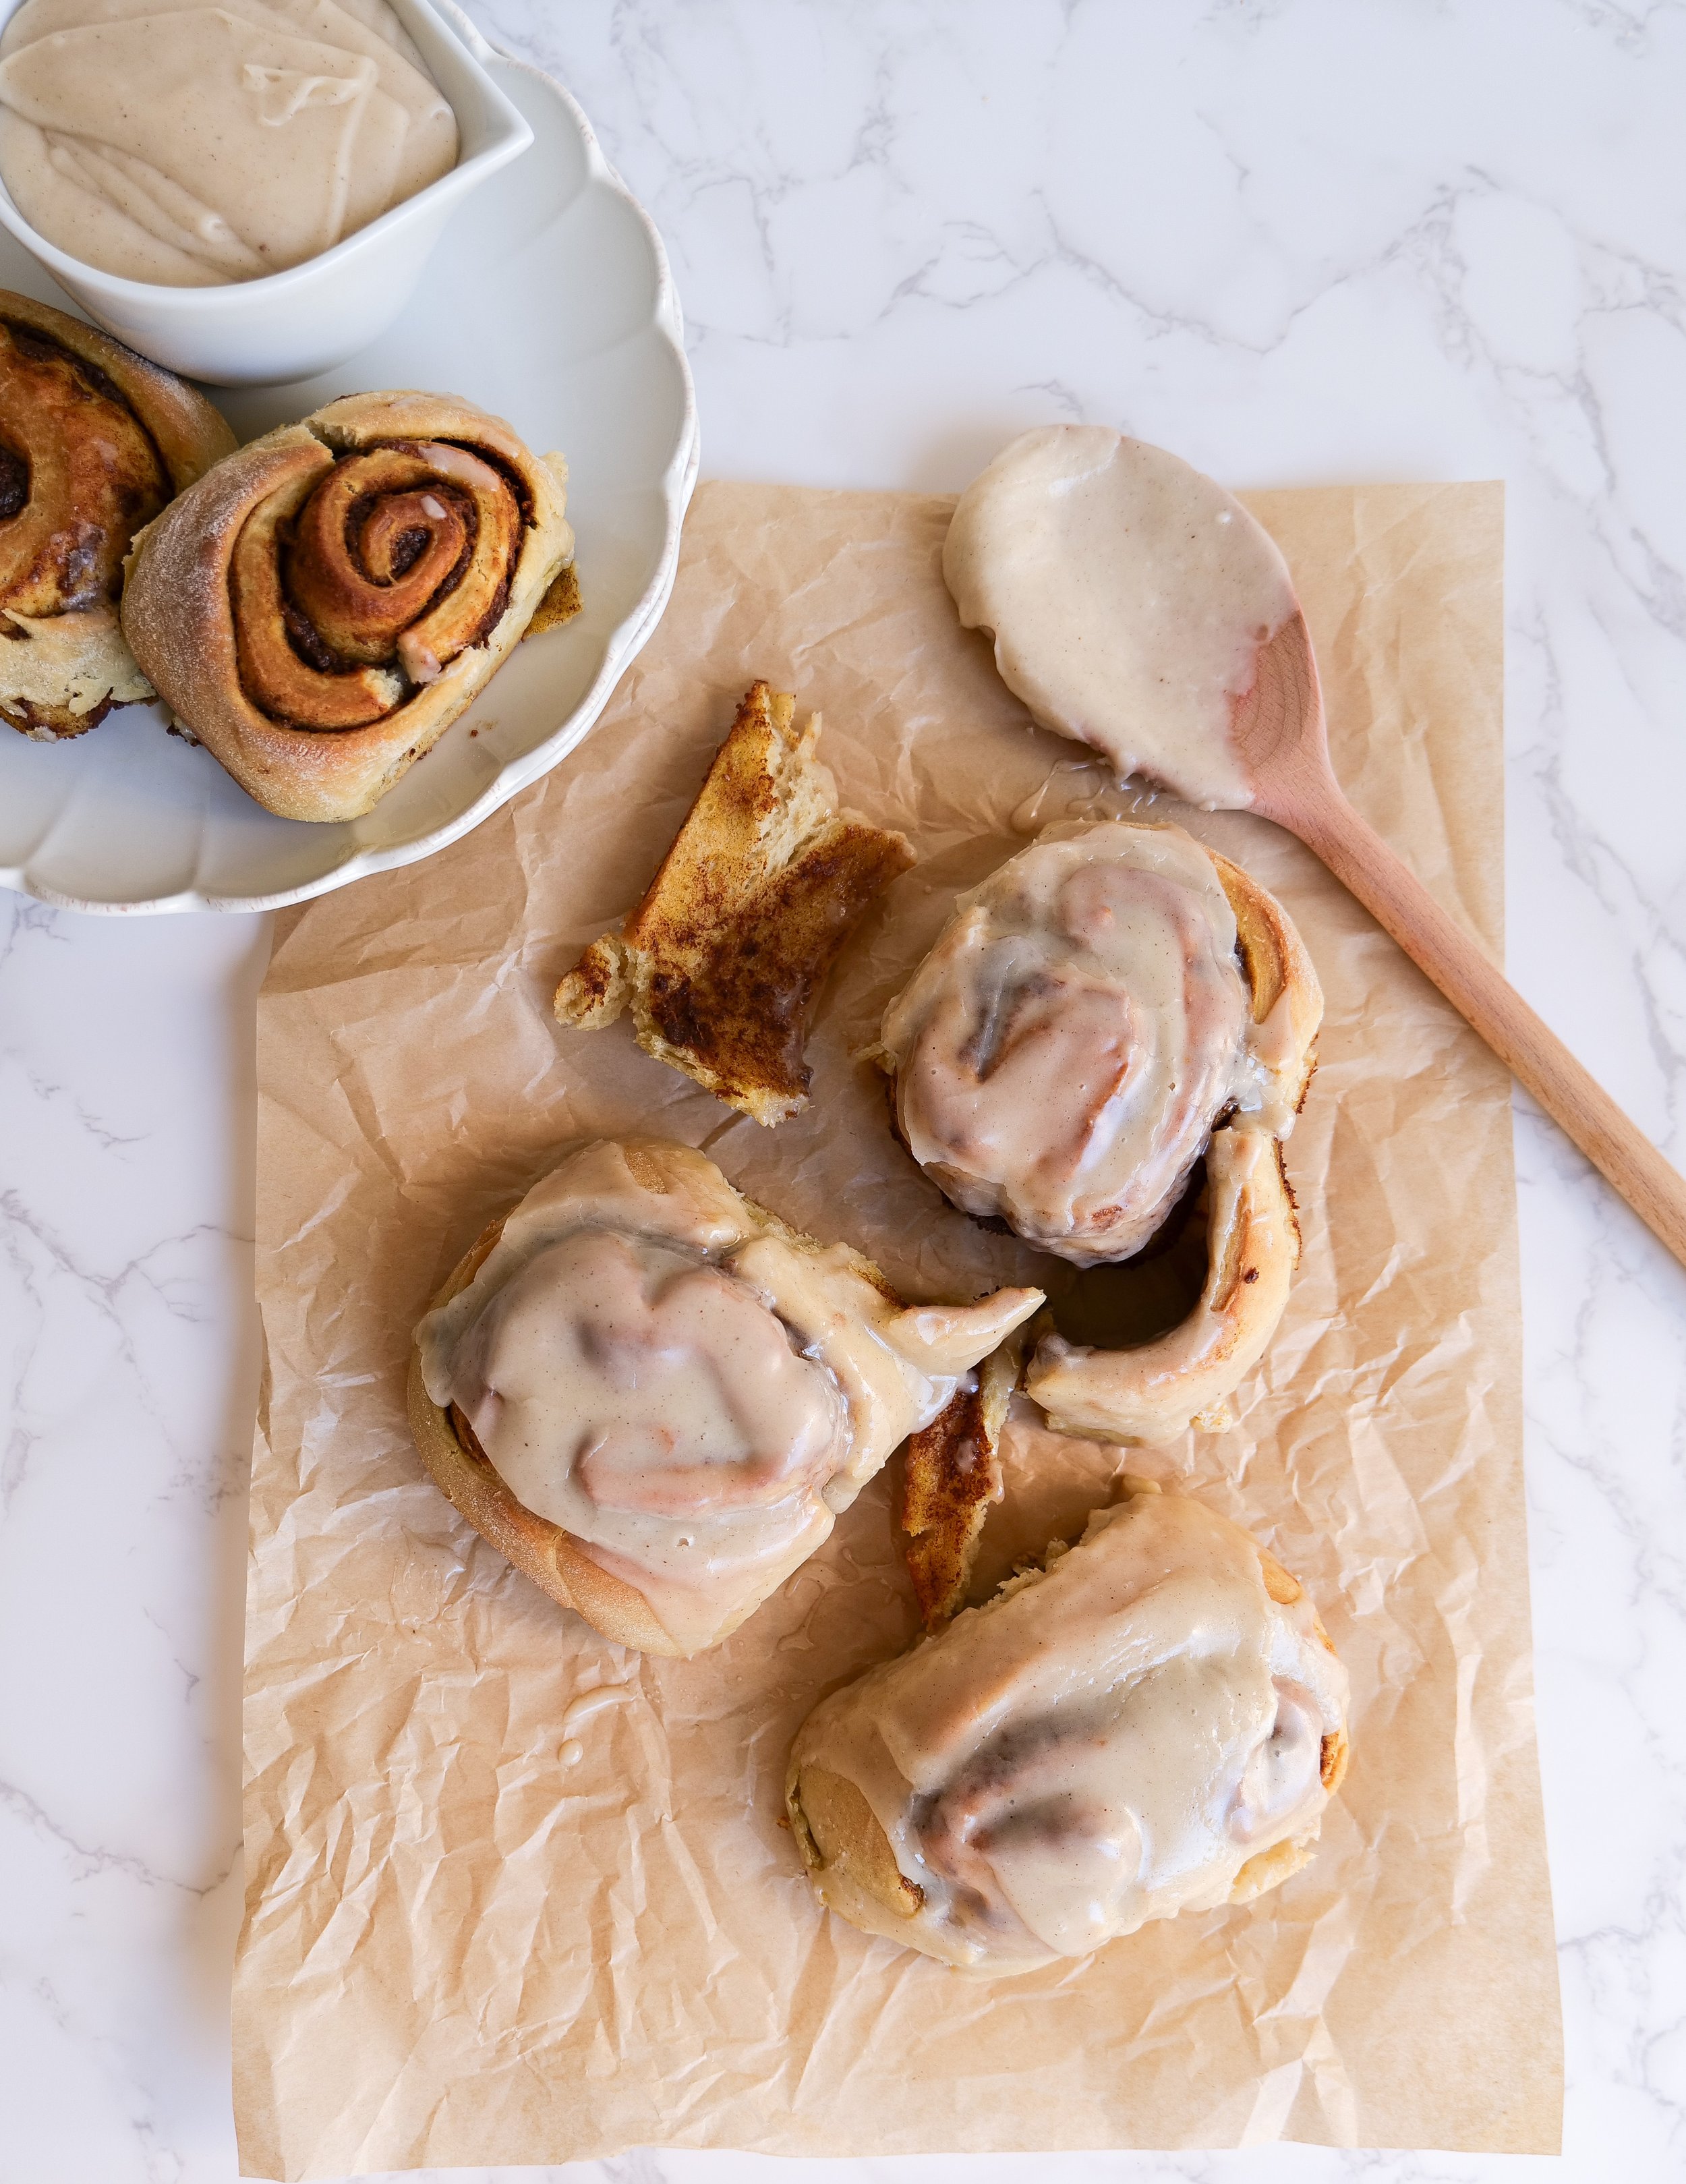
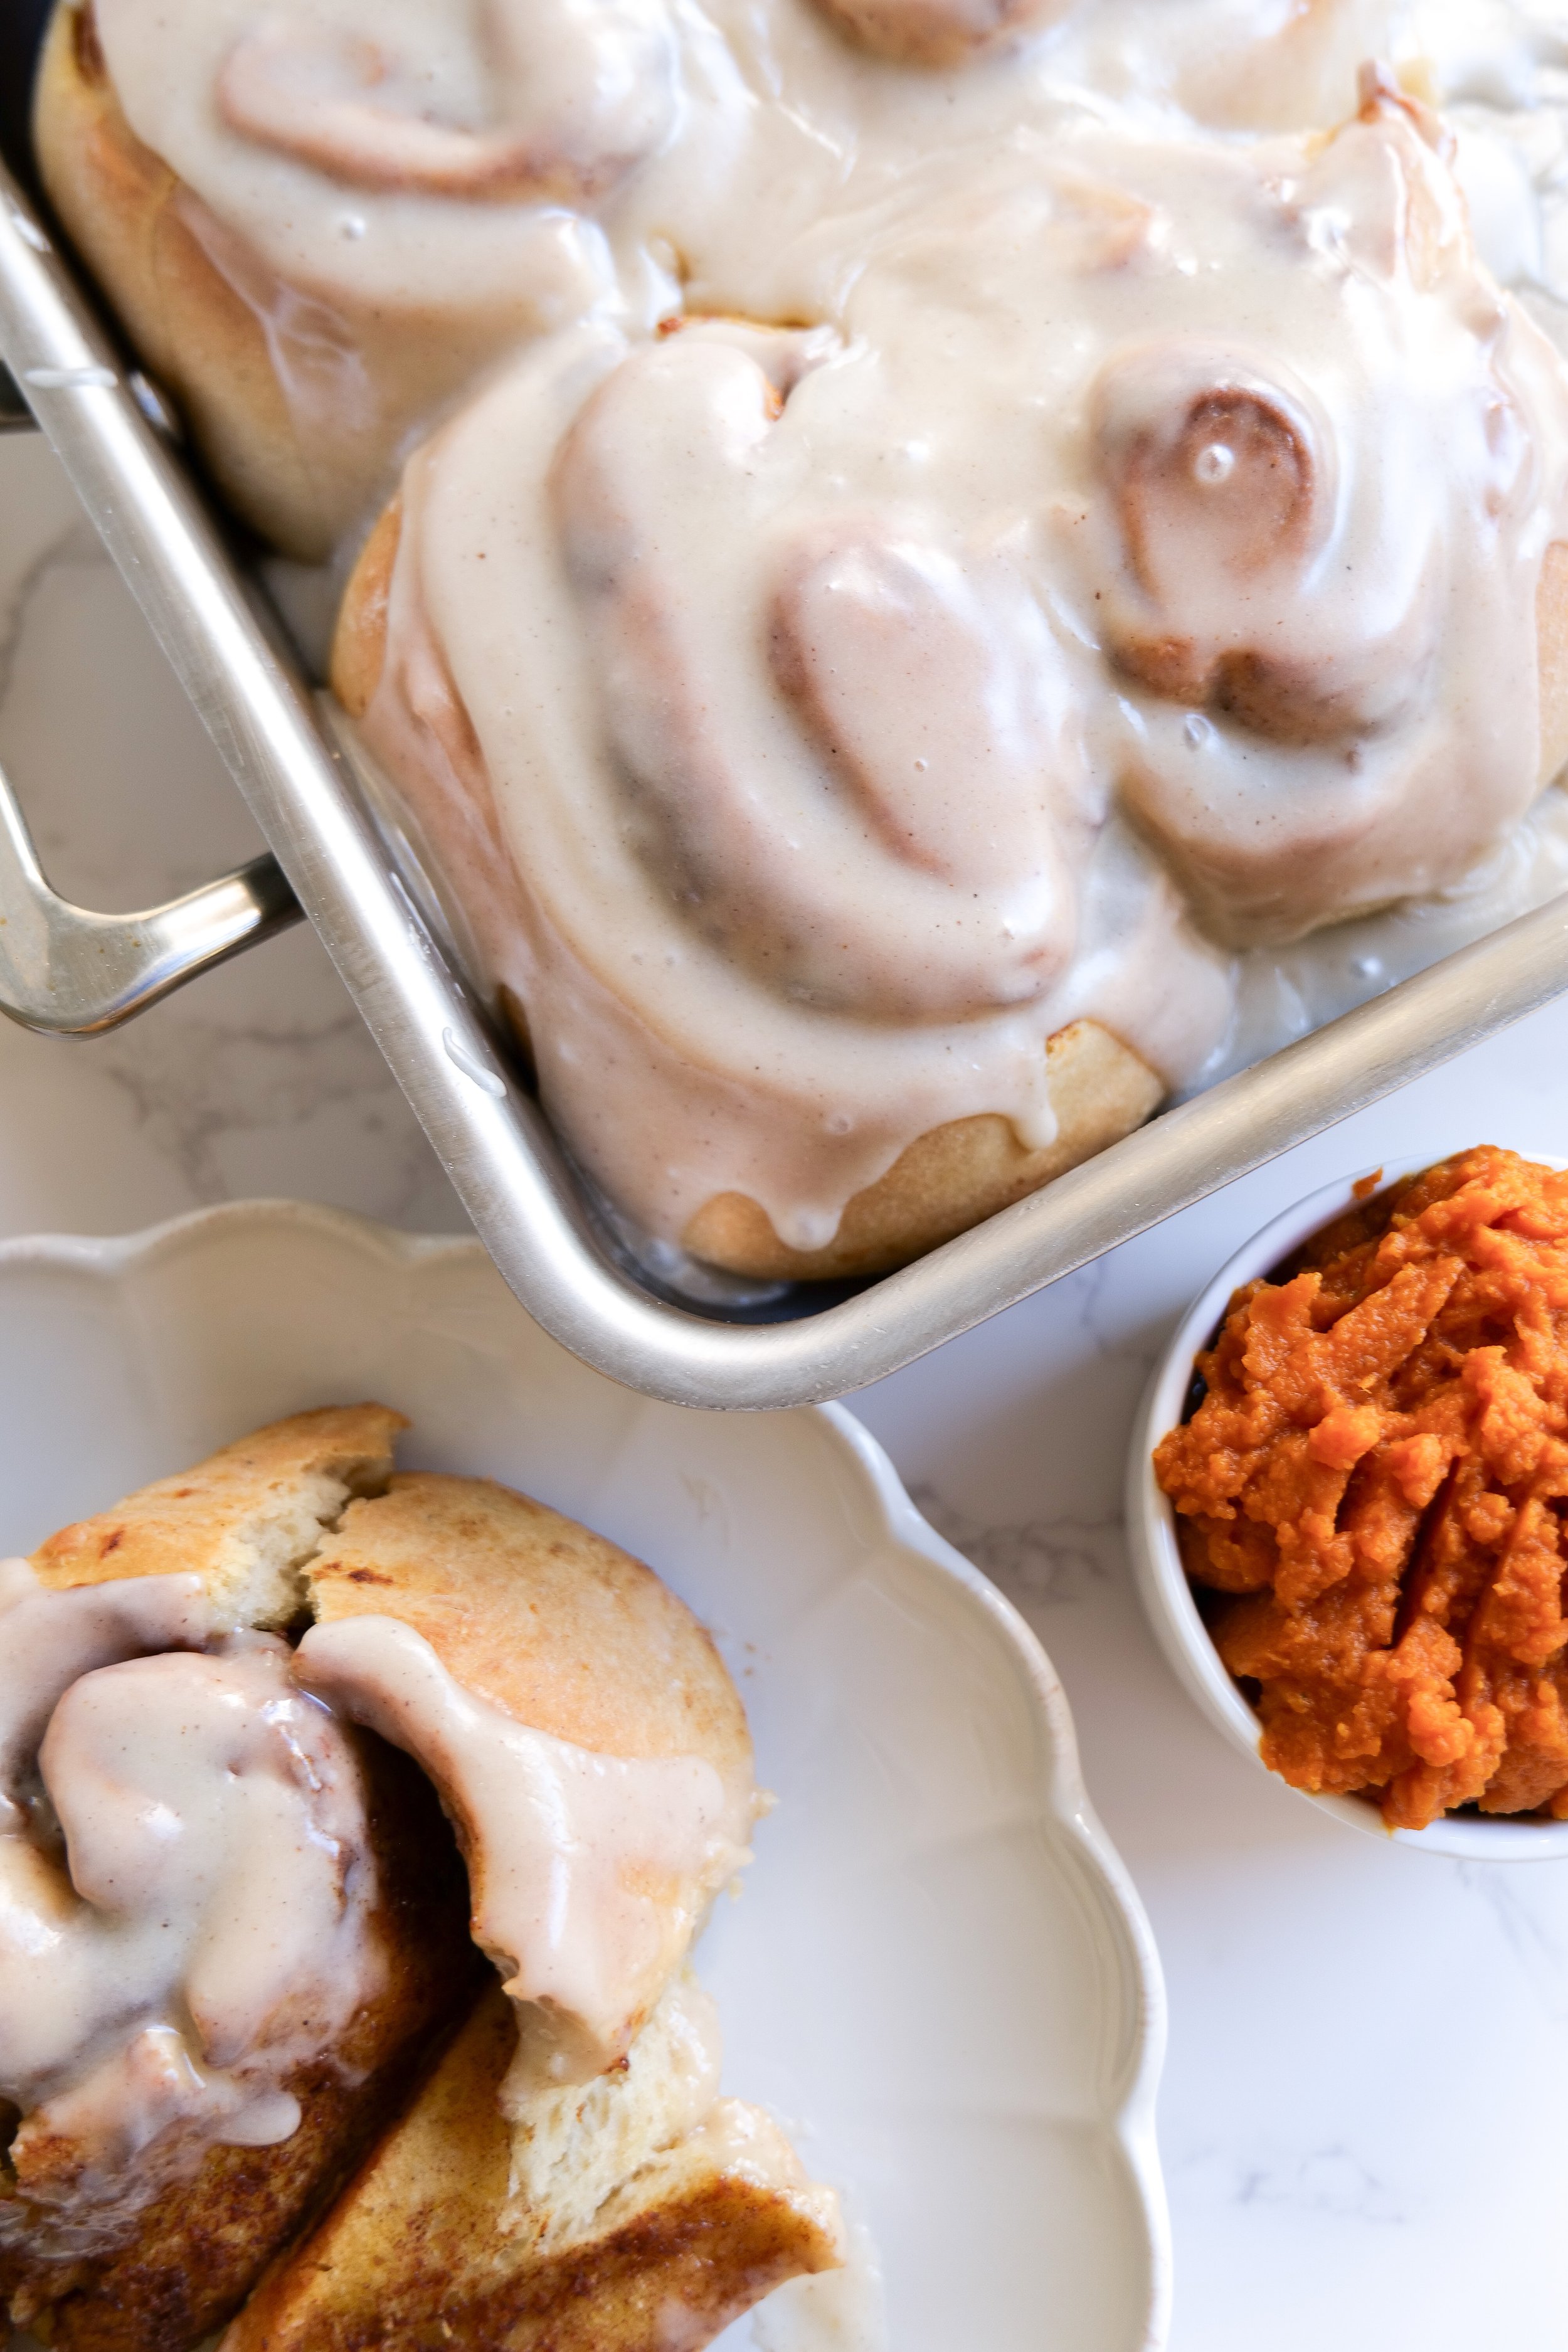
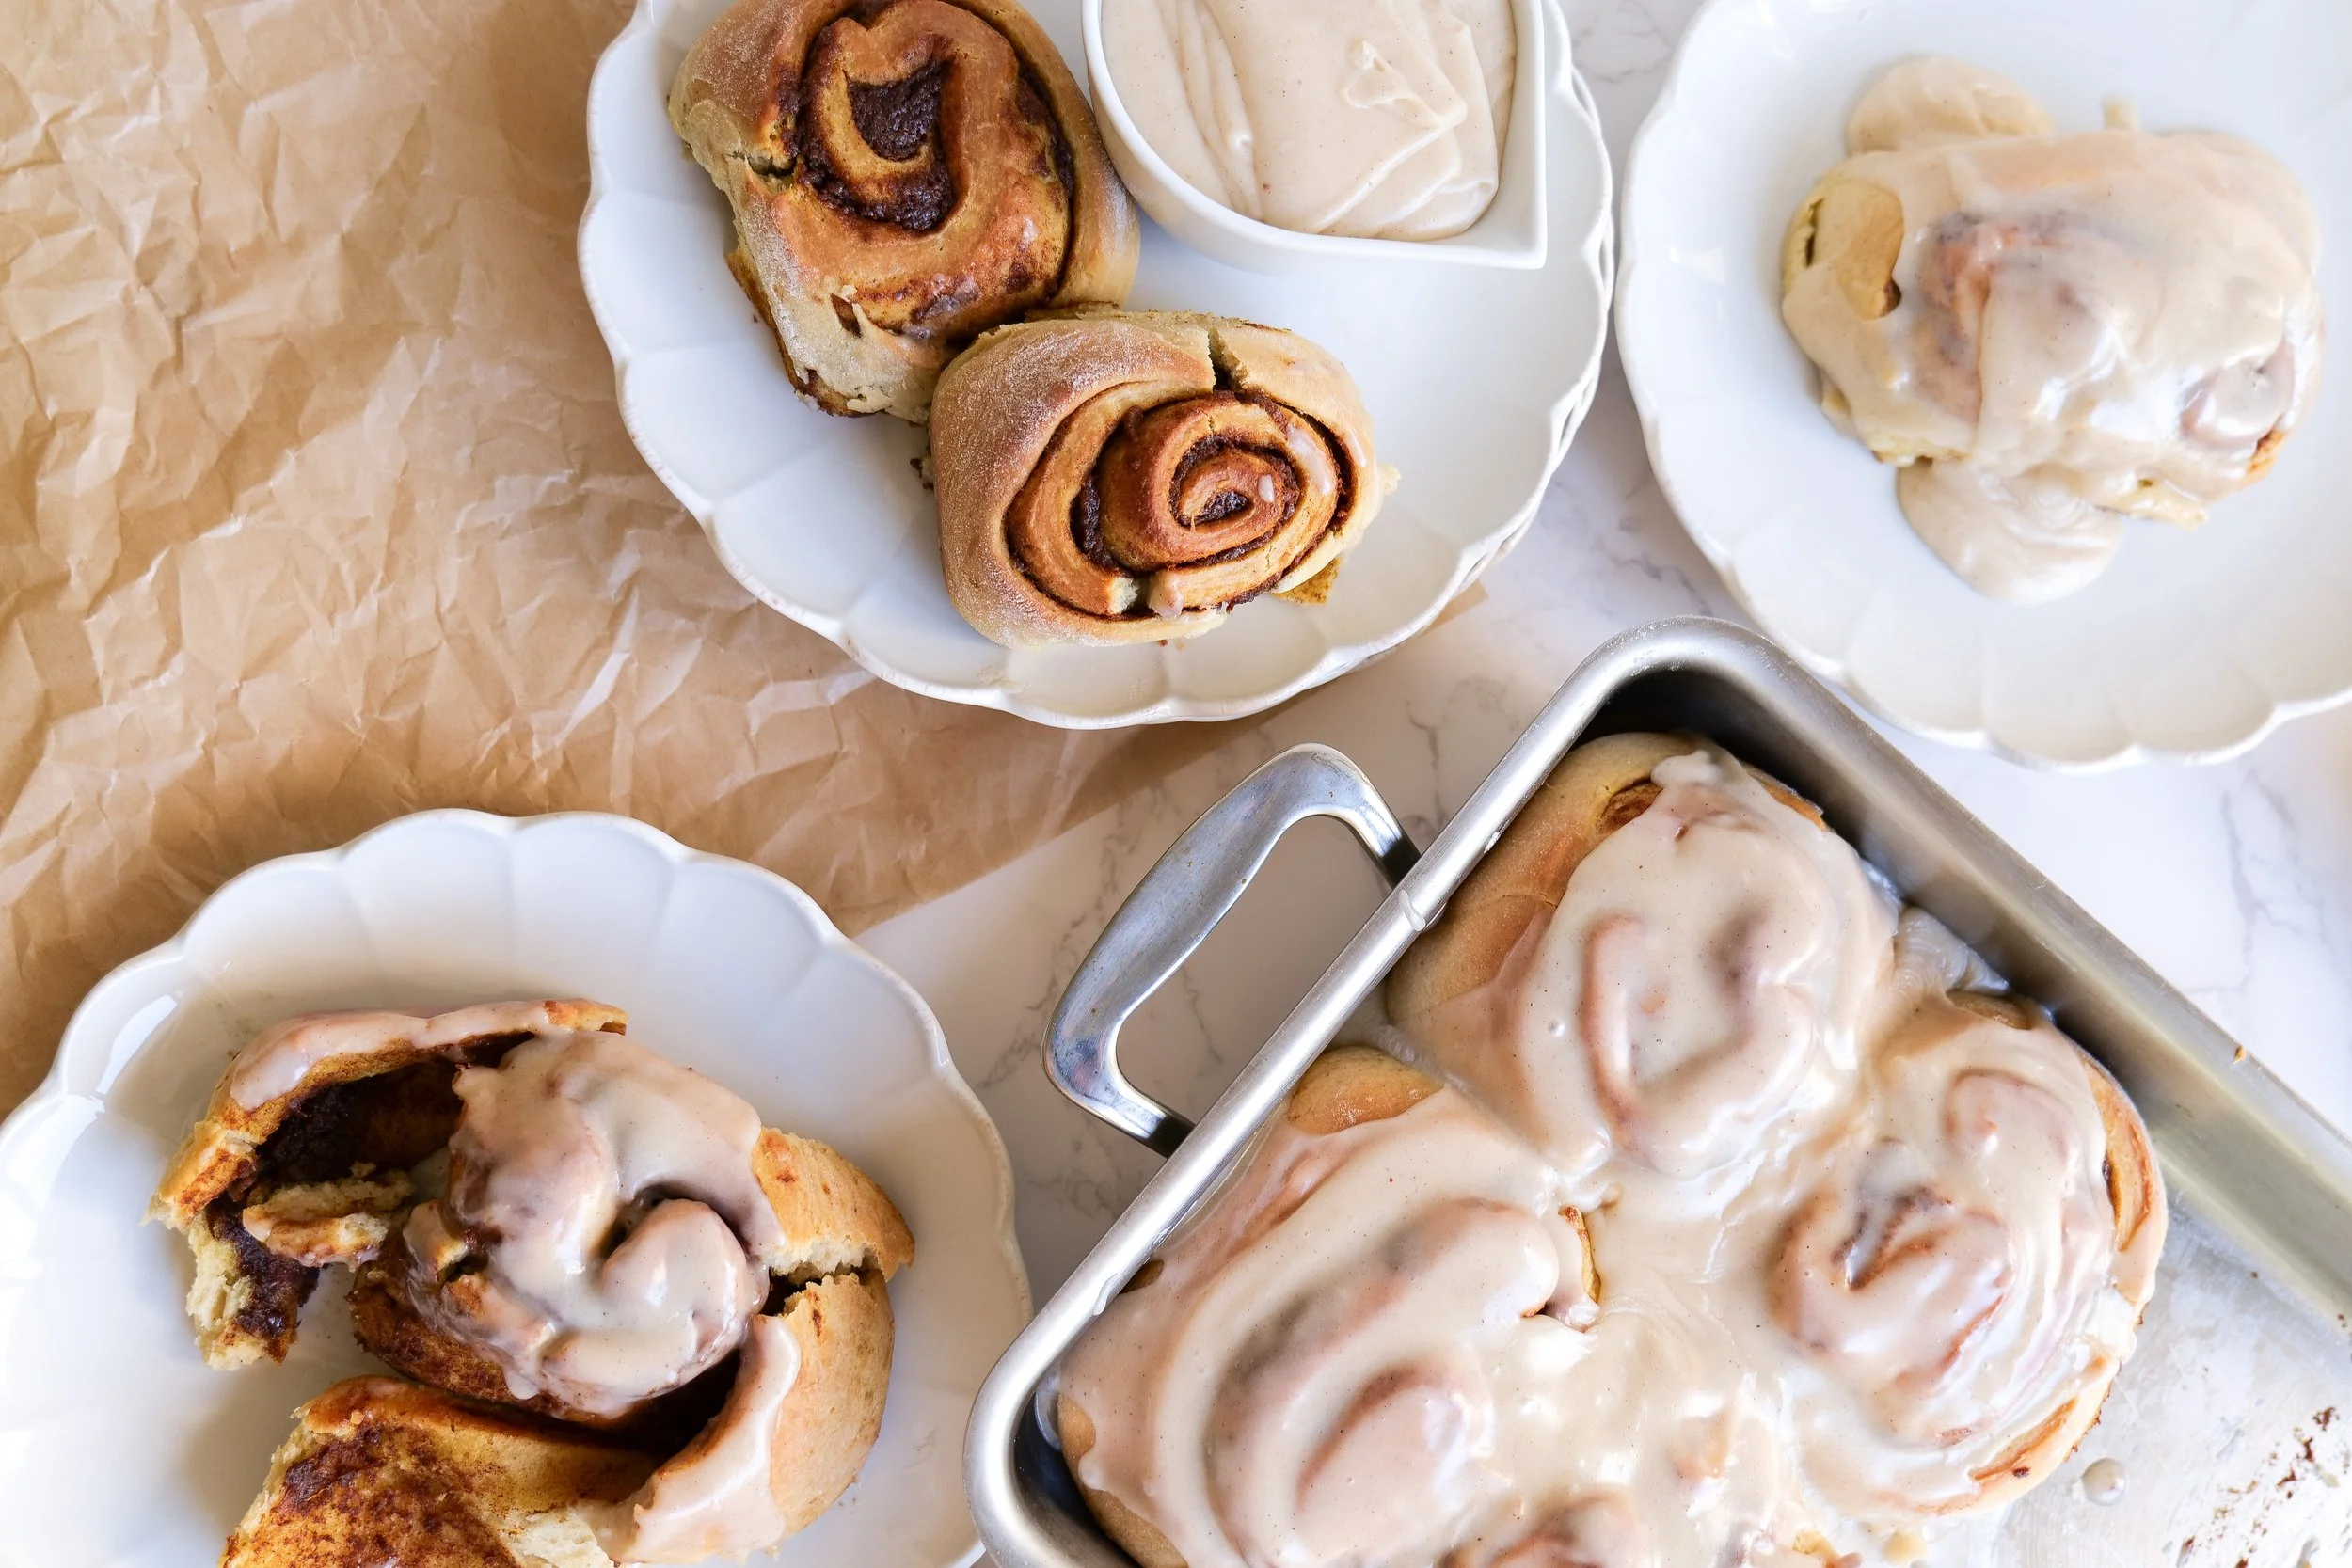
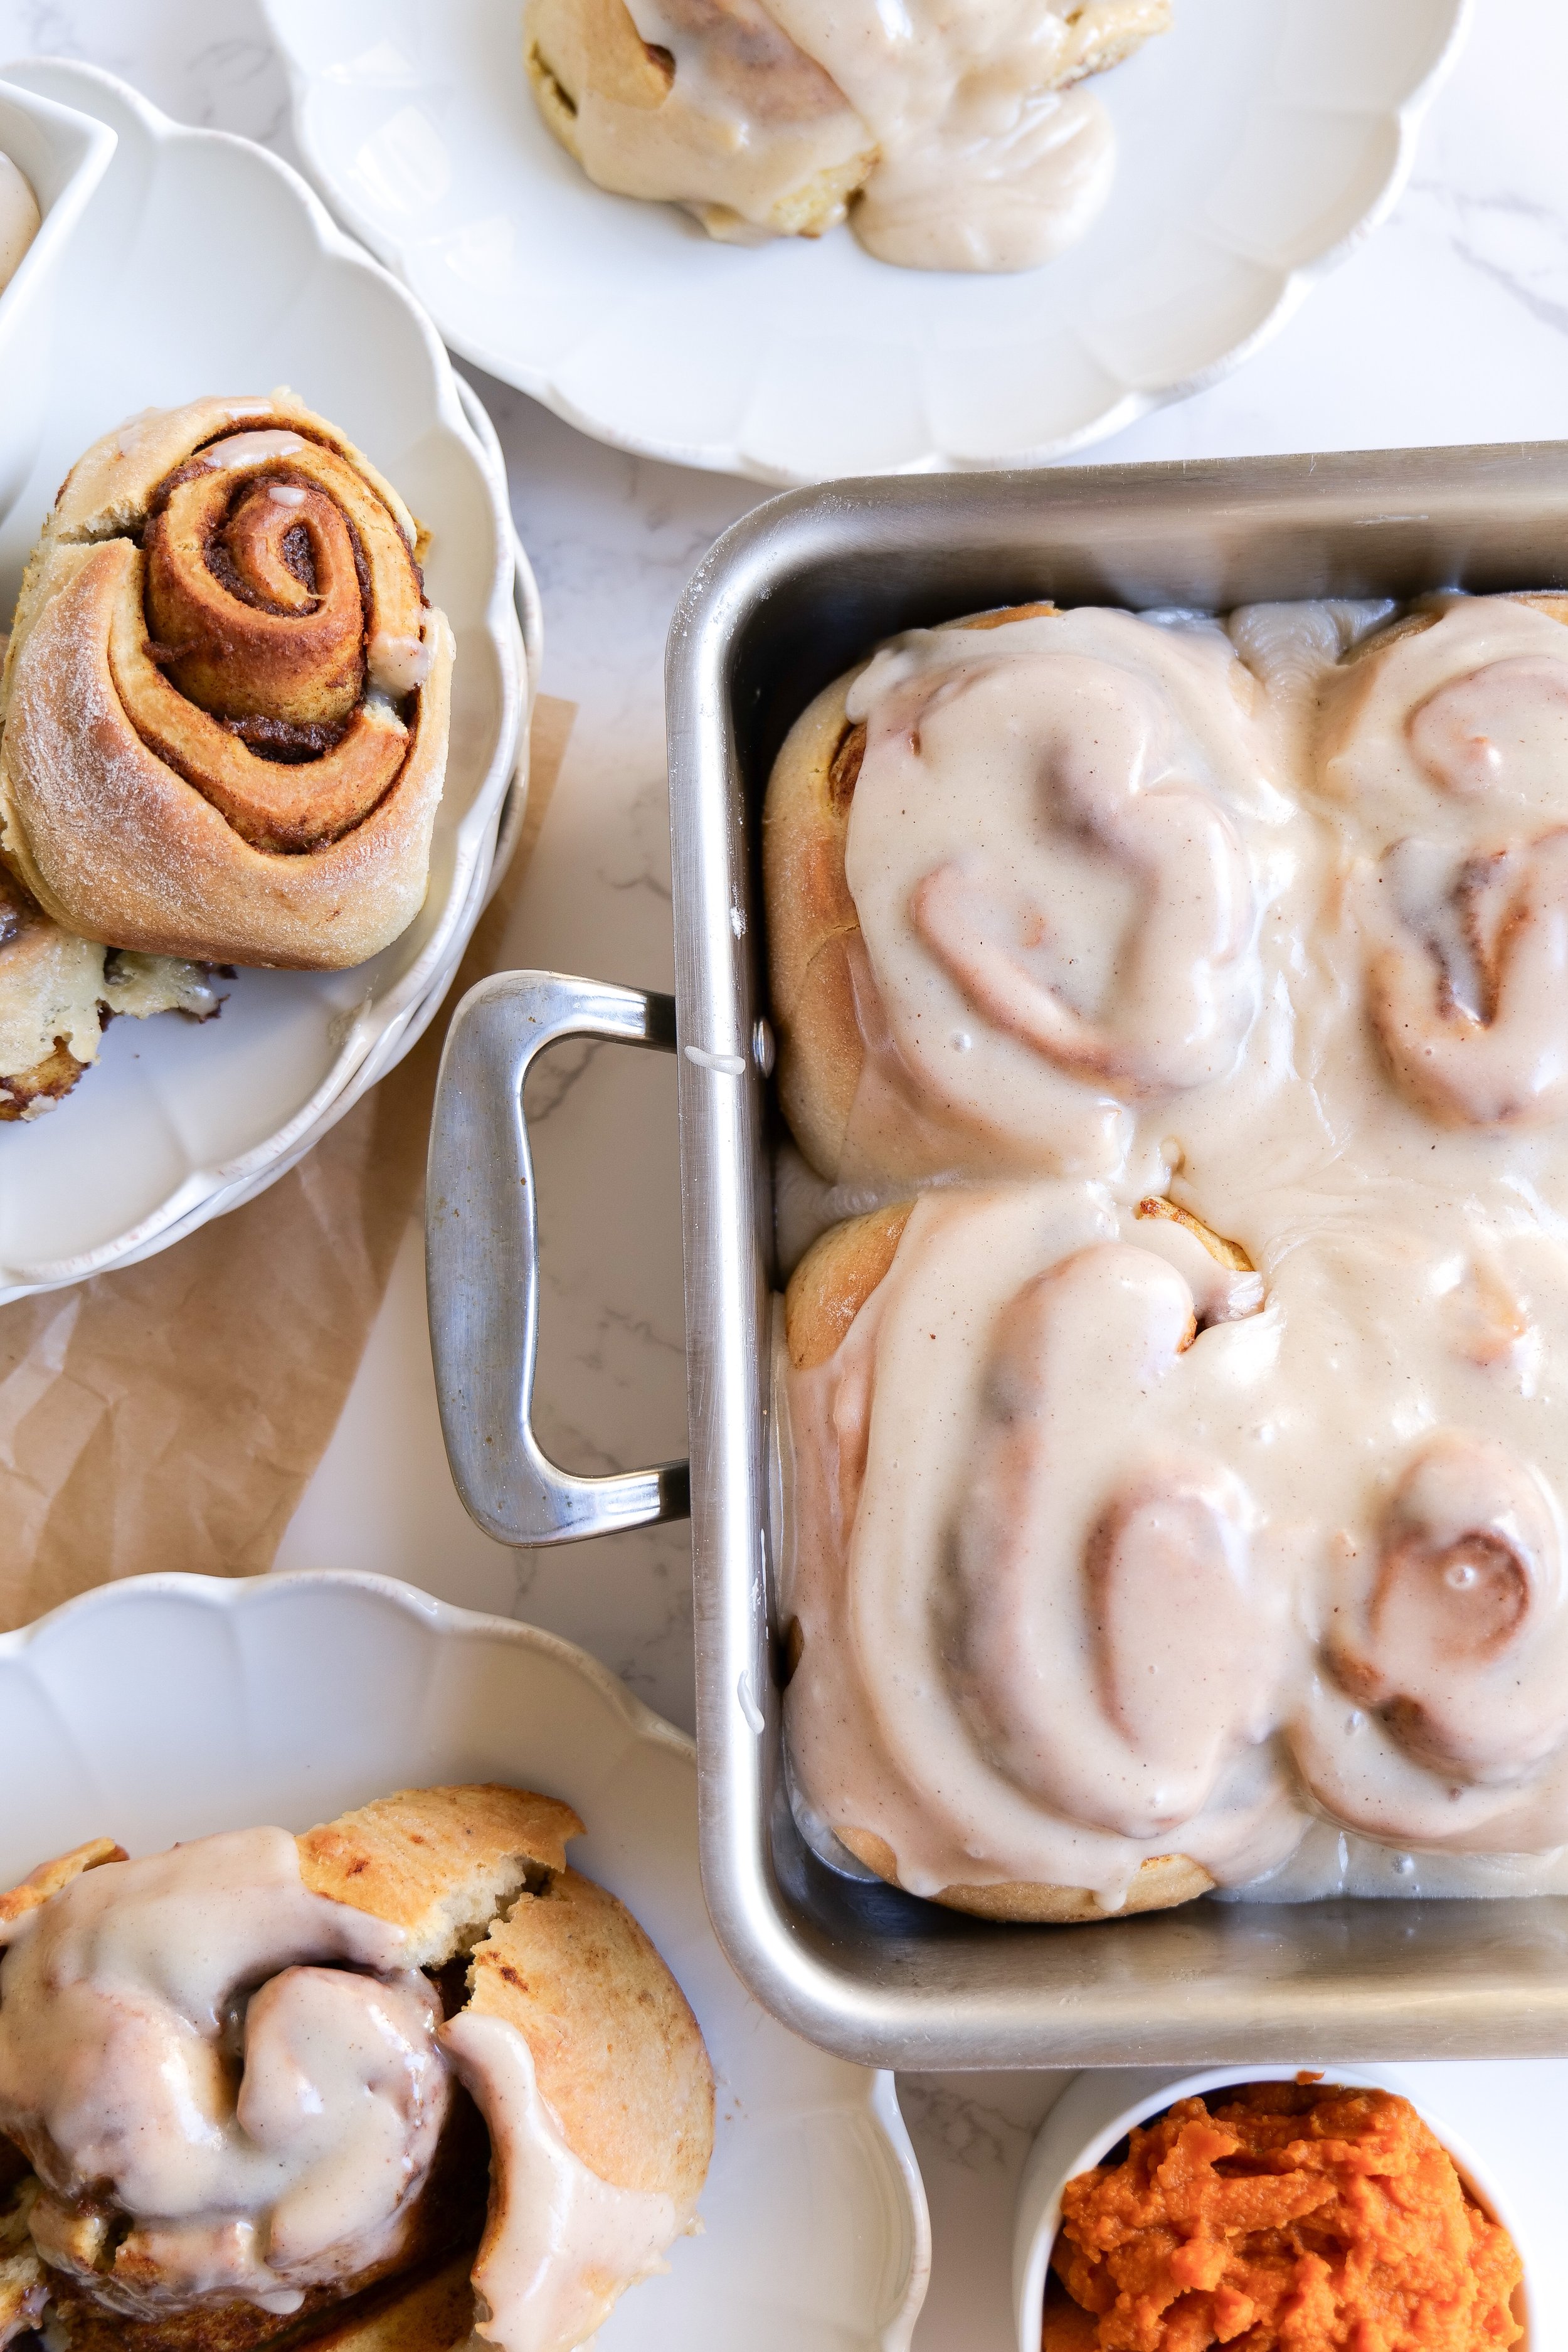
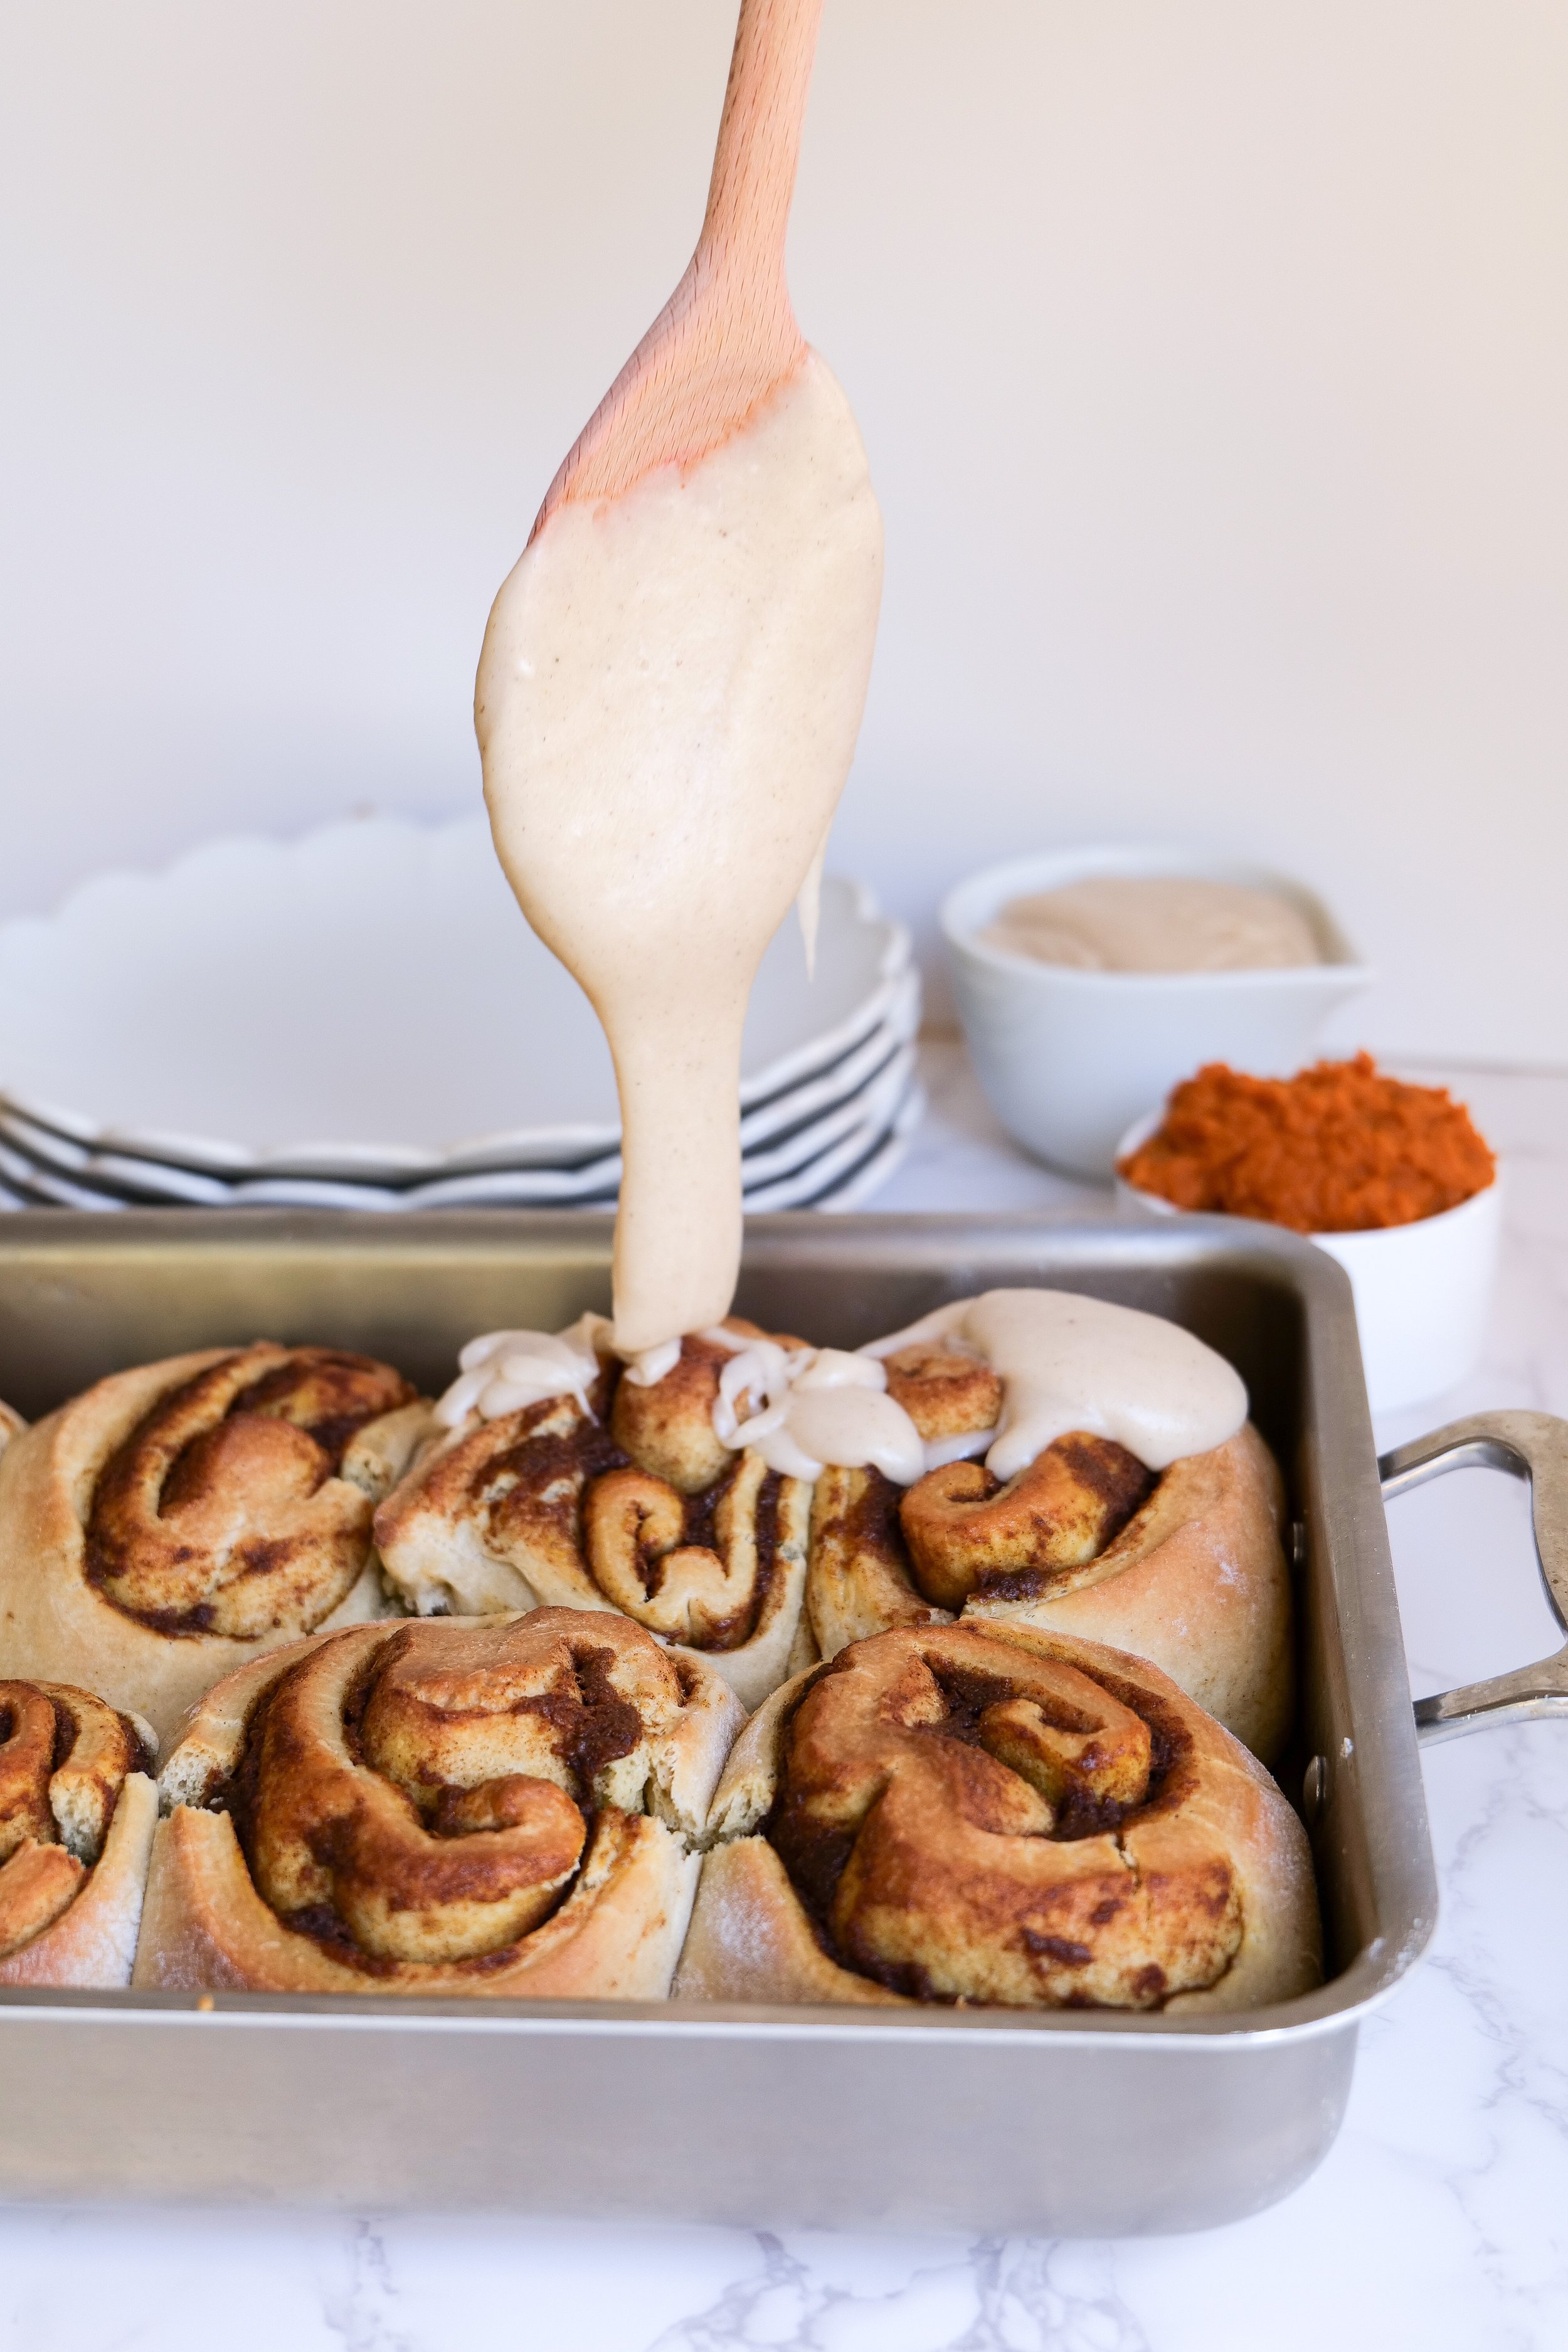
Sweet Serenity: Mastering the Art of Pumpkin Cinnamon Rolls with Cream Cheese Icing

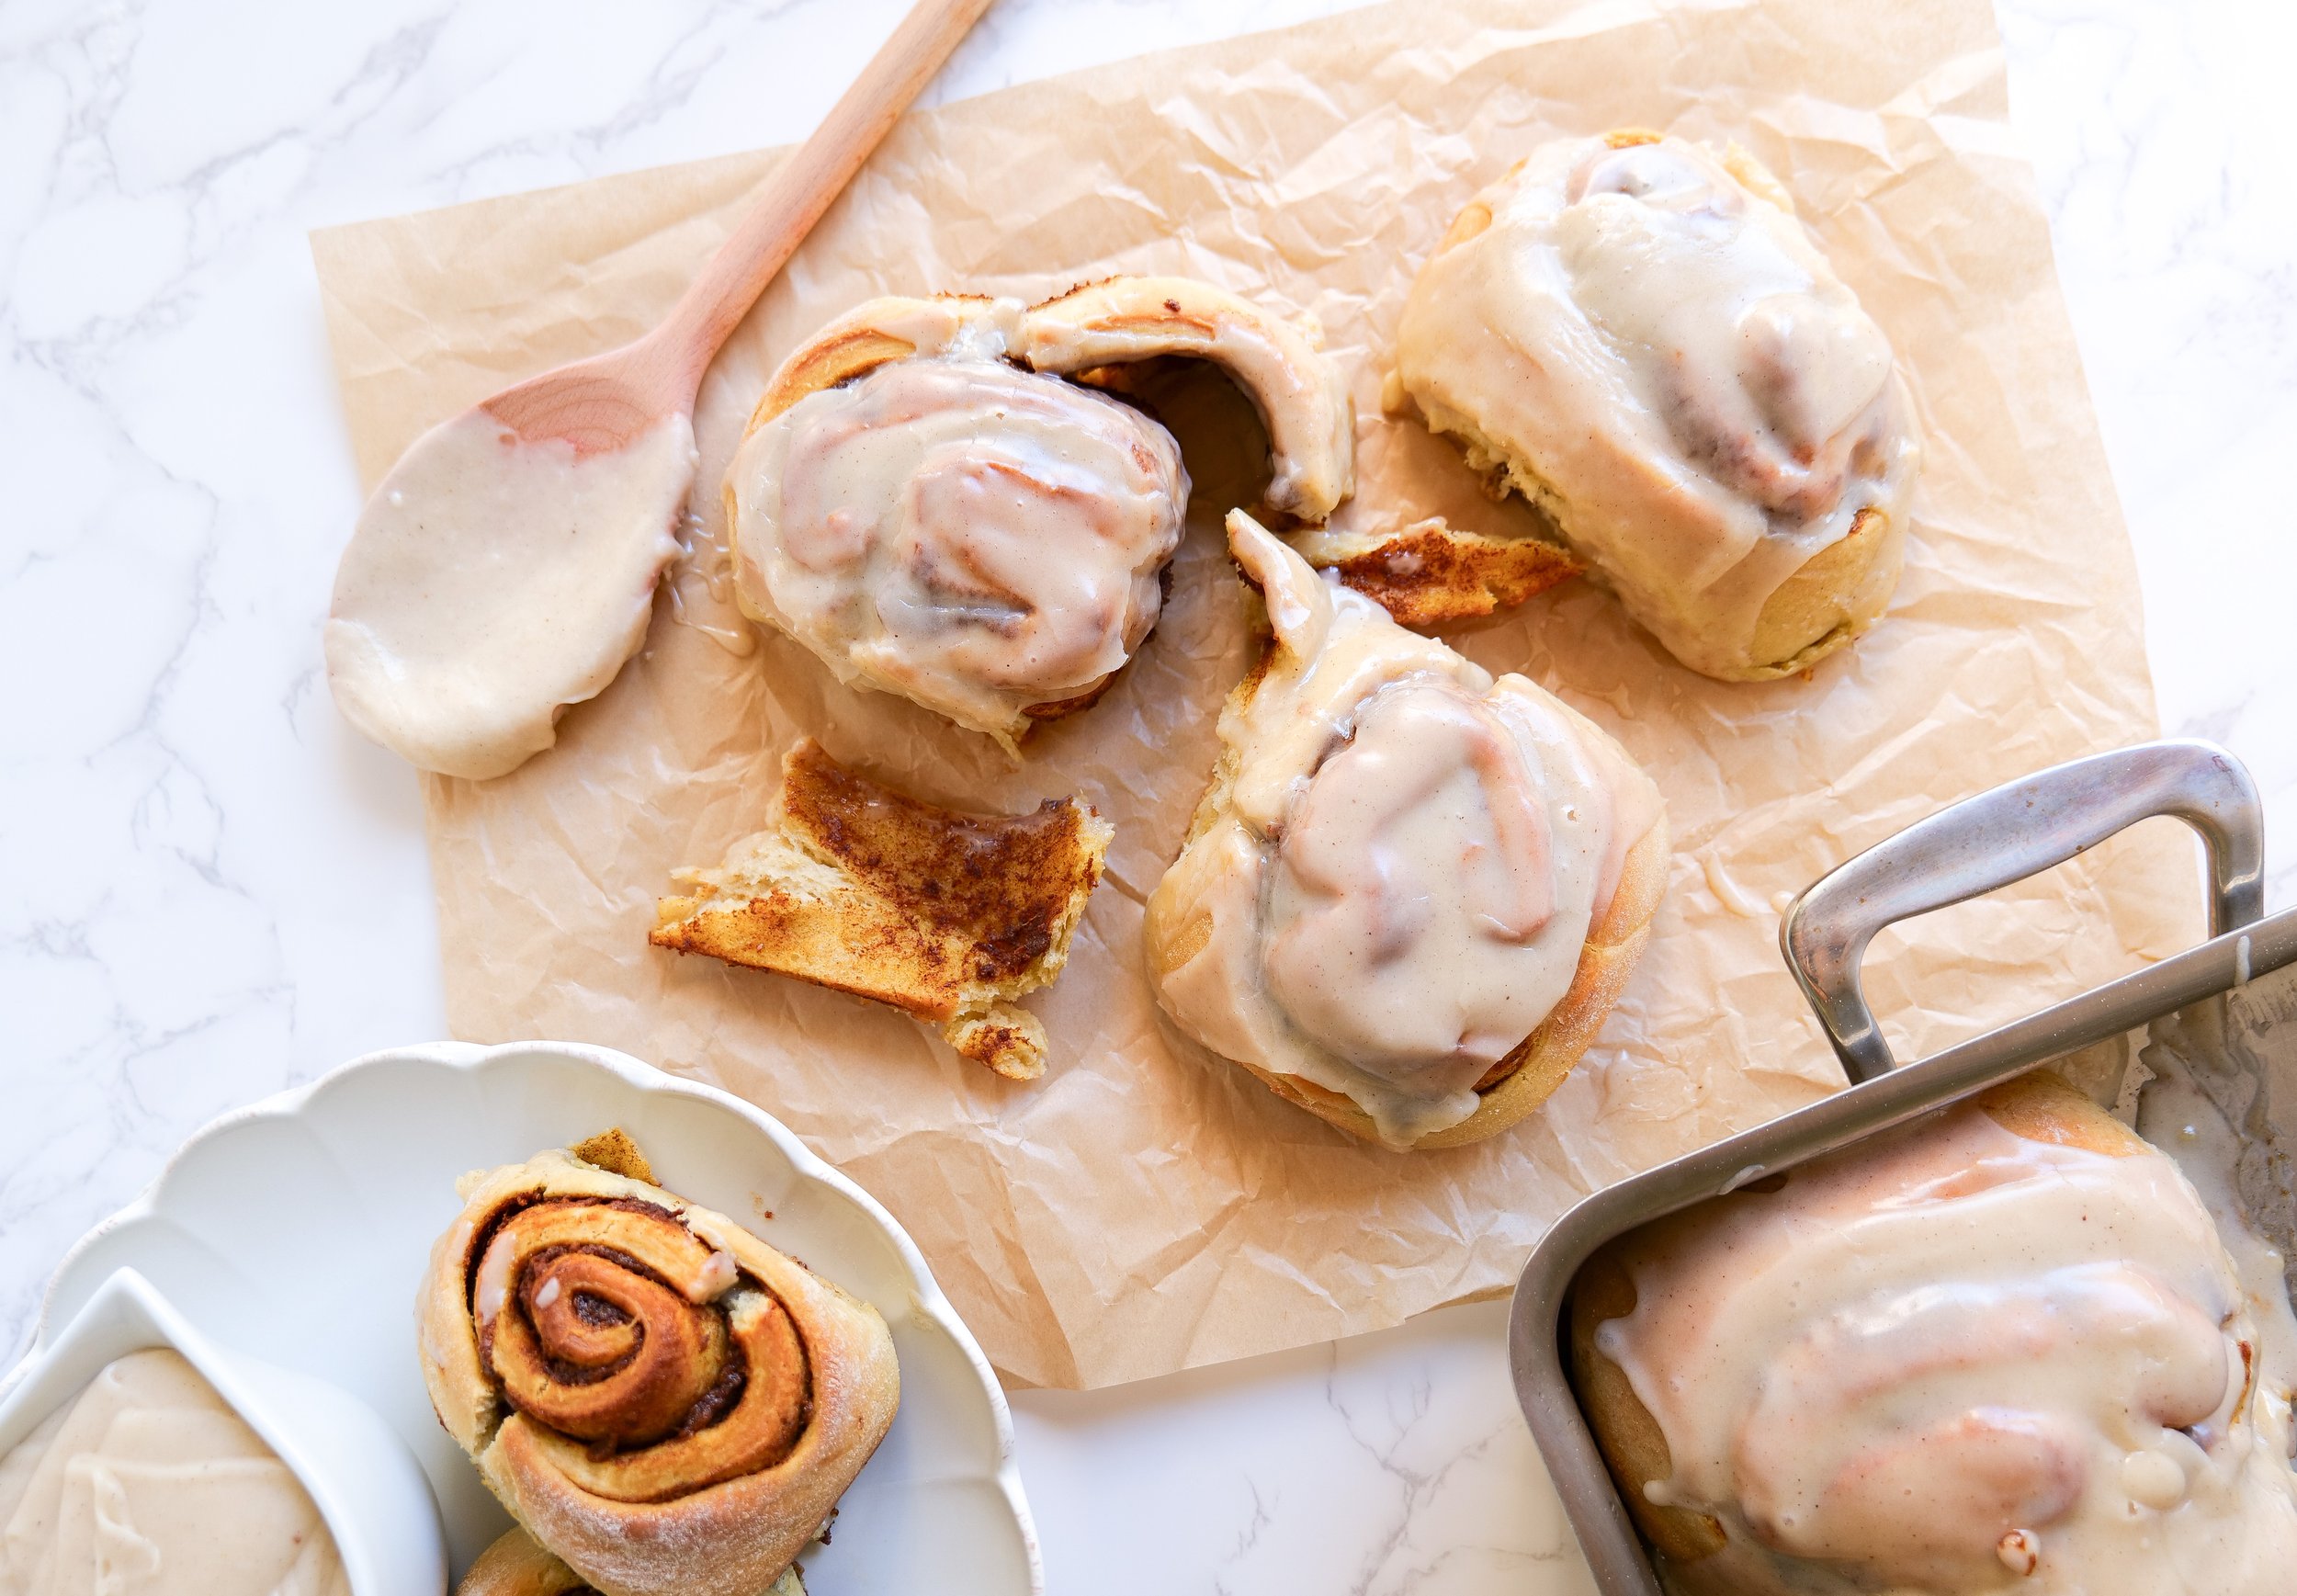
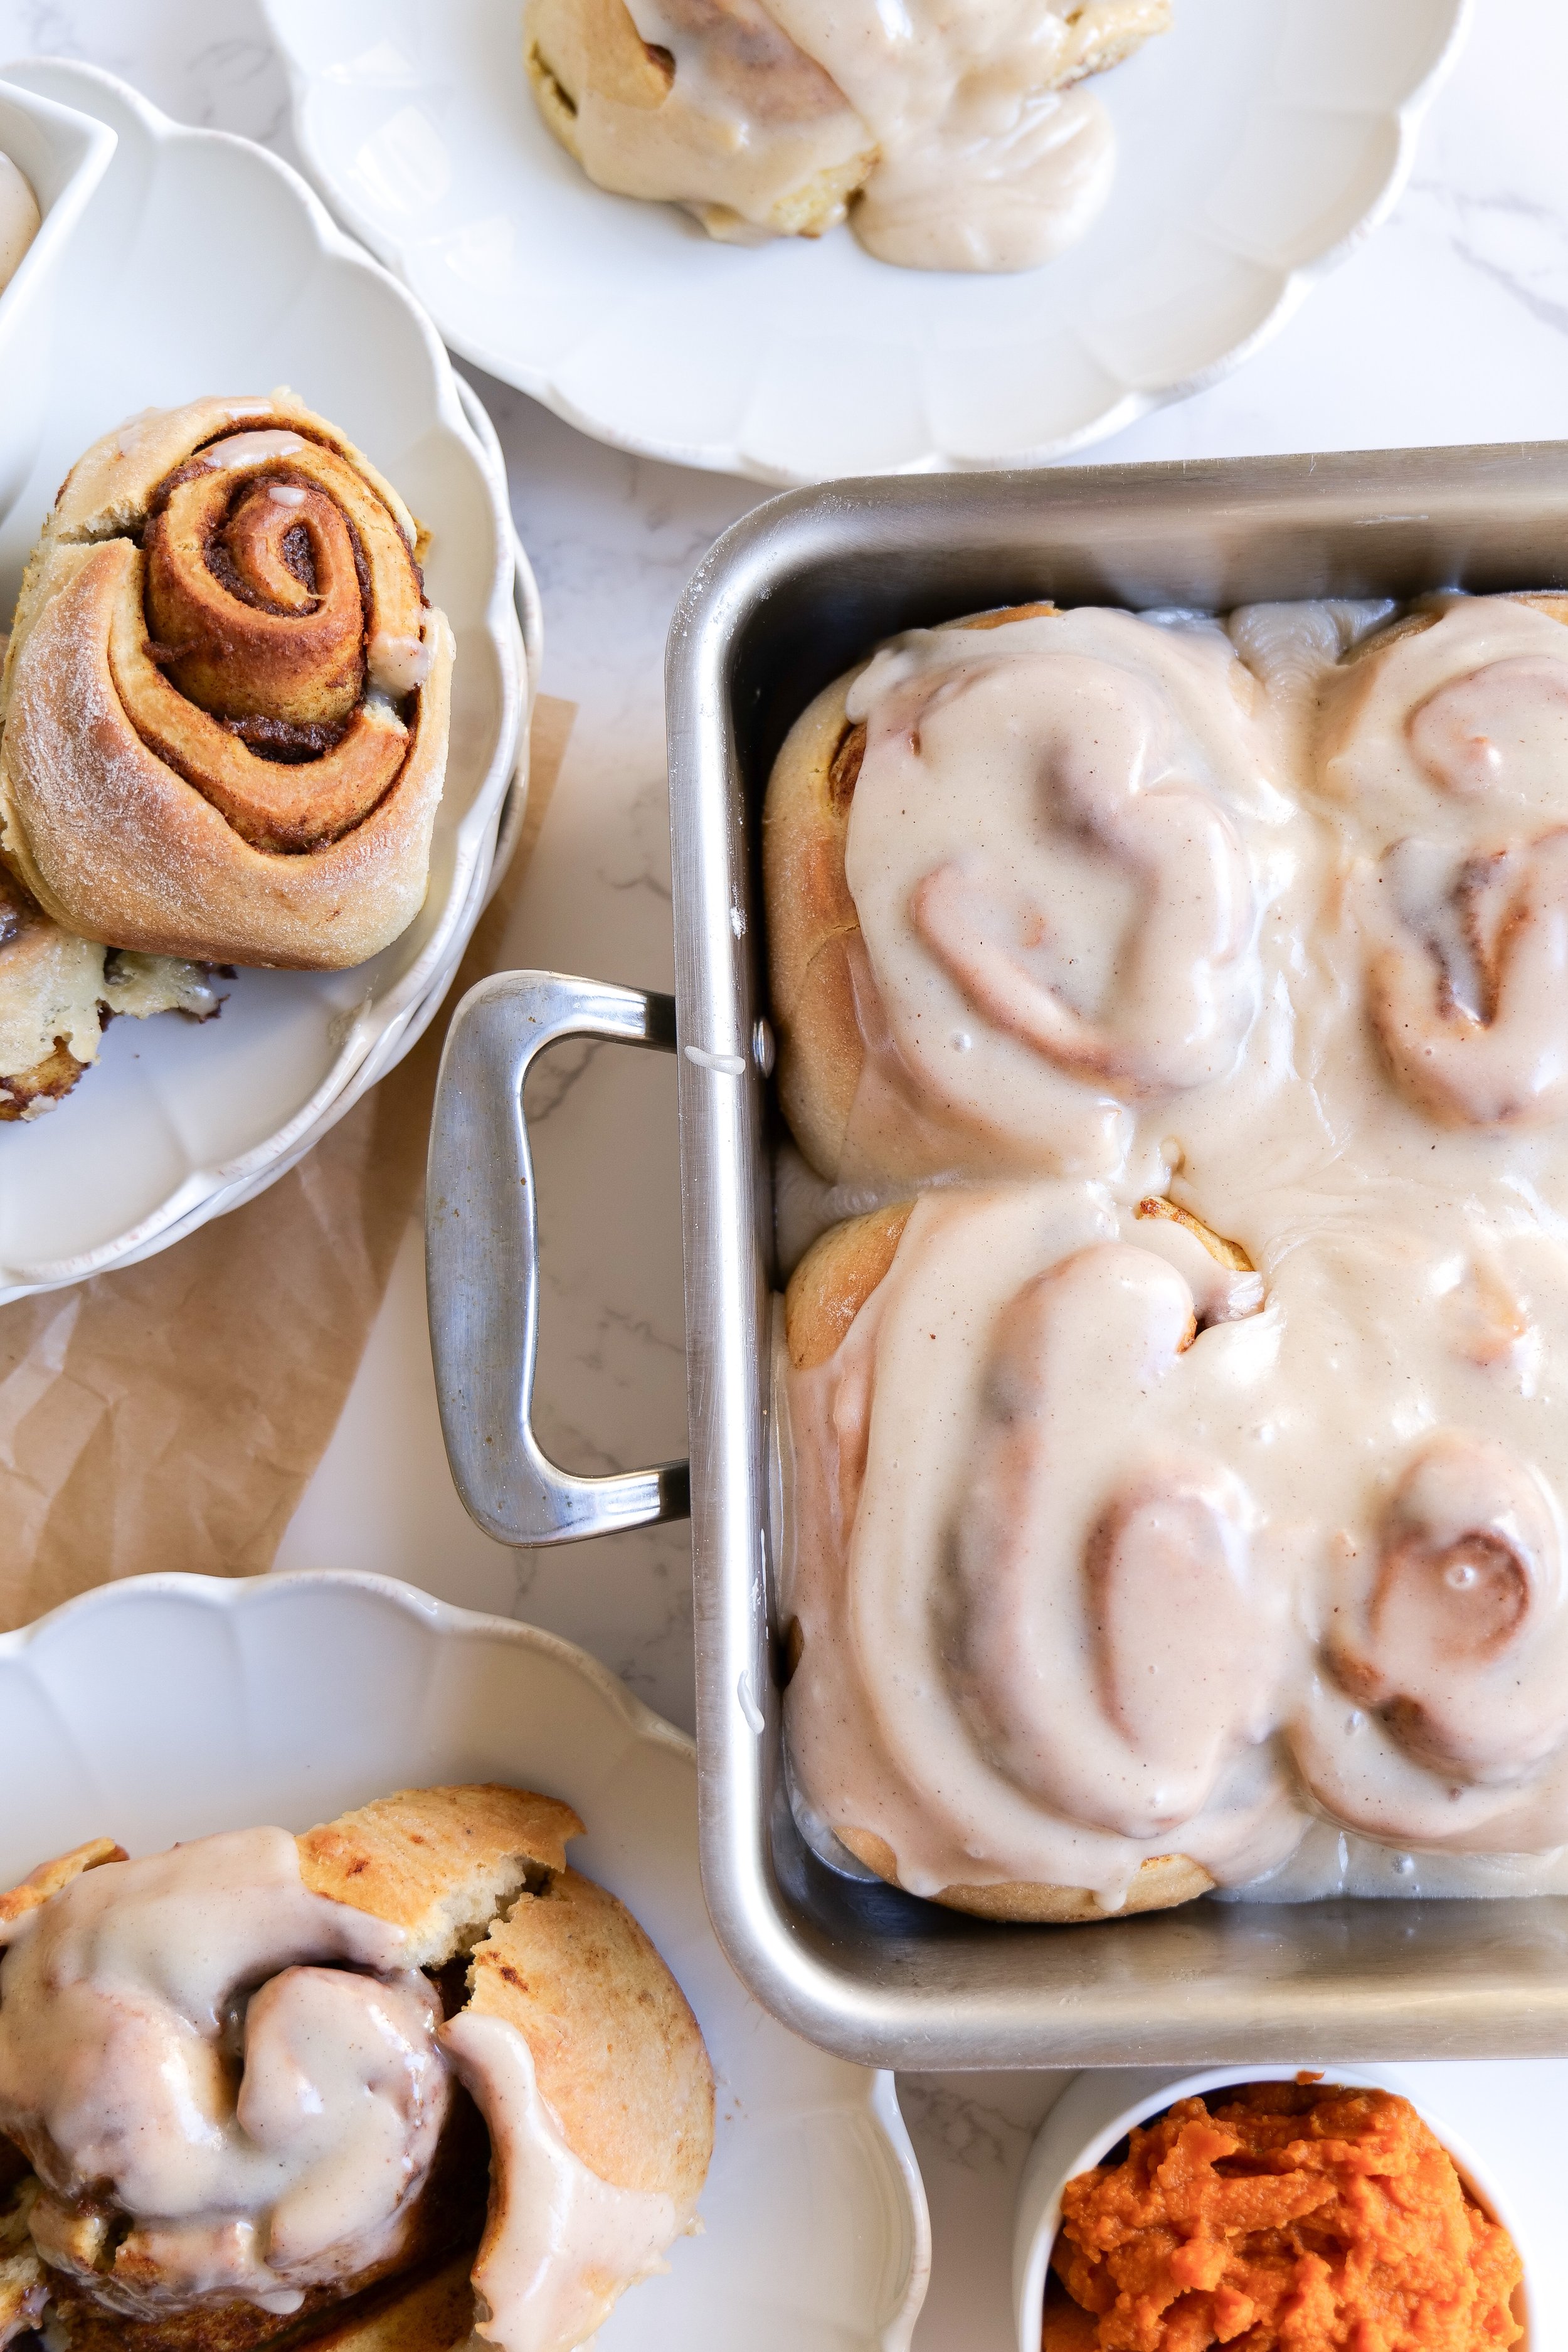
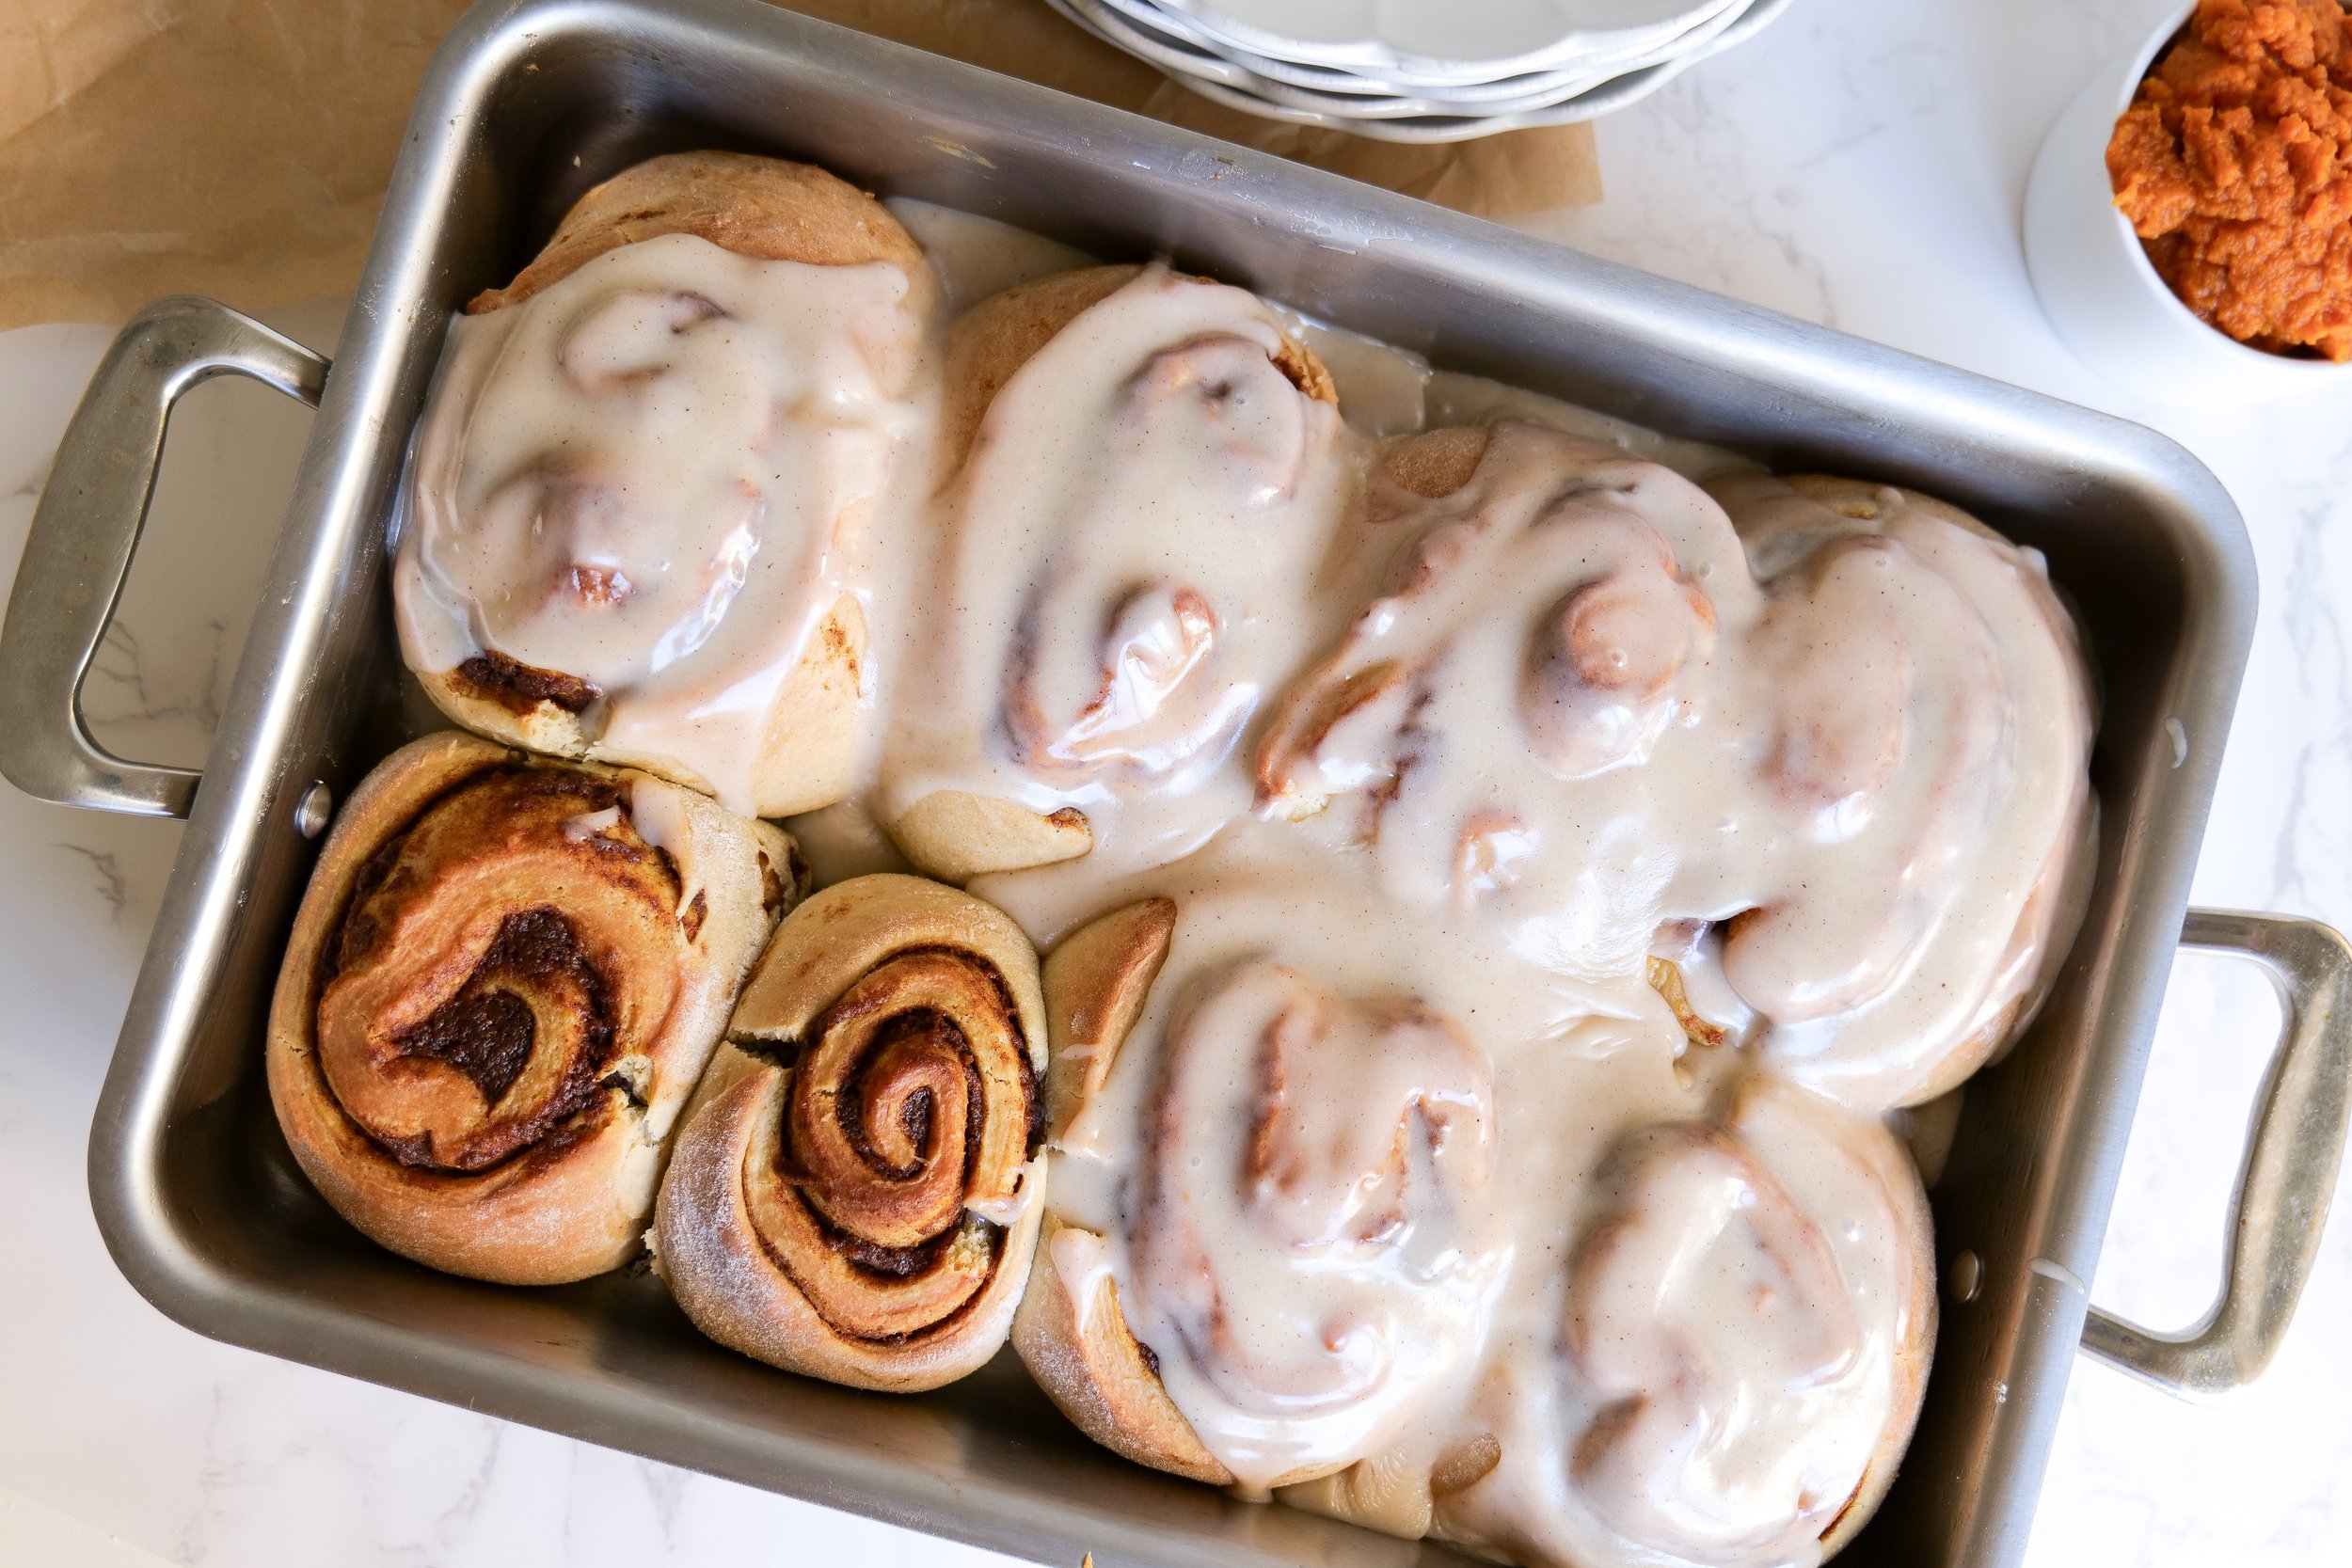
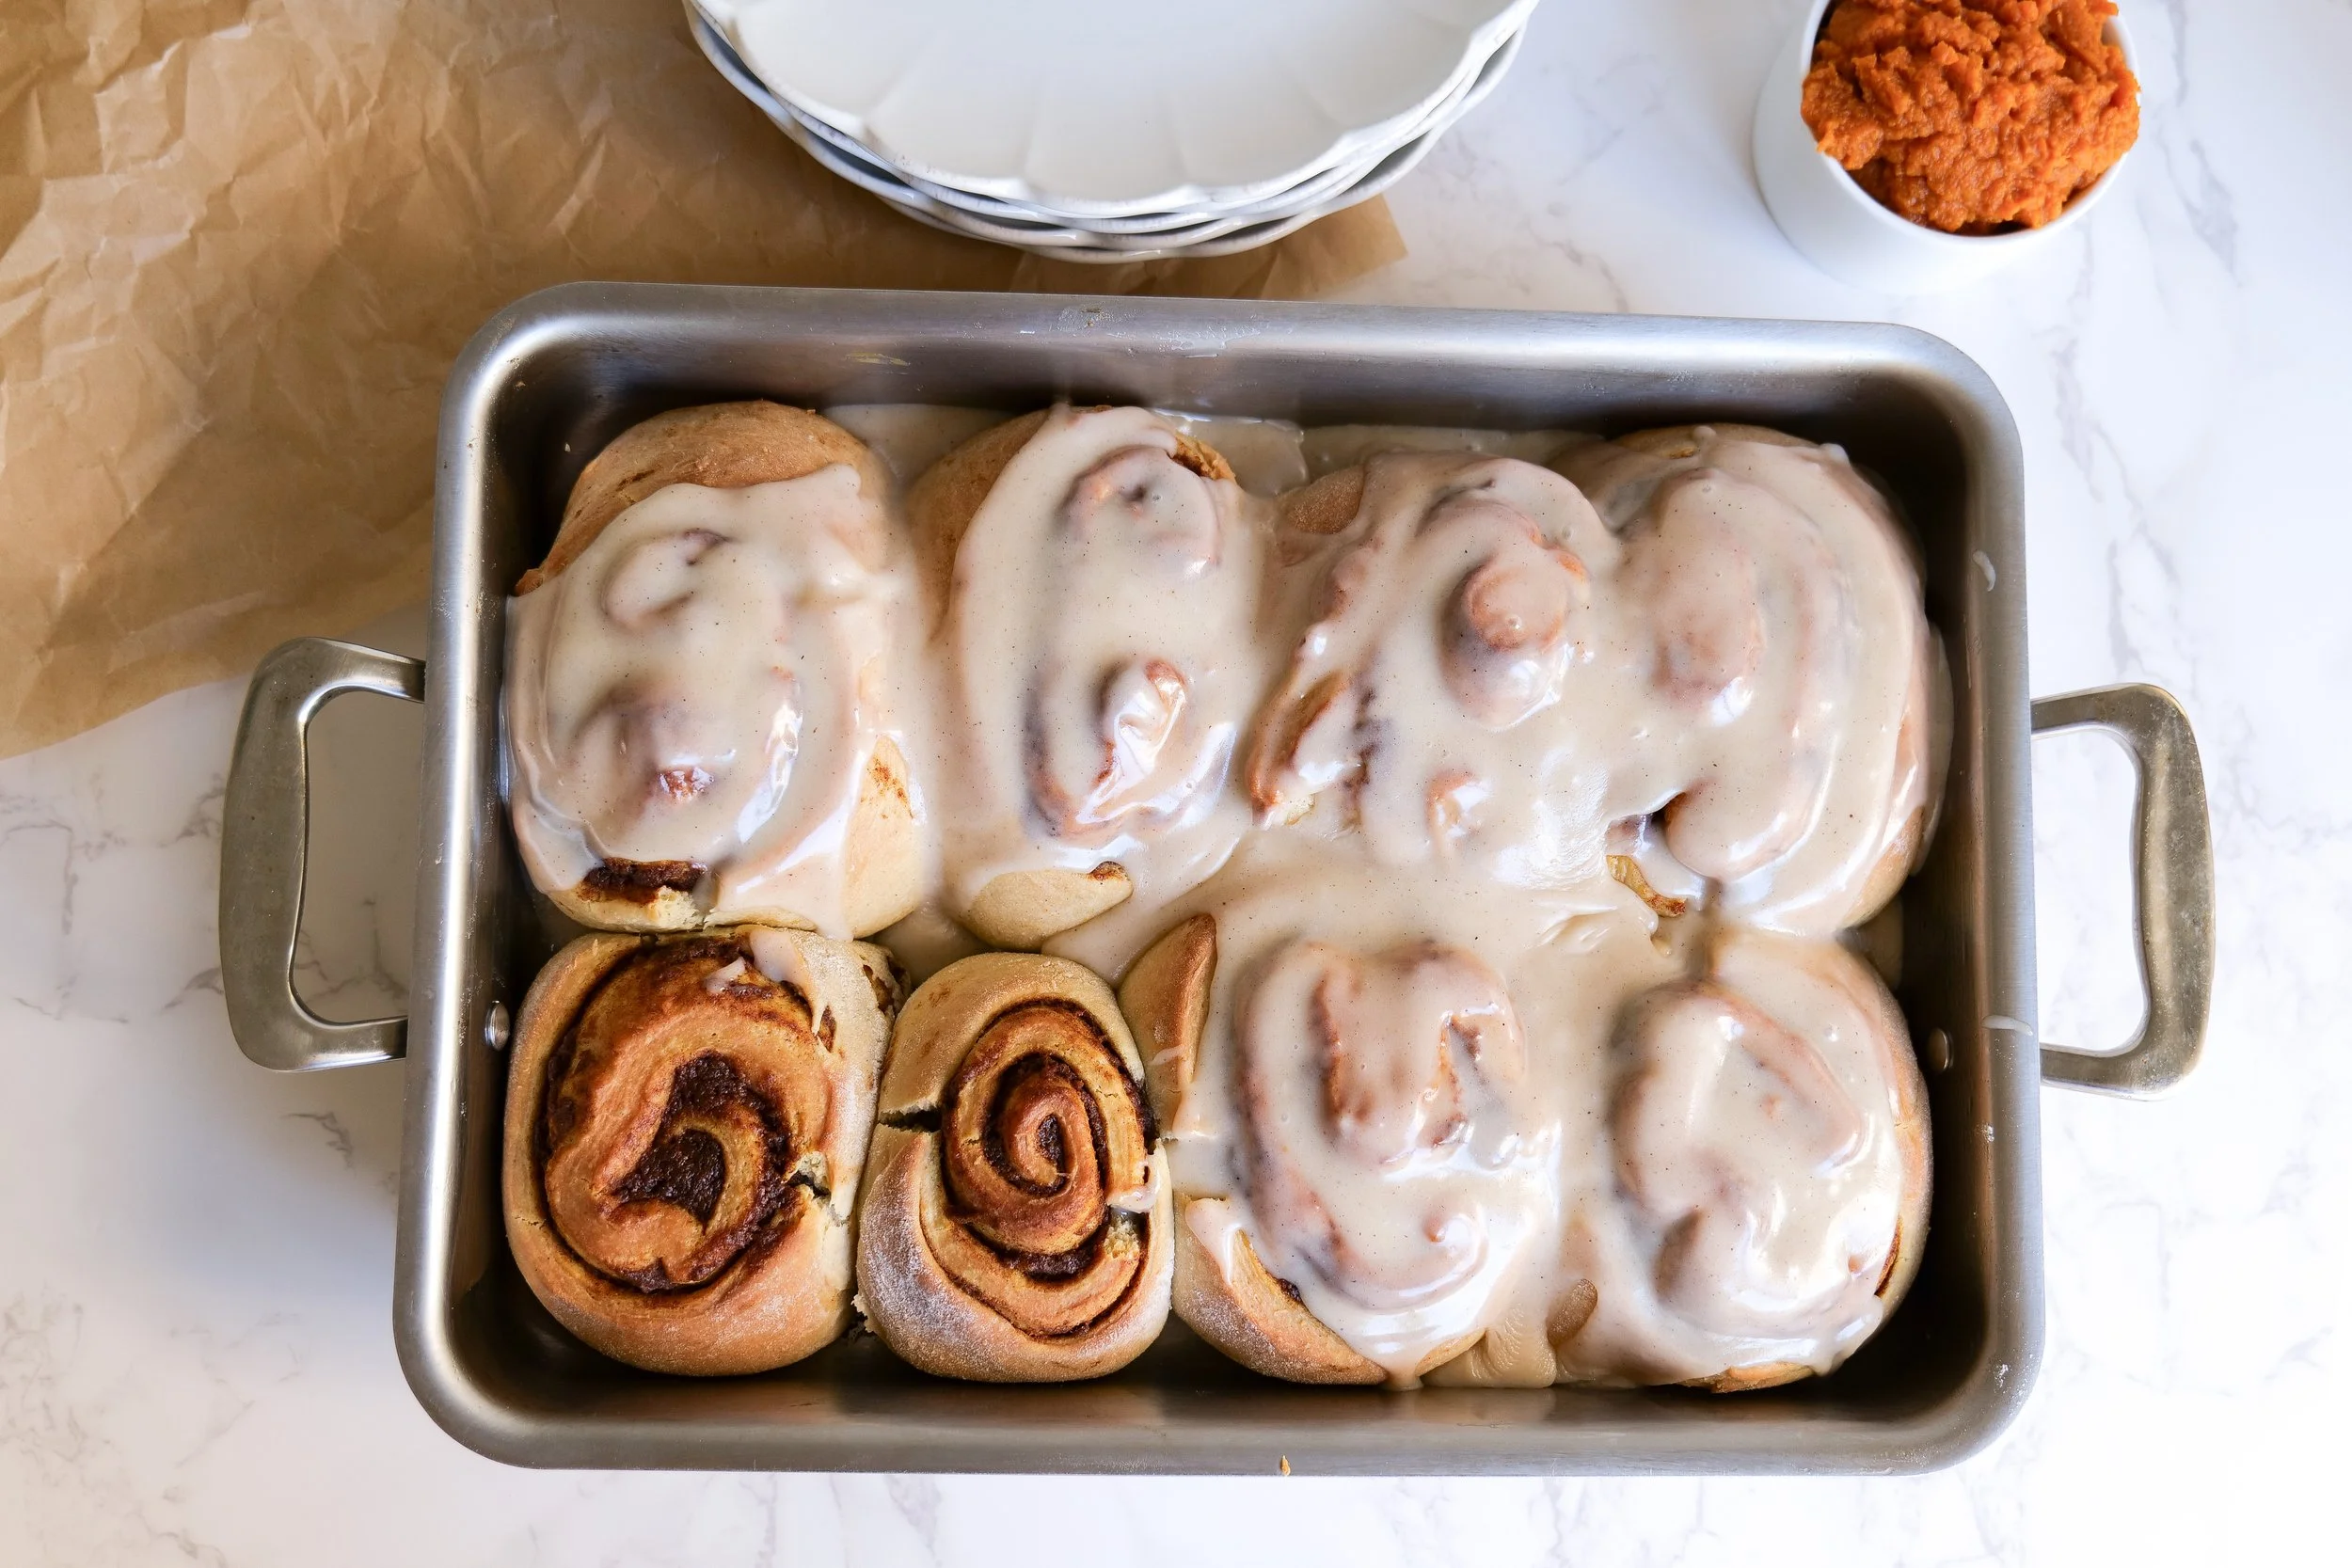
Welcome to another delicious recipe post! As the leaves start to crinkle and colors change, there's almost nothing more iconic of the coming Autumn season than pumpkin-flavored delicacies. Today, we are going to add a twist to one of your favorite traditional breakfast treats. We're going places where the savory pumpkin harmonically frolics with the spicy warmth of cinnamon, all under the creamy, velvety robe of cream cheese icing. So, buckle up for the ultimate guide to making heavenly Pumpkin Cinnamon Rolls with Cream Cheese Icing - a scrumptious indulgence that brings the best of fall flavors to your morning table!

Which yeast is best for cinnamon rolls + how to know when yeast is activated

The key to success is using the right type of yeast. Active dry yeast is the best choice for this recipe. To ensure that the yeast is activated, look for bubbles forming on the surface of the mixture. You will pre-check this after adding the yeast to water in this recipe. Once the yeast is activated, the mixture will expand and become foamy. If your mixture does not foam, the yeast may be old or not activated properly. To avoid disappointment, always check the expiration date on your yeast package before using it. With the right yeast and a few simple steps, you can enjoy delicious pumpkin cinnamon rolls with cream cheese icing in no time.

Making Ahead, Storing, and Freezing Pumpkin Cinnamon Rolls:

These pumpkin cinnamon rolls with cream cheese icing are the perfect treat for any chilly Autumn morning. Plus, with the make-ahead and storing options, you can enjoy these sweet treats any day of the week. To make these pumpkin cinnamon rolls easy, you can prepare them up to a day ahead of time. Simply assemble the rolls and refrigerate them in their pan overnight. The next morning, bake them as directed and enjoy. If you have any leftovers, store the rolls in an airtight container for up to 2 days. For those who like to plan ahead, you can also freeze these pumpkin cinnamon rolls for up to 3 months. Allow the rolls to cool completely before freezing. Wrap each one individually in plastic wrap and place them in a freezer bag. When you’re ready to enjoy them, thaw the rolls overnight in the refrigerator. To reheat, place the rolls in the microwave for 15-20 seconds or in the oven at 350°F for 5-10 minutes. If you want to freeze the rolls for later, wrap them tightly in plastic wrap and aluminum foil, then place them in a freezer-safe container or bag.

Are there any variations available for Pumpkin Cinnamon Rolls with Cream Cheese Icing recipe?

Pumpkin cinnamon rolls with cream cheese icing are a delicious way to enjoy the flavors of Fall. This sweet treat is packed with all the flavors of Autumn. With a few variations, you can take these pumpkin cinnamon rolls to the next level.

Variation 1: Add your favorite spices such as nutmeg, allspice, and cinnamon to the dough for a more spicy flavor. This will amp up the flavor of the rolls and give them a unique twist.

Variation 2: Use pumpkin puree instead of regular milk for a richer and denser texture. The pumpkin puree will add a subtle sweetness and depth of flavor to the rolls.

Variation 3: Swap out the cream cheese icing for pumpkin cream cheese icing for an extra-special treat by adding in pumpkin puree again. The pumpkin cream cheese icing adds a unique flavor and pairs perfectly with the pumpkin cinnamon rolls. You can also add maple to the cream cheese frosting to make a maple cream cheese for an even more unique flavor.

Variation 4: Top the rolls with a streusel topping for a crunchy addition. The streusel topping adds texture and a slight sweetness to the rolls.

Variation 5: Add dried cranberries or chunks of chocolate chips for a sweet surprise. The dried cranberries or raisins add a hint of sweetness and texture to the rolls.

Variation 6: Substitute the granulated sugar for light brown or dark bown sugar for a deeper flavor. The light brown sugar adds a deep molasses flavor to the rolls and makes them even more delicious.

These variations make pumpkin cinnamon rolls with cream cheese icing a delicious and unique treat. With these variations, you can enjoy the flavors of Fall deliciously and uniquely.

Can the Pumpkin Cinnamon Rolls be made without Cream Cheese Icing?

If you're looking for a delicious Fall treat, look no further than these Pumpkin Cinnamon Rolls! These delicious rolls are made with pumpkin puree and are spiced with cinnamon, making them the perfect way to enjoy the flavors of the season. But what if you don't want to use cream cheese icing? Can these rolls still be made without the icing? The answer is yes! To make the rolls without the cream cheese icing, simply omit the cream cheese and icing ingredients from the recipe. You can still enjoy a delicious treat without the cream cheese icing by adding a bit of cinnamon and sugar to the top of the rolls or even some melted butter for a delicious glaze. You can also serve the cream cheese frosting on the side for an option to guests. These Pumpkin Cinnamon Rolls are a great way to enjoy the flavors of the season. With or without the cream cheese icing, these delicious rolls are sure to be a hit with your family and friends.

Ingredients

Dough

4 1/2 tsp fact-acting dry yeast

1/2 cup sugar

1/2 cup butter

1 egg

1 tsp salt

4 cups flour

1/4 cup warm water

1 cup milk

1 tsp pumpkin spice

Filling

1/2 cup melted butter

1/2 cup pumpkin puree

1/2 cup sugar

2 tbsp cinnamon

Icing

8 oz cream cheese

1/2 cup butter

4 cups powdered sugar

4 tbsp milk

2 tsp vanilla extract

1 tsp pumpkin spice

Step-by-step Instructions

  1. Mix lukewarm water and yeast, and let sit for around 10 minutes to make sure the yeast is still active. You will notice the yeast growing in size.

  2. While the yeast is growing whisk together in another bowl sugar, butter (softened for 15-20 sec on microwave) egg, milk and salt. Add into yeast mixture.

  3. Slowly add in flour and pumpkin spice, once you have added in all 4 cups make sure the dough is slightly sticky and looks like dough. Once you see this mix for another few minutes. If you still don’t see the dough looking proper, add in more flour, 1/4 cup at a time, until you do.

  4. Once you have tipped the bowl over and poured out the dough lightly flour the top and cover with a clean kitchen towel. Form into a ball in your bowl, cover, and let rise in a warm place for 2 hours.

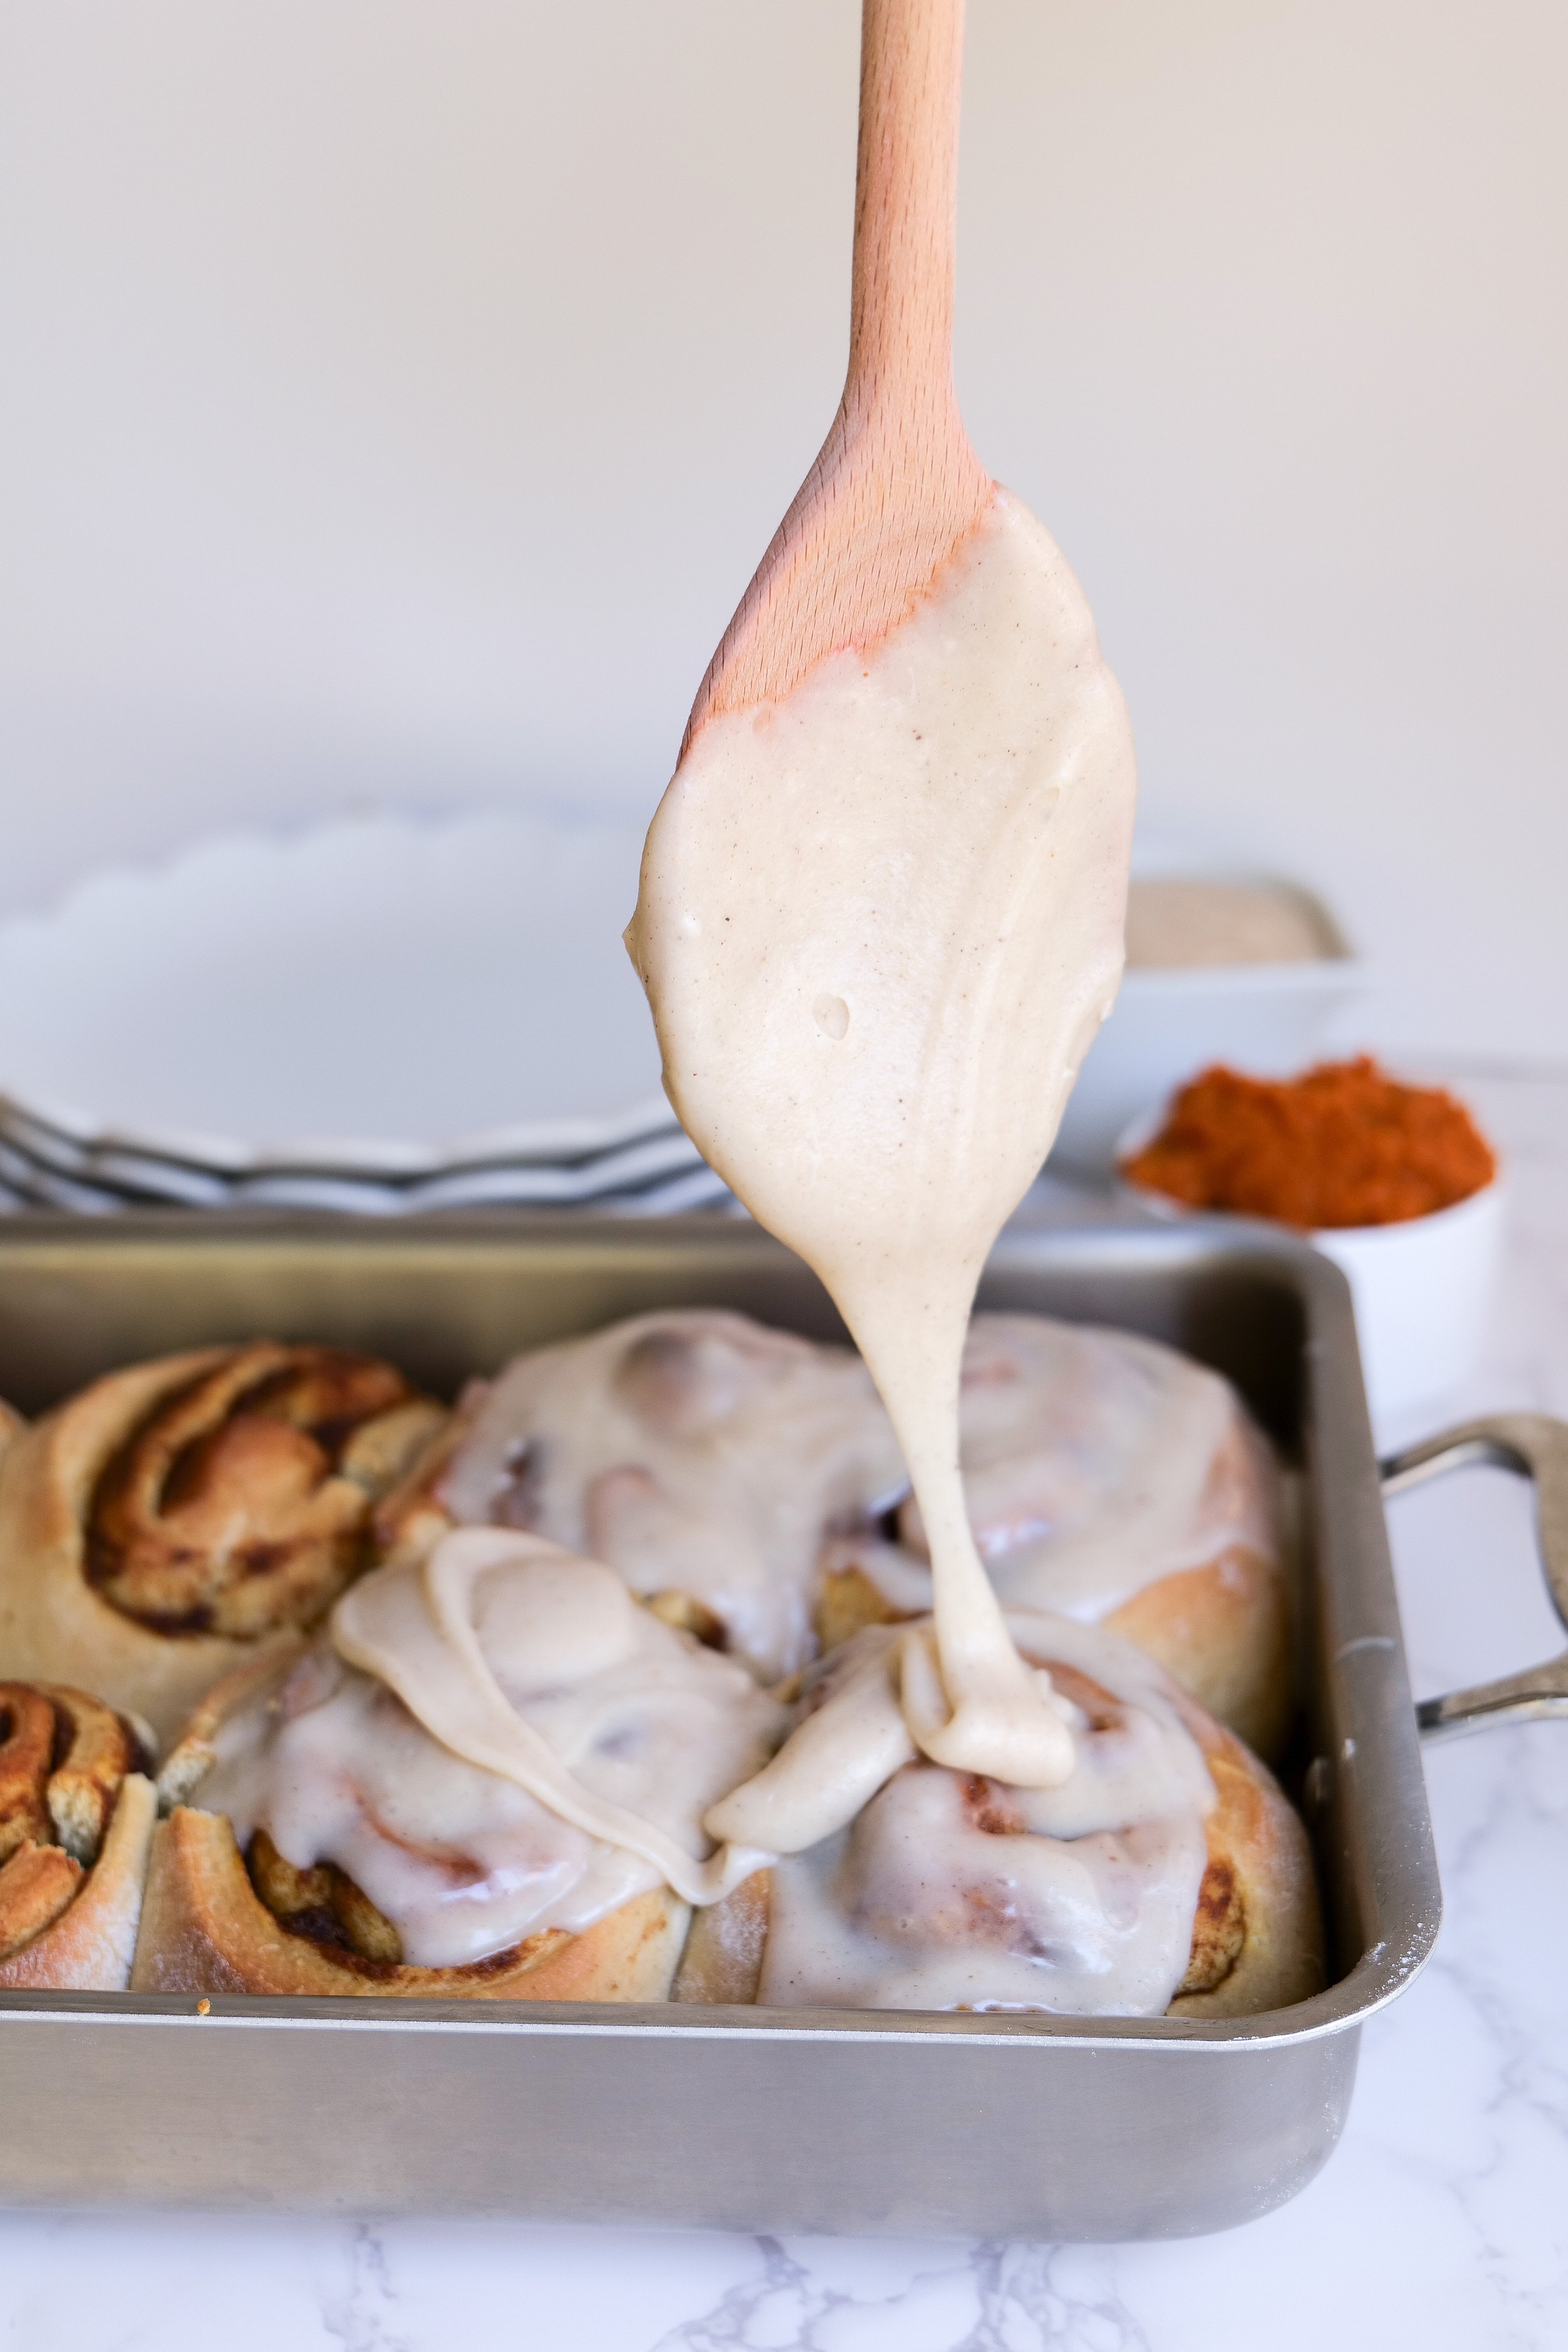
  5. Once you are about ready to roll dough, soften butter and mix in cinnamon and sugar for filling. When the dough is ready roll out to about 1/4 inch thick rectangular shape. Add filling to the middle making sure to cover all of the dough

  6. Roll dough from one side of the rectangle to the other and place it on a baking sheet lined with parchment paper. Cut along the middle and crisscross the dough from one side to the other. Tuck both ends under.

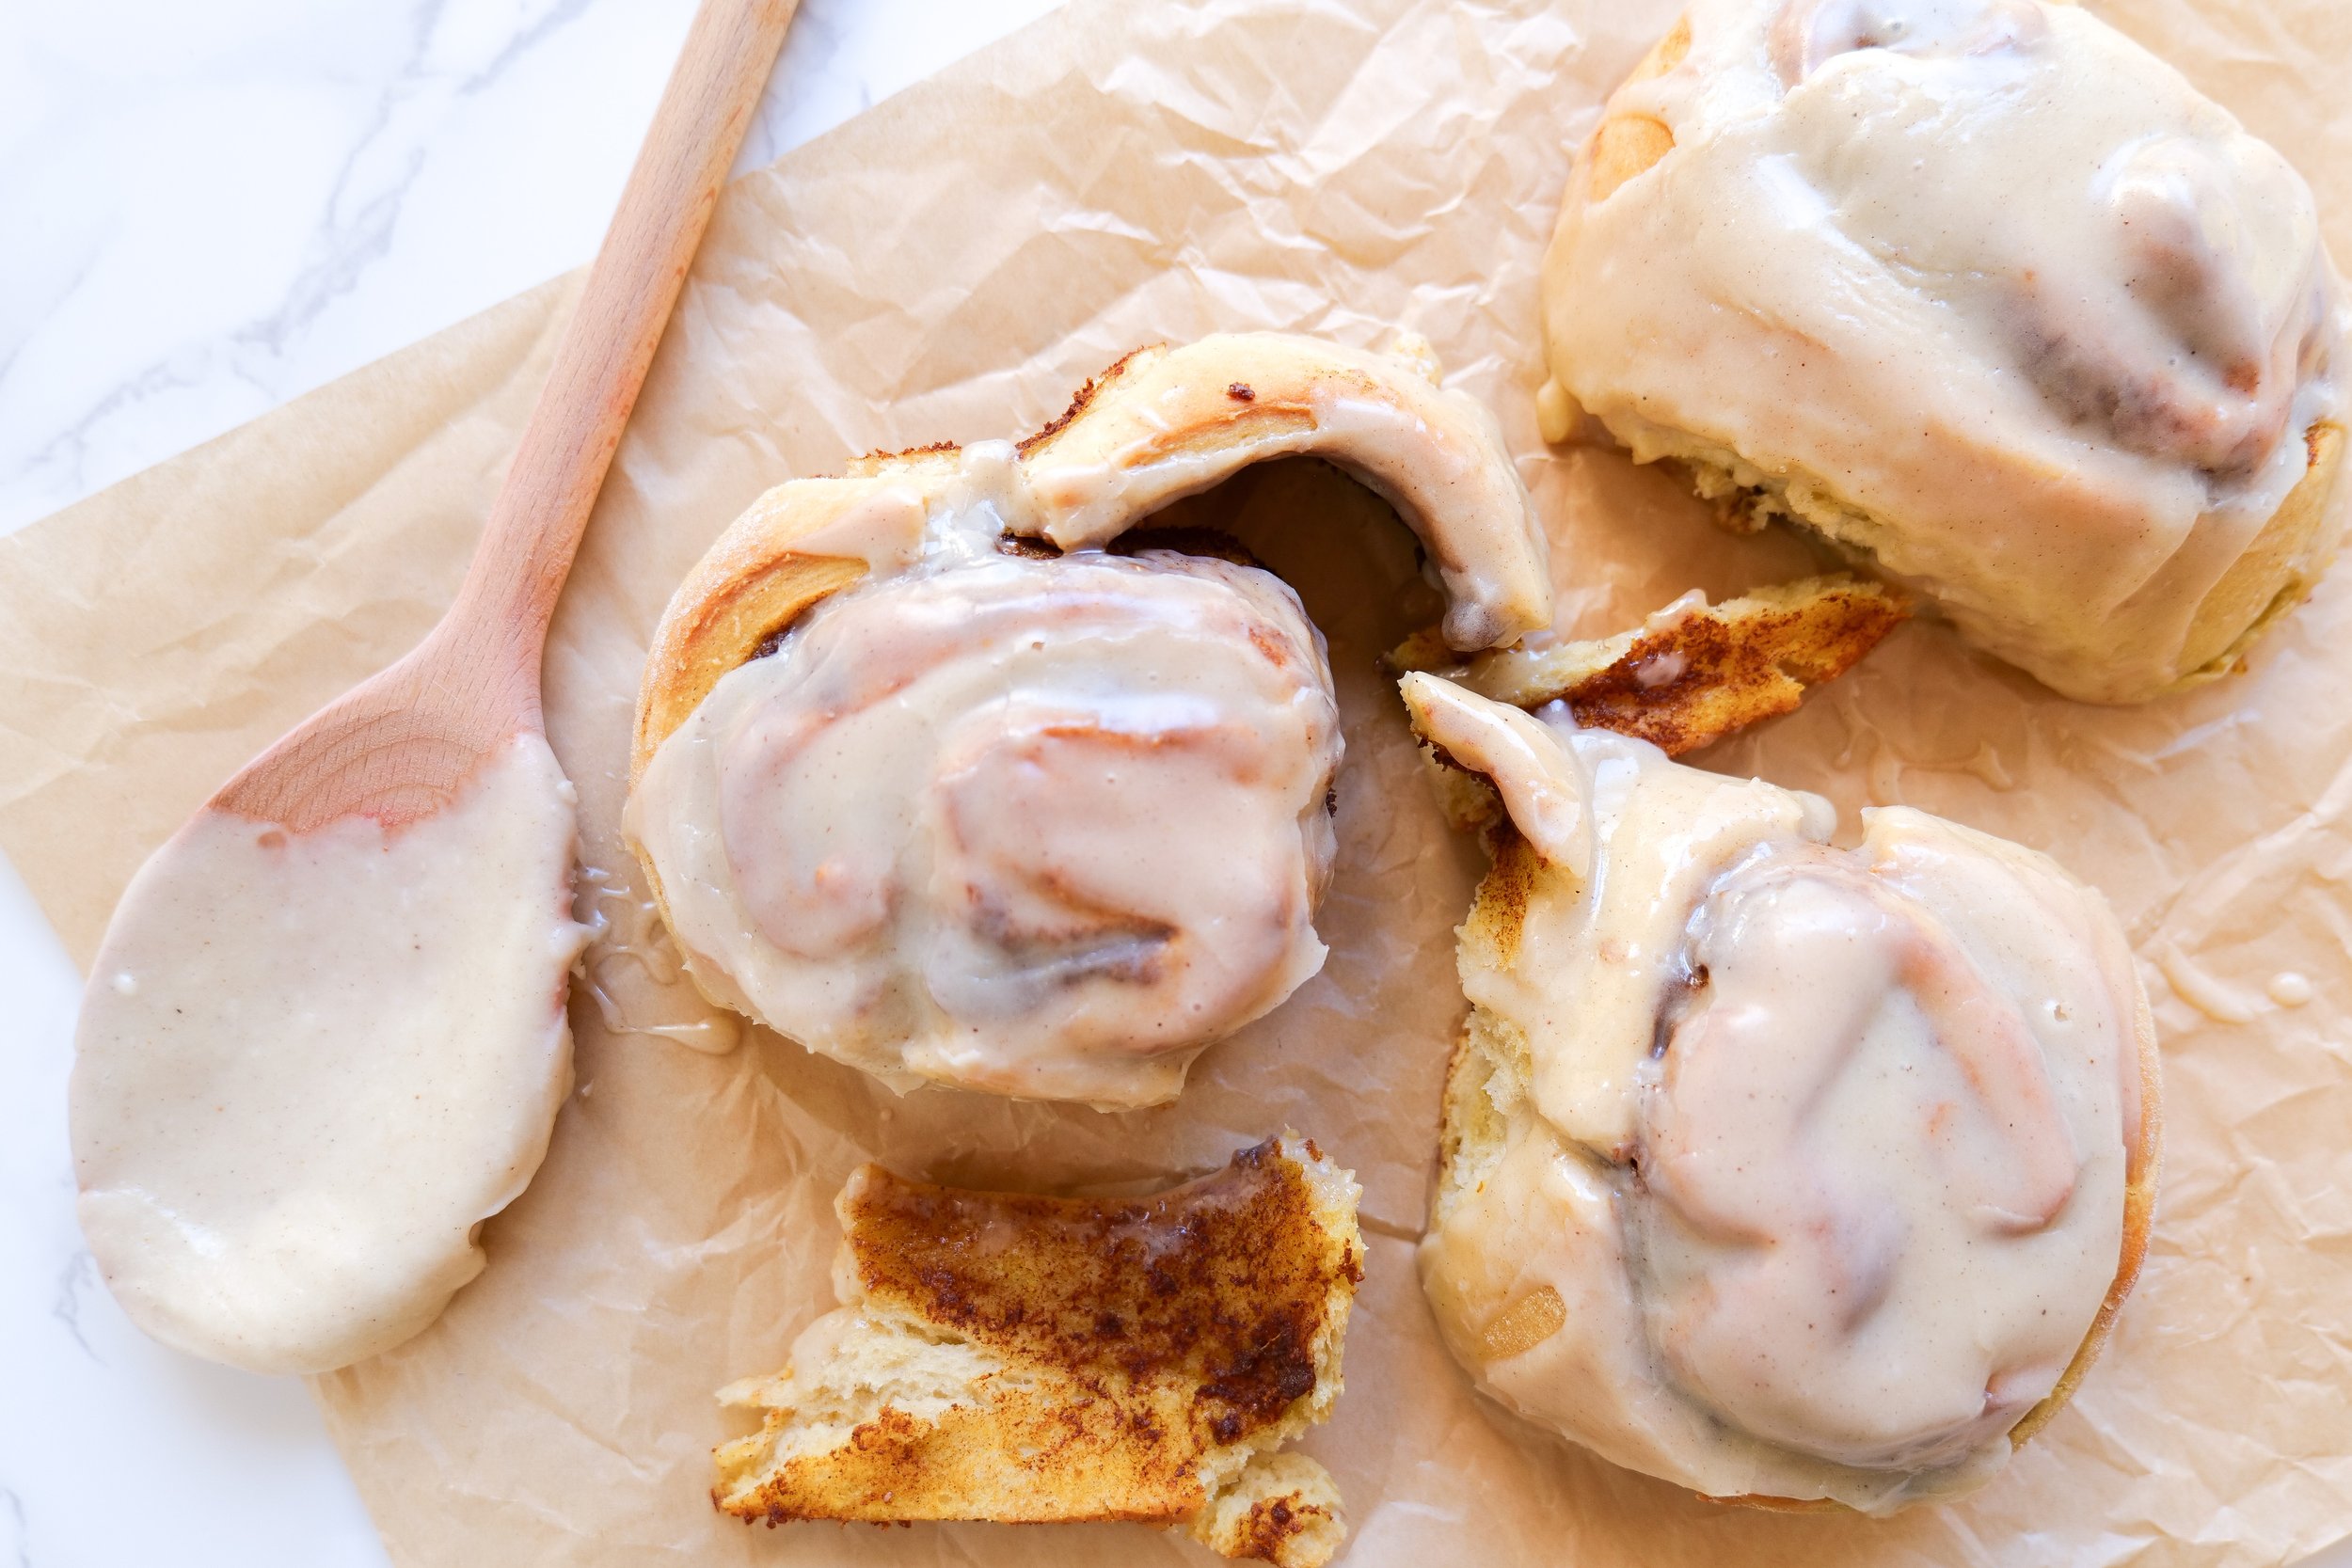
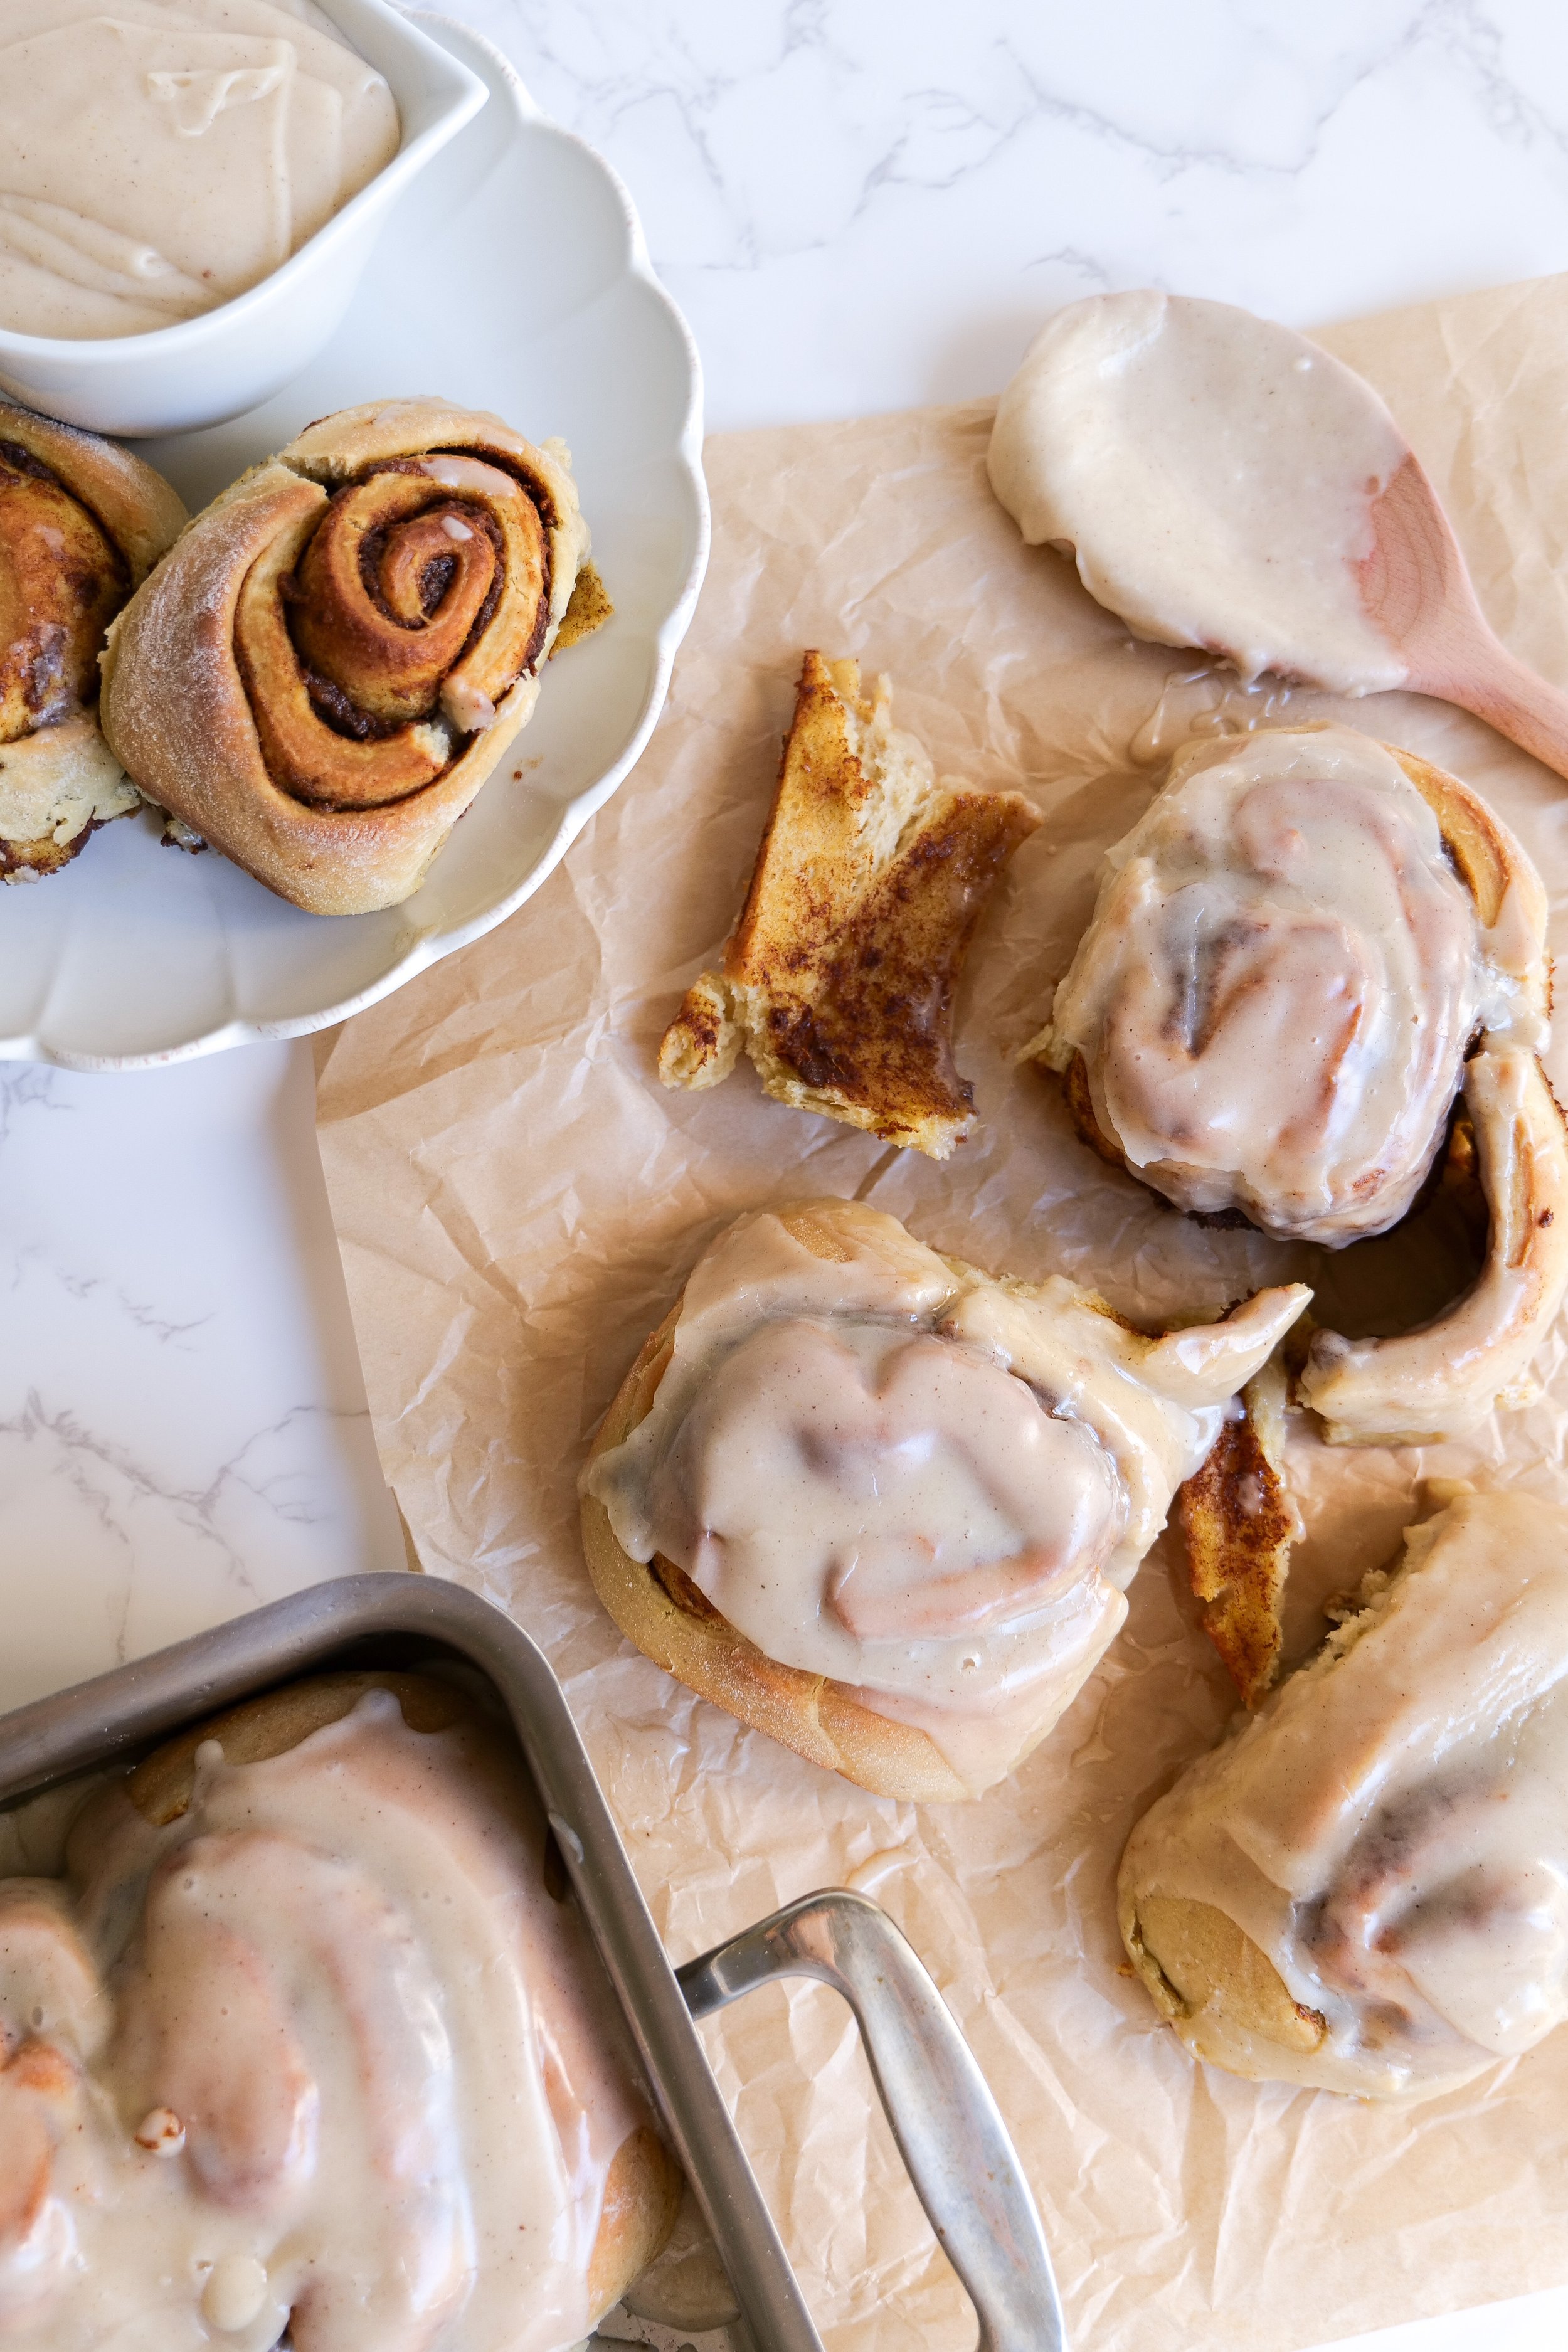
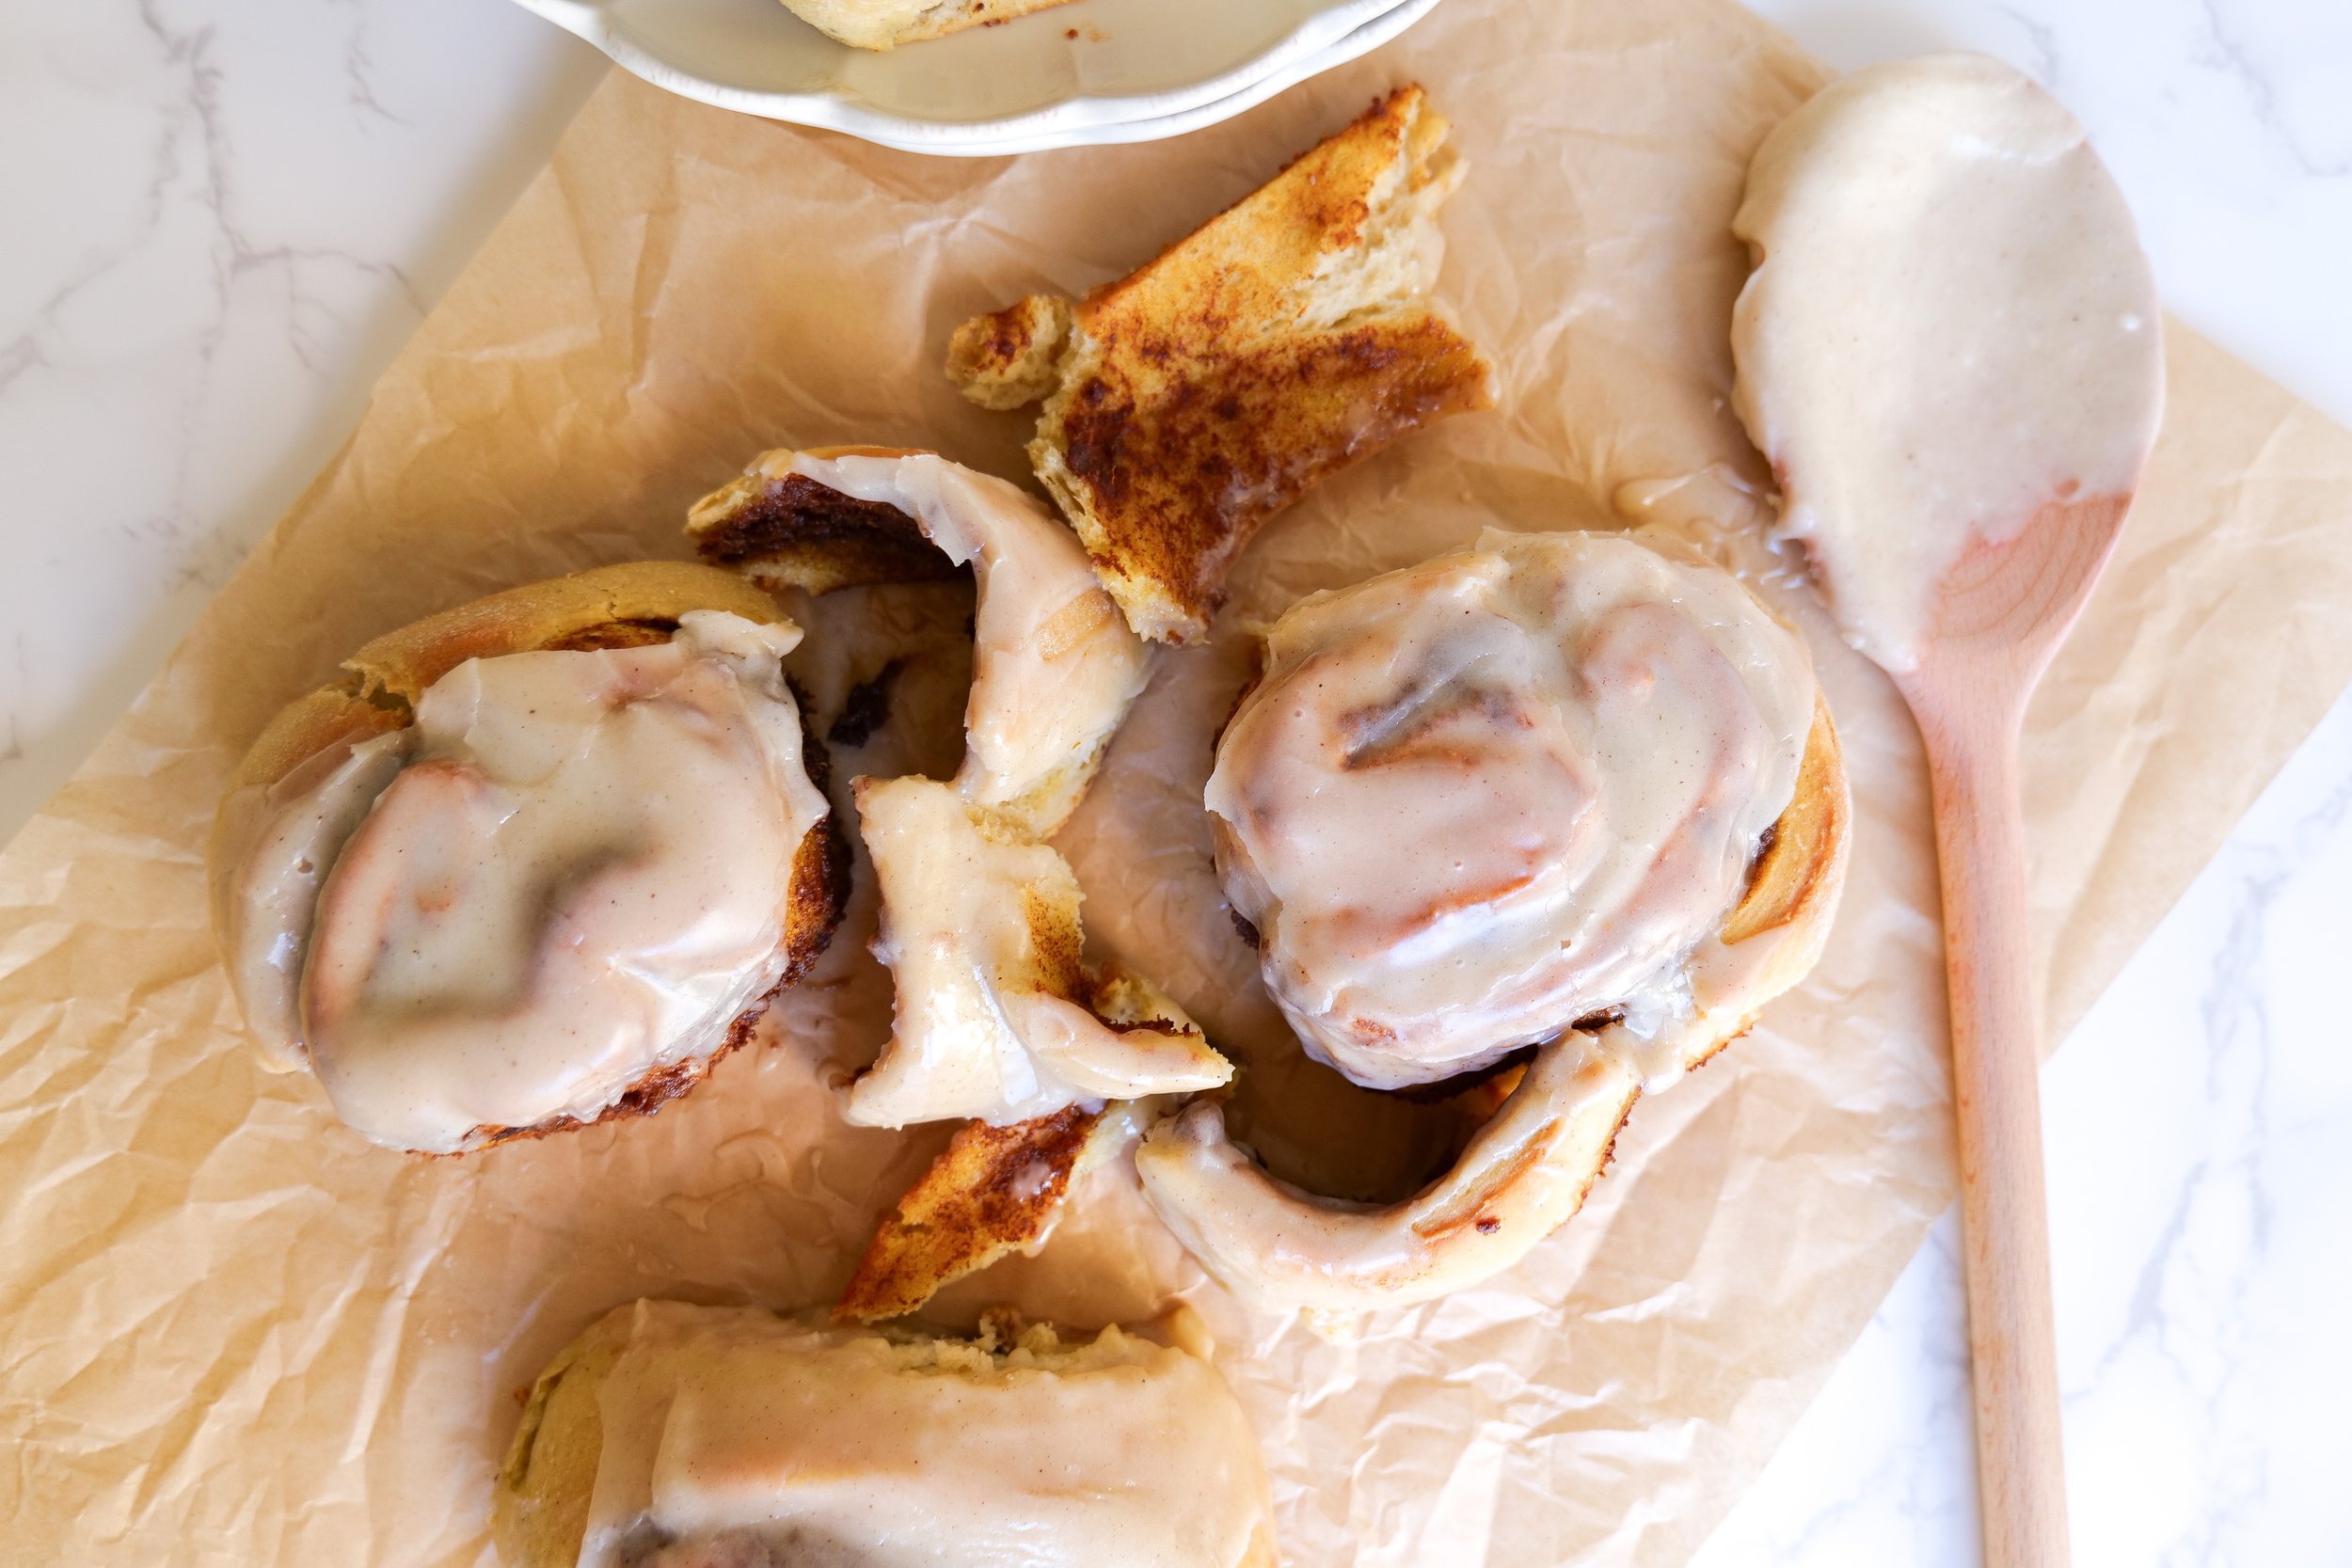
  7. Bake at 350 for 20-25 minutes or until golden brown on the top.

Frosting:

  1. Mix softened cream cheese and butter until smooth. (If not in the room temp warm it for 30 seconds in the microwave before)

  2. Add powdered sugar, milk, and vanilla extract.

Deliciously Different: Pink Deviled Eggs to Spruce Up Your Easter Brunch

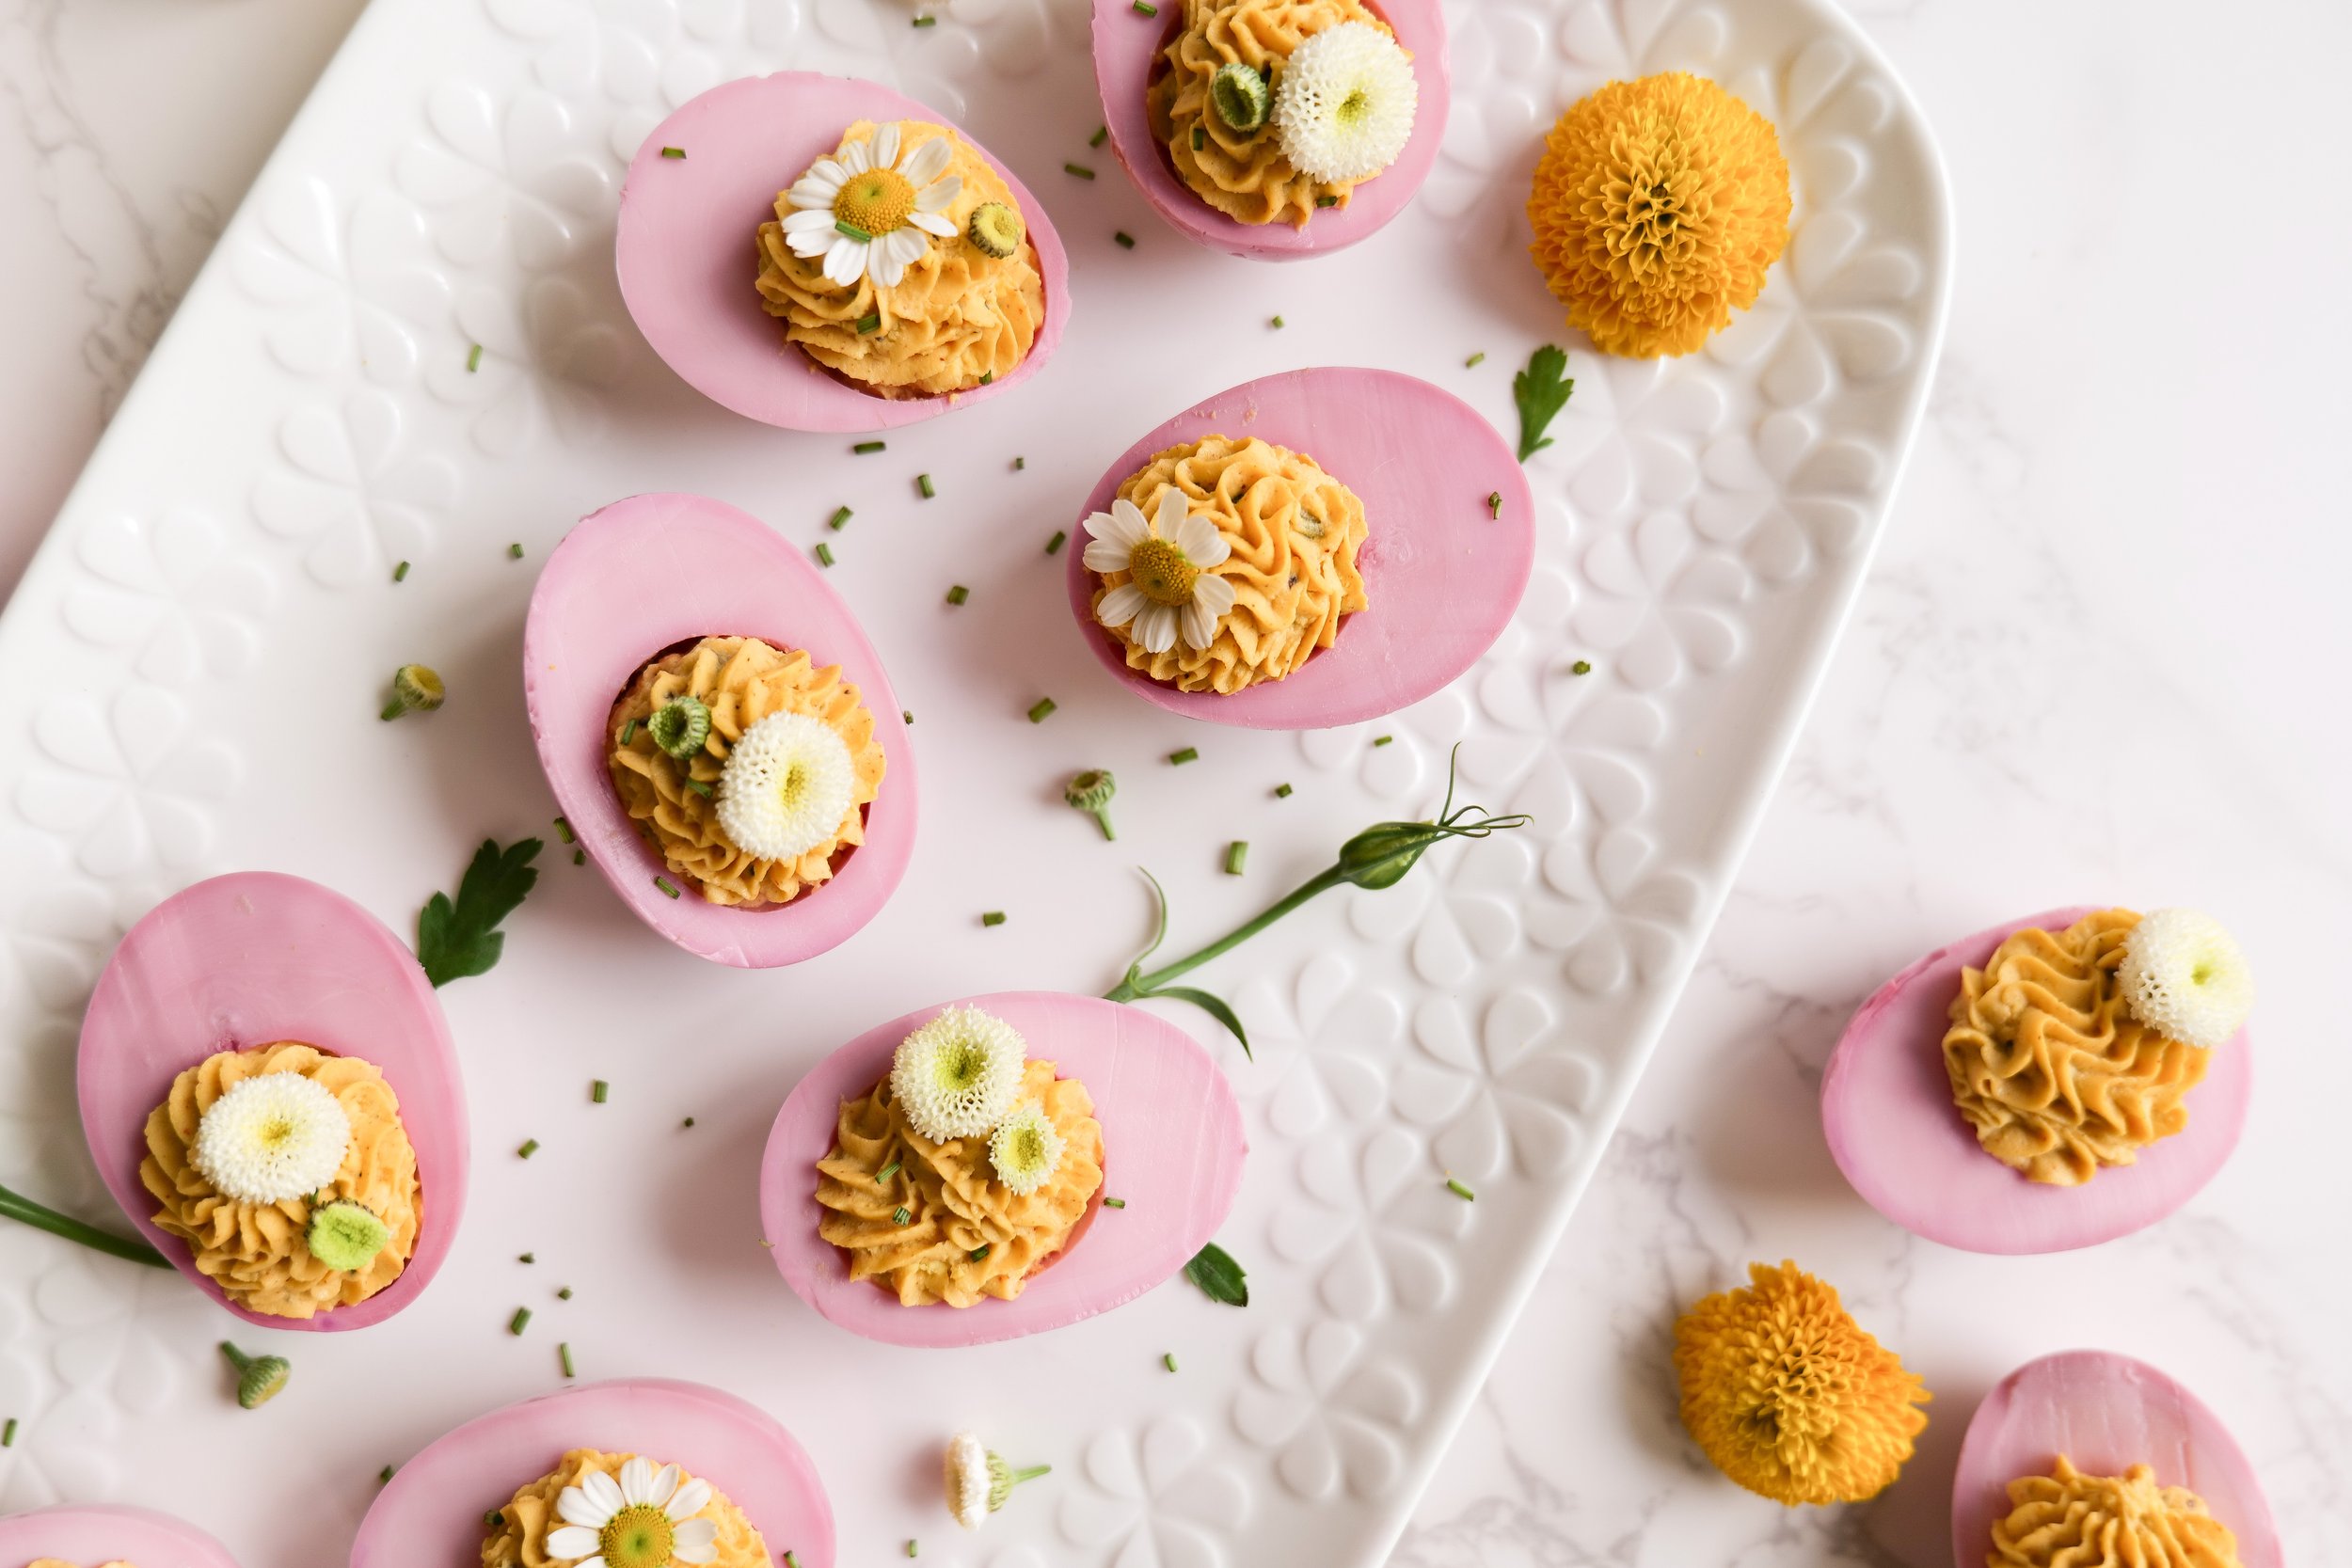
Nothing says springtime like a picnic with friends, and a plate of colorful pink deviled eggs. If you know me you know pink is my favorite color, so these pink eggs make for the perfect addition to any outdoor gathering. Not only are these deviled eggs a visually stunning food to share, but they are also packed with flavor. Whether you’re a fan of the classic deviled egg recipe or you’re looking for something new, this pink version is sure to become a favorite. Read on to learn the easy steps for making this fun twist on a classic picnic favorite.

Pink Easter Deviled Eggs

Pink Easter Deviled Eggs are an easy, creative, and delicious way to celebrate the Easter holiday. With a natural vegetable dye, you can create a beautiful pastel hue for your eggs. The creamy, tangy filling is the perfect complement to the eggs and will leave your guests wanting more! They are an easy and inexpensive dish making them the perfect dish for a family gathering or Easter party. The eggs can be served as an appetizer, snack, or even as a main dish. Have fun decorating the eggs and make them as creative as you wish. Whether you're hosting an Easter brunch or a dinner, Pink Easter Deviled Eggs will be sure to impress your guests.

If you're looking for a unique and fun way to celebrate the Easter holiday, Pink Easter Deviled Eggs are the perfect option. With easy preparation and affordable ingredients, you can have a delicious dish that will wow your guests. Add a bit of creativity to the eggs and you have the perfect appetizers or main dish to serve. Take the time to make these beautiful eggs and you'll have a memorable Easter celebration!

How to Make Colorful Deviled Eggs

Pink deviled eggs are a great way to add a personal pop of color to any gathering! Making them is surprisingly easy and does not take too much time.

To get started, you'll need twelve large eggs. Boil them until they are hard-boiled, then peel the shells off. In a medium-sized bowl, mix 1/3 cup mayonnaise, 1 tablespoon chopped pickles, 1 tablespoon pickle juice, 1/2 teaspoon paprika, and a pinch of salt and pepper. Once the ingredients are combined, add the egg yolks and mash them with a fork or potato masher until the mixture is creamy.

Next, you'll need to dye the egg whites. To make pink deviled eggs, use beet juice and water. Place the egg whites in the dye for one minute or longer, depending on how deep of a pink you are trying to achieve. Fill the dyed egg whites with the yolk mixture.

For the final touch, you can add small flowers or more paprika to the tops of the eggs. Serve the pink deviled eggs immediately or store them in the fridge for later. Enjoy!

What are Other Ways to Hard Boiled Eggs?

Using my 360 2 Quart Saucepan to make my hard-boiled eggs without water. First you will wet a paper towel and your eggs. Fold the paper towel to fit into the saucepan, wet it with water, and place it in the pot. Make sure the towel isn't sitting in a pool of water but that all the water is held in the towel. Carefully place the eggs in a single layer on top of the wet towel. Cover the pot and heat it over medium heat until steam just begins to escape from under the lid, about 3 minutes. Spin the lid to engage the vapor seal then immediately reduce the heat to low. The cooking time will vary depending on the desired doneness of the eggs. For soft-cooked eggs, cook 5 to 6 minutes; for medium-cooked eggs, cook 7 to 8 minutes; and for hard-cooked eggs, cook 13 to 15 minutes.

How to Dye the Eggs

To make your own Pink Deviled Eggs, gather the supplies: hard-boiled eggs, food coloring, water, a shallow bowl, and a slotted spoon. Then, fill the bowl with equal parts water and beet juice or food coloring. Submerge the hard-boiled eggs in the colored water and let them sit for about 1 minute or more depending on the depth of color you are looking for. Carefully remove the eggs from the liquid and pat them dry with a paper towel. Now you have festive Pink Deviled Eggs!

These eggs can be served as a colorful appetizer at a party, or you can use them as deviled egg filling. The possibilities are endless! Try adding a bit of color to your classic deviled eggs for a festive twist. Pink Deviled Eggs are sure to be a hit at your next gathering!

INGREDIENTS

(Serving Size 12)

12 large eggs

1/3 cup mayonnaise

1 tbsp chopped pickles

1 tbsp pickle juice

1/2 tsp Salt

1/2 tsp black pepper

1/2 Paprika

INSTRUCTIONS

  1. Hard boil the eggs first. Fold the paper towel to fit into the 2 Quart Saucepan.

  2. Wet the paper towel with water and place it in the pot. (The towel shouldn’t be sitting in a pool of water. All the water should be held in the towel.) Place the eggs in a single layer on top of the wet towel.

  3. Cover the pot and heat over medium heat until steam just begins to escape from under the lid, about 3 minutes.

  4. Spin the lid to engage the vapor seal then immediately reduce the heat to low for 15 minutes.

  5. Remove from heat and put eggs in an ice-cold bath. This makes it easier to peel them.

  6. Once you peel the shell of the egg cut it in half lengthwise and remove egg yolk in a bowl. Put egg whites in another bowl and cover with 1 cup beet juice and 1 cup water until completely submerged. Leave for 1 minute and rinse with water and lay on a paper towel to dry. You can add more beet juice or leave it for longer to achieve a deeper pink.

  7. In the egg yolk bowl mush eggs and add in pickle juice, chopped pickles, salt, pepper and paprika. Once mixed add to a piping bag and fill with egg yolks.

Adjustments you can make for this meal would be adding in dijon mustard in exchange for pickles if you want less of a pickled flavor. If you like a pickled flavor and are out of juice you can additionally use apple cider vinegar. Seasoning can also be changed for your taste buds as well as mayo ratio. I always encourage making all my recipes into your own to fit your diets and taste buds. Deviled eggs are a classic appetizer perfect for any occasion. Pink deviled eggs are a fun twist on a classic dish and are sure to be a hit at any gathering. Whether you’re hosting a dinner party or celebrating a special occasion, pink deviled eggs are an easy and delicious addition to your menu. Here are a few other recipes I think you will love this Easter season:

Easy and Delicious Mushroom & Pea Risotto Recipe

Tantalizingly Delicious Recipe For Lemon Cheesecake With An Amazing Glaze

Indulge in Deliciousness: Cherry Chip Cake with Chunks of Dark Chocolate Recipe

Shaved Brussel Sprout Salad with Apples, Goat Cheese & Candied Pecans

Blackberry Cinnamon Rolls with Mascarpone Frosting

Soft Cream Cheese Lemon Blueberry Scones

The softest, melt in your mouth scones! So good you wont be able to just eat one!! this recipe is for lemon blueberry.. however feel free to mix it up and make it your own. Have strawberries and not blueberries? Swap it out! Want just lemon? Sounds Great!! They will taste amazing with anything you add or take out and you get to make it all your own!! Now lets get started!

Ingredients:

21/2 cups flour

1/2 cup sugar

1/2 tsp salt

1 tbsp baking powder

1/2 cup cold butter

1 egg

1 tsp vanilla extract

2/3 cup heavy cream

8 ounce package of cream cheese

1/2 cup sugar (to cover cream cheese with)

1 pint blueberries

2 tbsp lemon zest

Glaze:

1 tsp vanilla extract

1 cup powdered sugar

2 tbsp melted butter

2 tbsp lemon juice

Directions:

  • Mix together dry ingredients in a large bowl

  • Grate butter into bowl and blend with dry mixture. I use my hands to make sure that the butter doesn’t stick together any larger then a pea size amount.

  • After well mixed make a hole in the center of the mix and put all wet ingredients; egg, vanilla and heavy cream. Mix together. Be sure to not over mix or it will get too tough.

  • Cube cream cheese into dime size chunks. Coat in a small bowl with sugar and add into the dough. Don’t over mix just enough that its well spread out in the dough. Next add in blueberries and lemon zest (or whatever you decide to add in)

  • After all is mixed together, flour your work station and make dough into a pie looking around shape. I keep mine a little thicker so it stays soft. If you like your scones harder and more flaky then you can make it thinner. Mine is usually around an inch to an inch and a half thick. Once in a circle cut like a pizza into slices. I do about 8. Again if you prefer it to be smaller and not as soft you can do more.

  • Place on a cookie sheet and put in the fridge for 45 min to an hour. The last 10 min preheat oven to 400 degrees

  • Bake at 400 degrees for 15 min. Turn the temp down to 350 and bake for 10 min.

  • While baking make glaze! Melt butter completely in a bowl and add in the other ingredients. Mix with a fork until you have your desired consistency. Add more powdered sugar or water to achieve thickness. I like mine a little thicker so it will stick to the top of scones.

  • Transfer scones to cookie sheet and drizzle glaze on top. Let cool and enjoy!!

public.jpeg

Sparkling Ice Mint Mango Mock-tail

This shop has been compensated by Inmar Intelligence and its advertiser. All opinions are mine alone. #MySparklingIce #SparklingIceLife #SparklingIcePartner

Sparkling Ice Mock-tail Summer may be coming to a close but refreshing mock-tails will never end!! I am especially loving the Sparkling Ice Orange Mango sparkling water and enjoying it for a backyard brunch picnic. It can get pretty hot where we live, over 100 most August days and it’s always nice to find a refreshing drink we can enjoy before it’s too hot to be outside. I love enjoying a backyard brunch all year around but especially when the mornings are cooling down! Look below for the perfect mock-tail recipe to finish off your summer and head into fall! It’s great for brunch, lunch and anytime of day! I shopped for all of these ingredients at our local Save Mart. Cheers!

image0 (5).jpeg
image002 (1).jpg

Ingredients for 2 Orange Mango Mock-tails:

1 chilled Sparkling Ice Orange Mango

Sliced Mango

Fresh Mint

1 cup water

1 cup sugar + more for garnish

Ice

Directions:

1. Make simple syrup. Mix together water, sugar, 3 mint leaves in pot over fire. Continuously stir them together until sugar melts into water. Let cool and place in glass jar ready for use!

2. Fill bottom of glass with 3 mango slices and muddle with straw.

3. Add ice, 2 tbsp of simple syrup and fill rest of glass with Sparkling Ice Orange Mango.

4. Garnish with mint and a slice of mango.

5. Enjoy!

image0 (4).jpeg
image004.jpg
image003.jpg